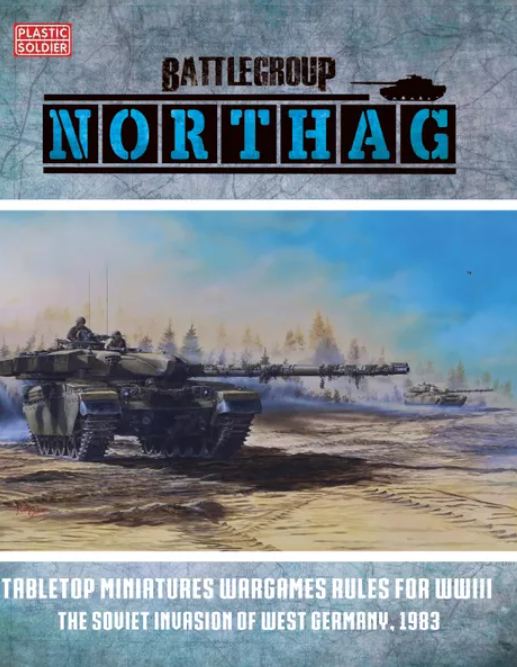
Cold War month marches on and I am putting various rules and scenarios through their paces. Battlegroup NORTHAG was high on the list. I’m no stranger to any of the Battlegroup series and NORTHAG ranks quite high with me regarding sheer enjoyment and narrative-building. While I have some little items that “irk” me about NORTHAG, all-in-all it’s a very solid set of rules for any Cold War Gone Hot afficionado.
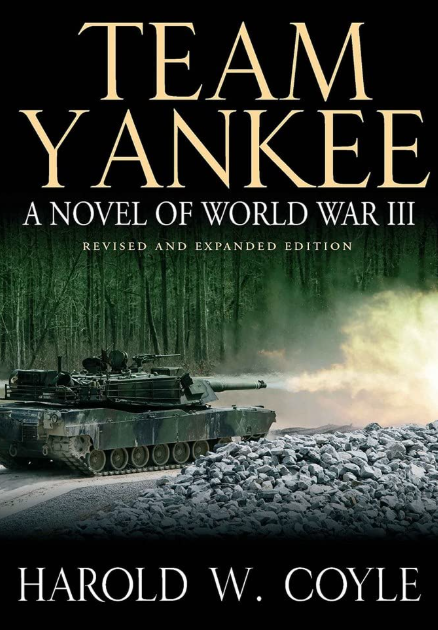
This post is not really about NORTHAG but rather about a scenario I cooked up for use with the NORTHAG rules taken straight from the pages of the Team Yankee novel by Harold Coyle (and the subsequent board game by Frank Chadwick published by GDW).
The Objective LOG/Hill 214 scenario is a big one – topping off at 700 points for both sides and a morale battle rating of over 70 for both sides – featuring the entirety of Team Yankee and a full Soviet Motor Rifle Company. Since the US M1s are prohibitively expensive points-wise (in order to discourage their use as they were not as prevalent in 1983), I’ve bolstered the Soviet MRC to include a full T-62 company but with a twist. The T-62s don’t come on the table until the Hill 214 objective falls to the Americans. This represents the Soviet counter-attack from the book with a whittled-down Team Yankee after a period of hard fighting – and hard fighting it will be indeed.
Before we get into the plan and the fighting, let’s quickly get oriented. (“orientated” for the Brits).
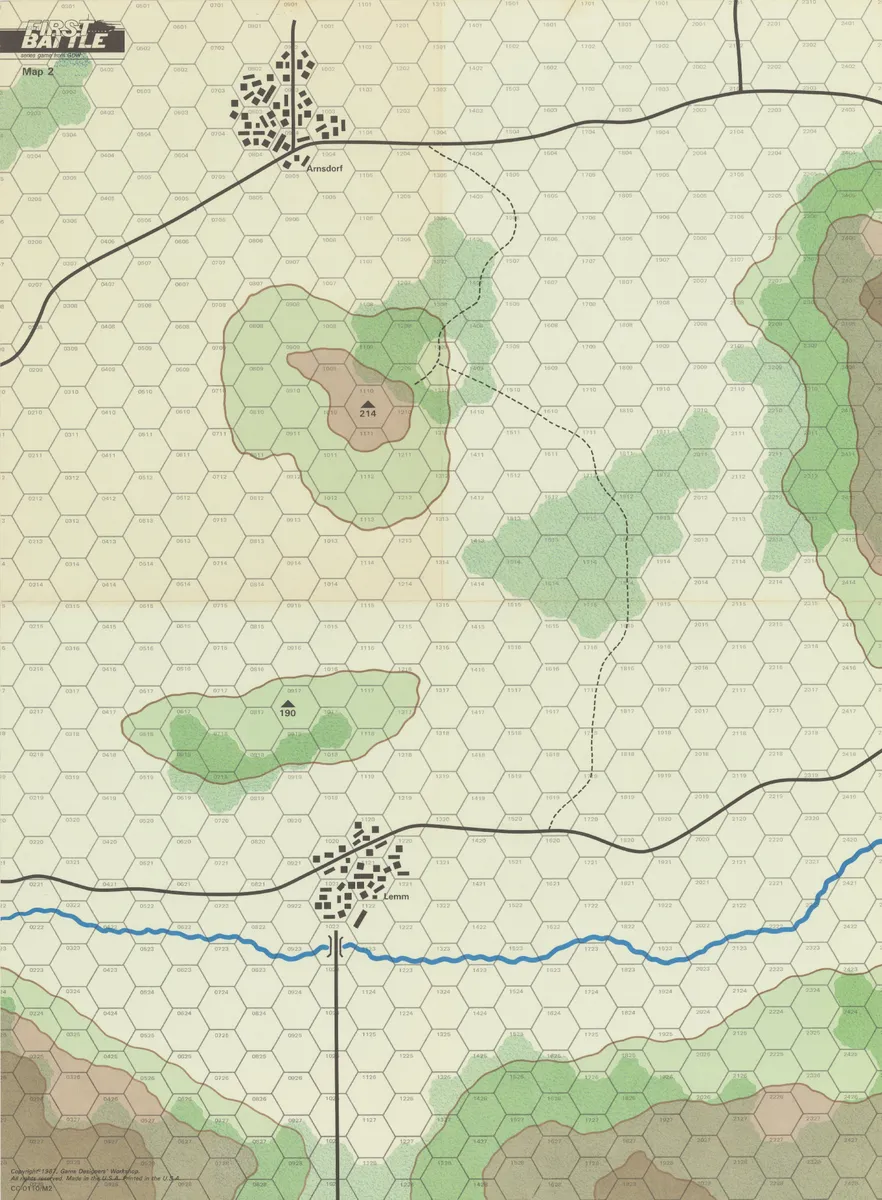
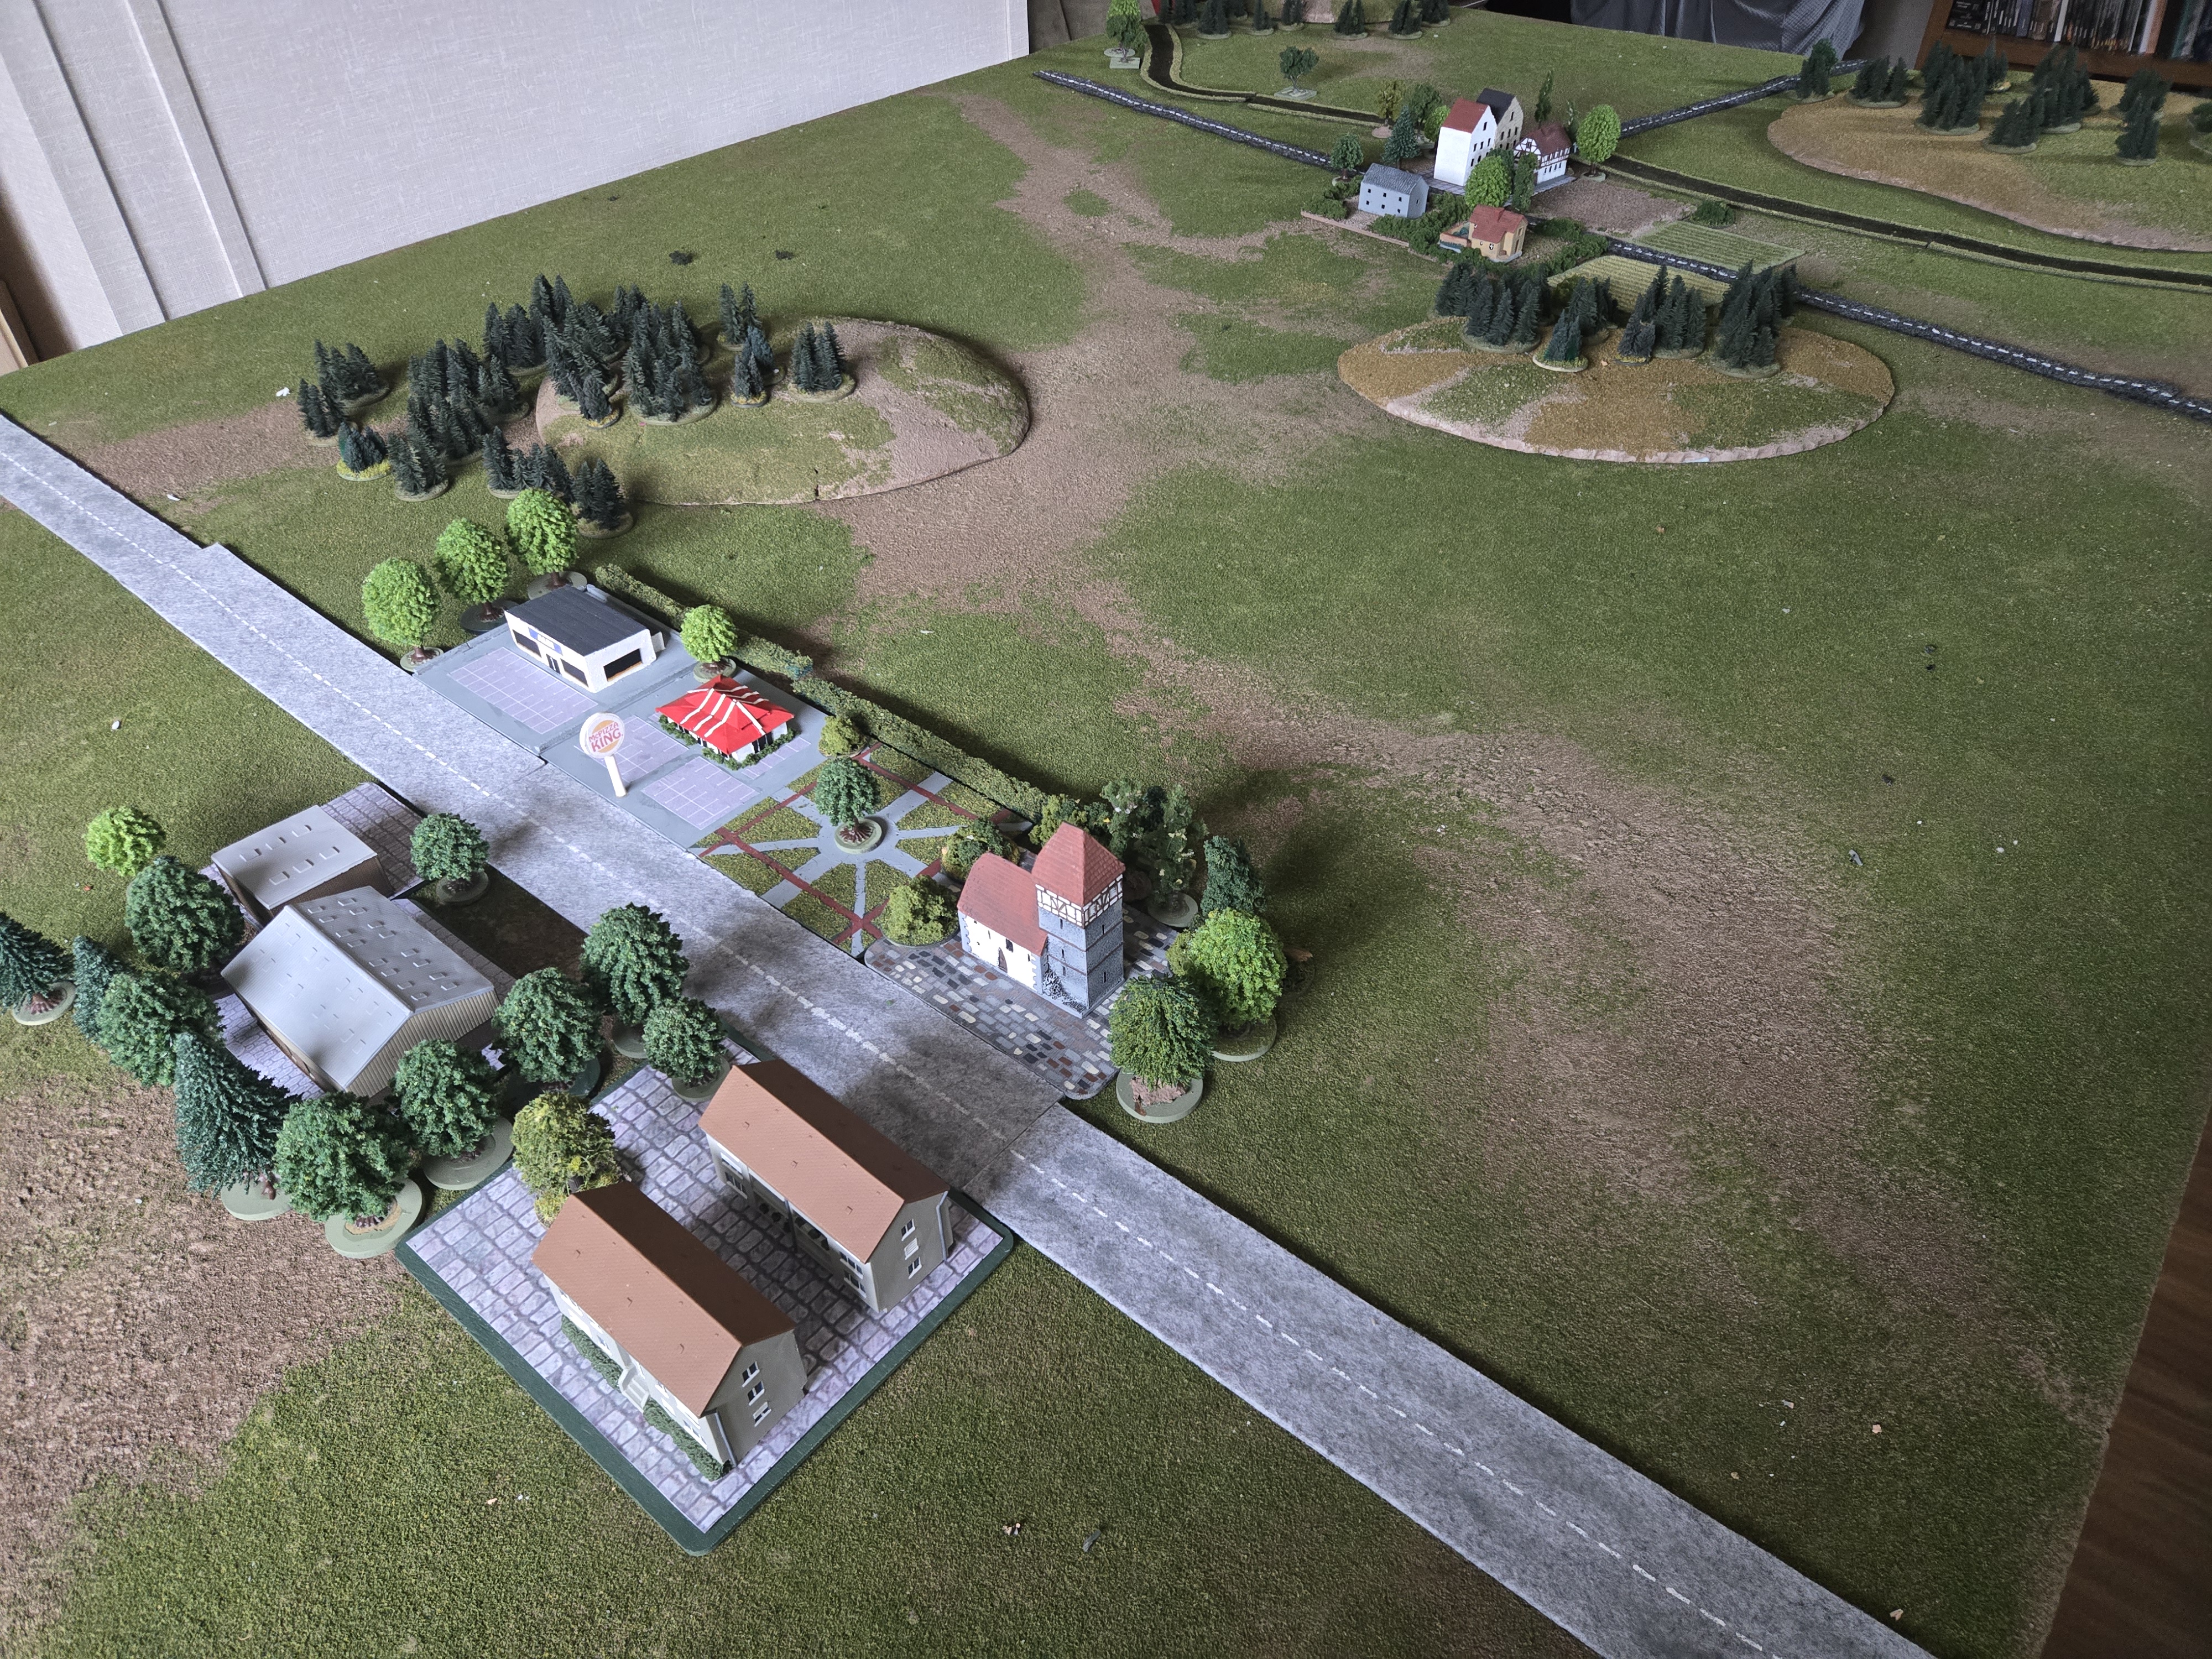
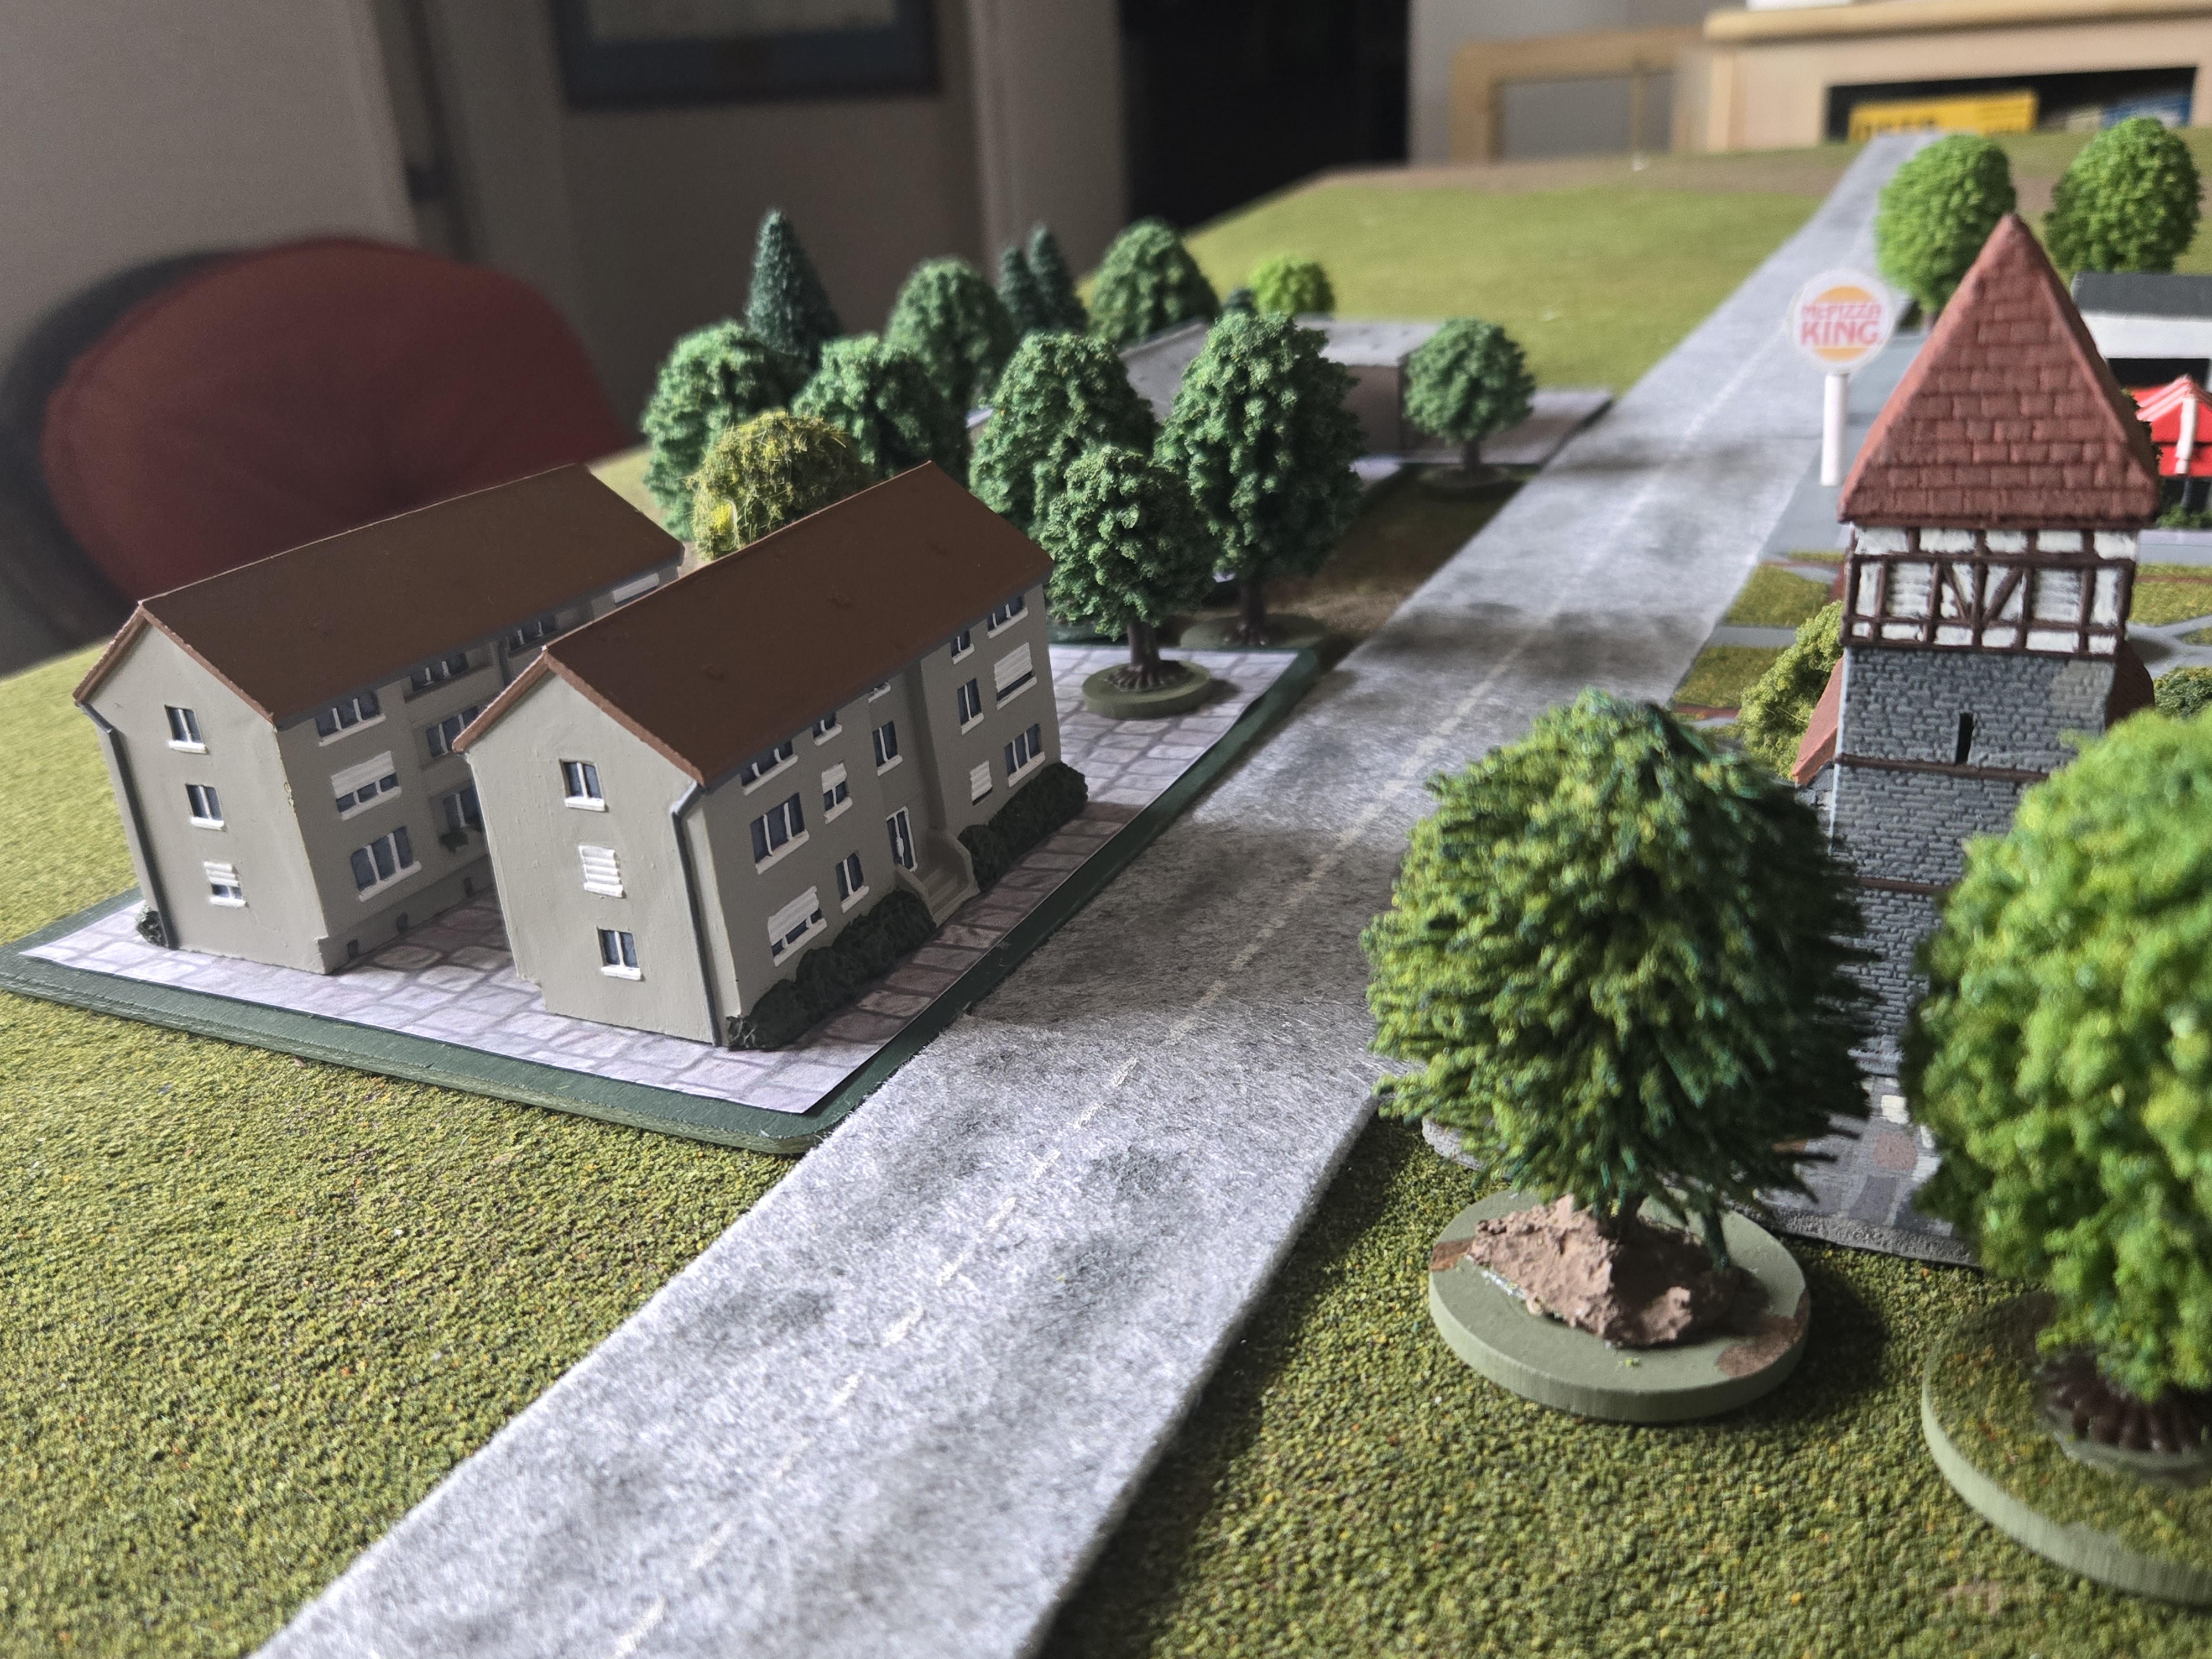
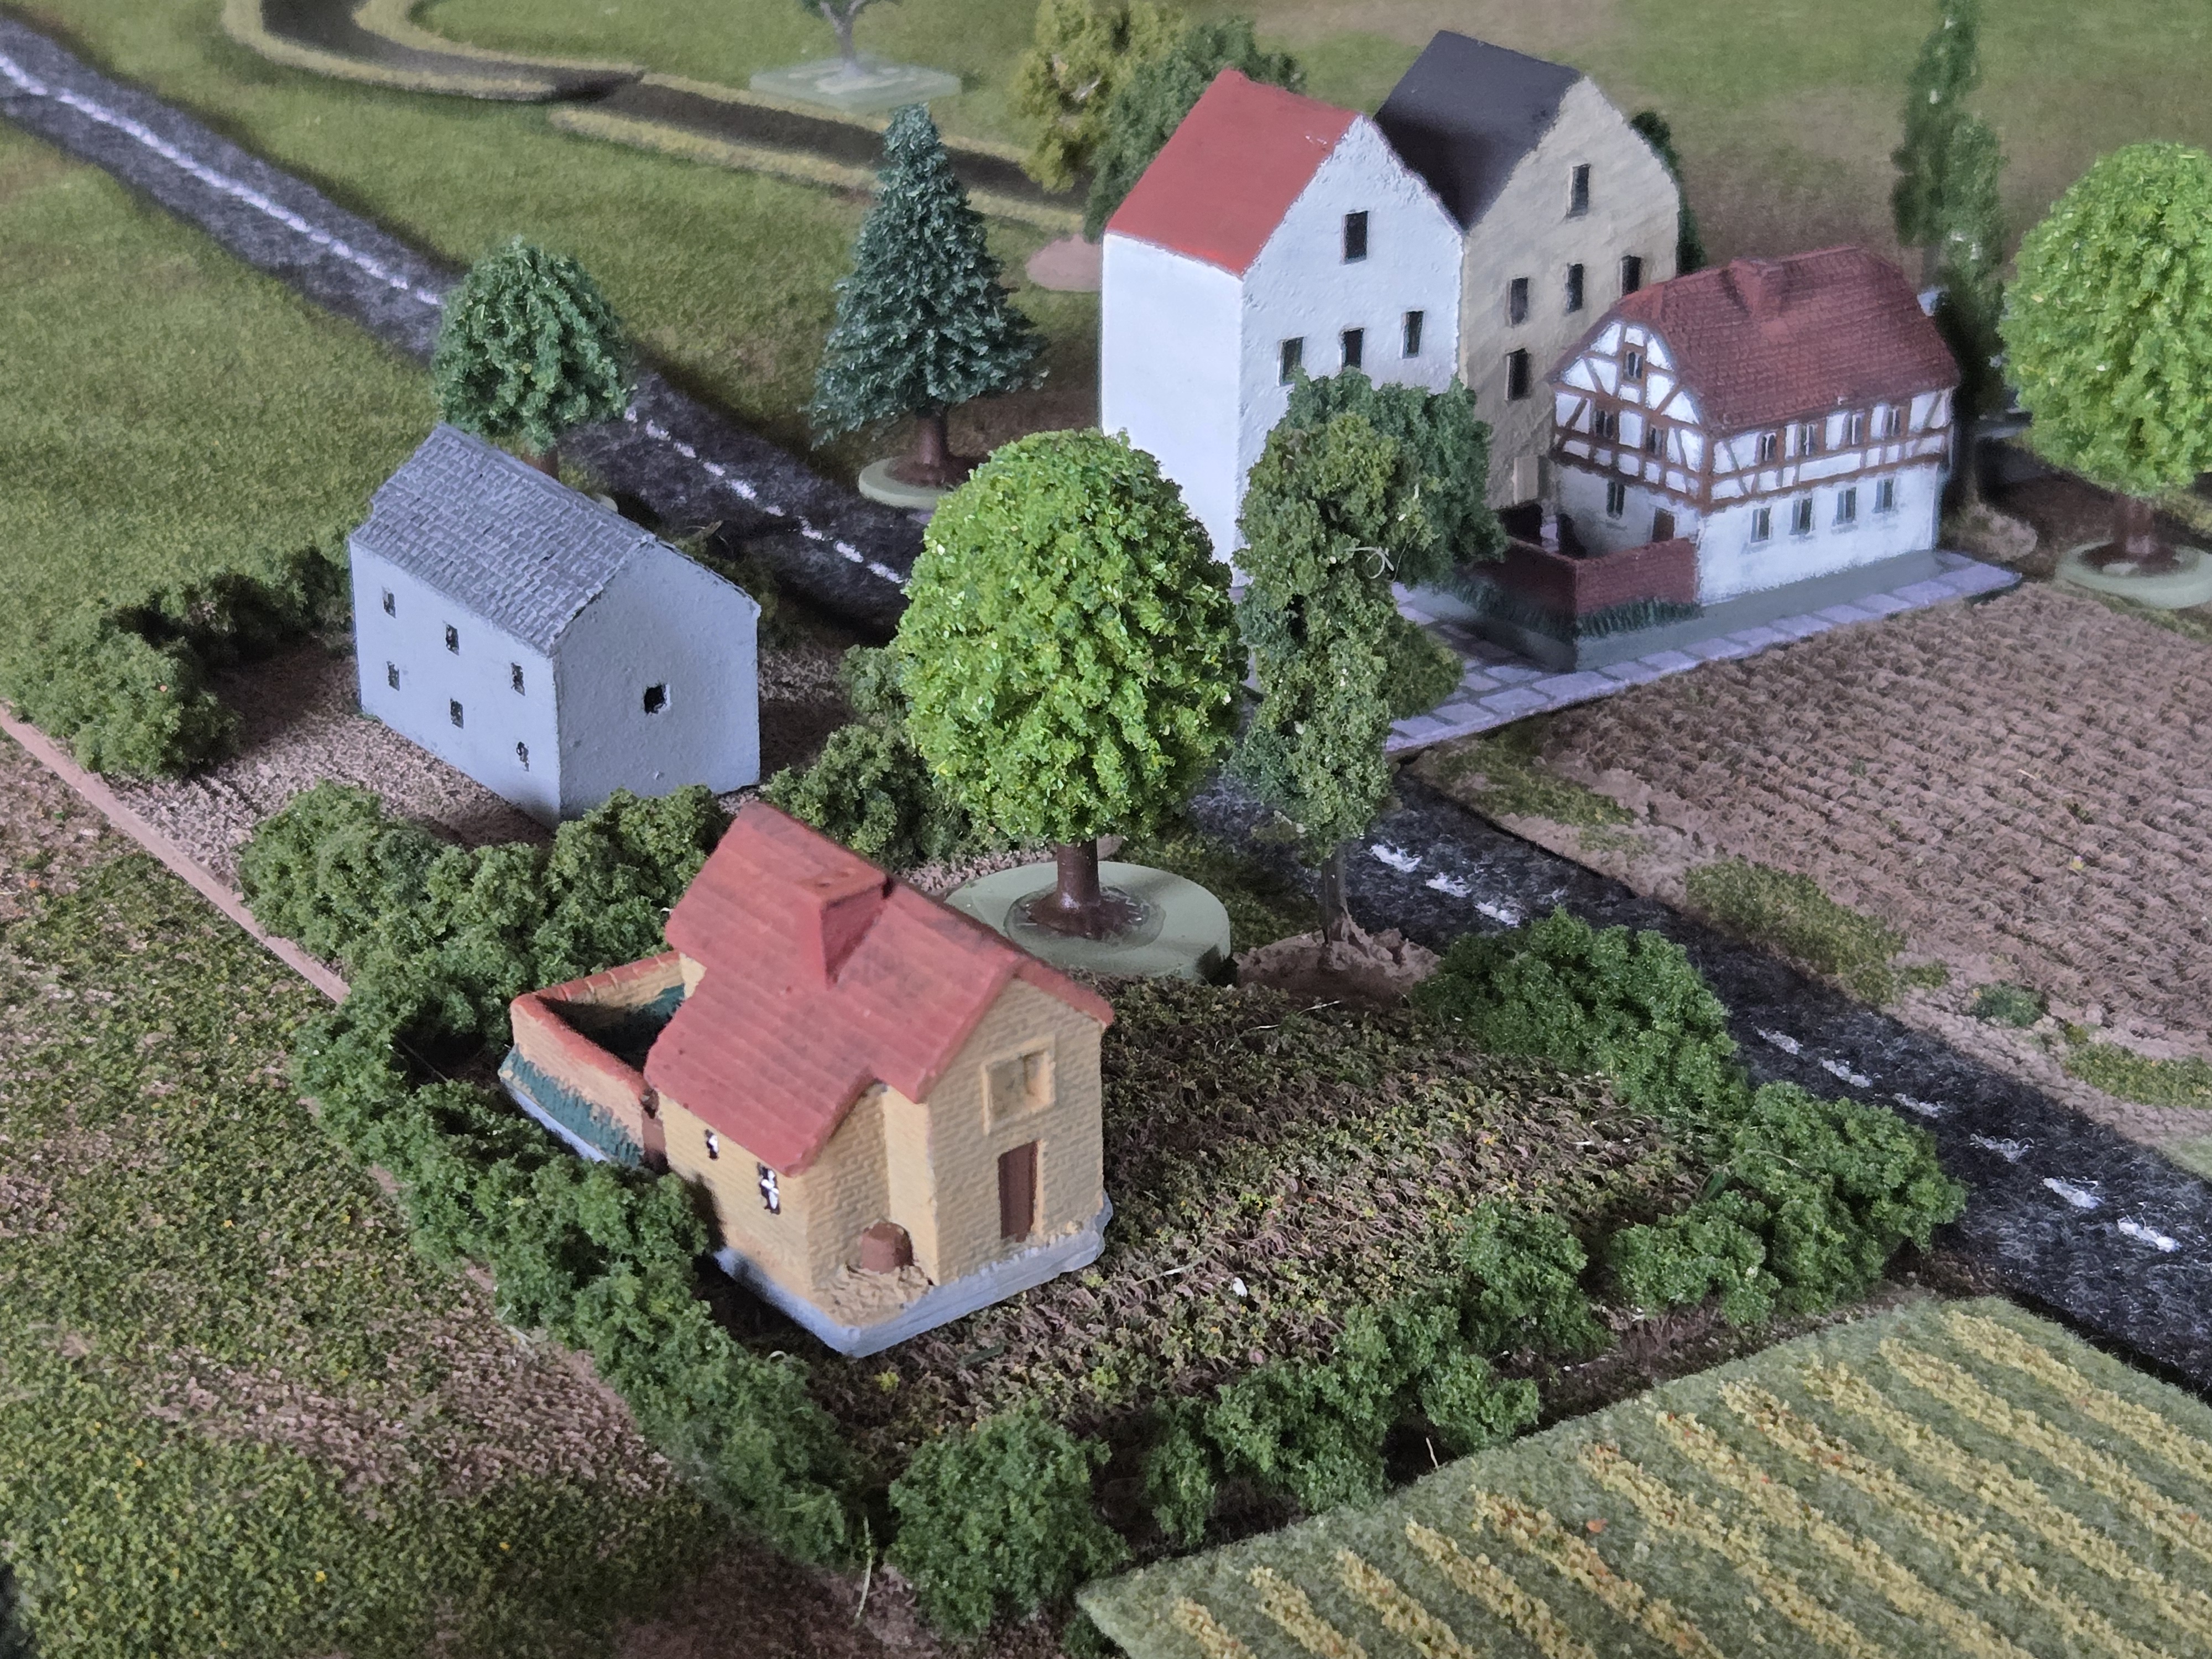
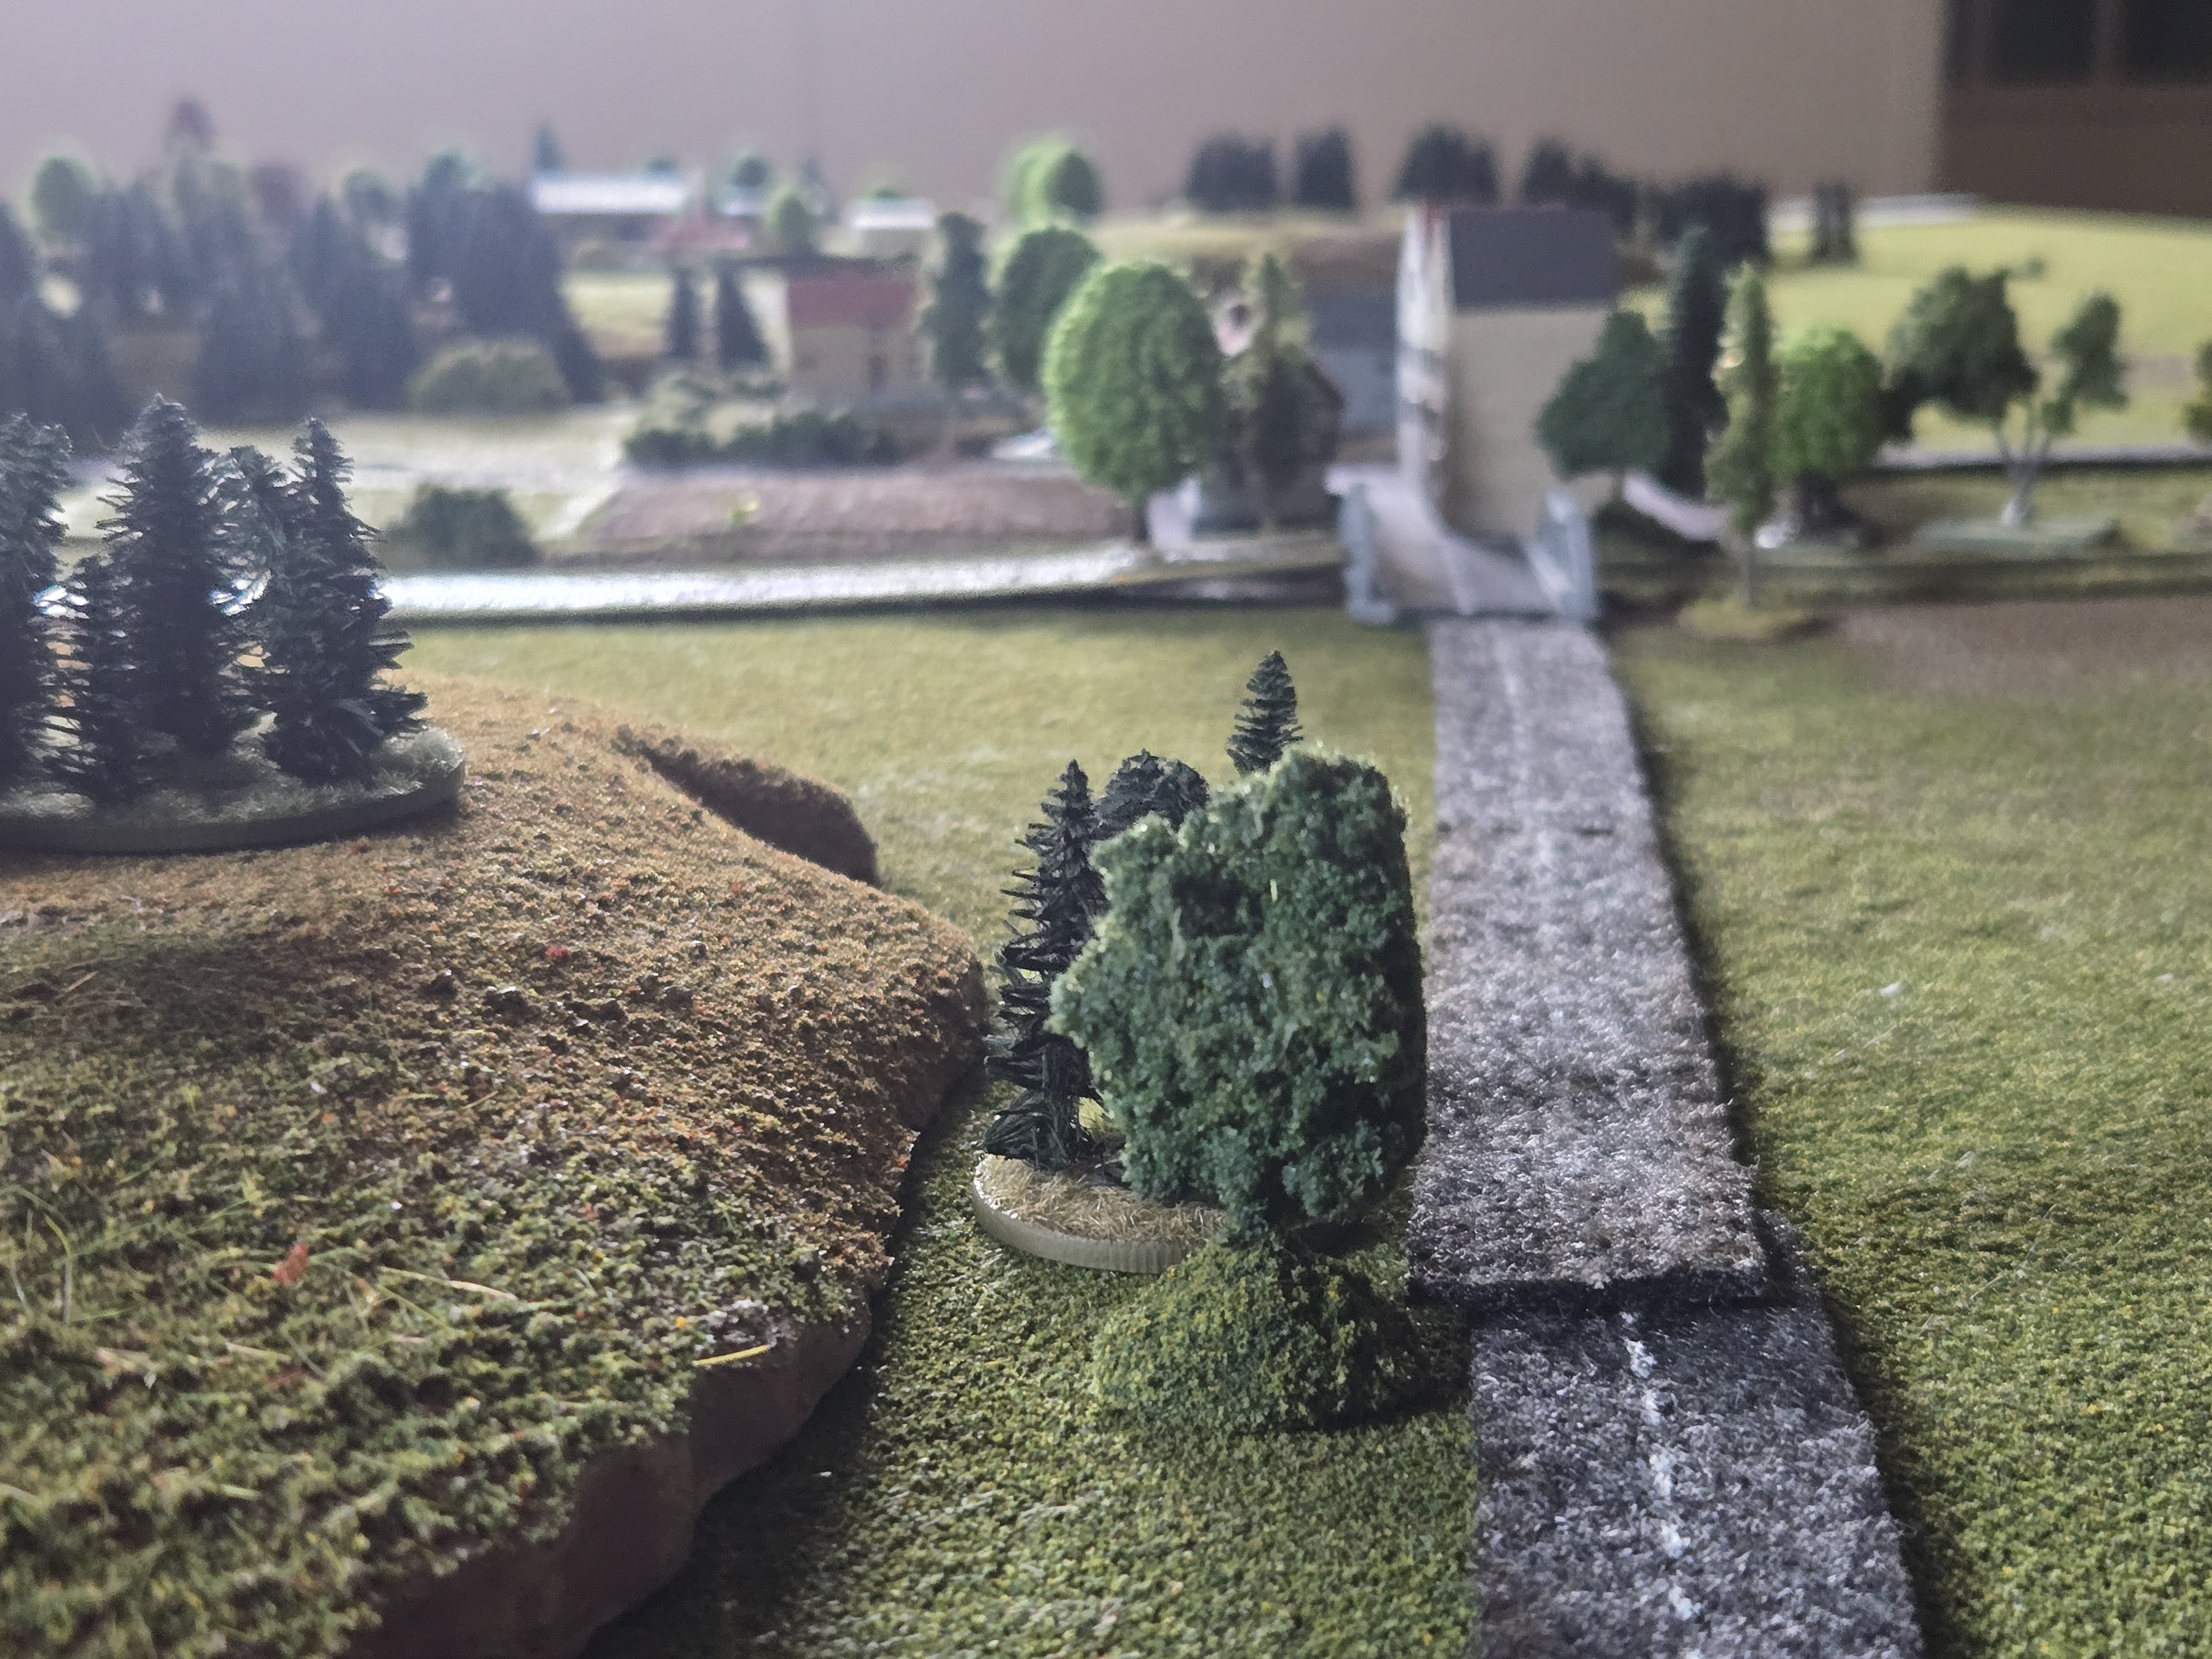
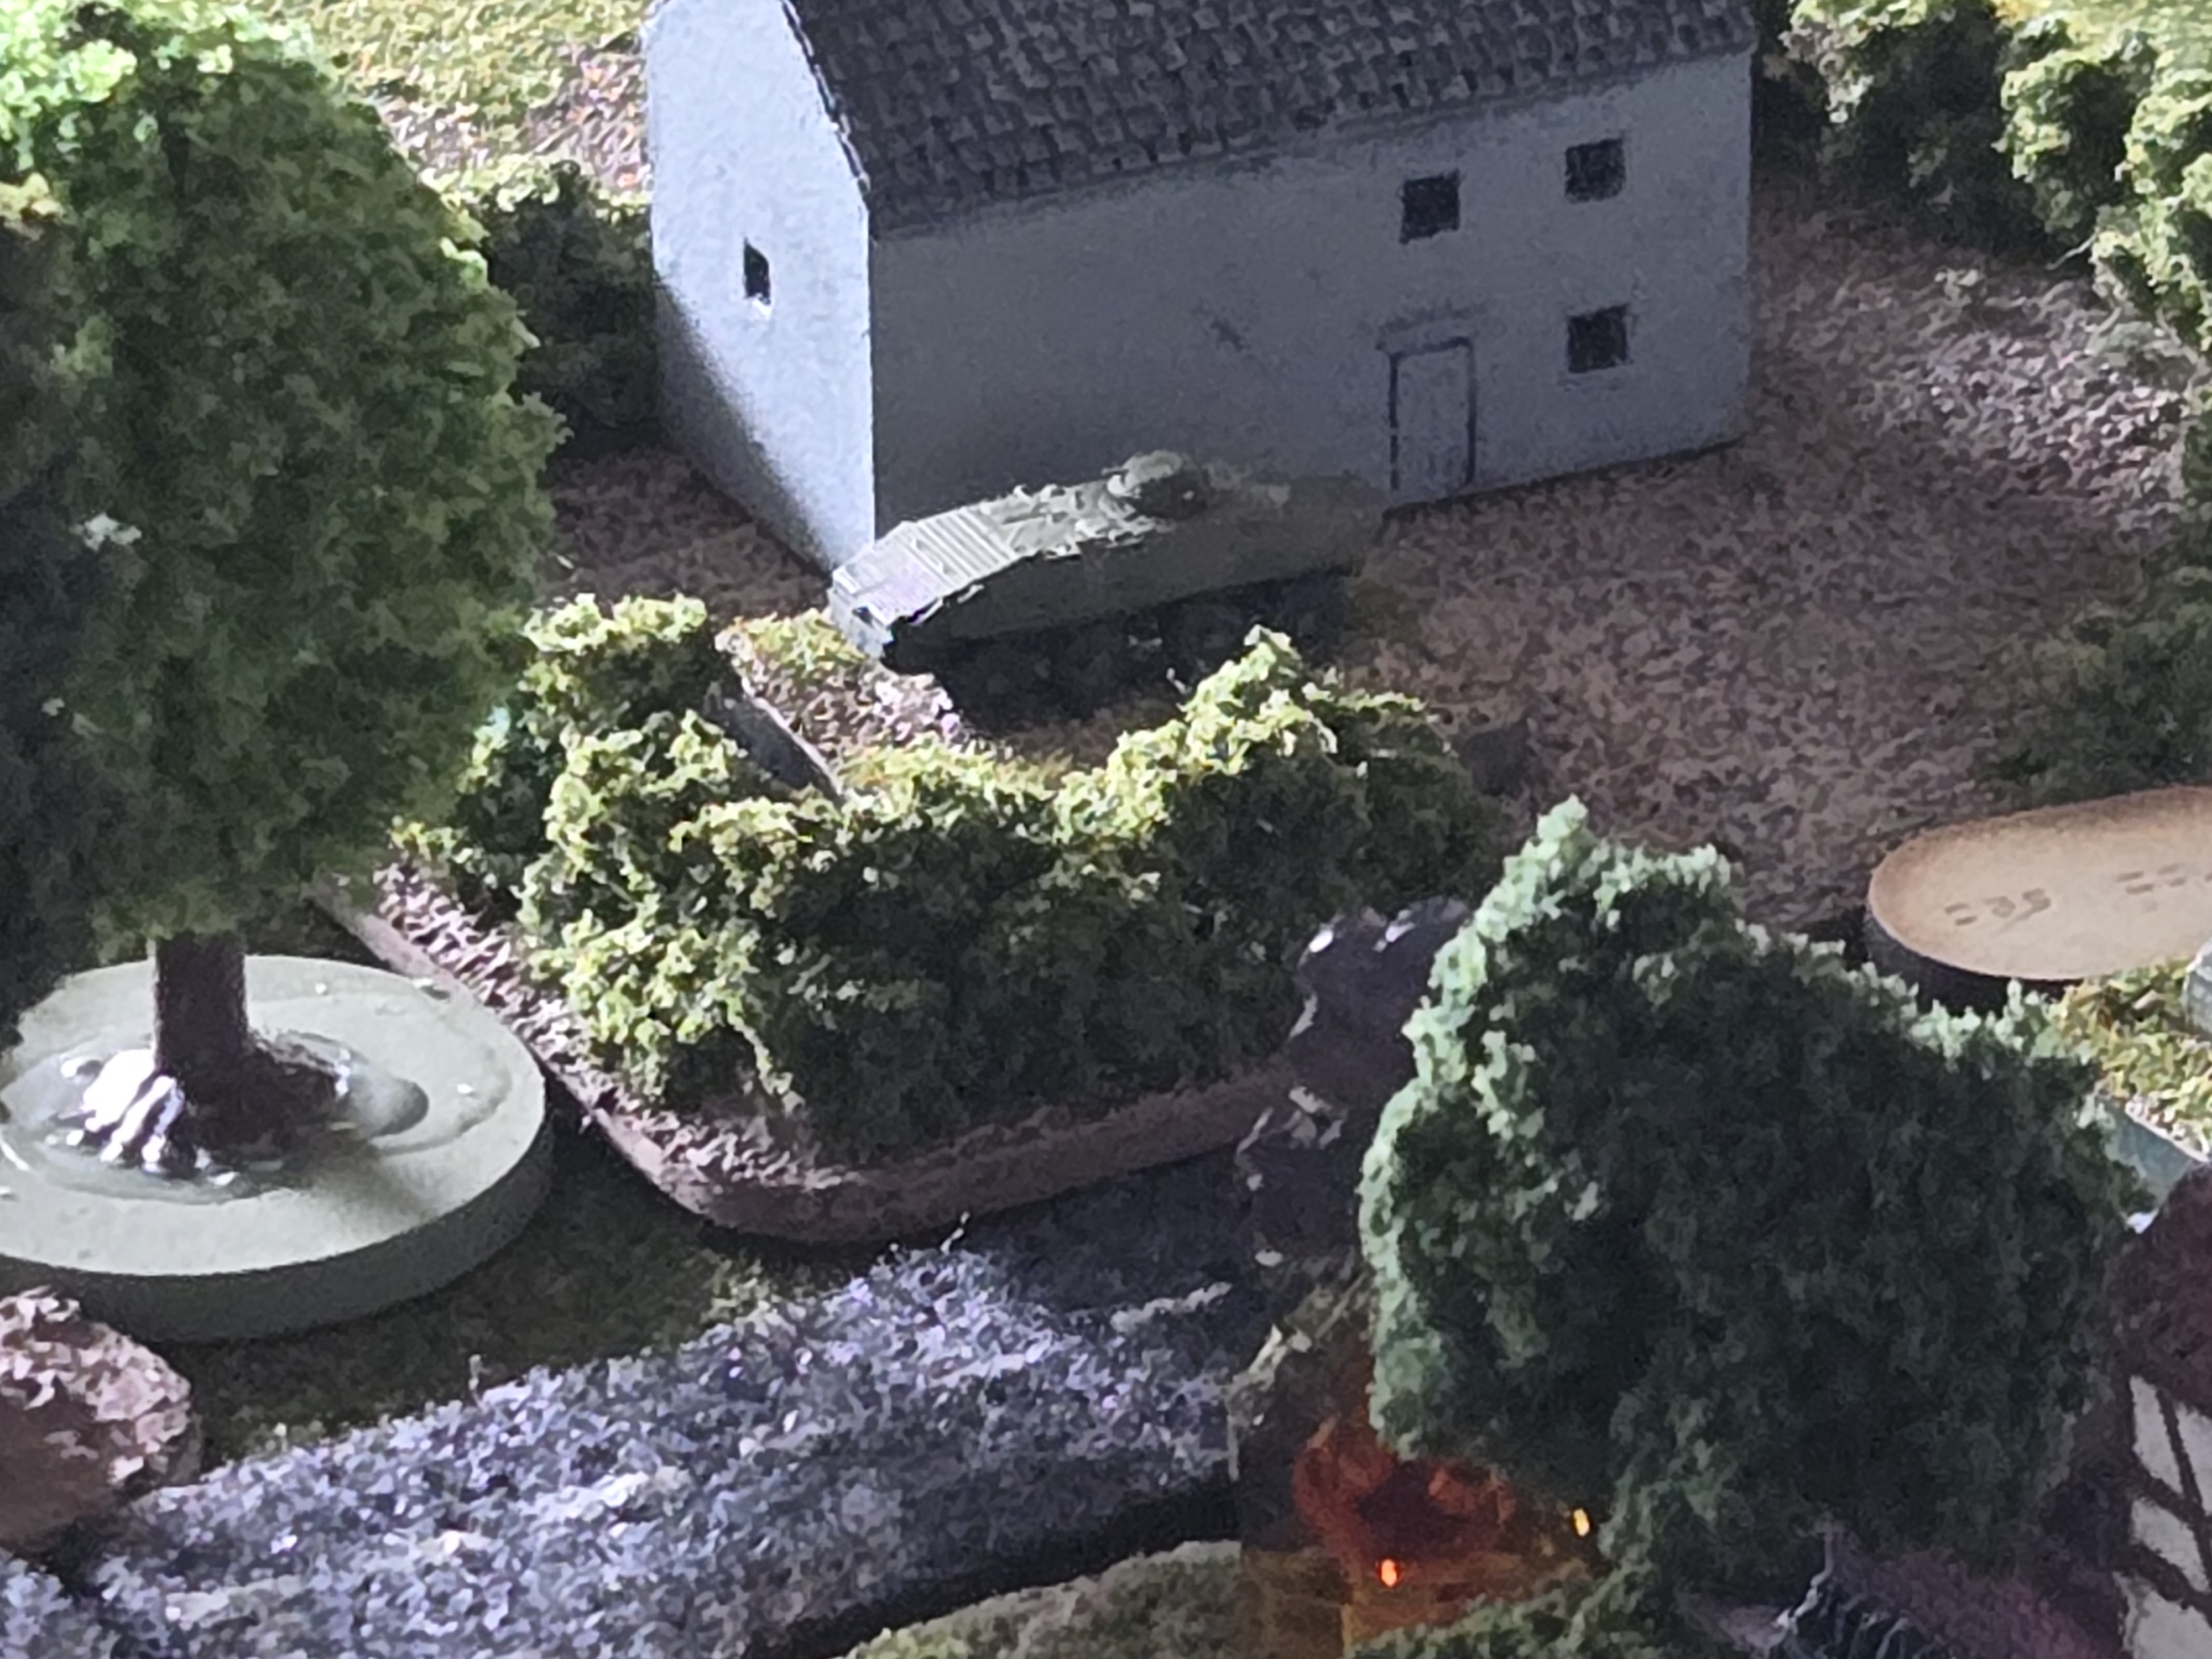
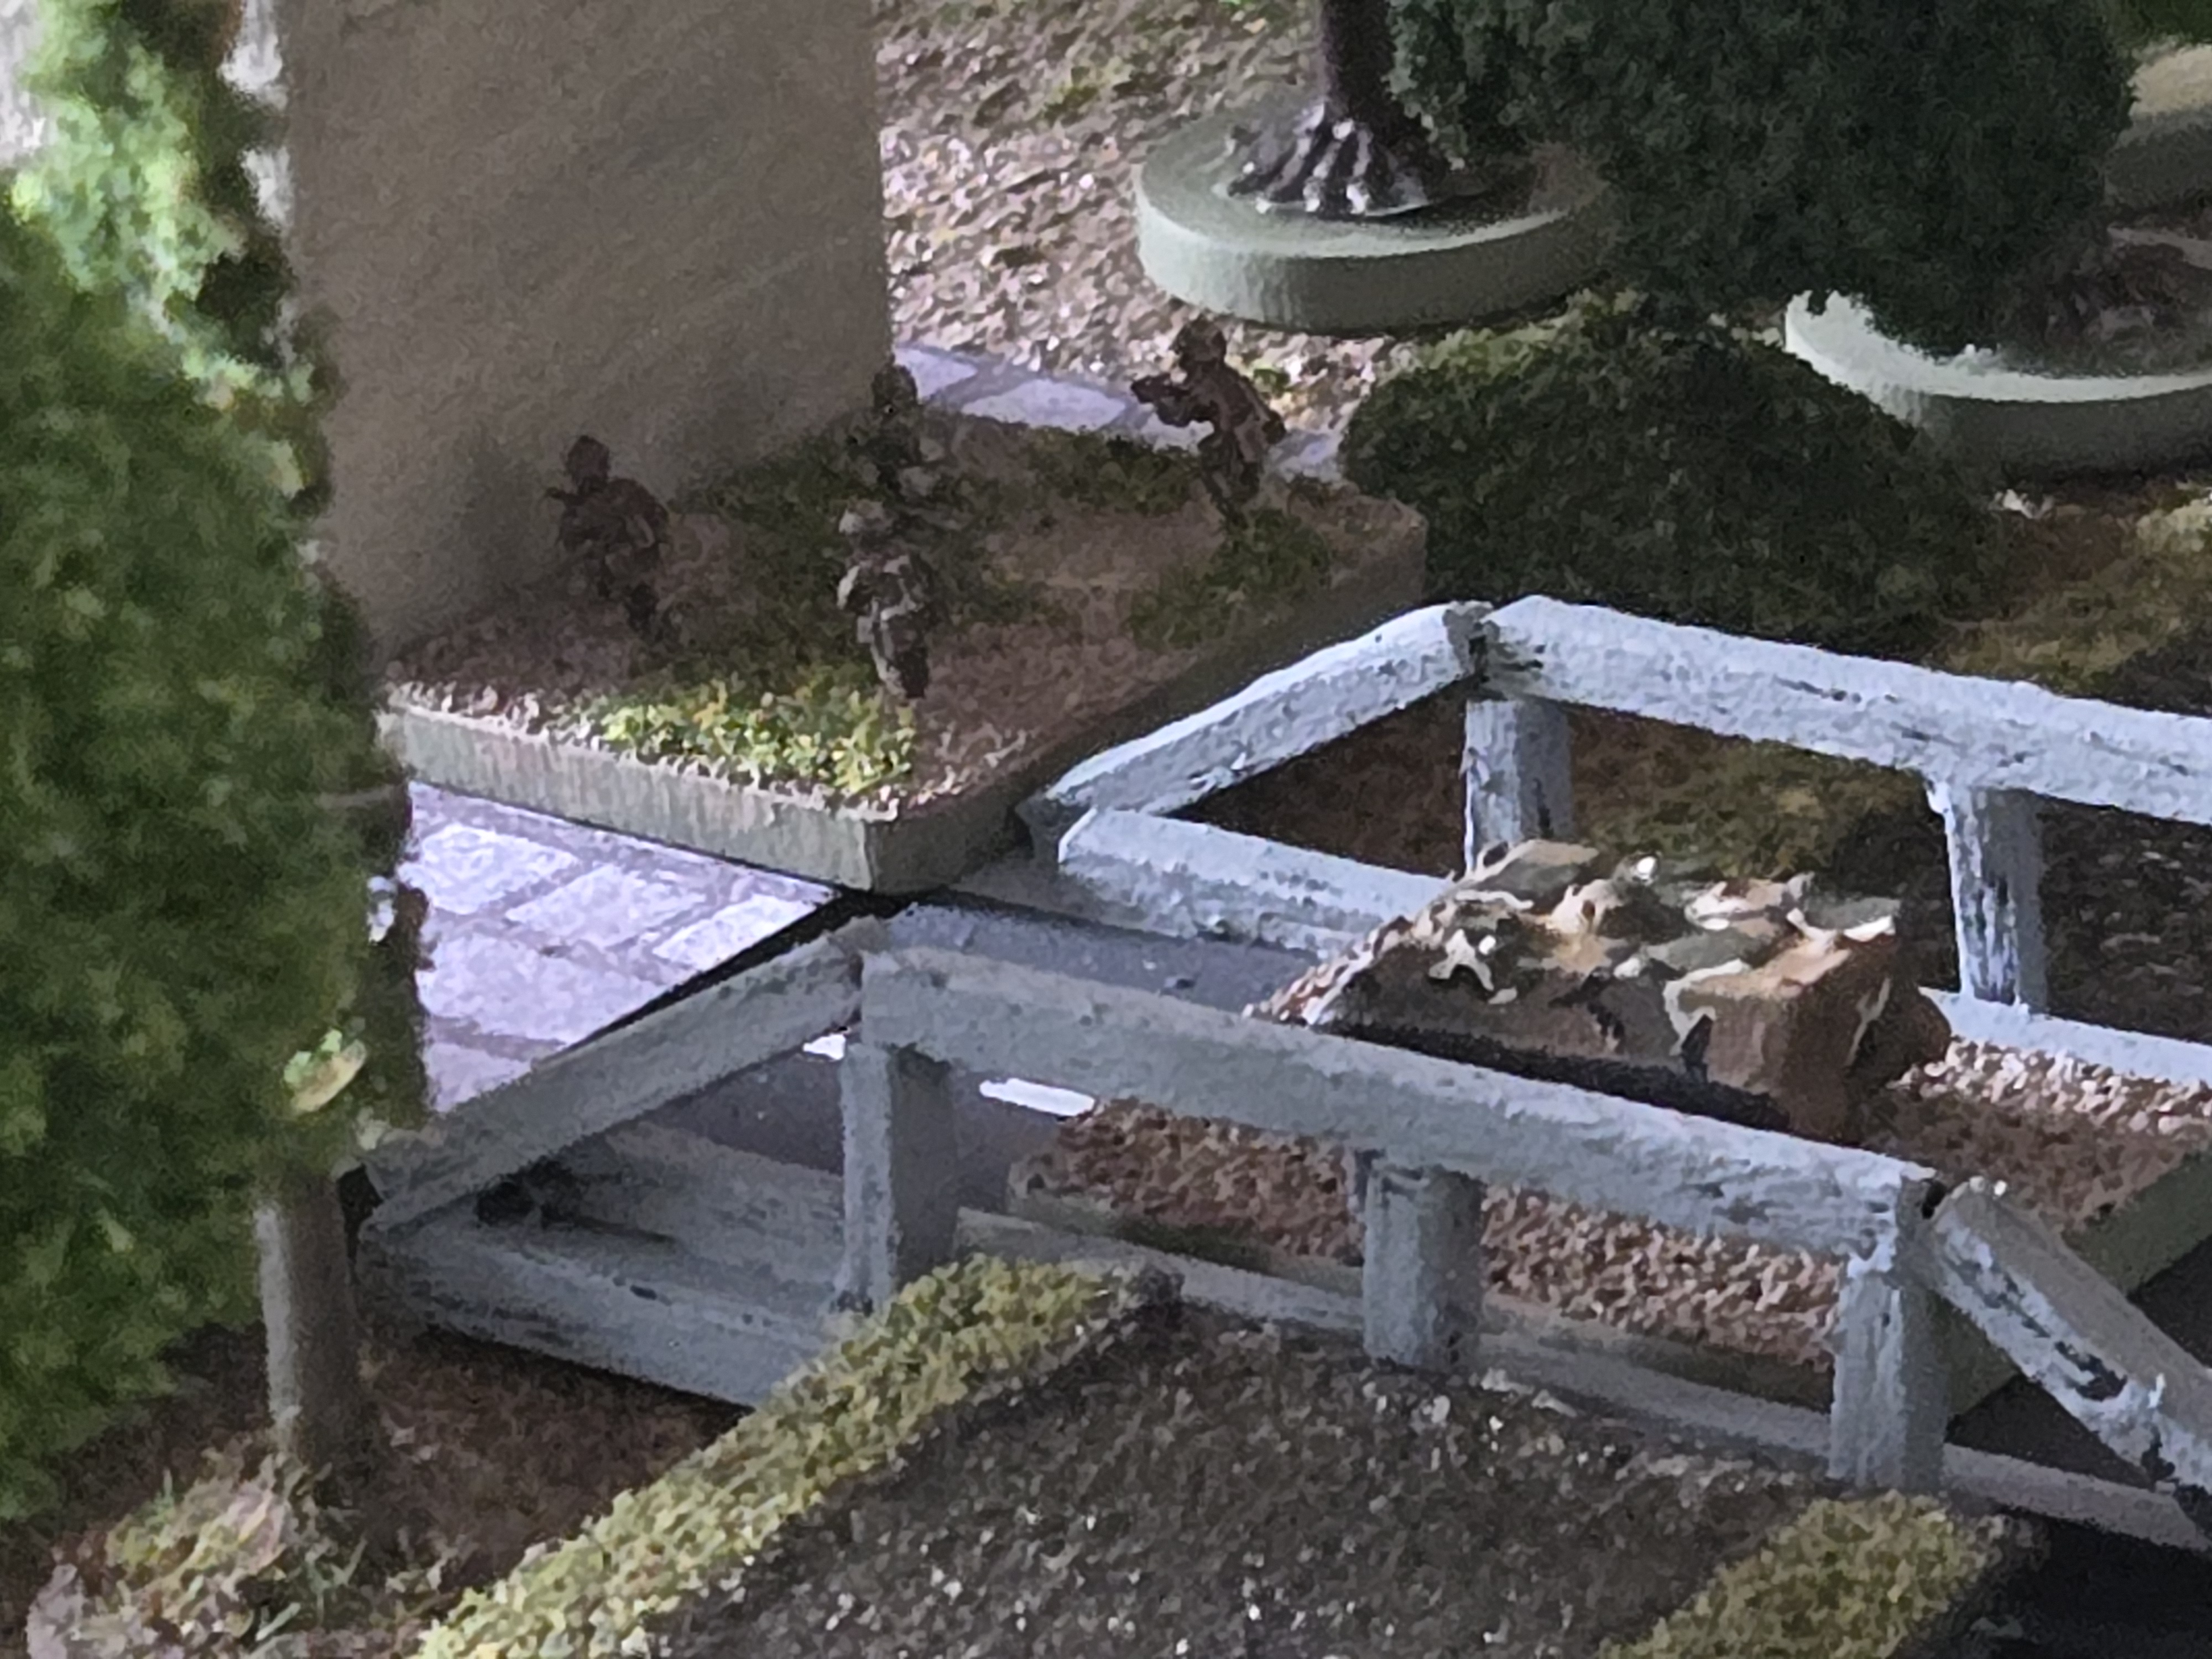
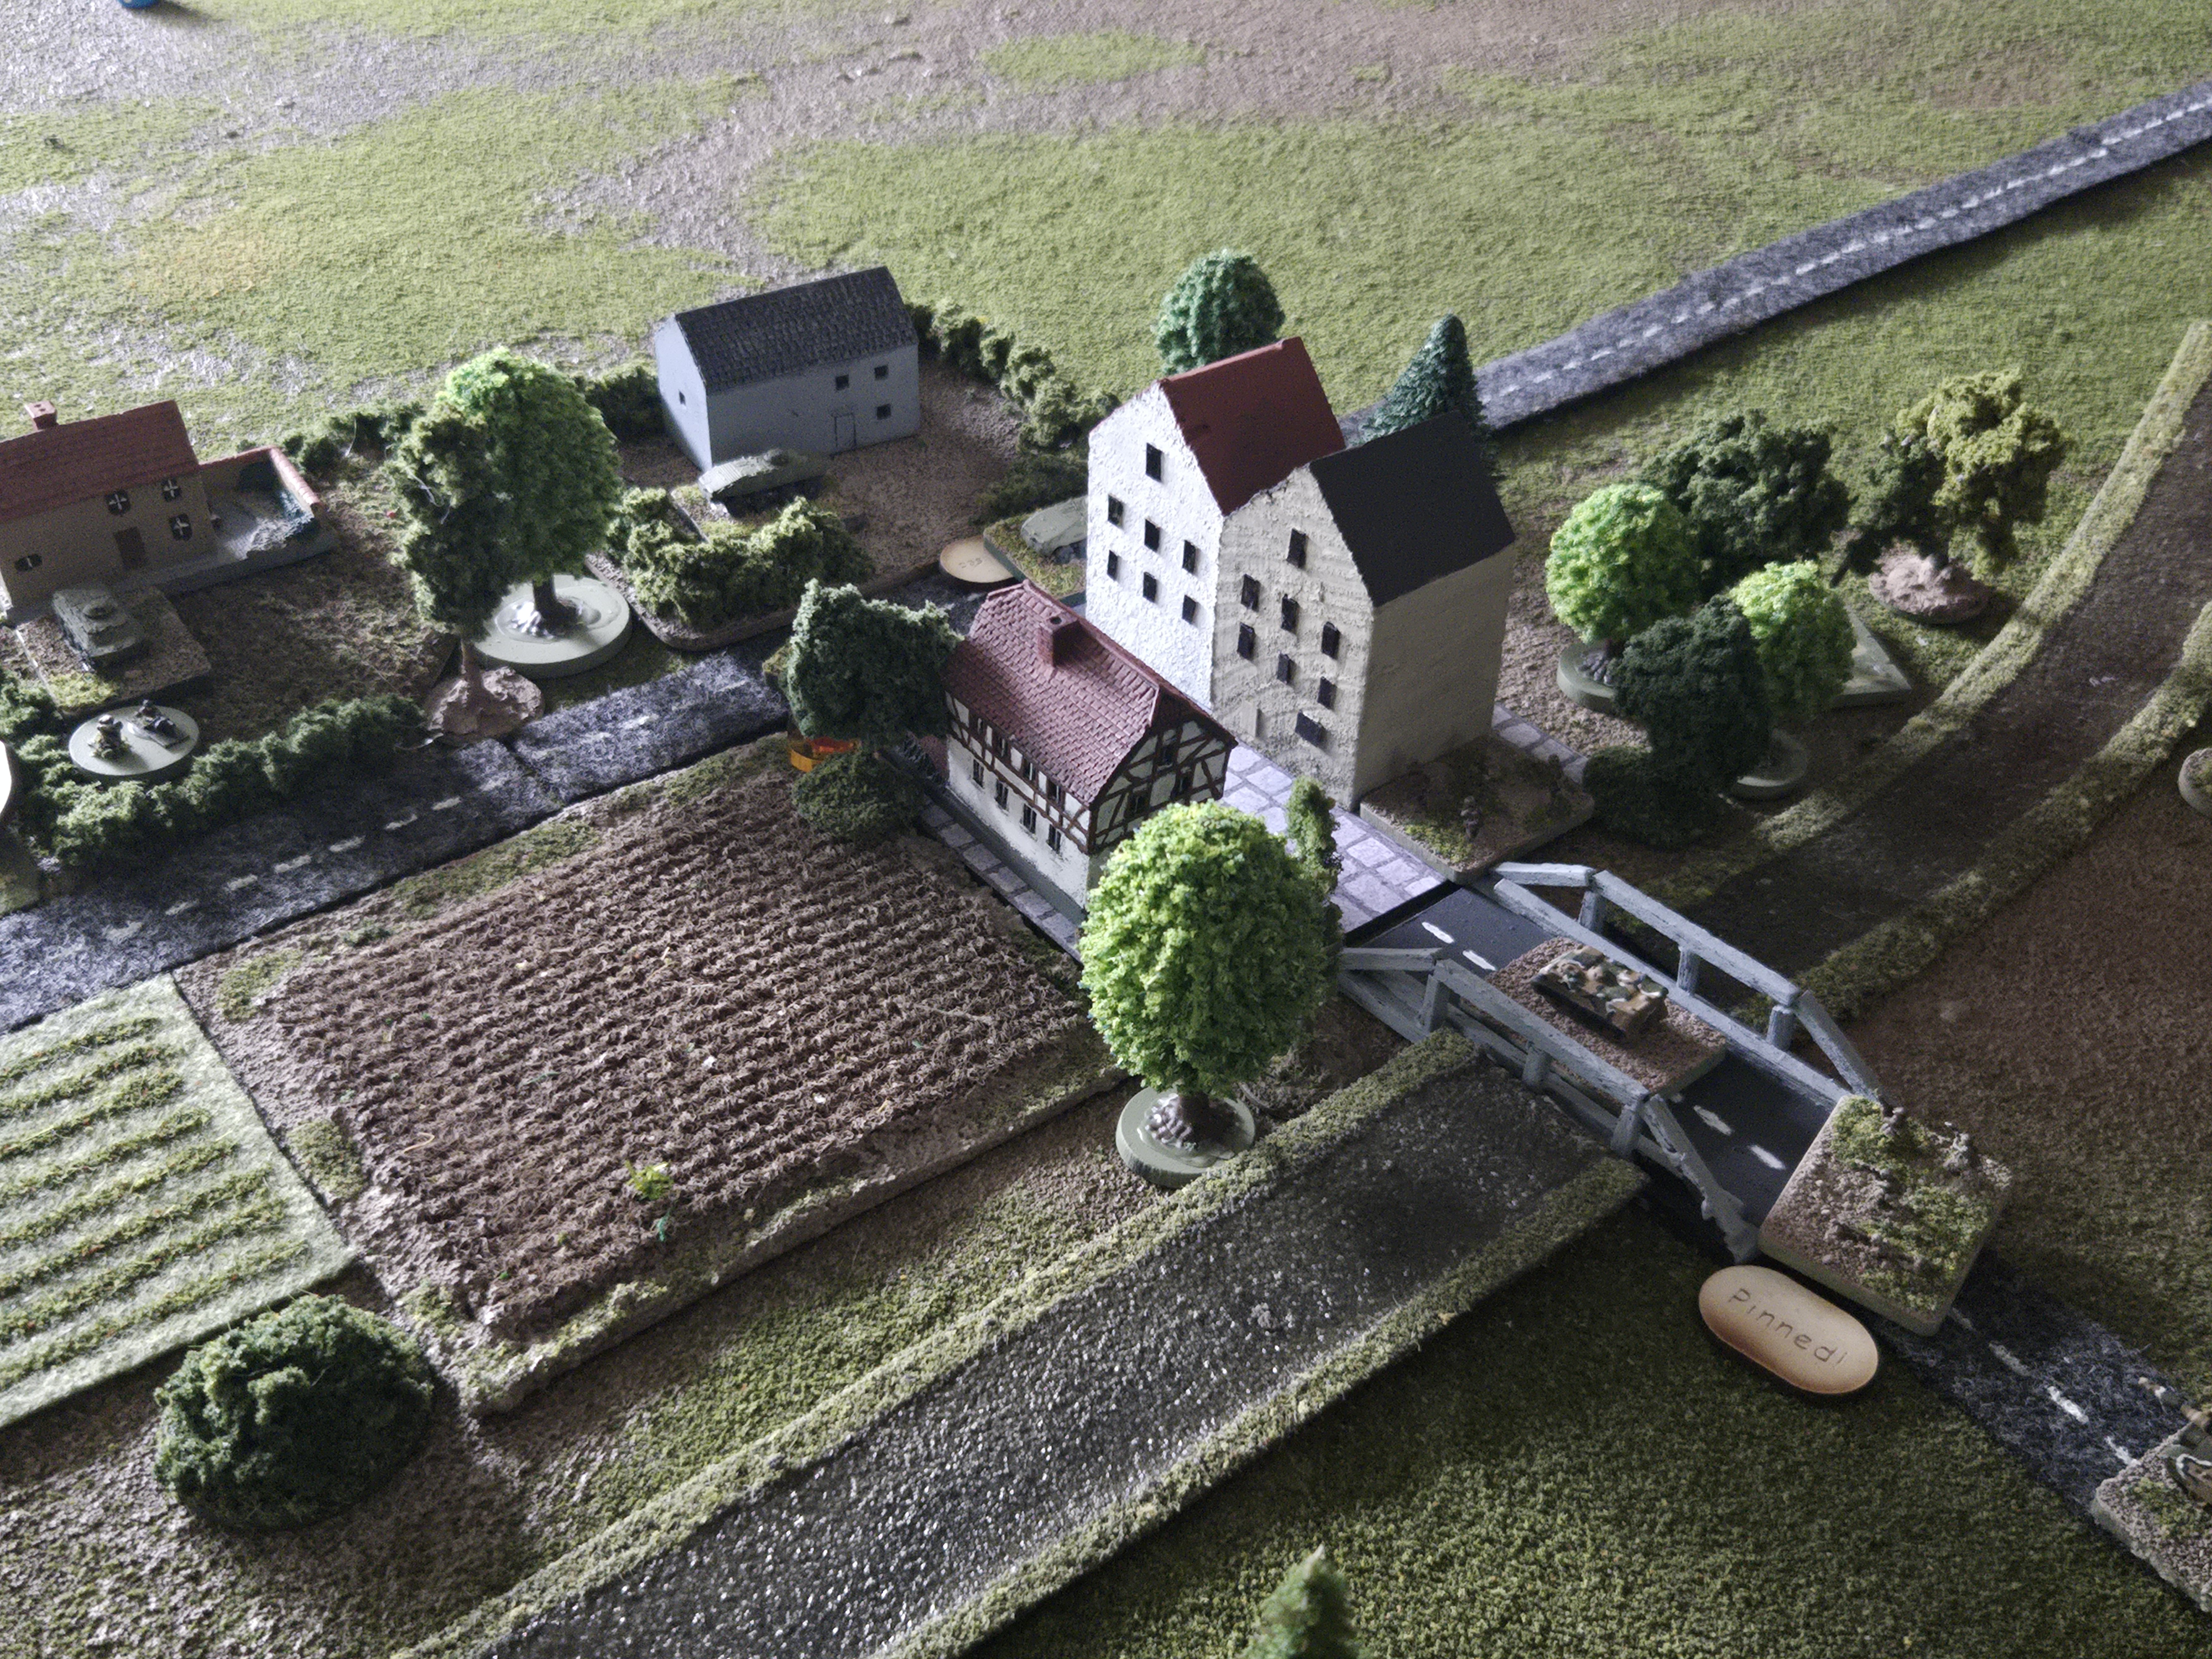
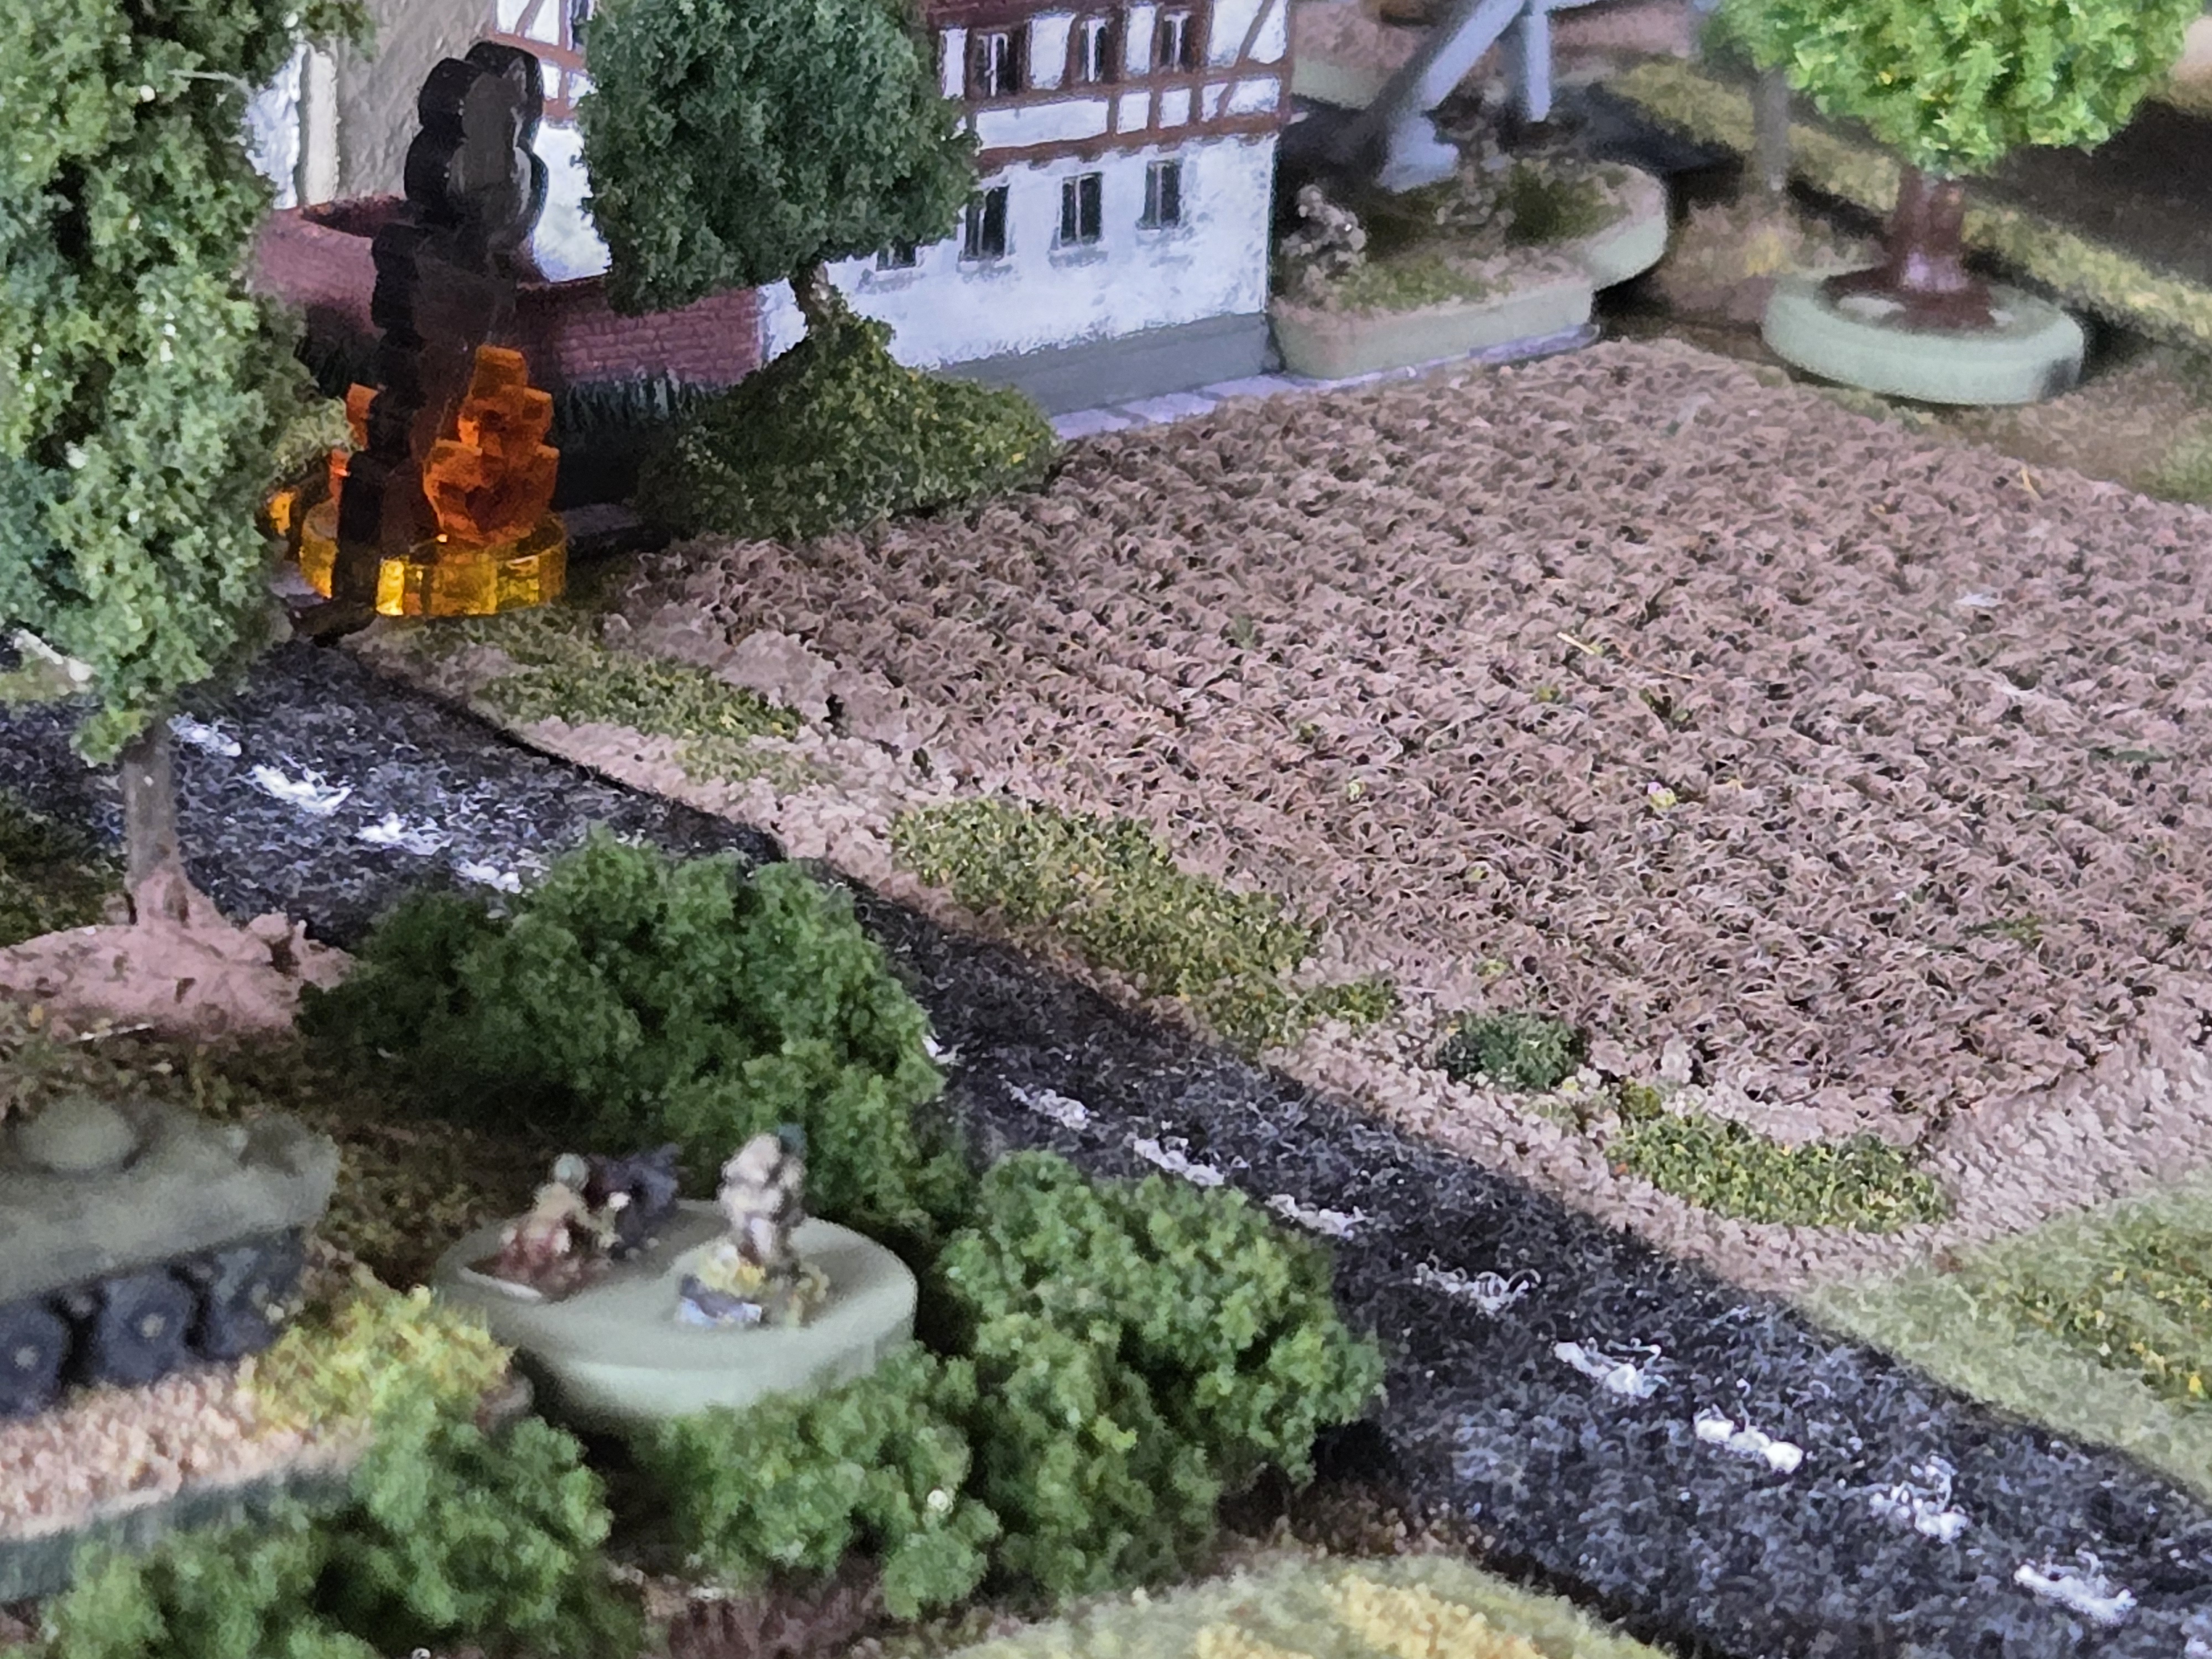
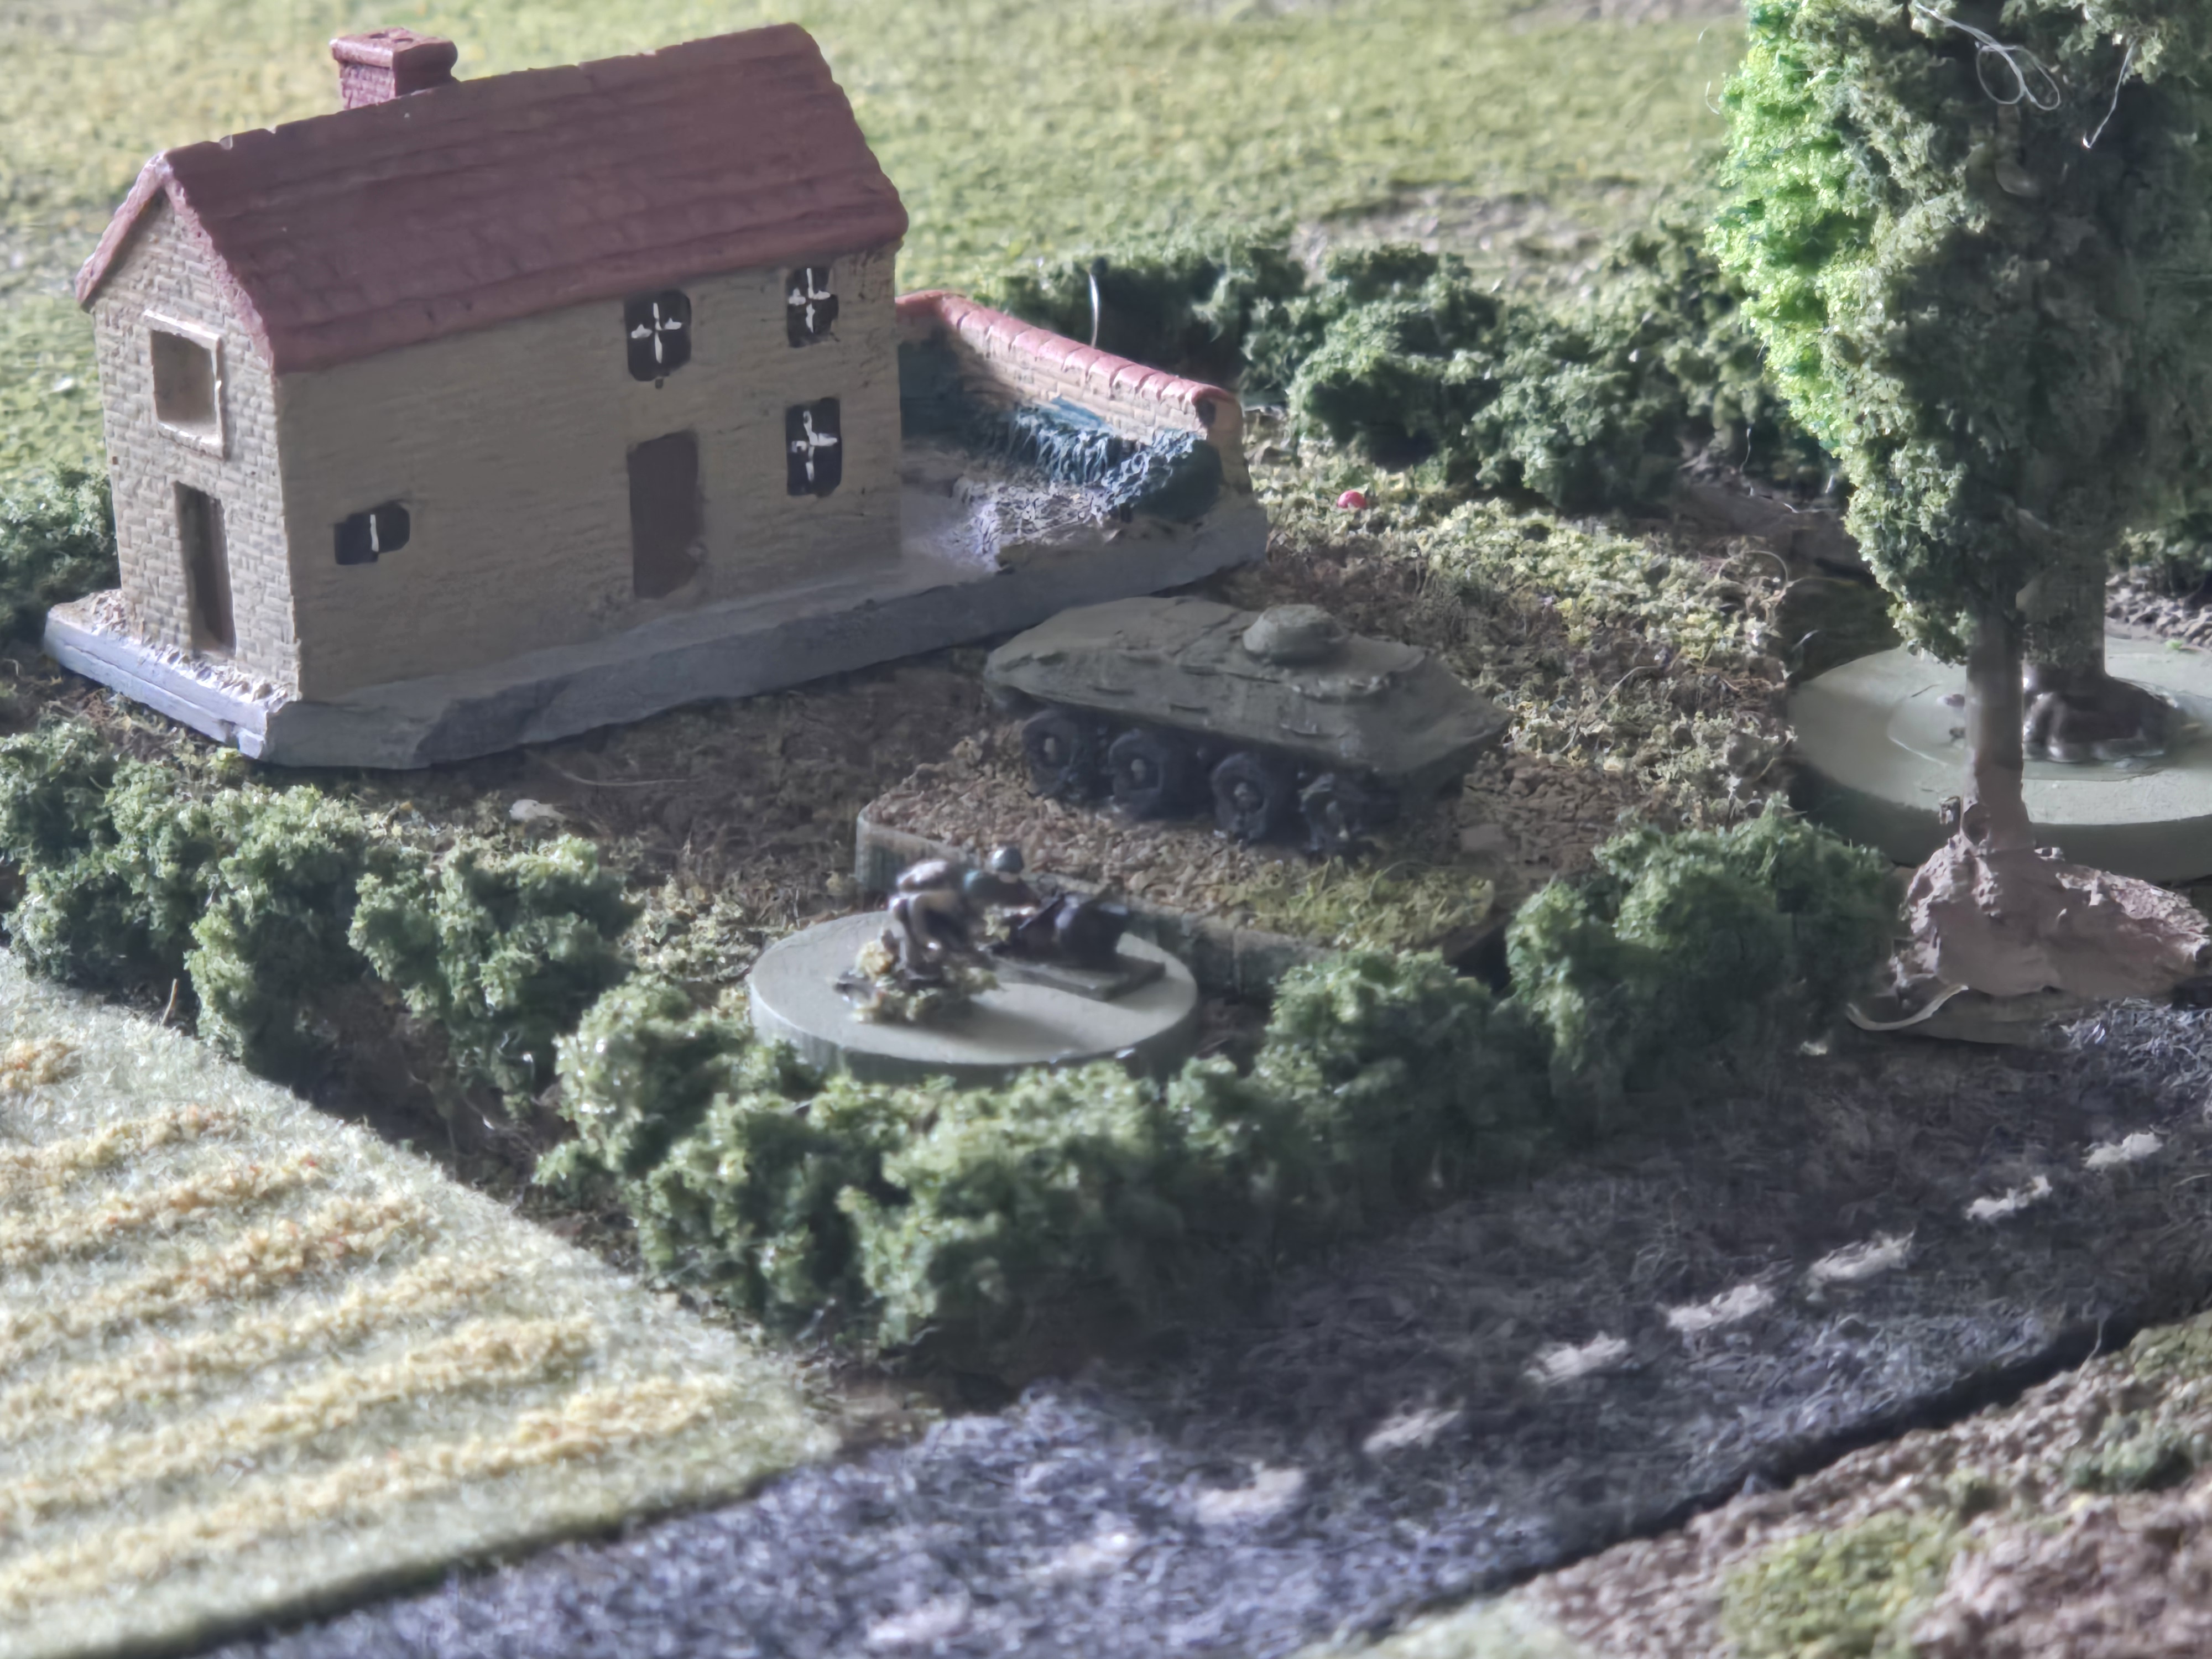
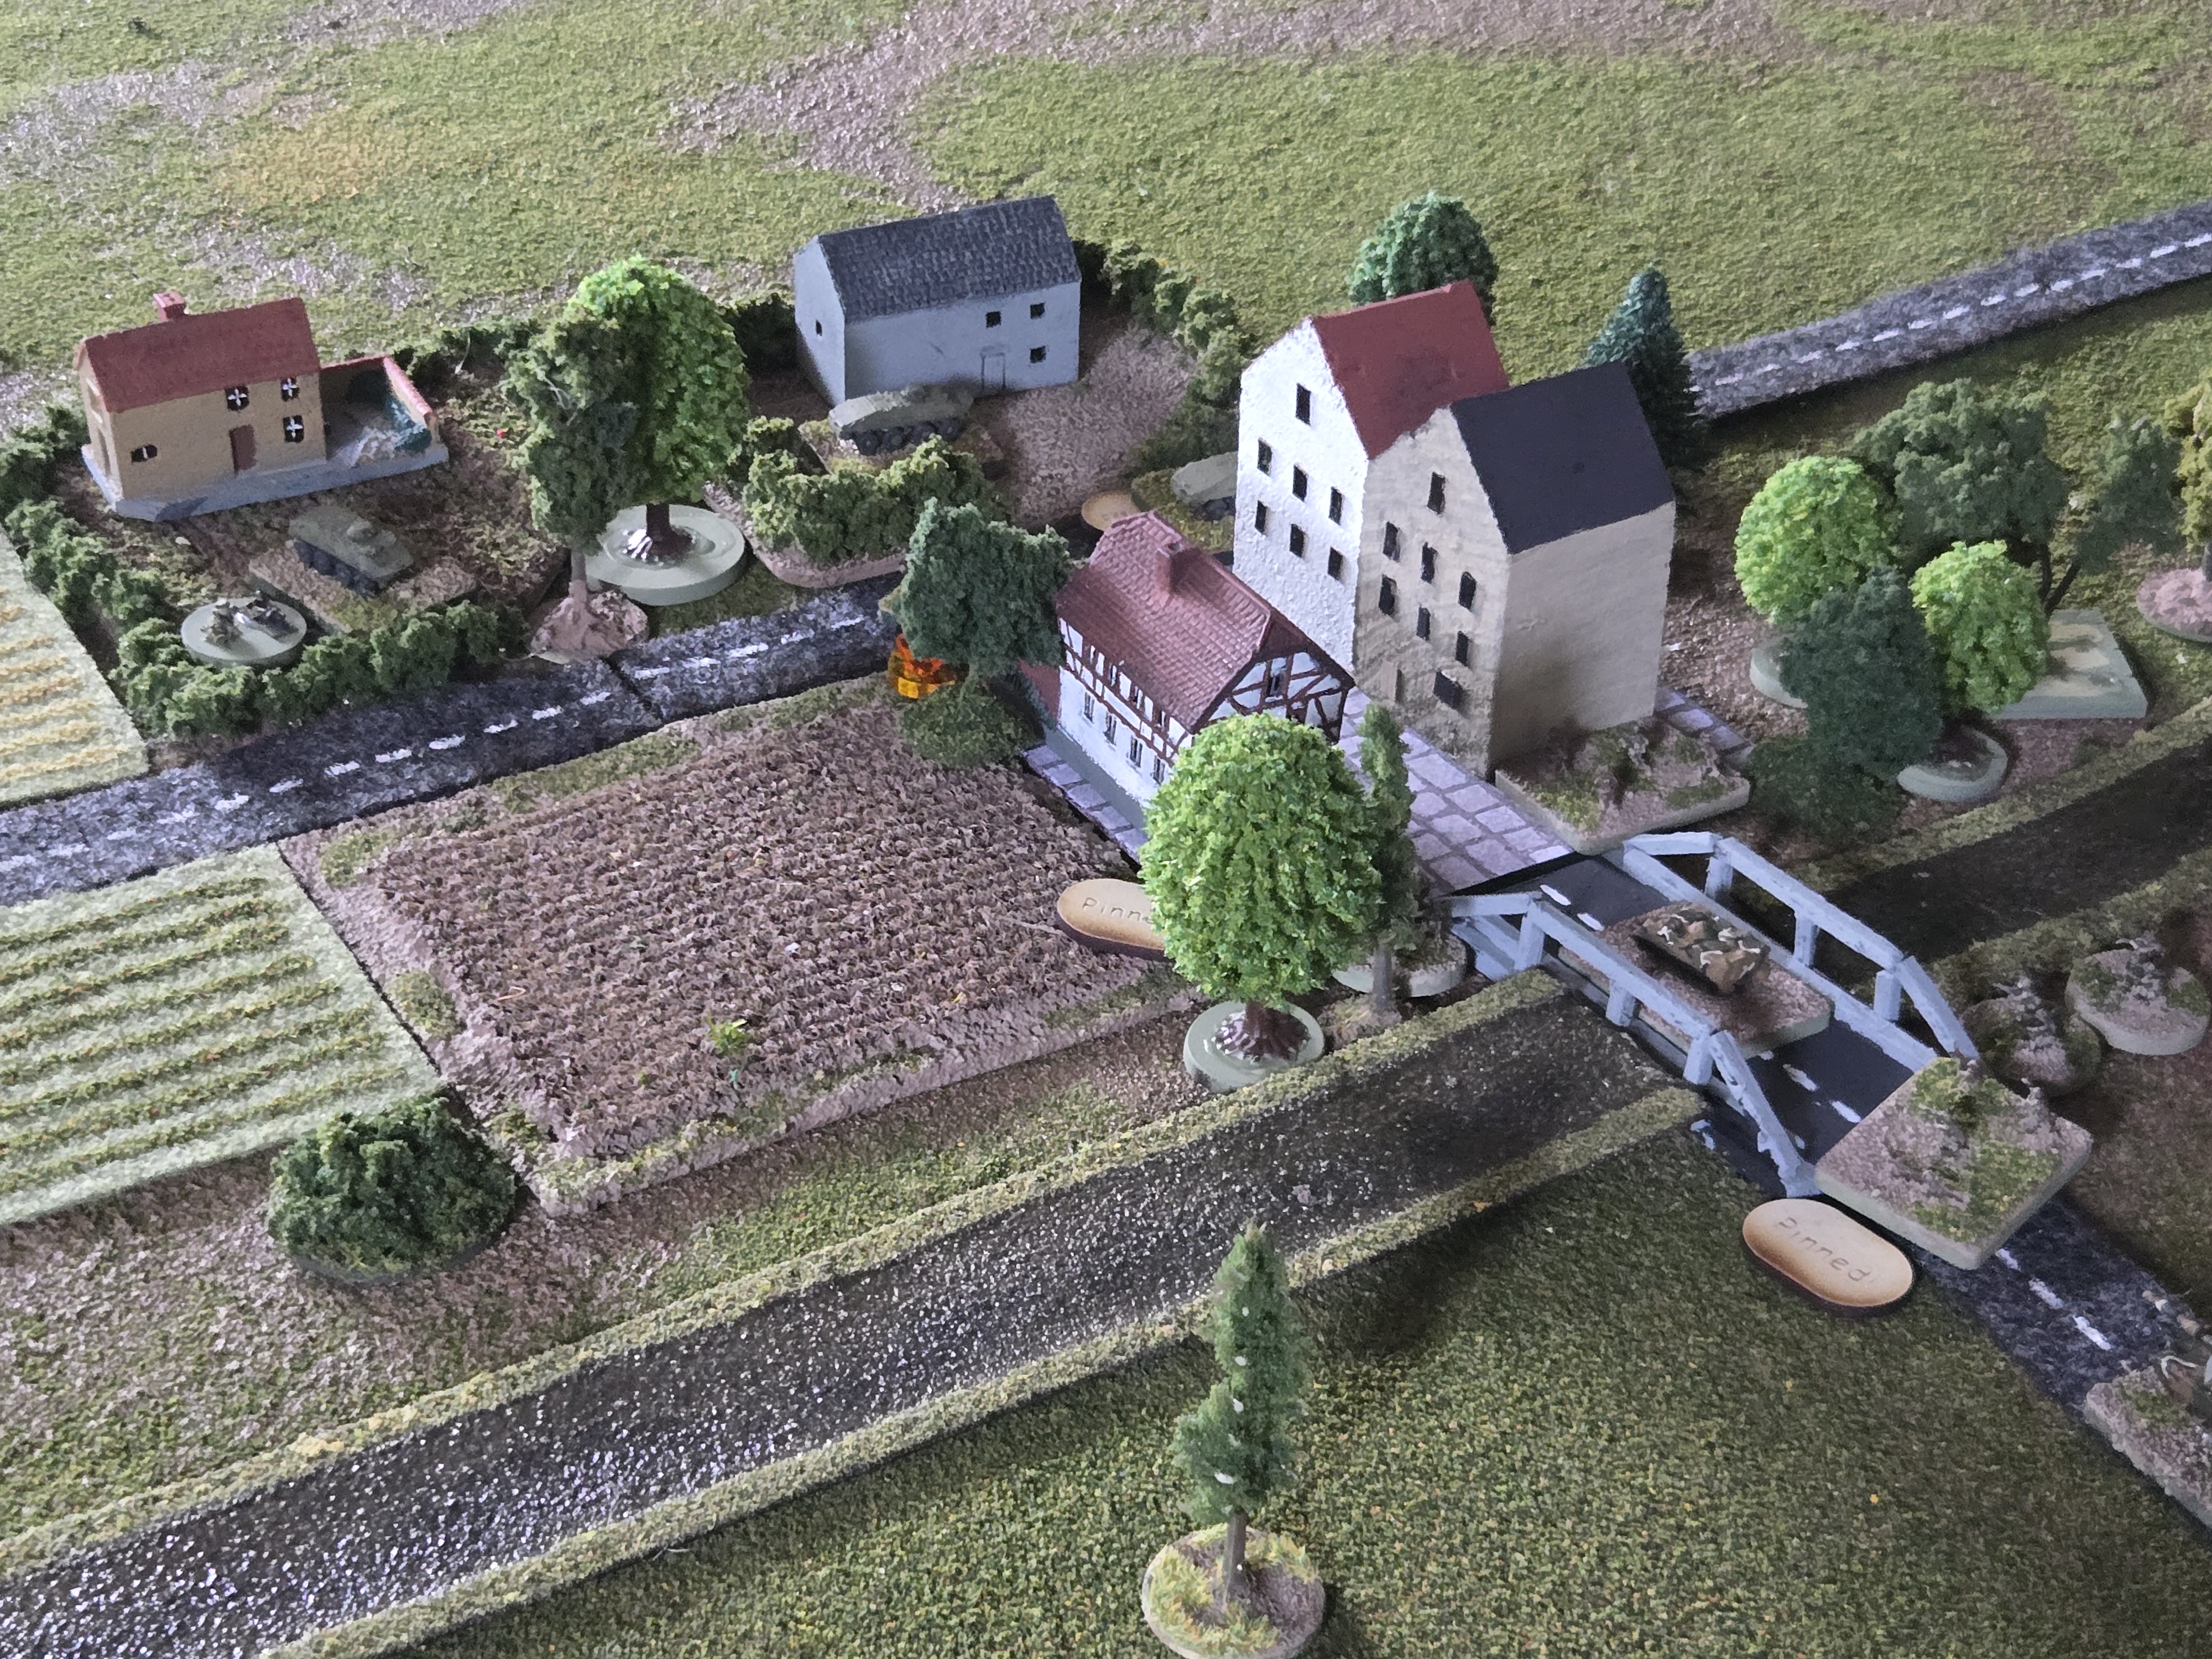
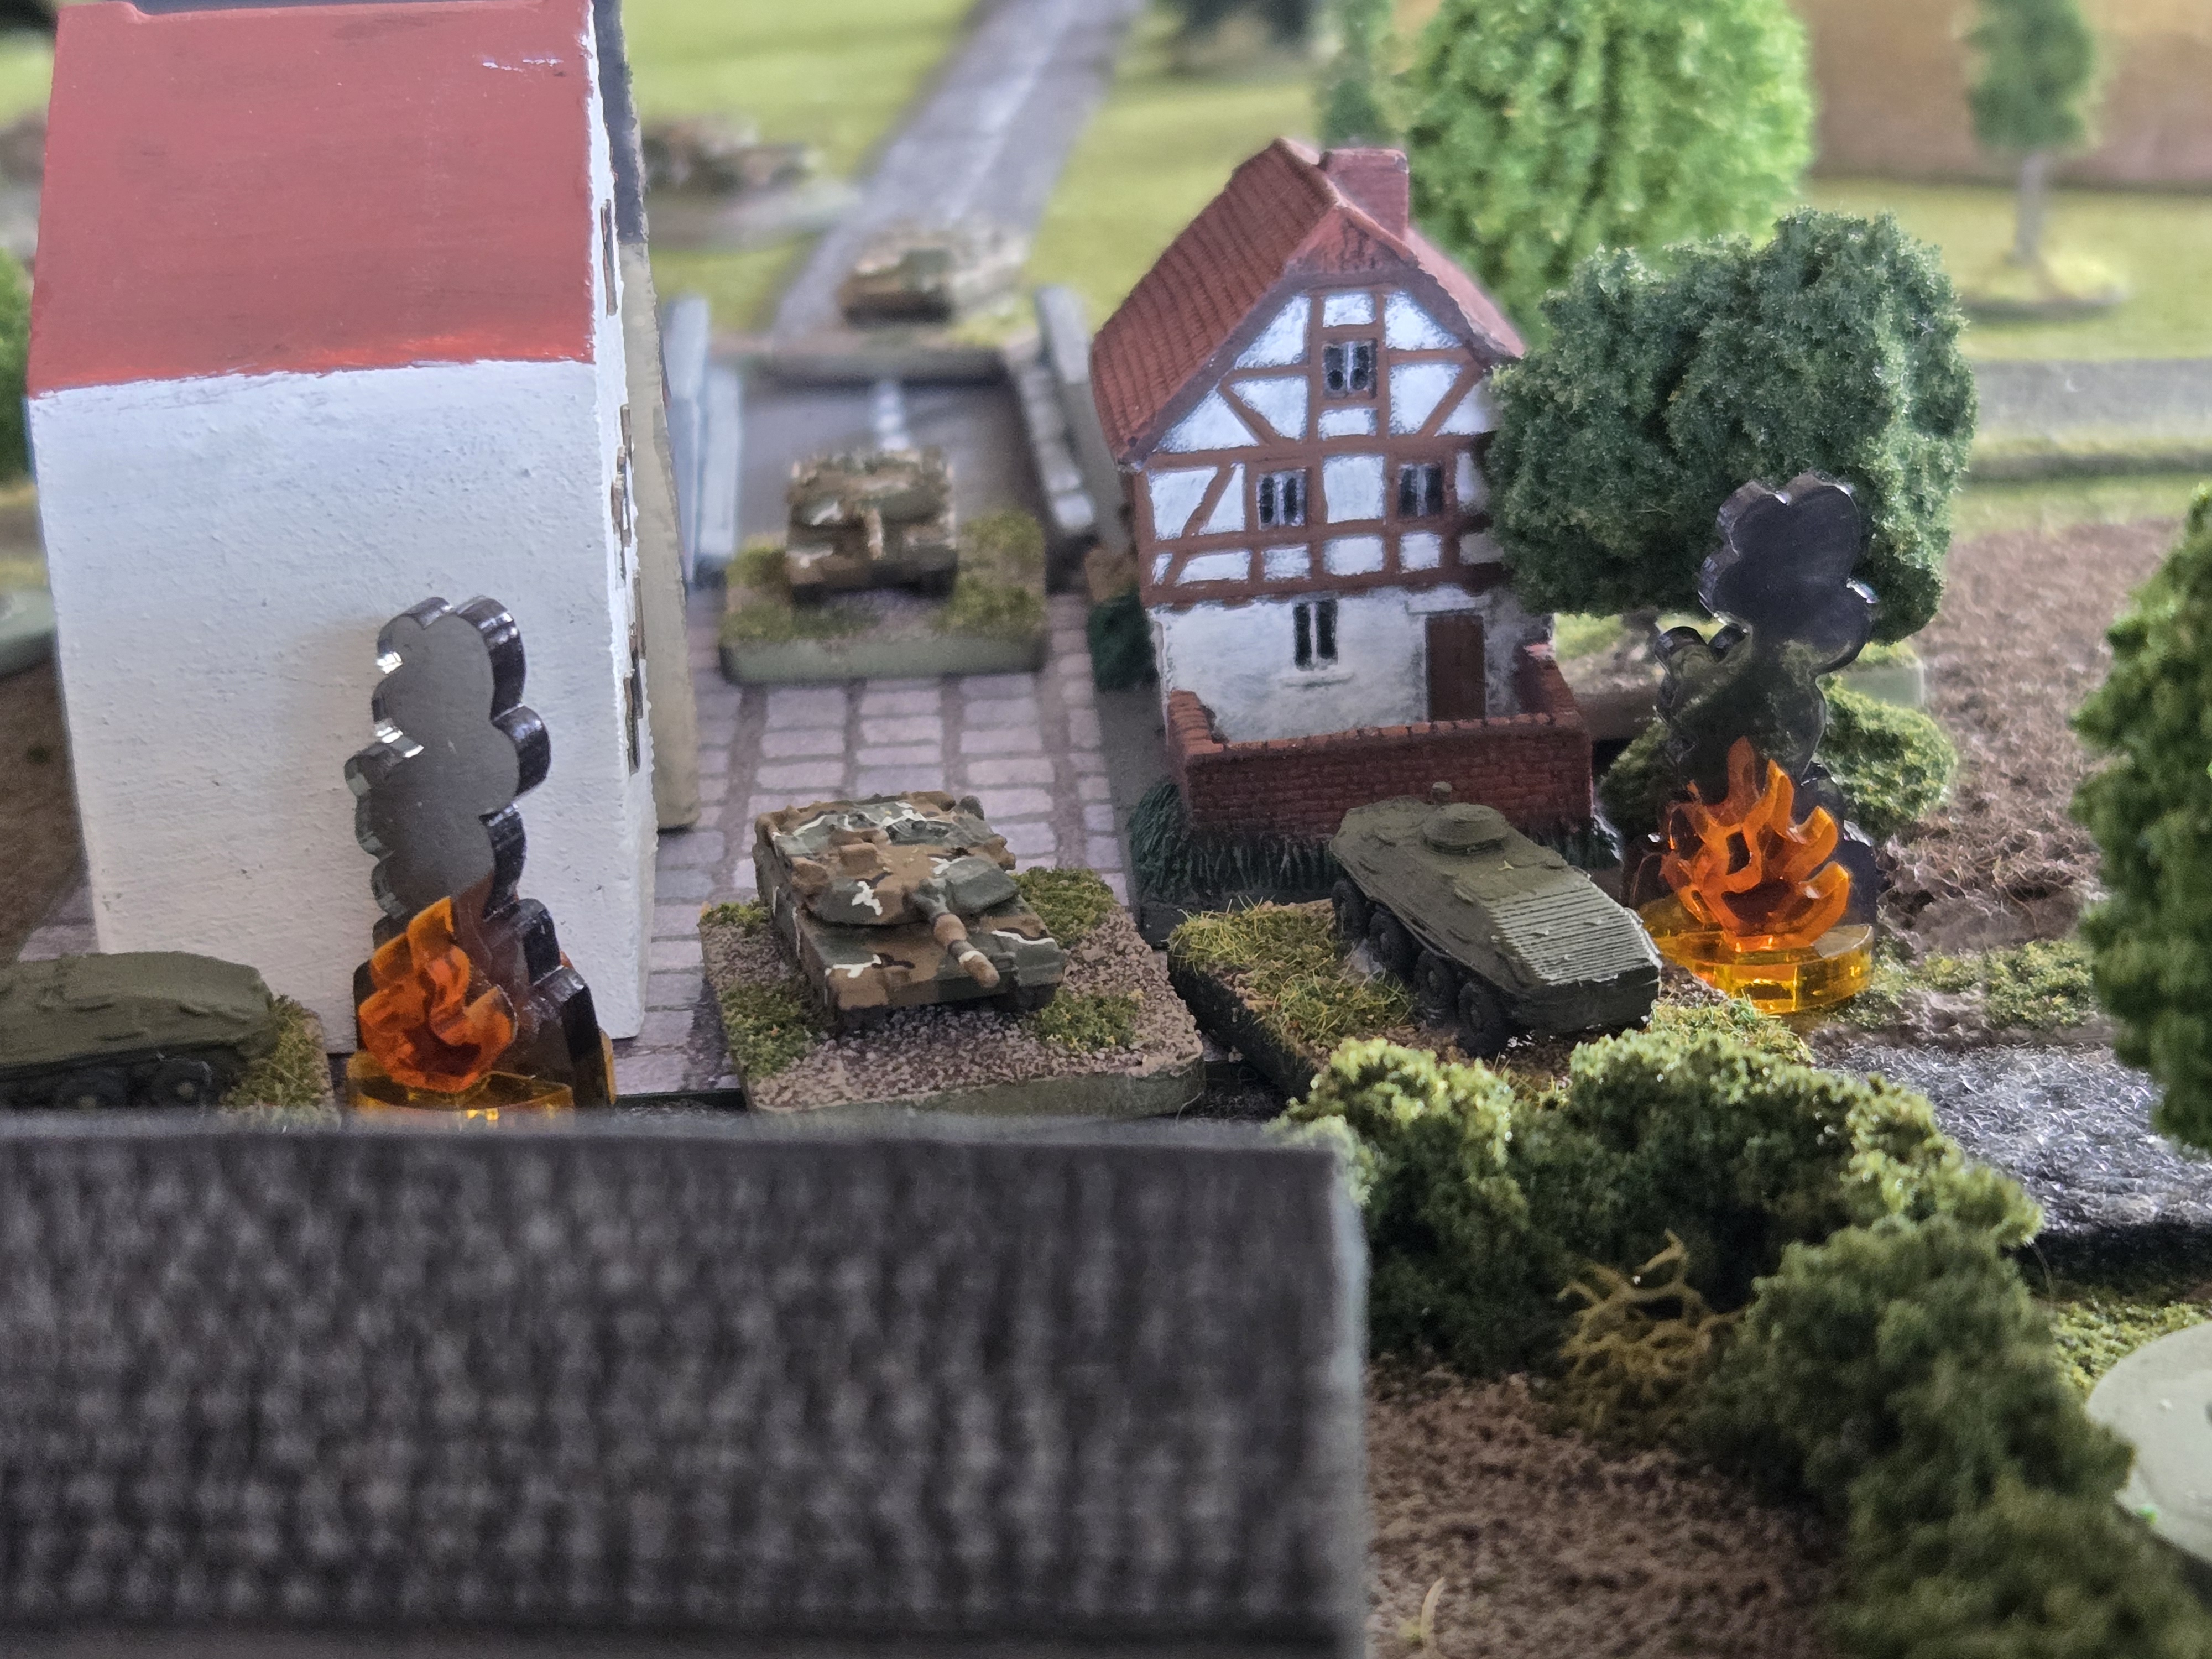
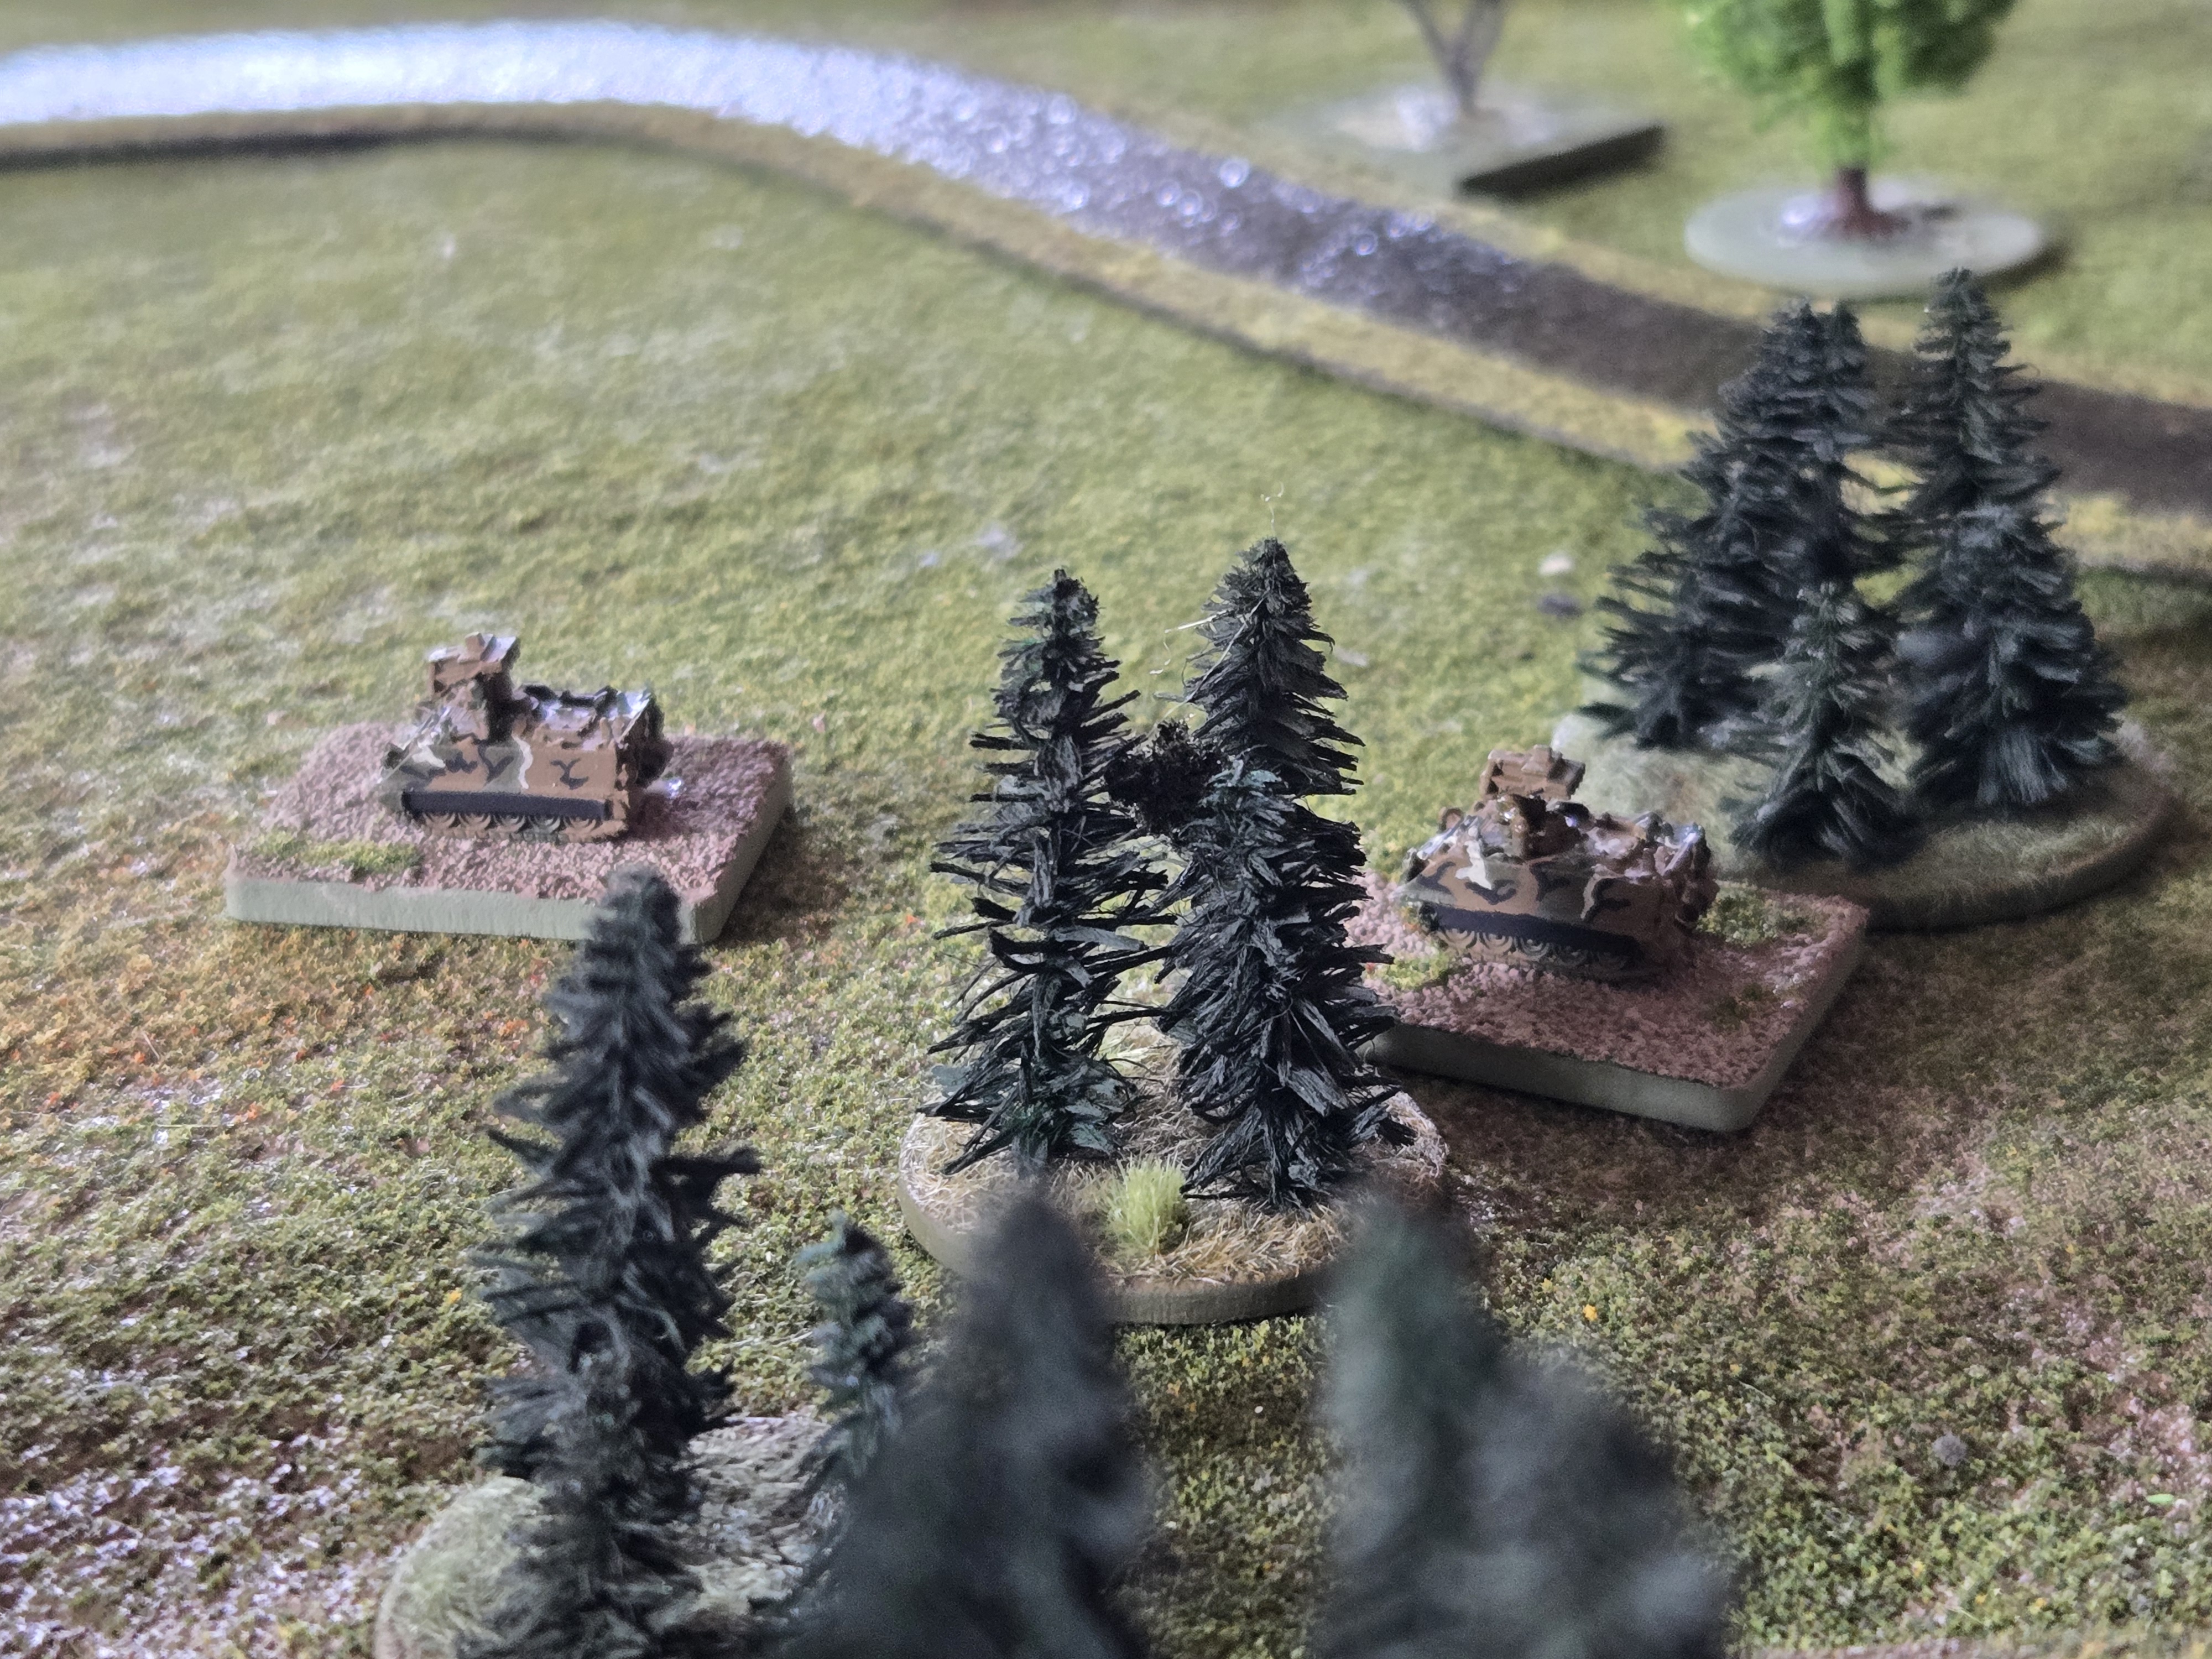
The following gallery shows some of the topography that the fight is going to occur on. As an aside, I am very happy with the table and setup. I think it was Napoleon or Wellington who said “money spent on wargaming terrain is seldom wasted”.

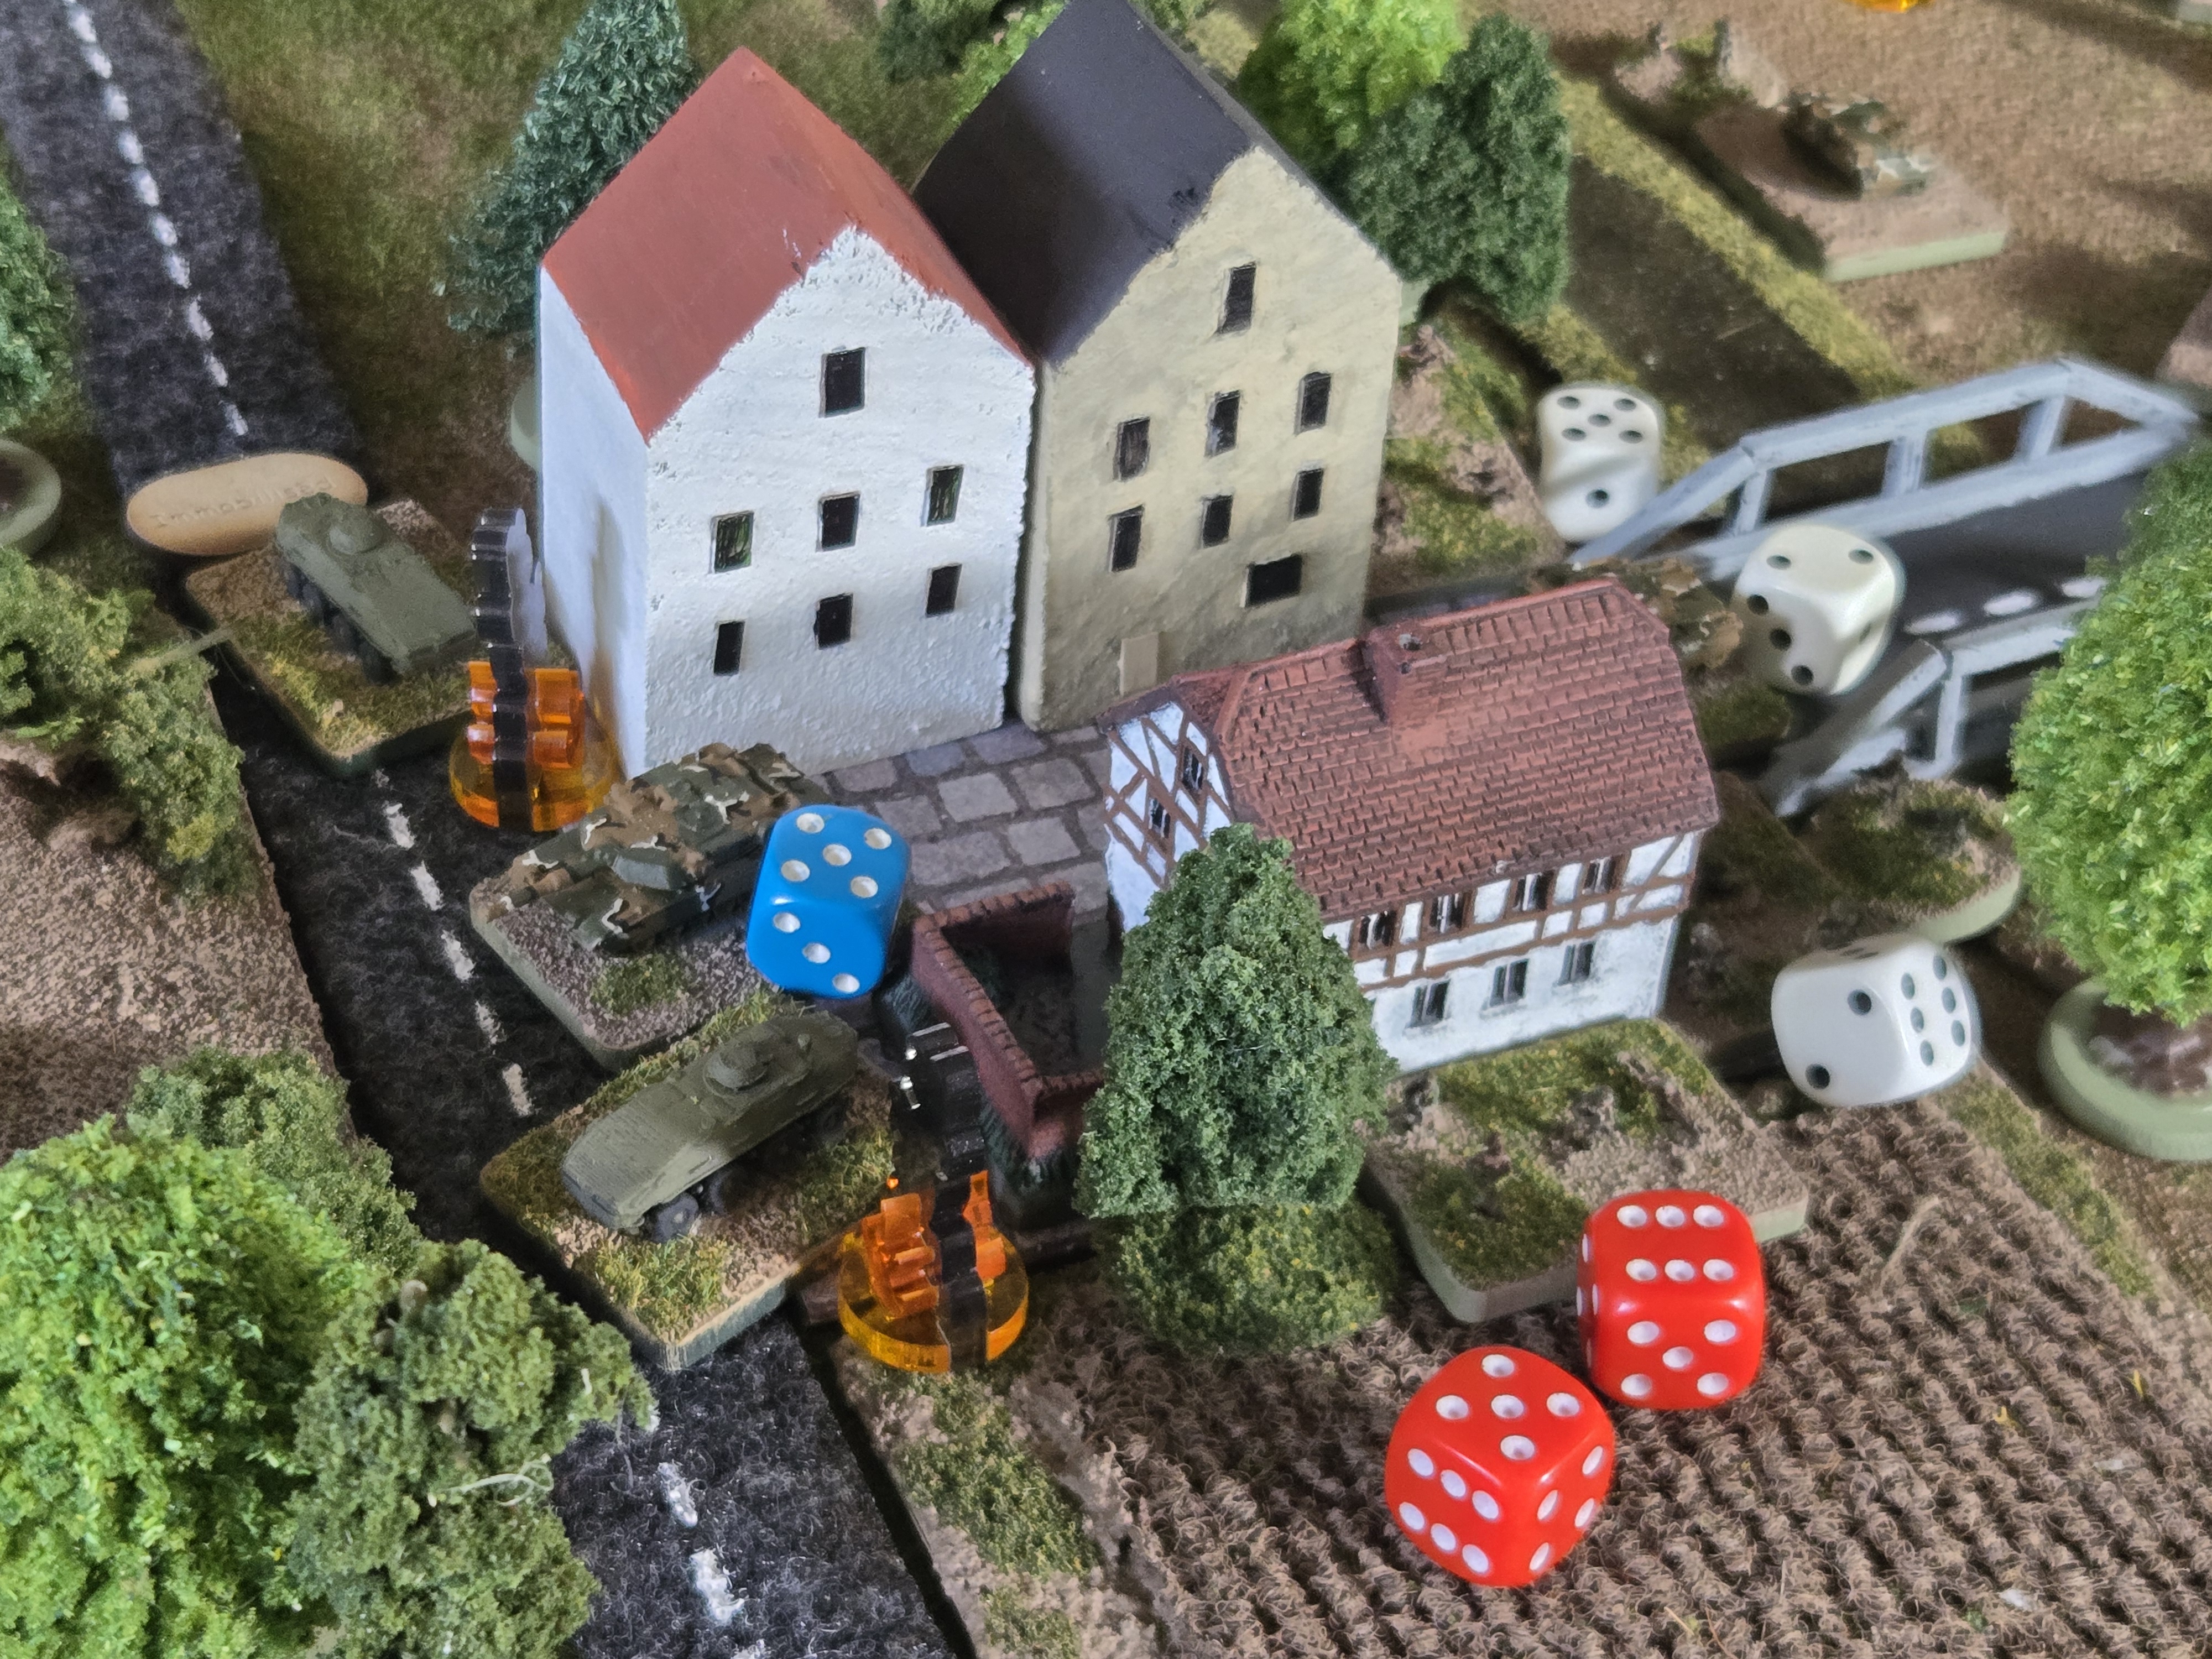
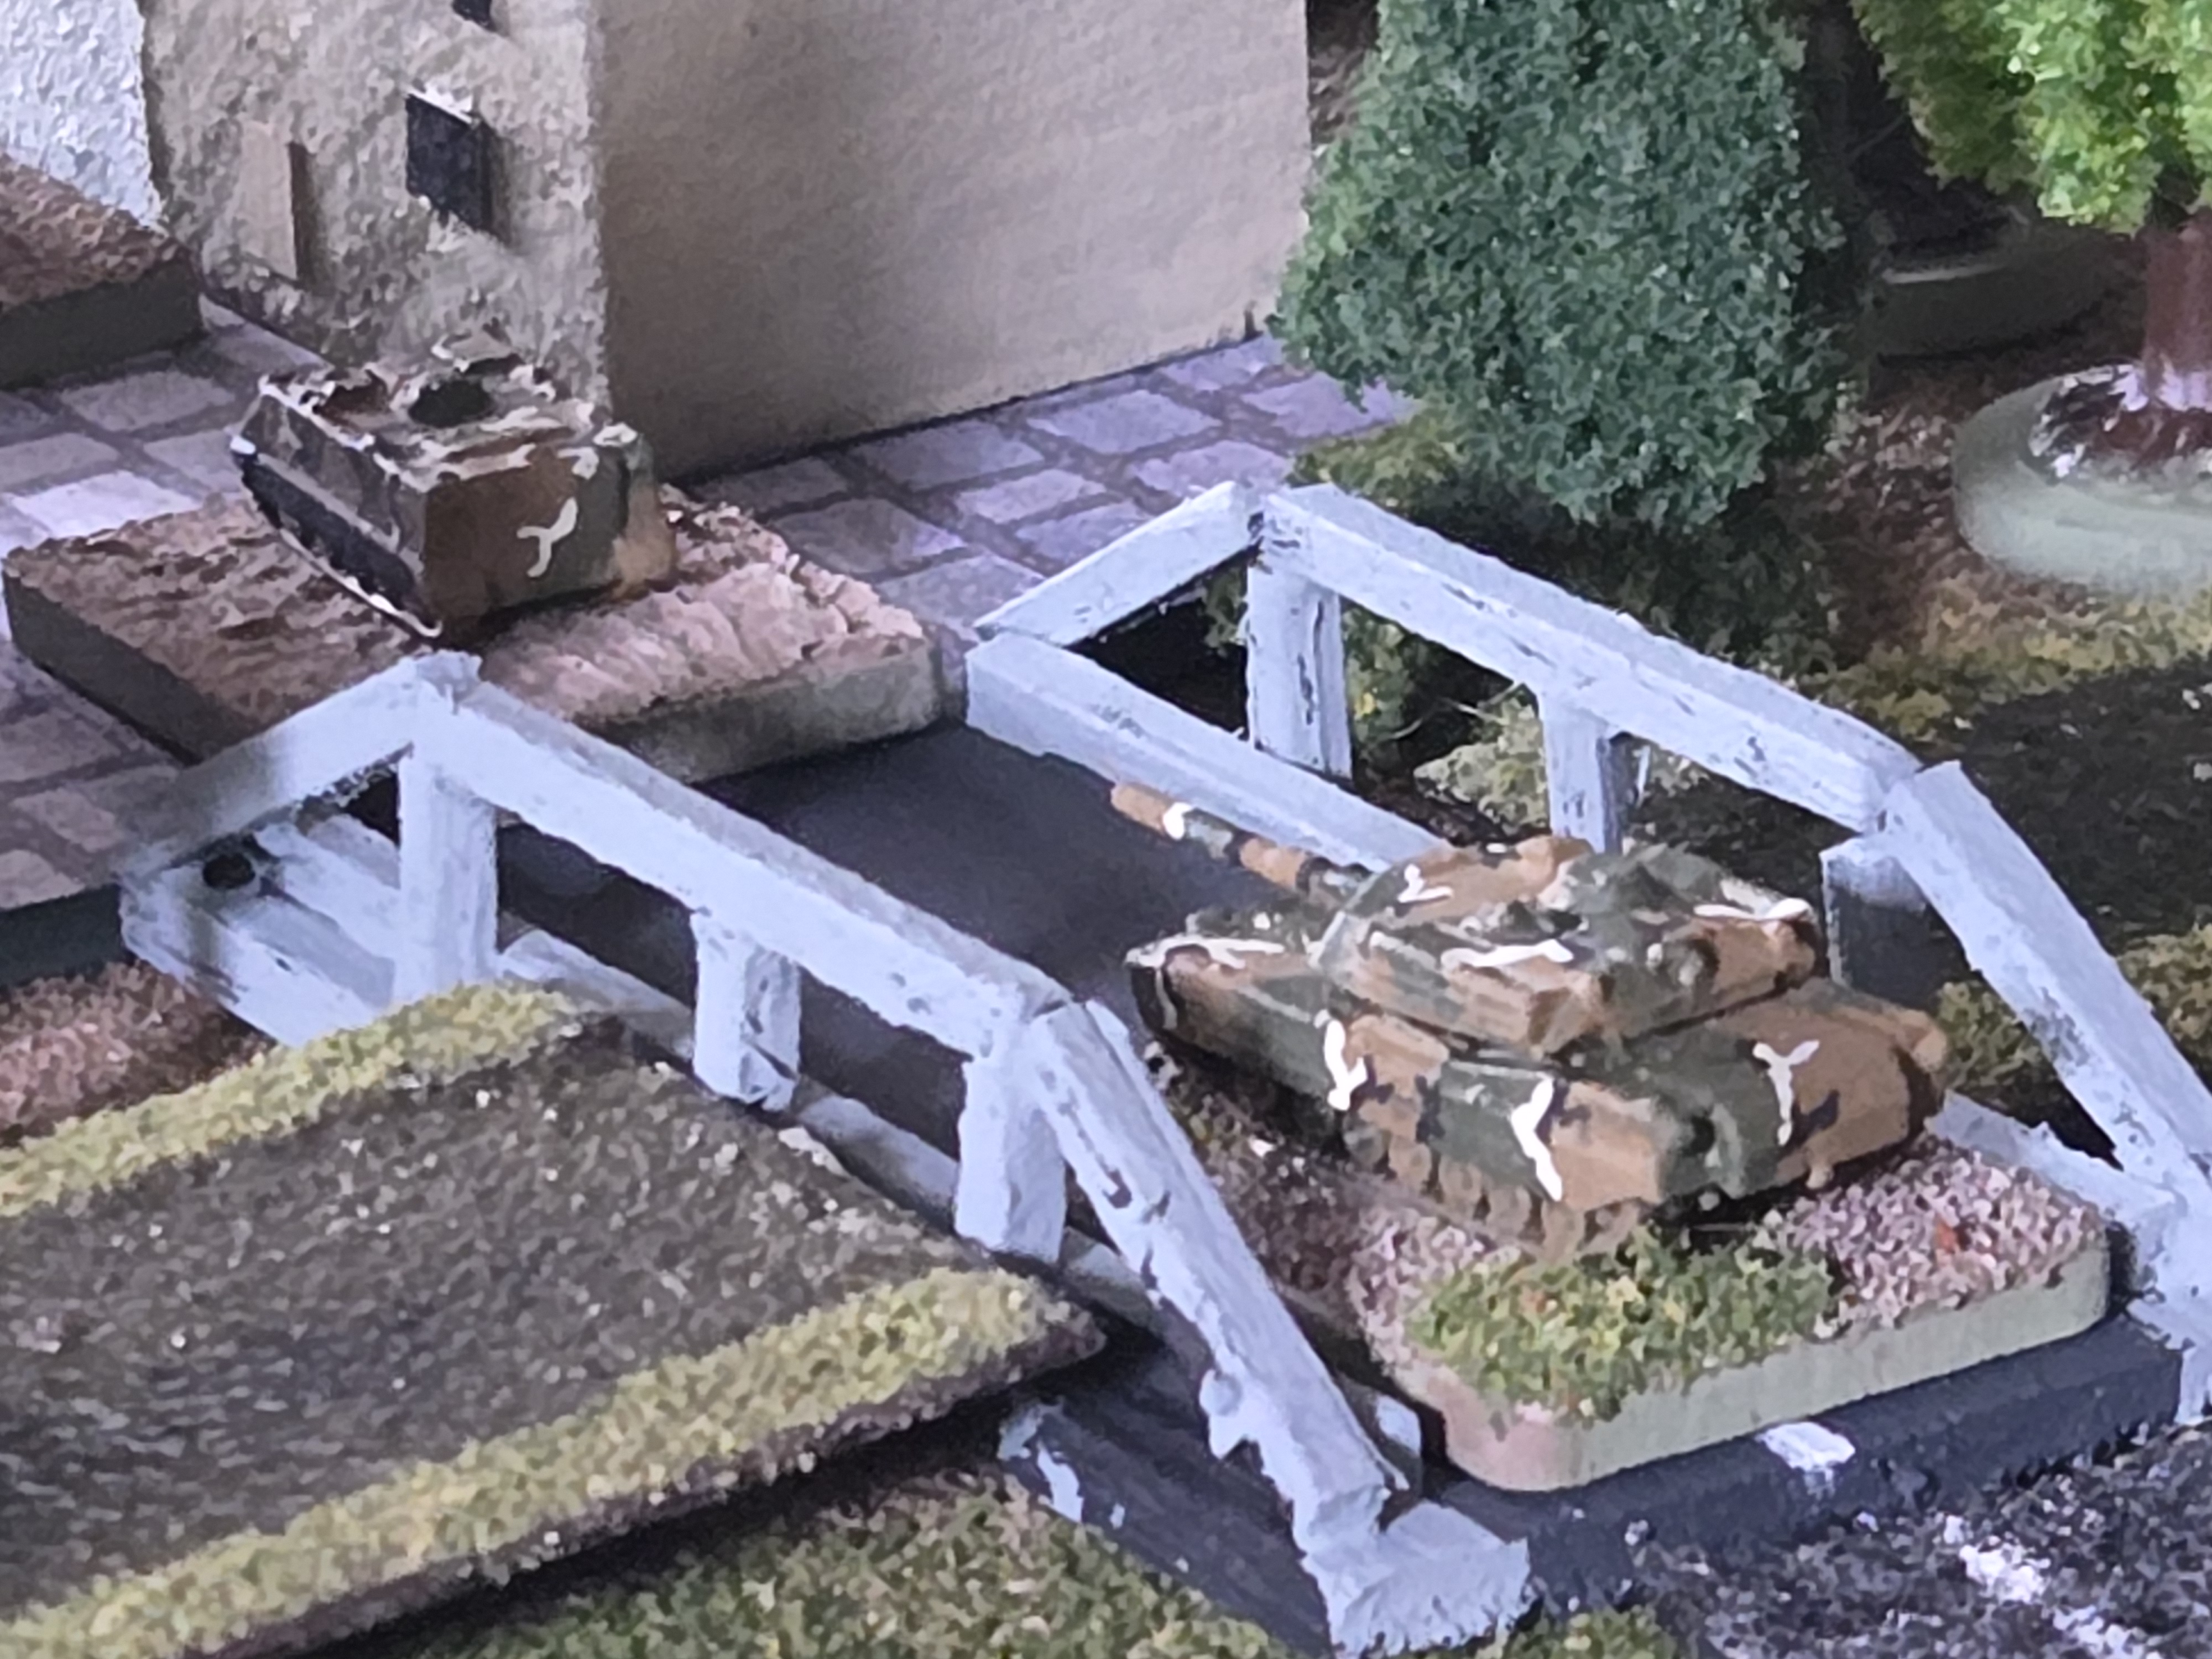
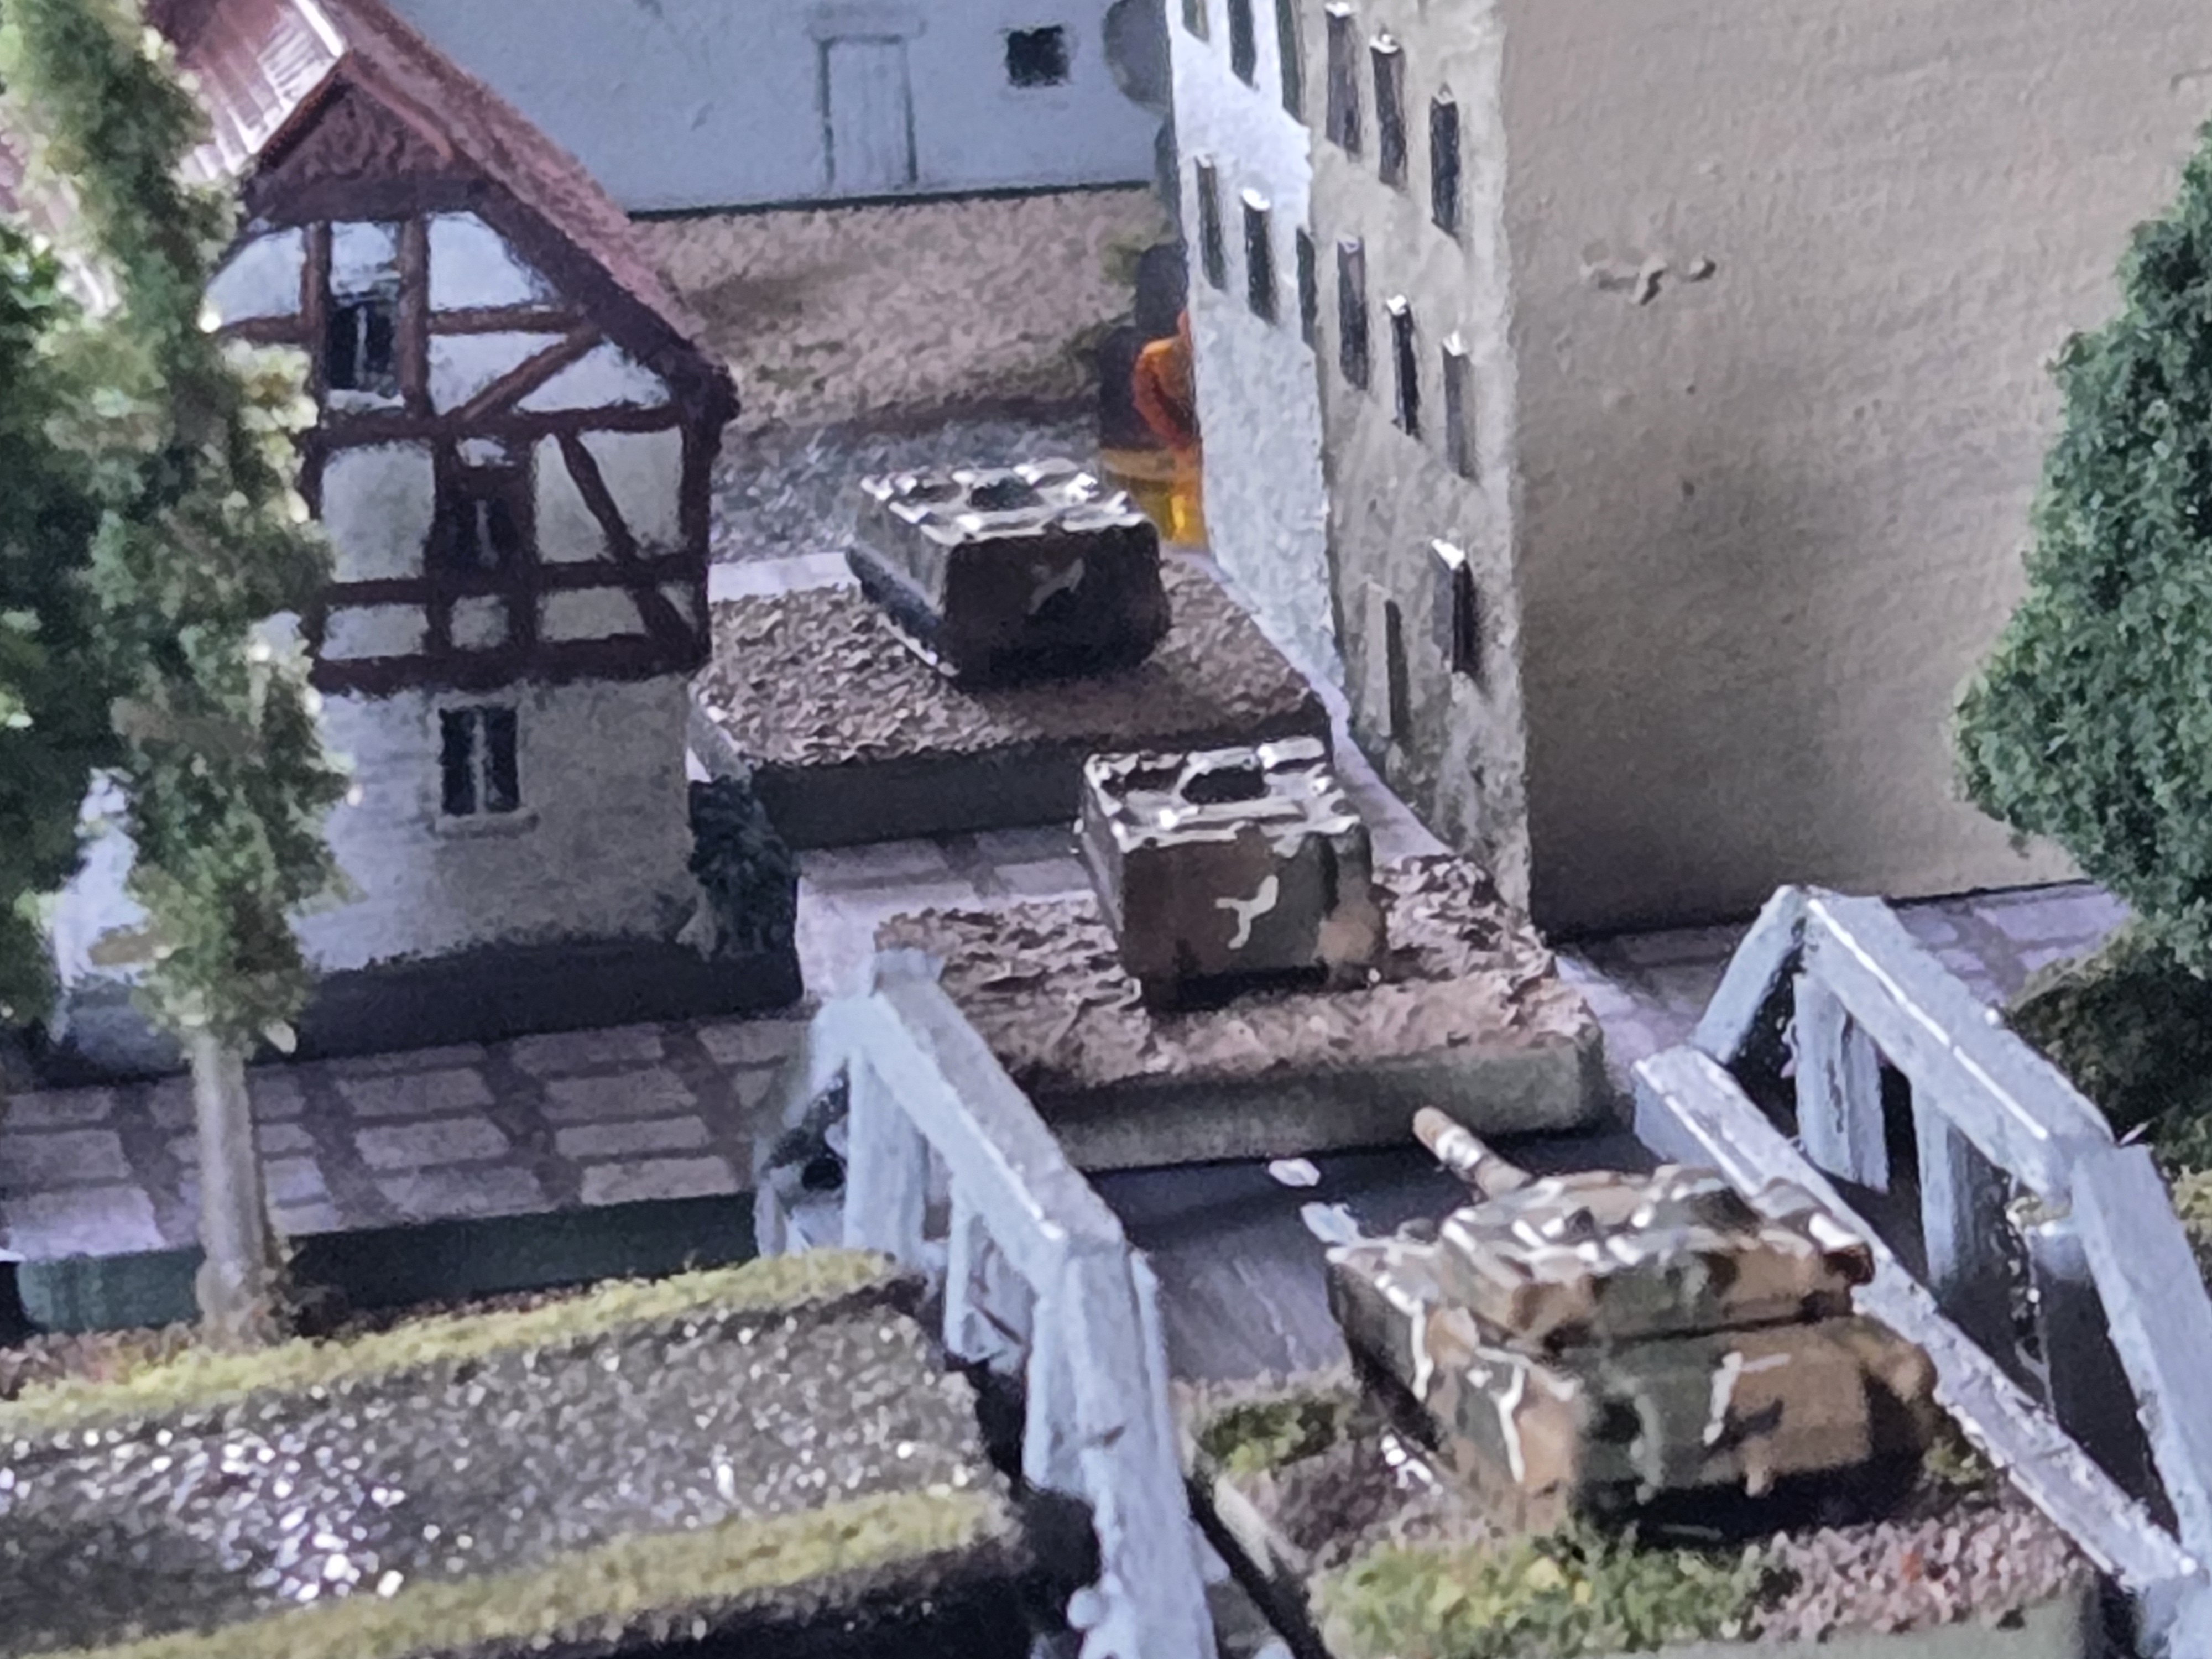
The battle for Lemm – featuring a river crossing and a “light” urban fight was tough. Objective Log is also proving a really tough nut to crack. While Team Yankee is advancing, it’s not been without cost.
I allowed the Soviets to make some of their fire missions “on call” vrs “timed” provided their commander was still around. They had to pre-plot all of their target points but could stipulate the turn those arrived. They purchased the maximum limit of 8 fire missions of 122mm HE artillery. This fit in a bit more with the “Dunn Kempf” stuff I’ve been reviewing. The Americans purchased a howitzer battery and so enjoyed “on call” artillery the entire game – however I’ve limited their salvos to 8 (also keeping with the GDW “Team Yankee” theme).
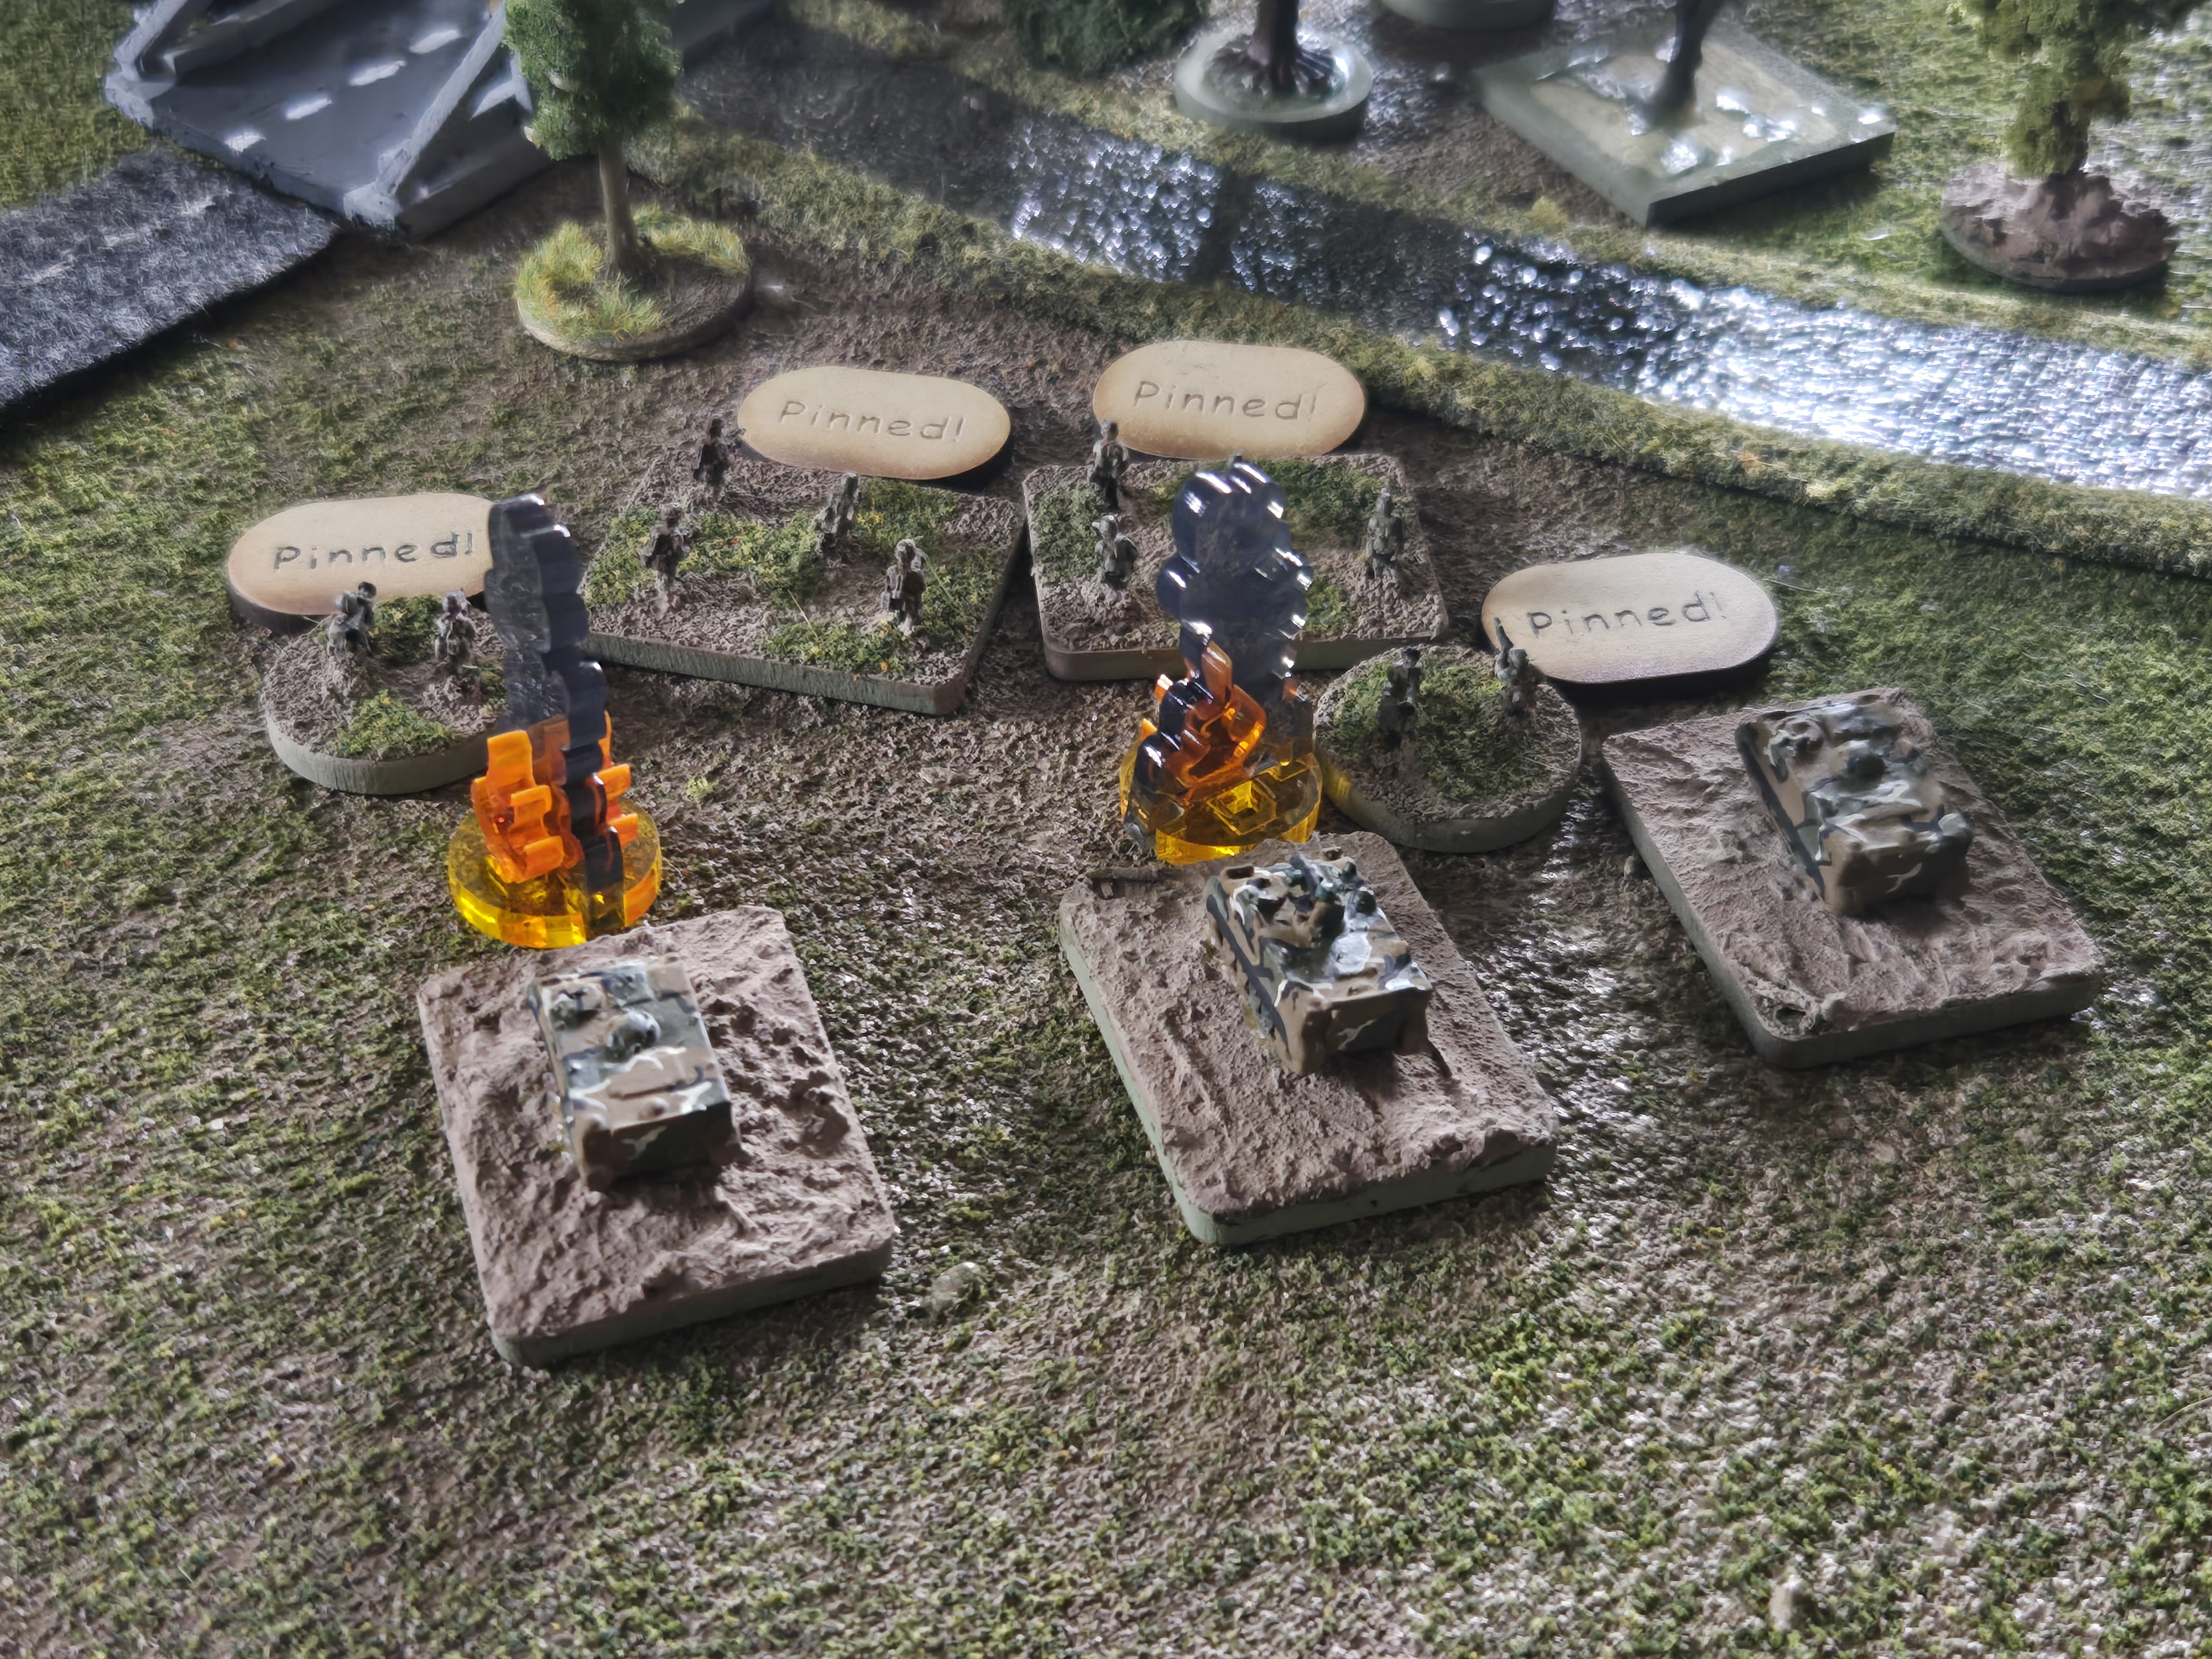
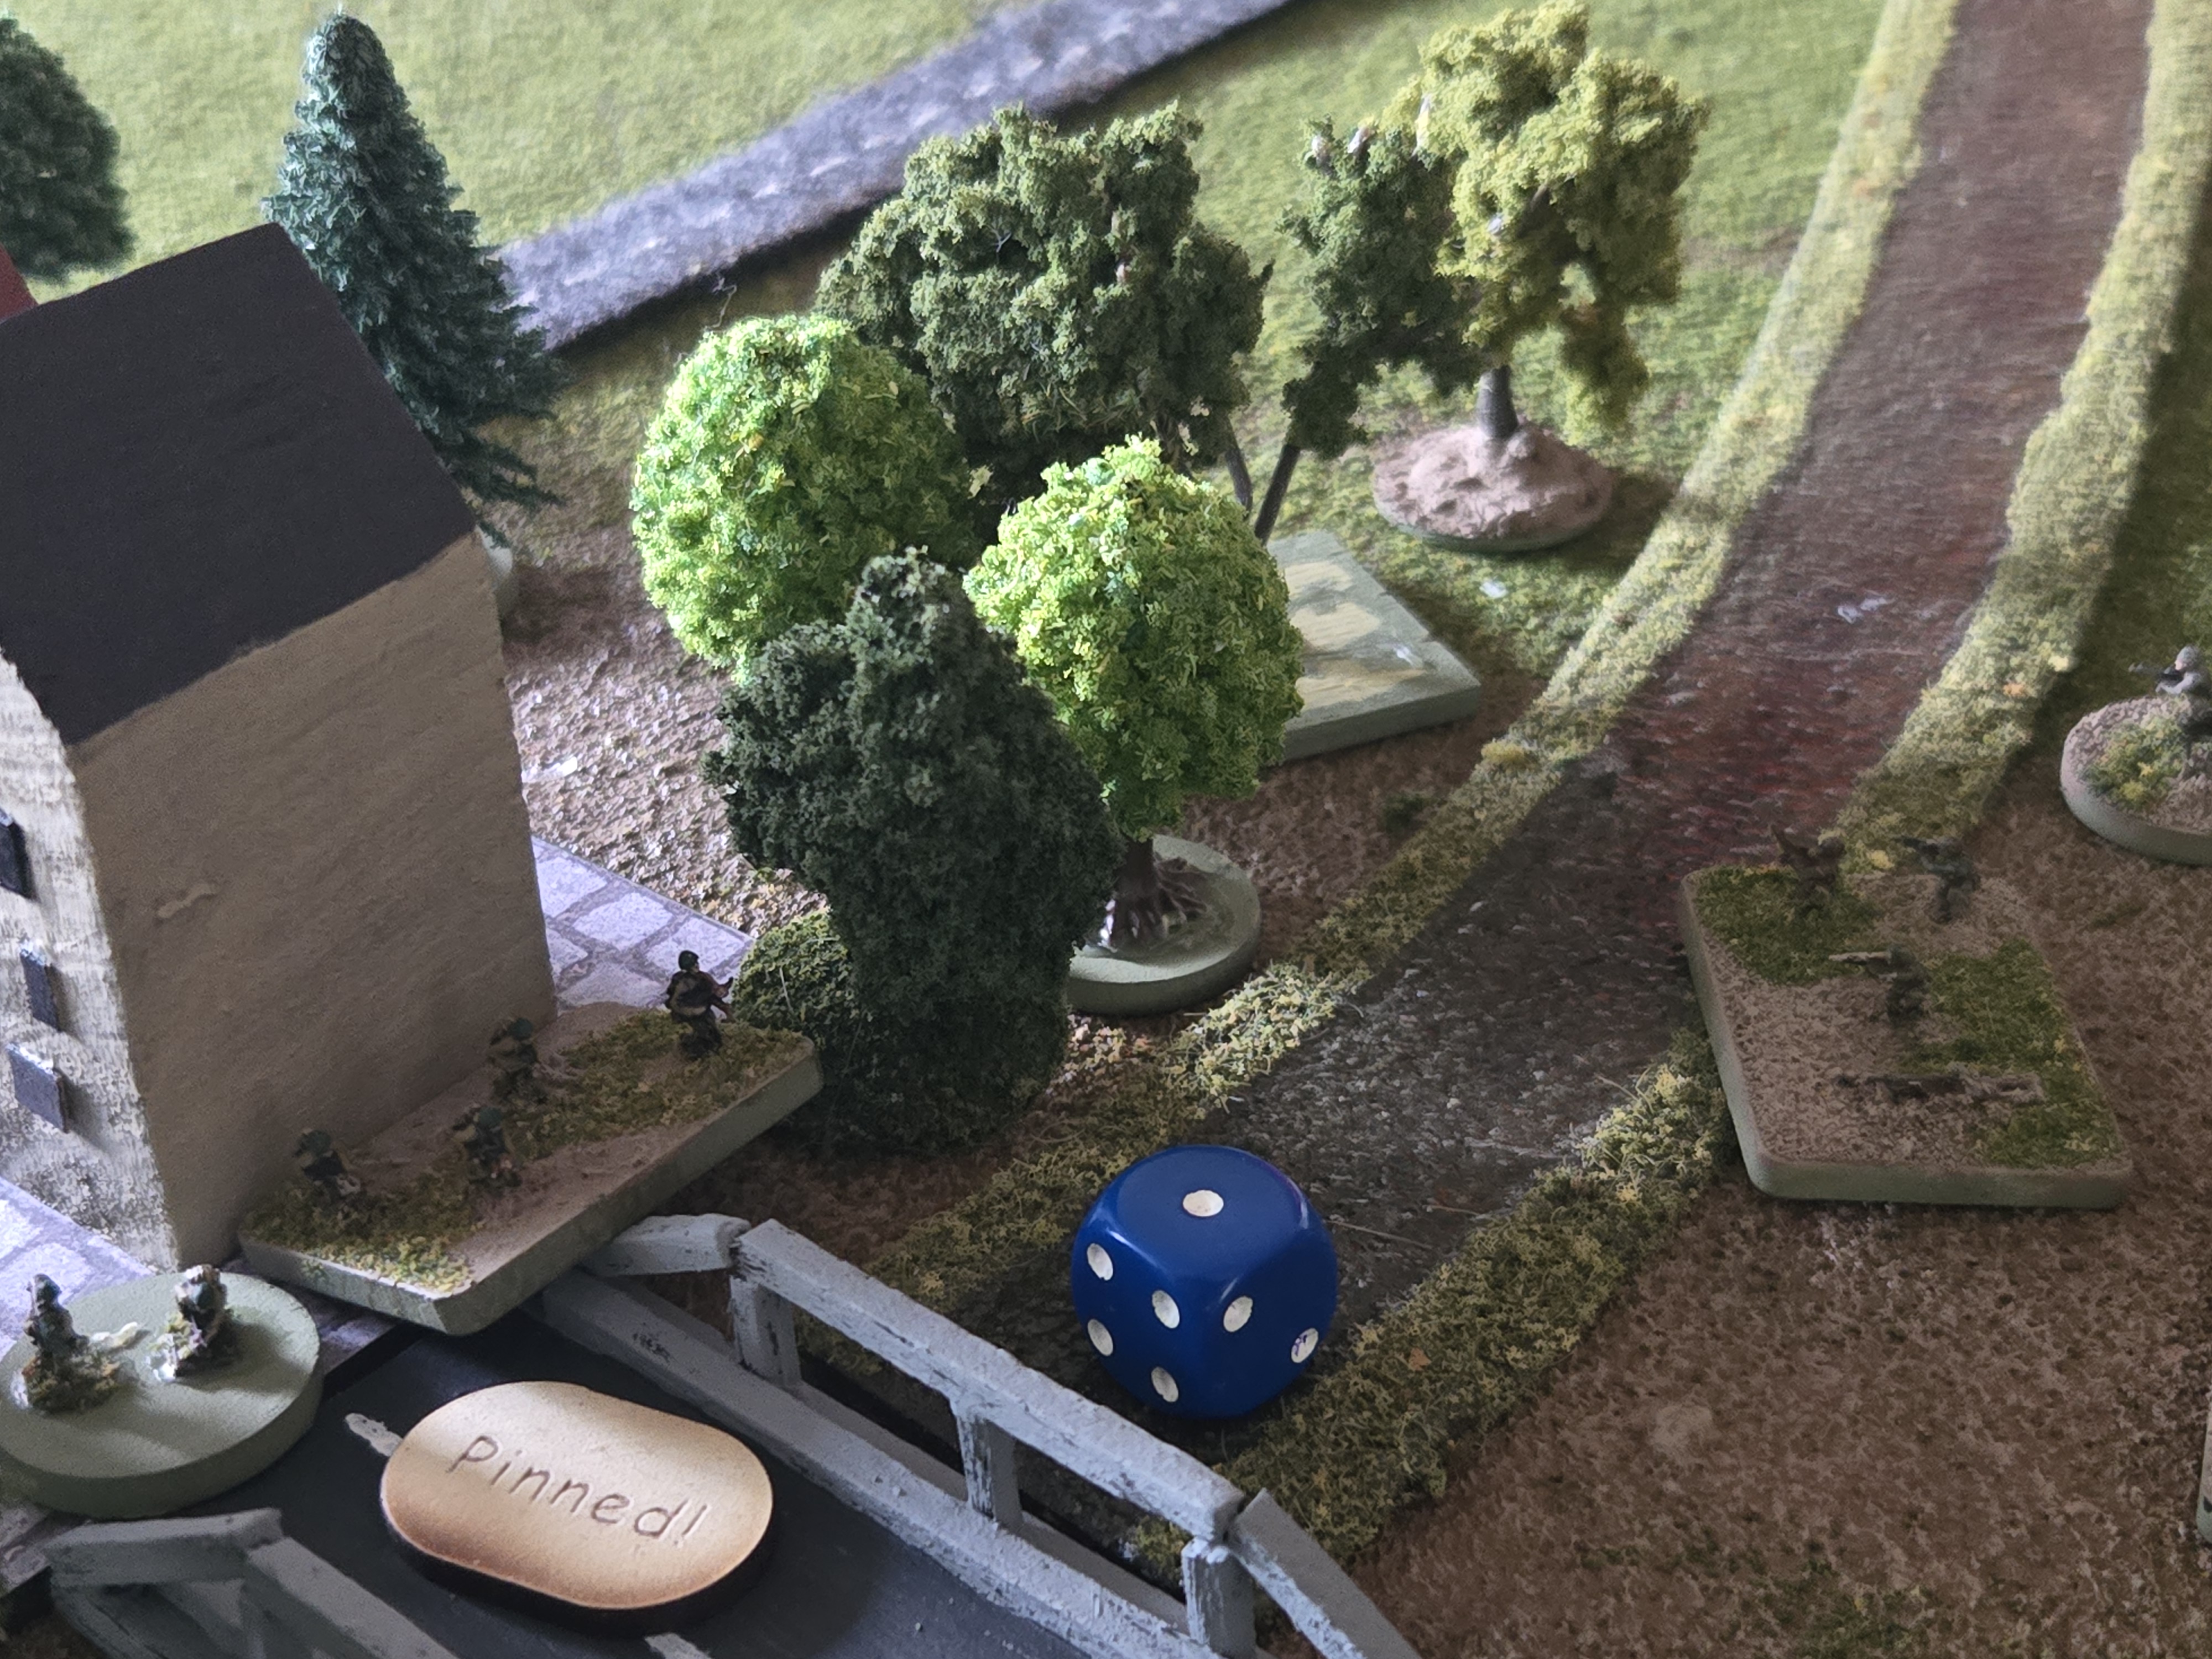
The Soviets had 2 timed, pre-registered target reference points on the road to Lemm to aid in the defense and as you will see, this really caused some havoc. In fact if there is a key take away from this battle so far, it’s that the artillery is the infantry’s worst nightmare in modern war. King of Battle!
The American plan was to shoot the hell out of Lemm along with the artillery firing into it constantly to destroy or neutralize (NORTHAG calls it “pin”) the enemy and soften them up prior to assaulting. There is motorized infantry platoon (BTR-60 mounted) in Lemm, on Objective LOG and on Hill 214.
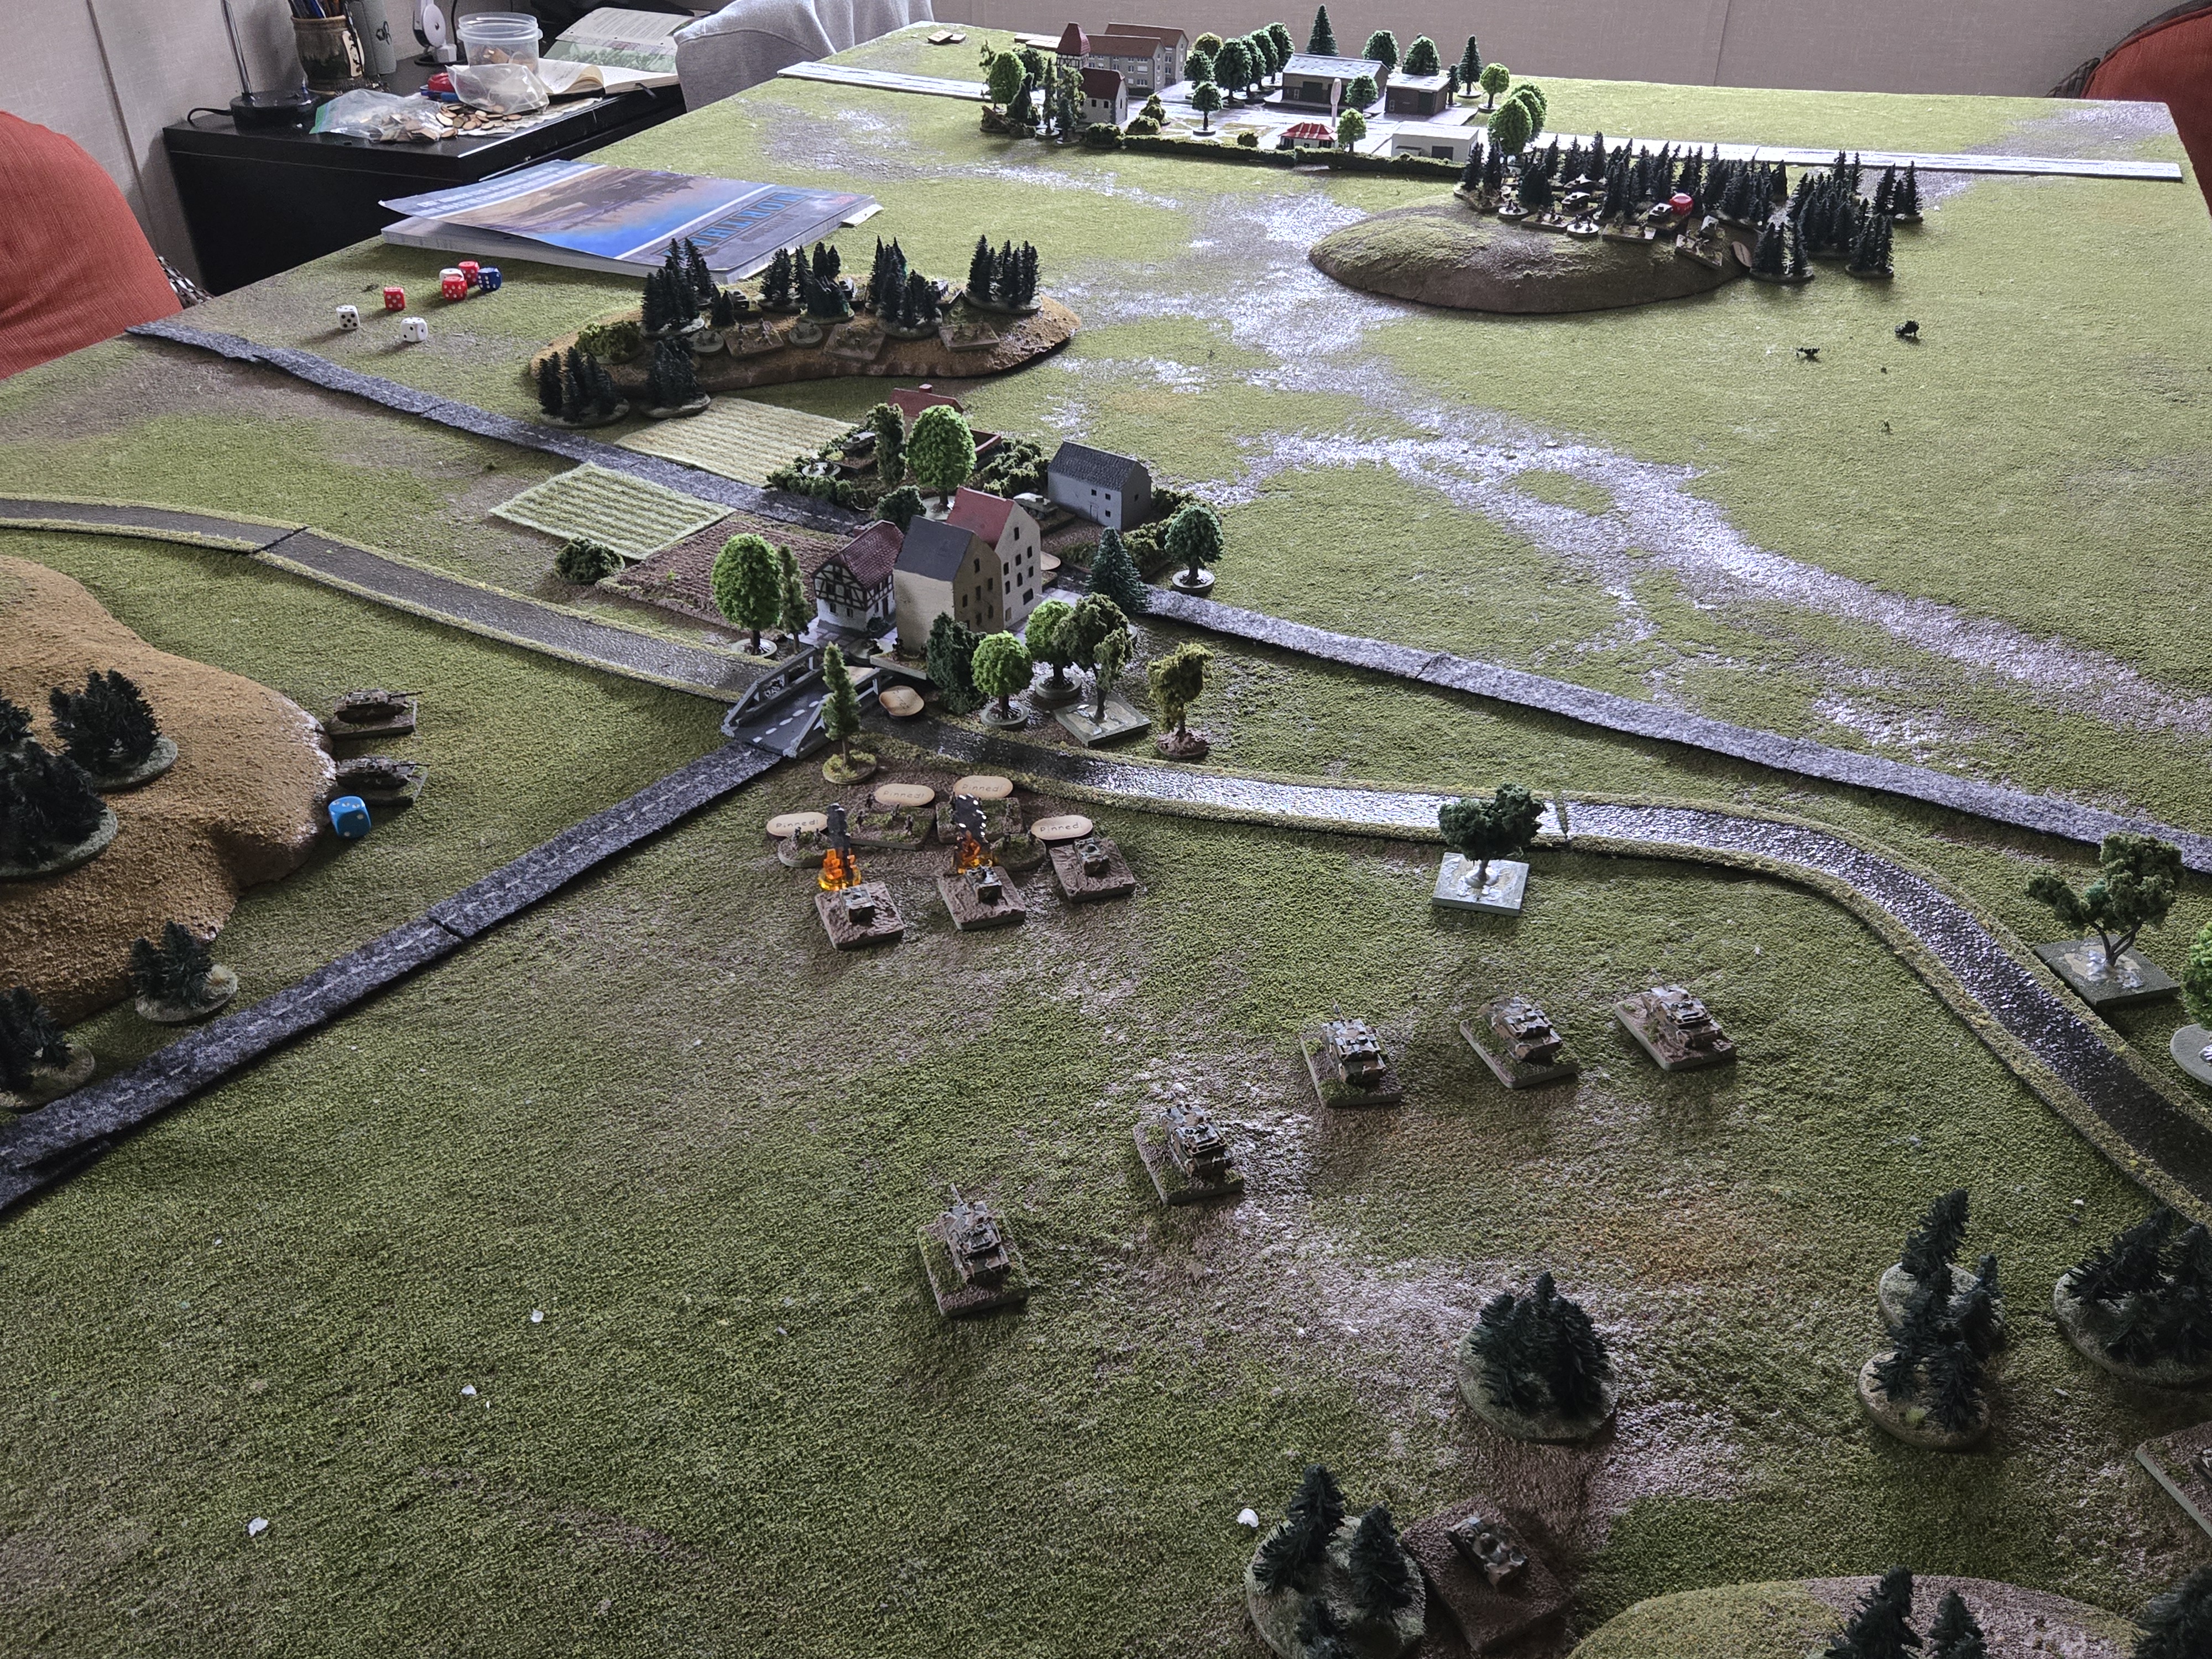

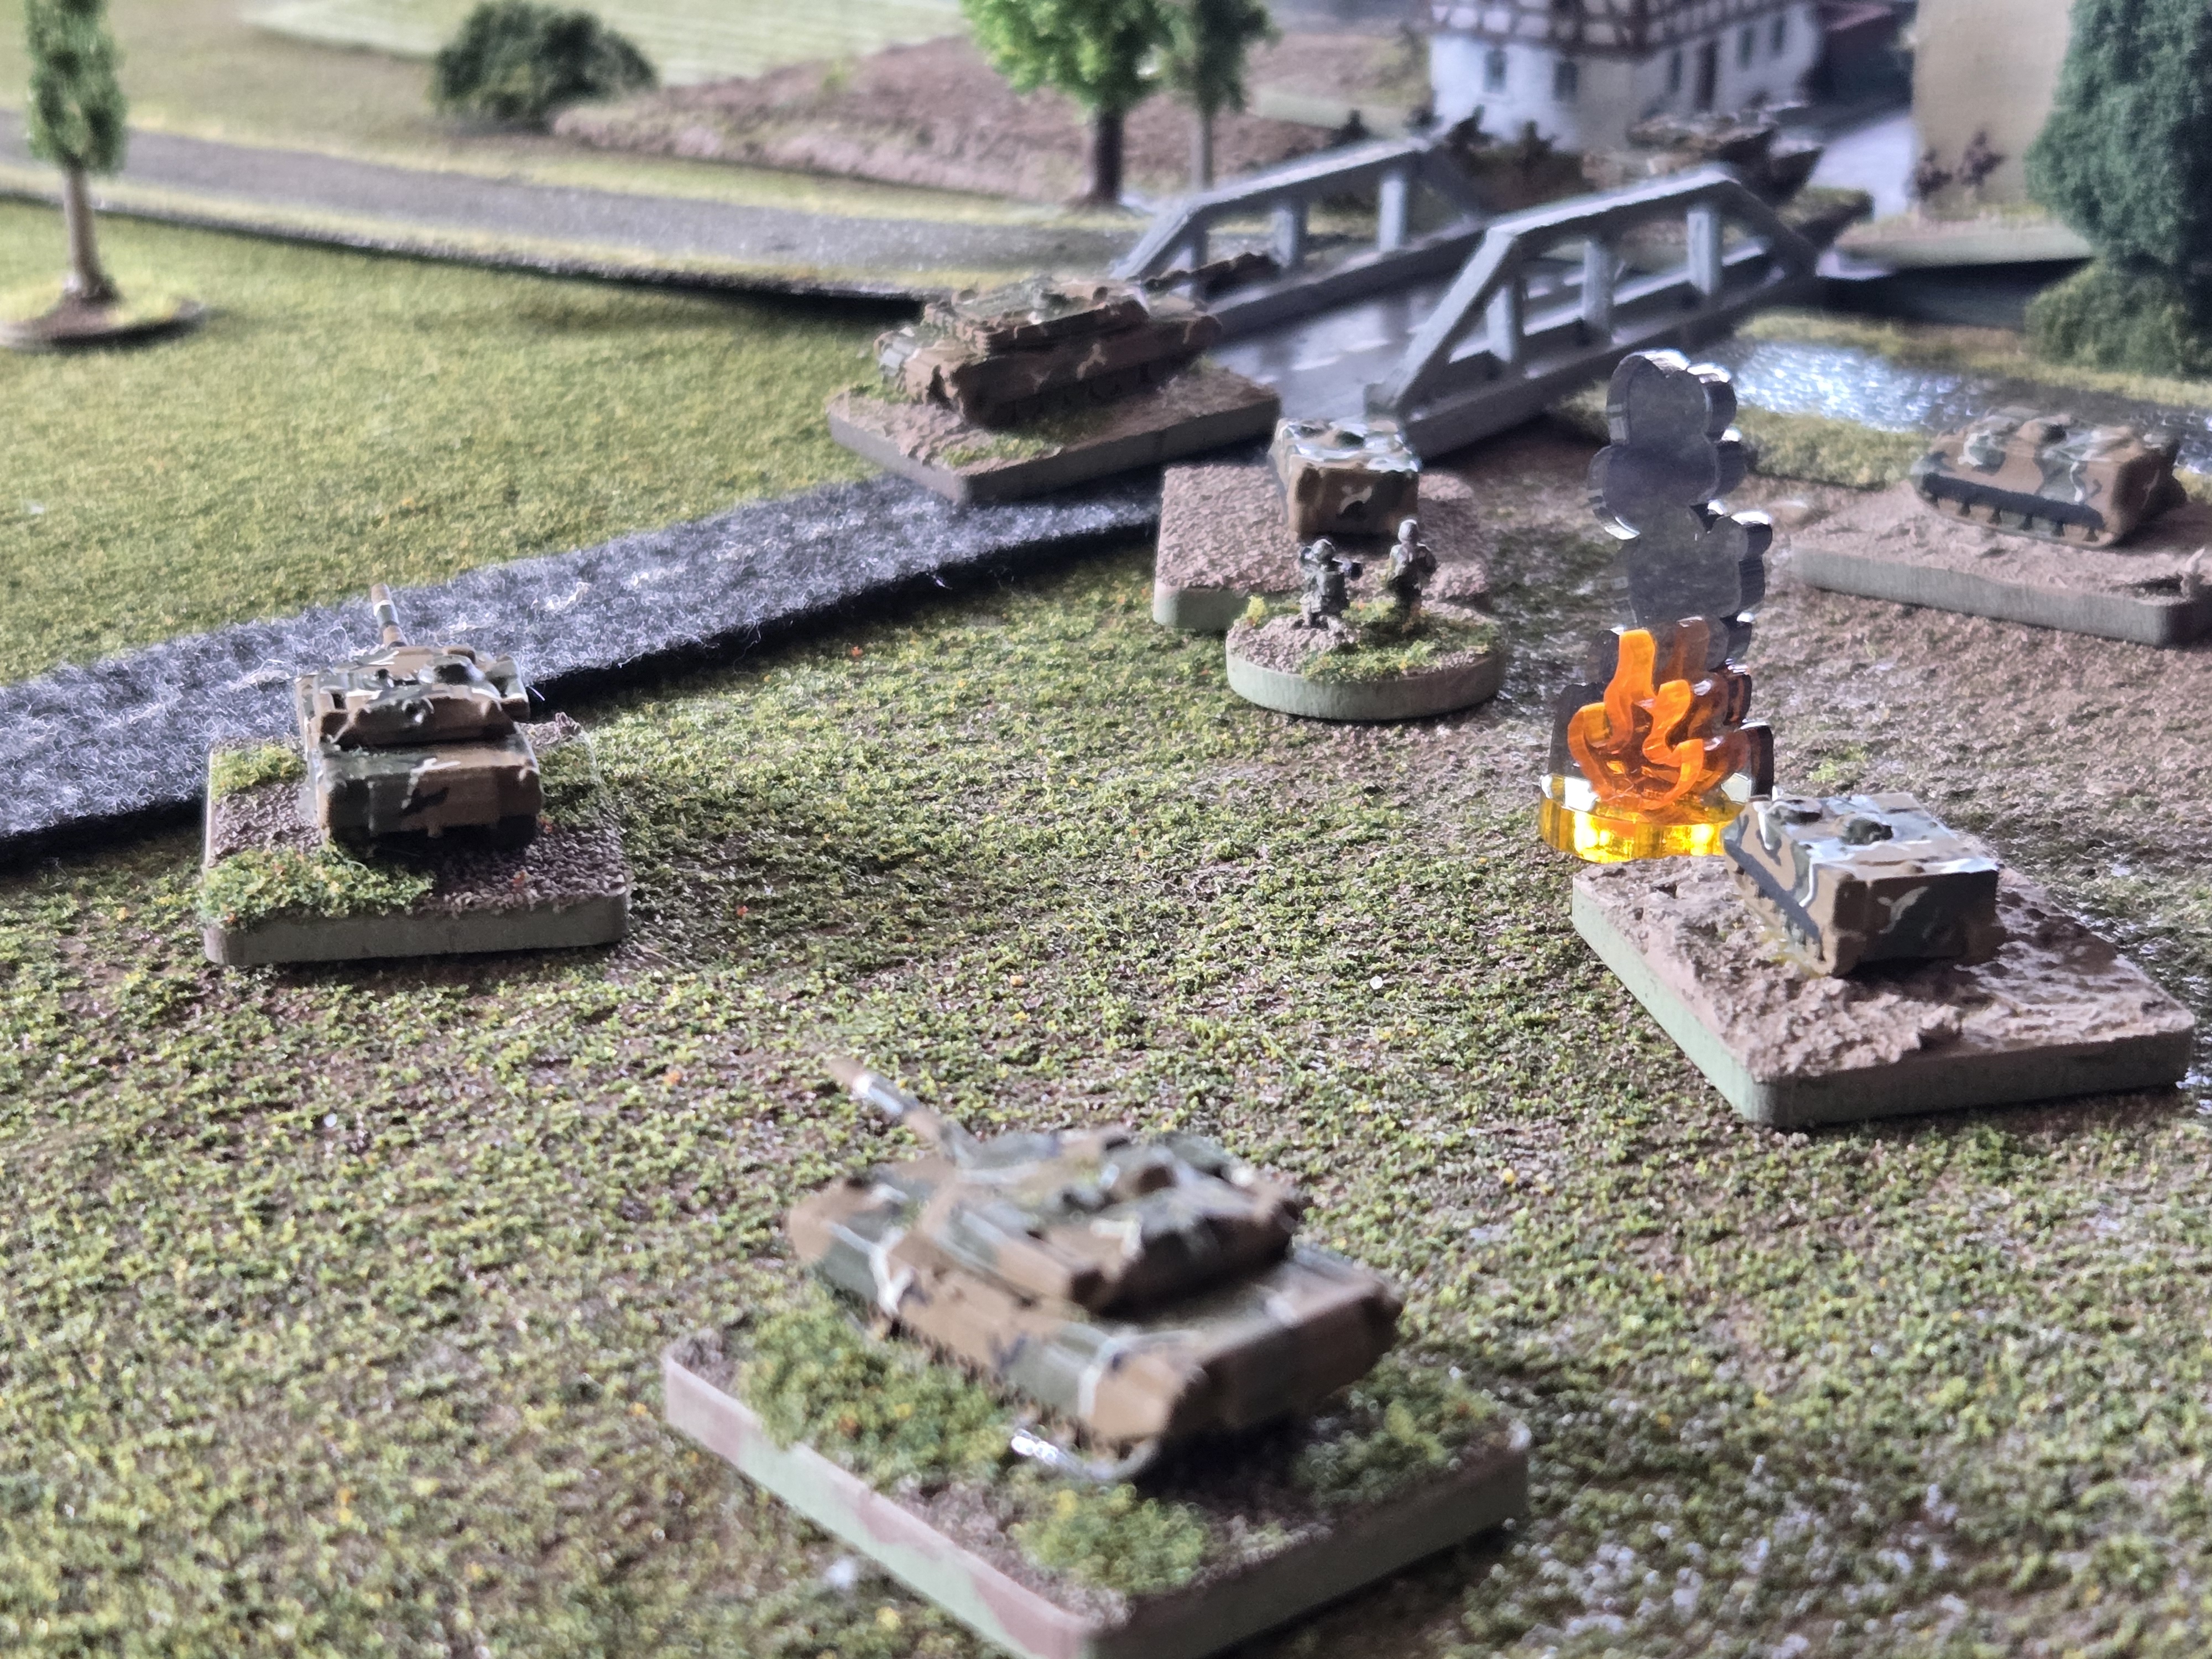
Hard to believe but this story is only 1/3 finished. Lemm has been captured (liberated?) and Team Yankee is arranging itself for the assault against Objective LOG (Hill 190 on the map). That will be the second installment in this series. I’ll probably skip over some of the mundane movements but the PKM machine gun team escaped and is now “safely” on Objective LOG and the American tanks and APCs are maneuvering to assault LOG next.
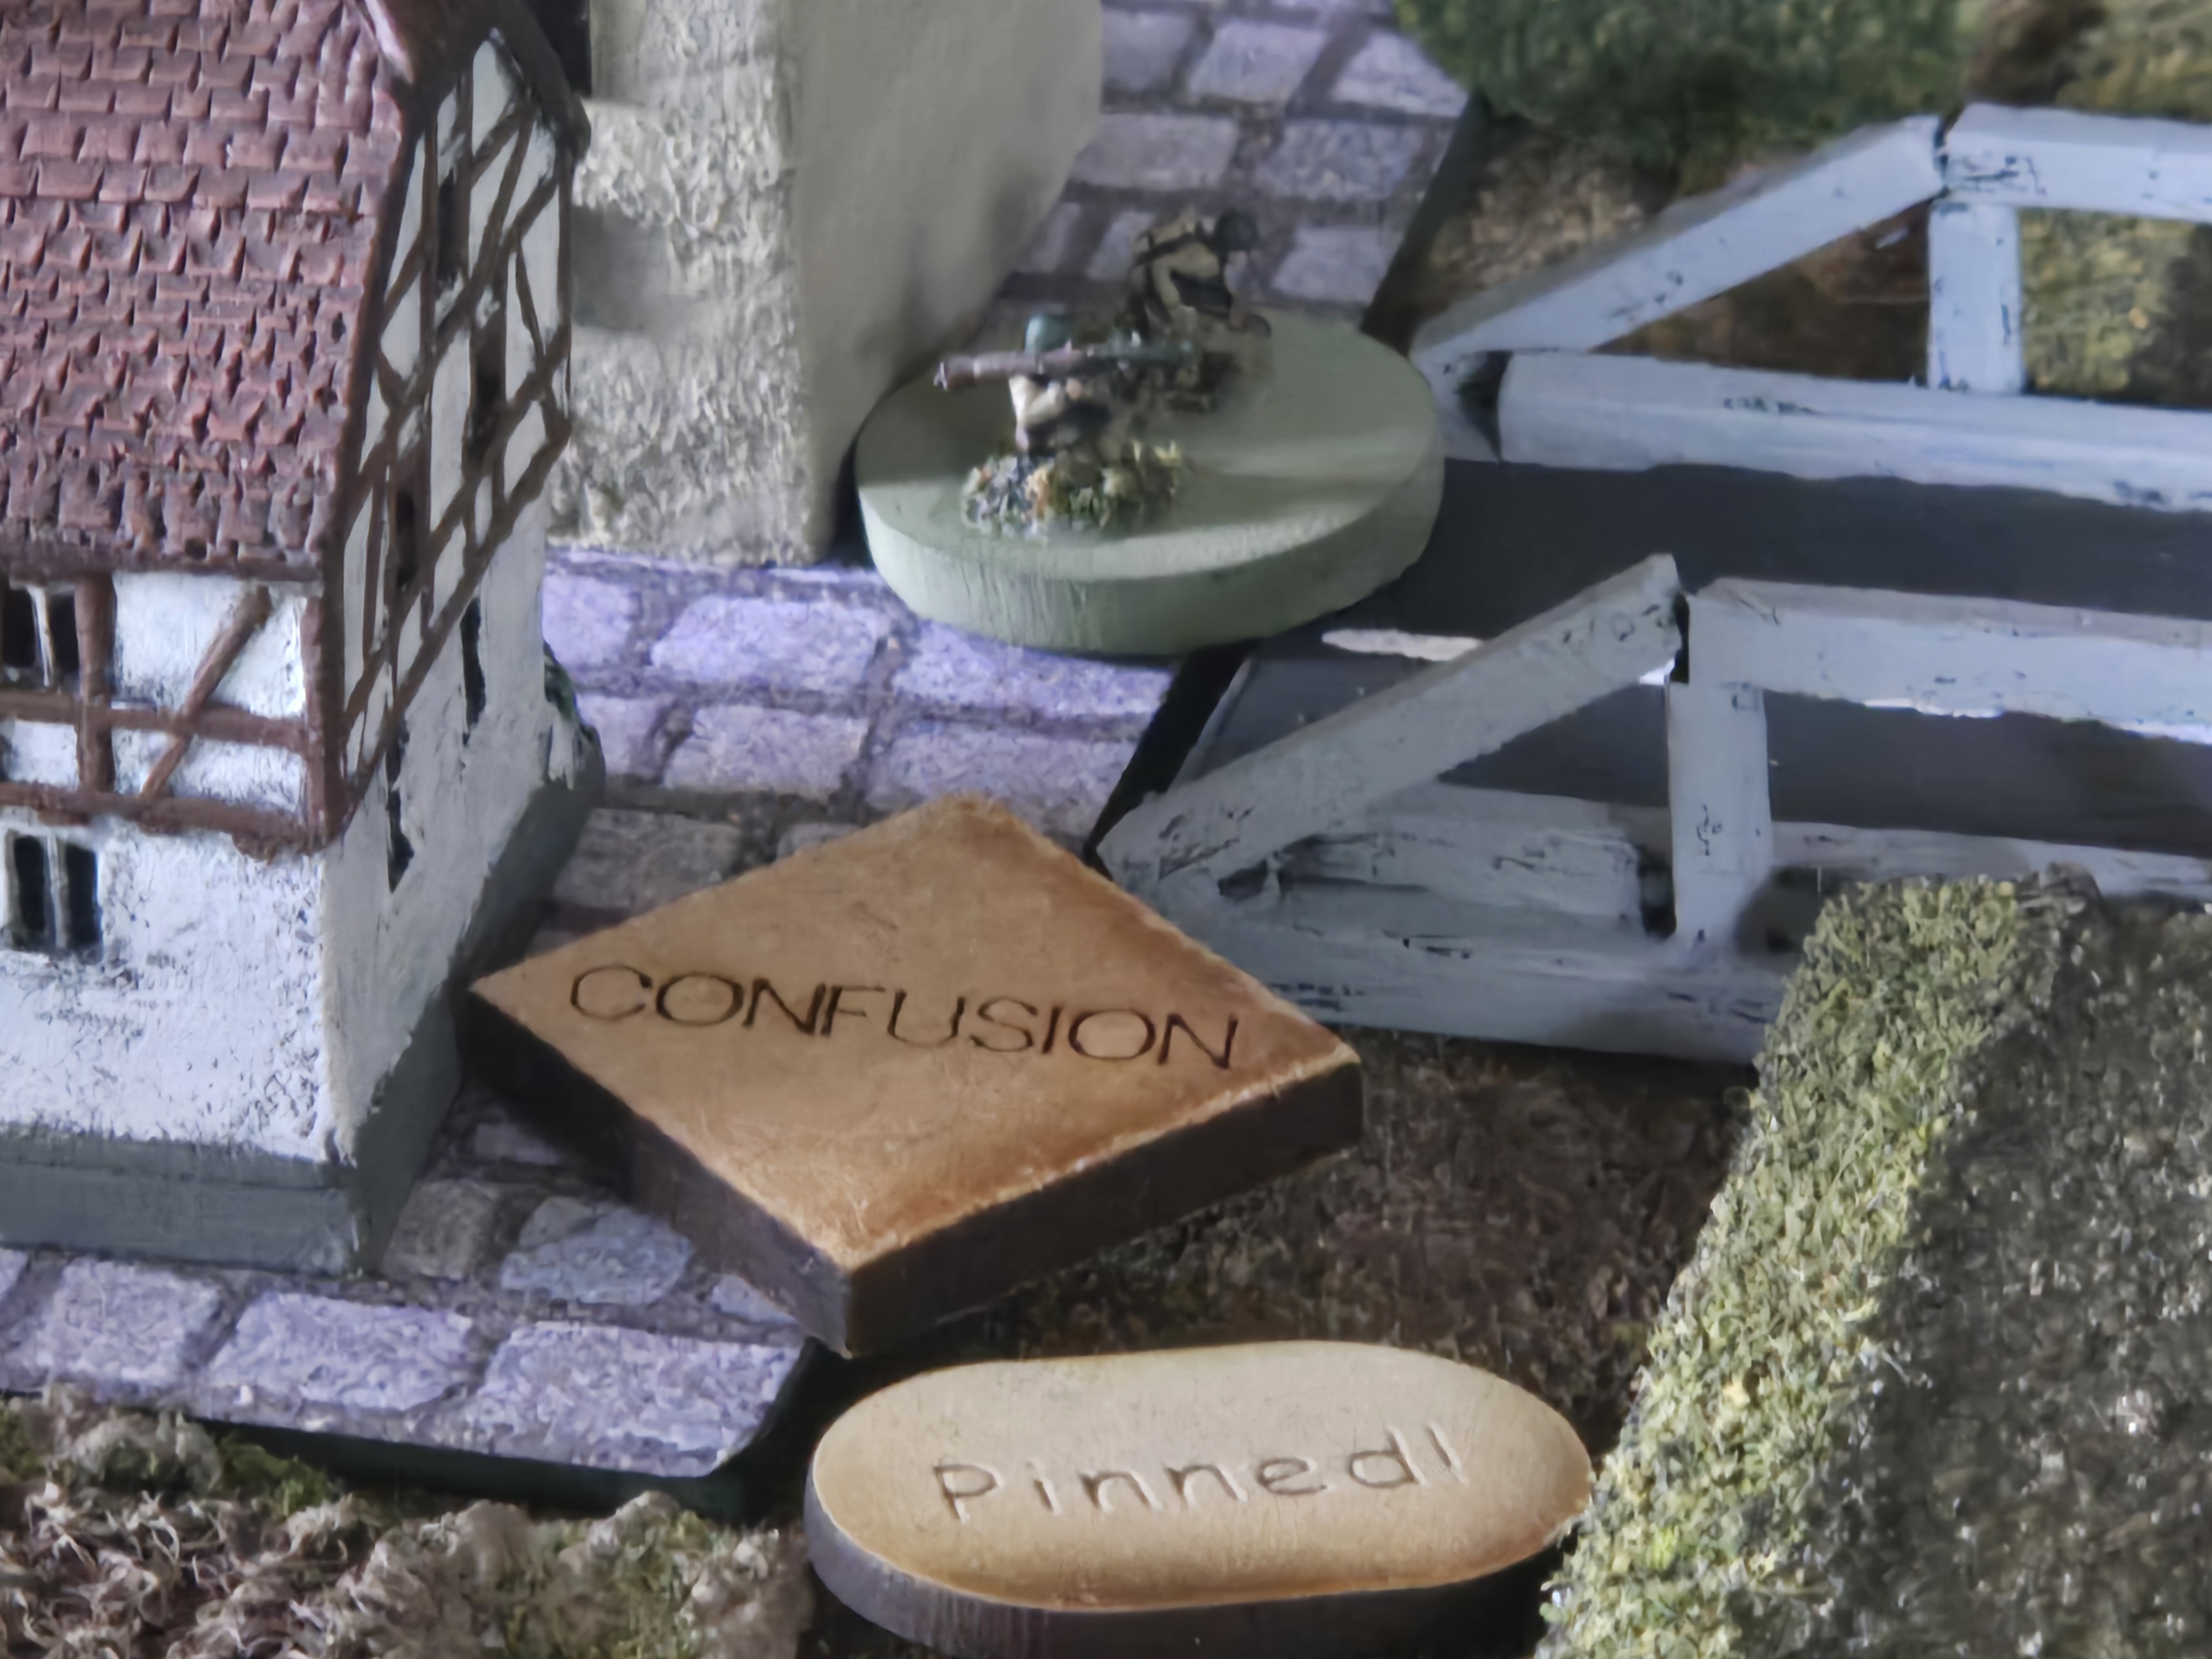
Crucially, let’s discuss some post battle (part 1) thoughts there. First of all, the cavalier movement towards Lemm by the American Infantry resulted in the destruction of critical combat power in the form of 2 x M113 APCs. I’m going to keep fighting but the casualties among the infantry are really going to hurt later and the tanks are going to have to do a disproportionate amount of the work. (the work being killing Soviet units).
The lesson here is movement should plan on receiving indirect fire and elements should be spaced accordingly. This was a really expensive lesson that you’d think I would have learned by now 🙂
Second lesson is tank-infantry coordination is crucial because without armor supporting the infantry, the infantry are more vulnerable to vehicle-mounted weapons (this will factor in more for the assault on Objective LOG than anything else).
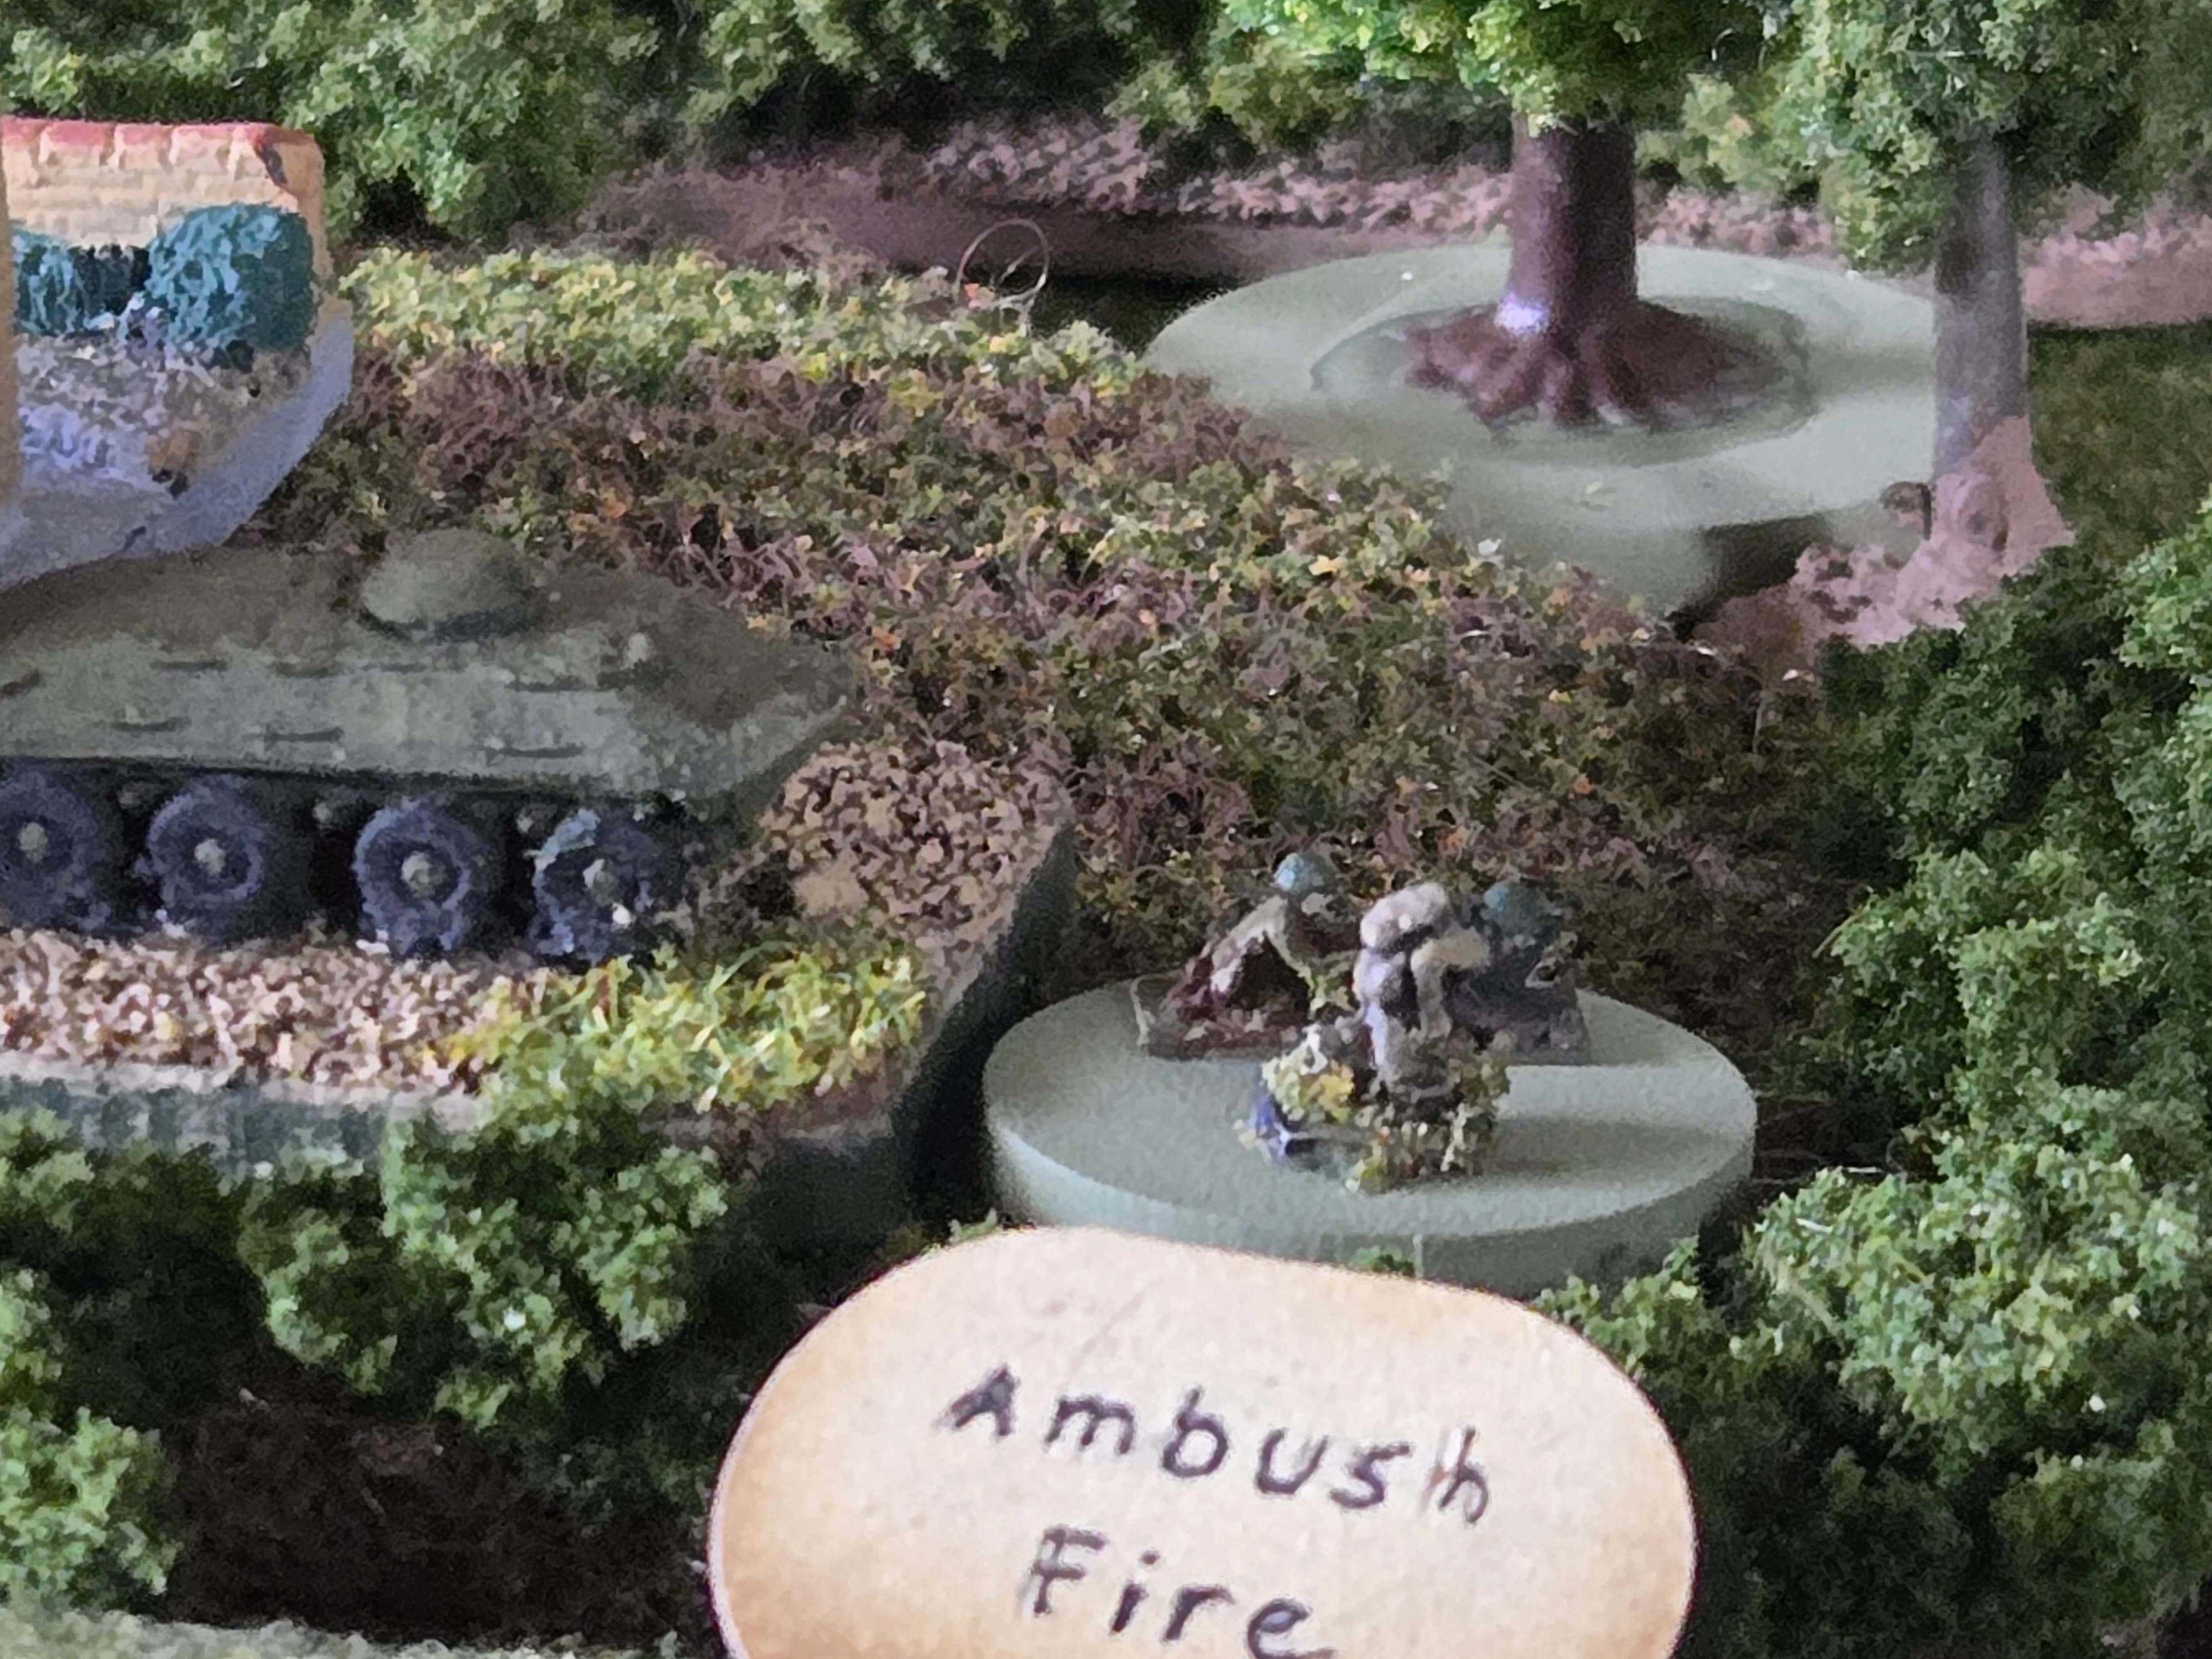
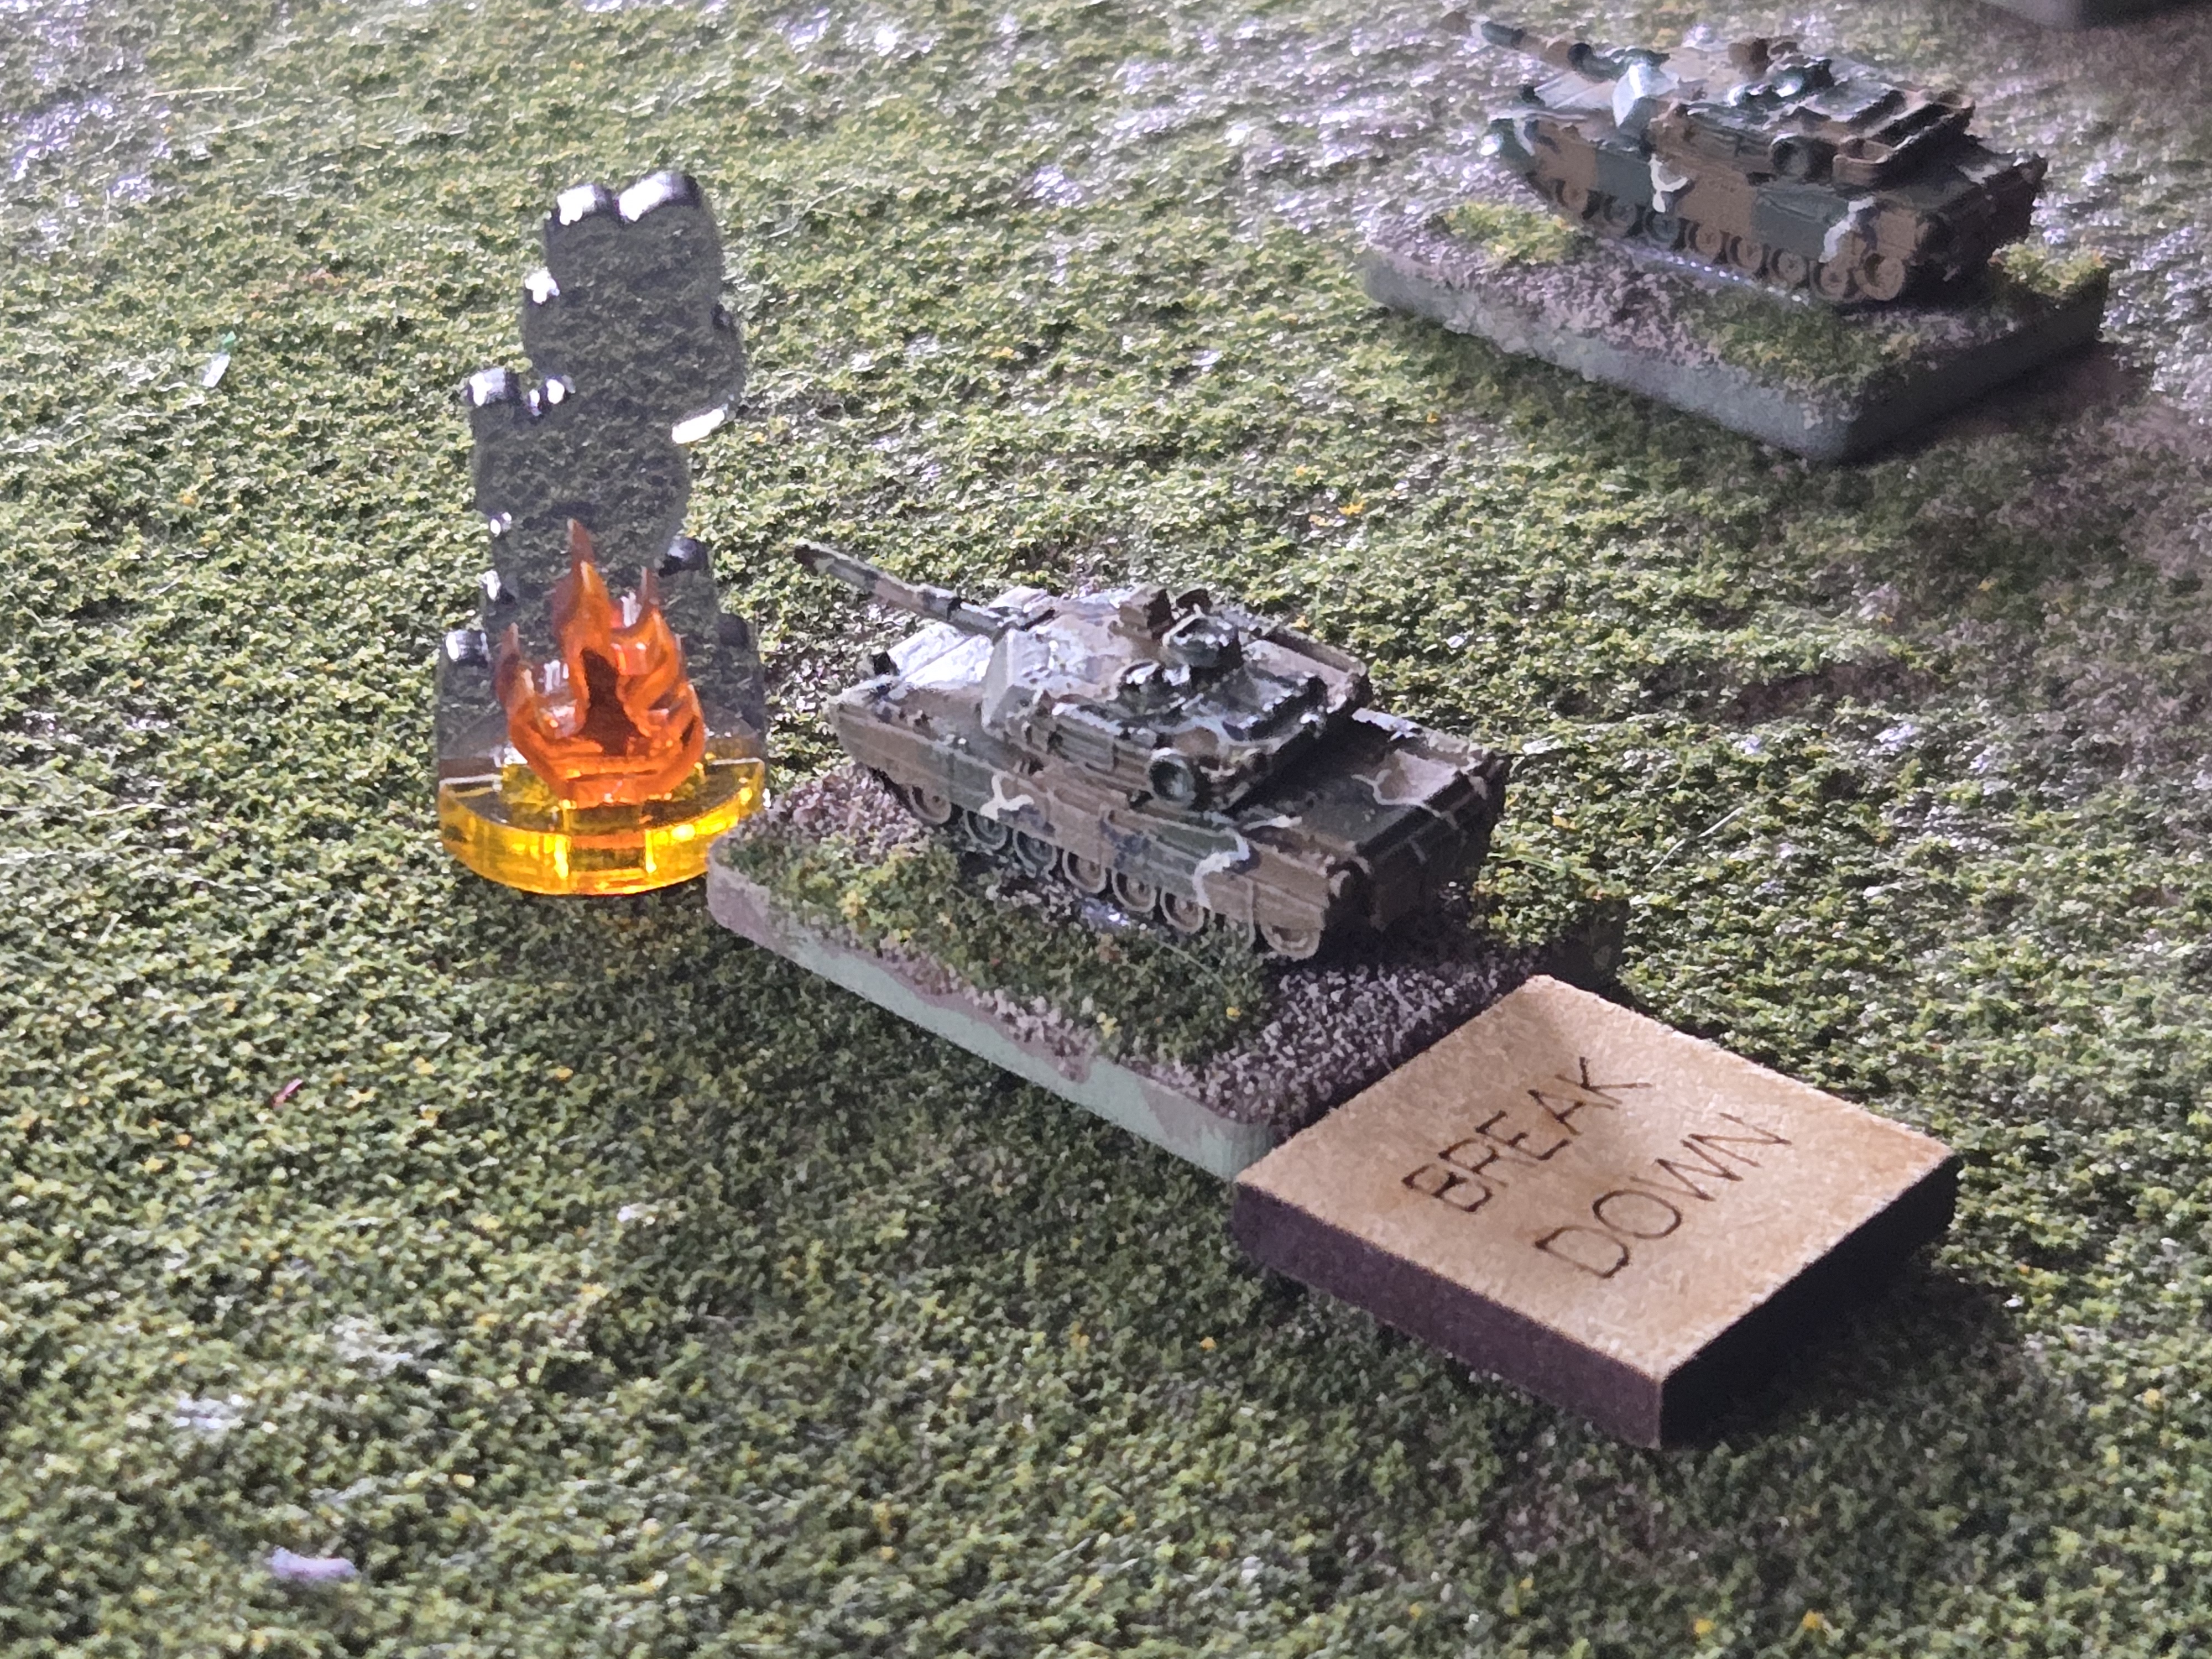
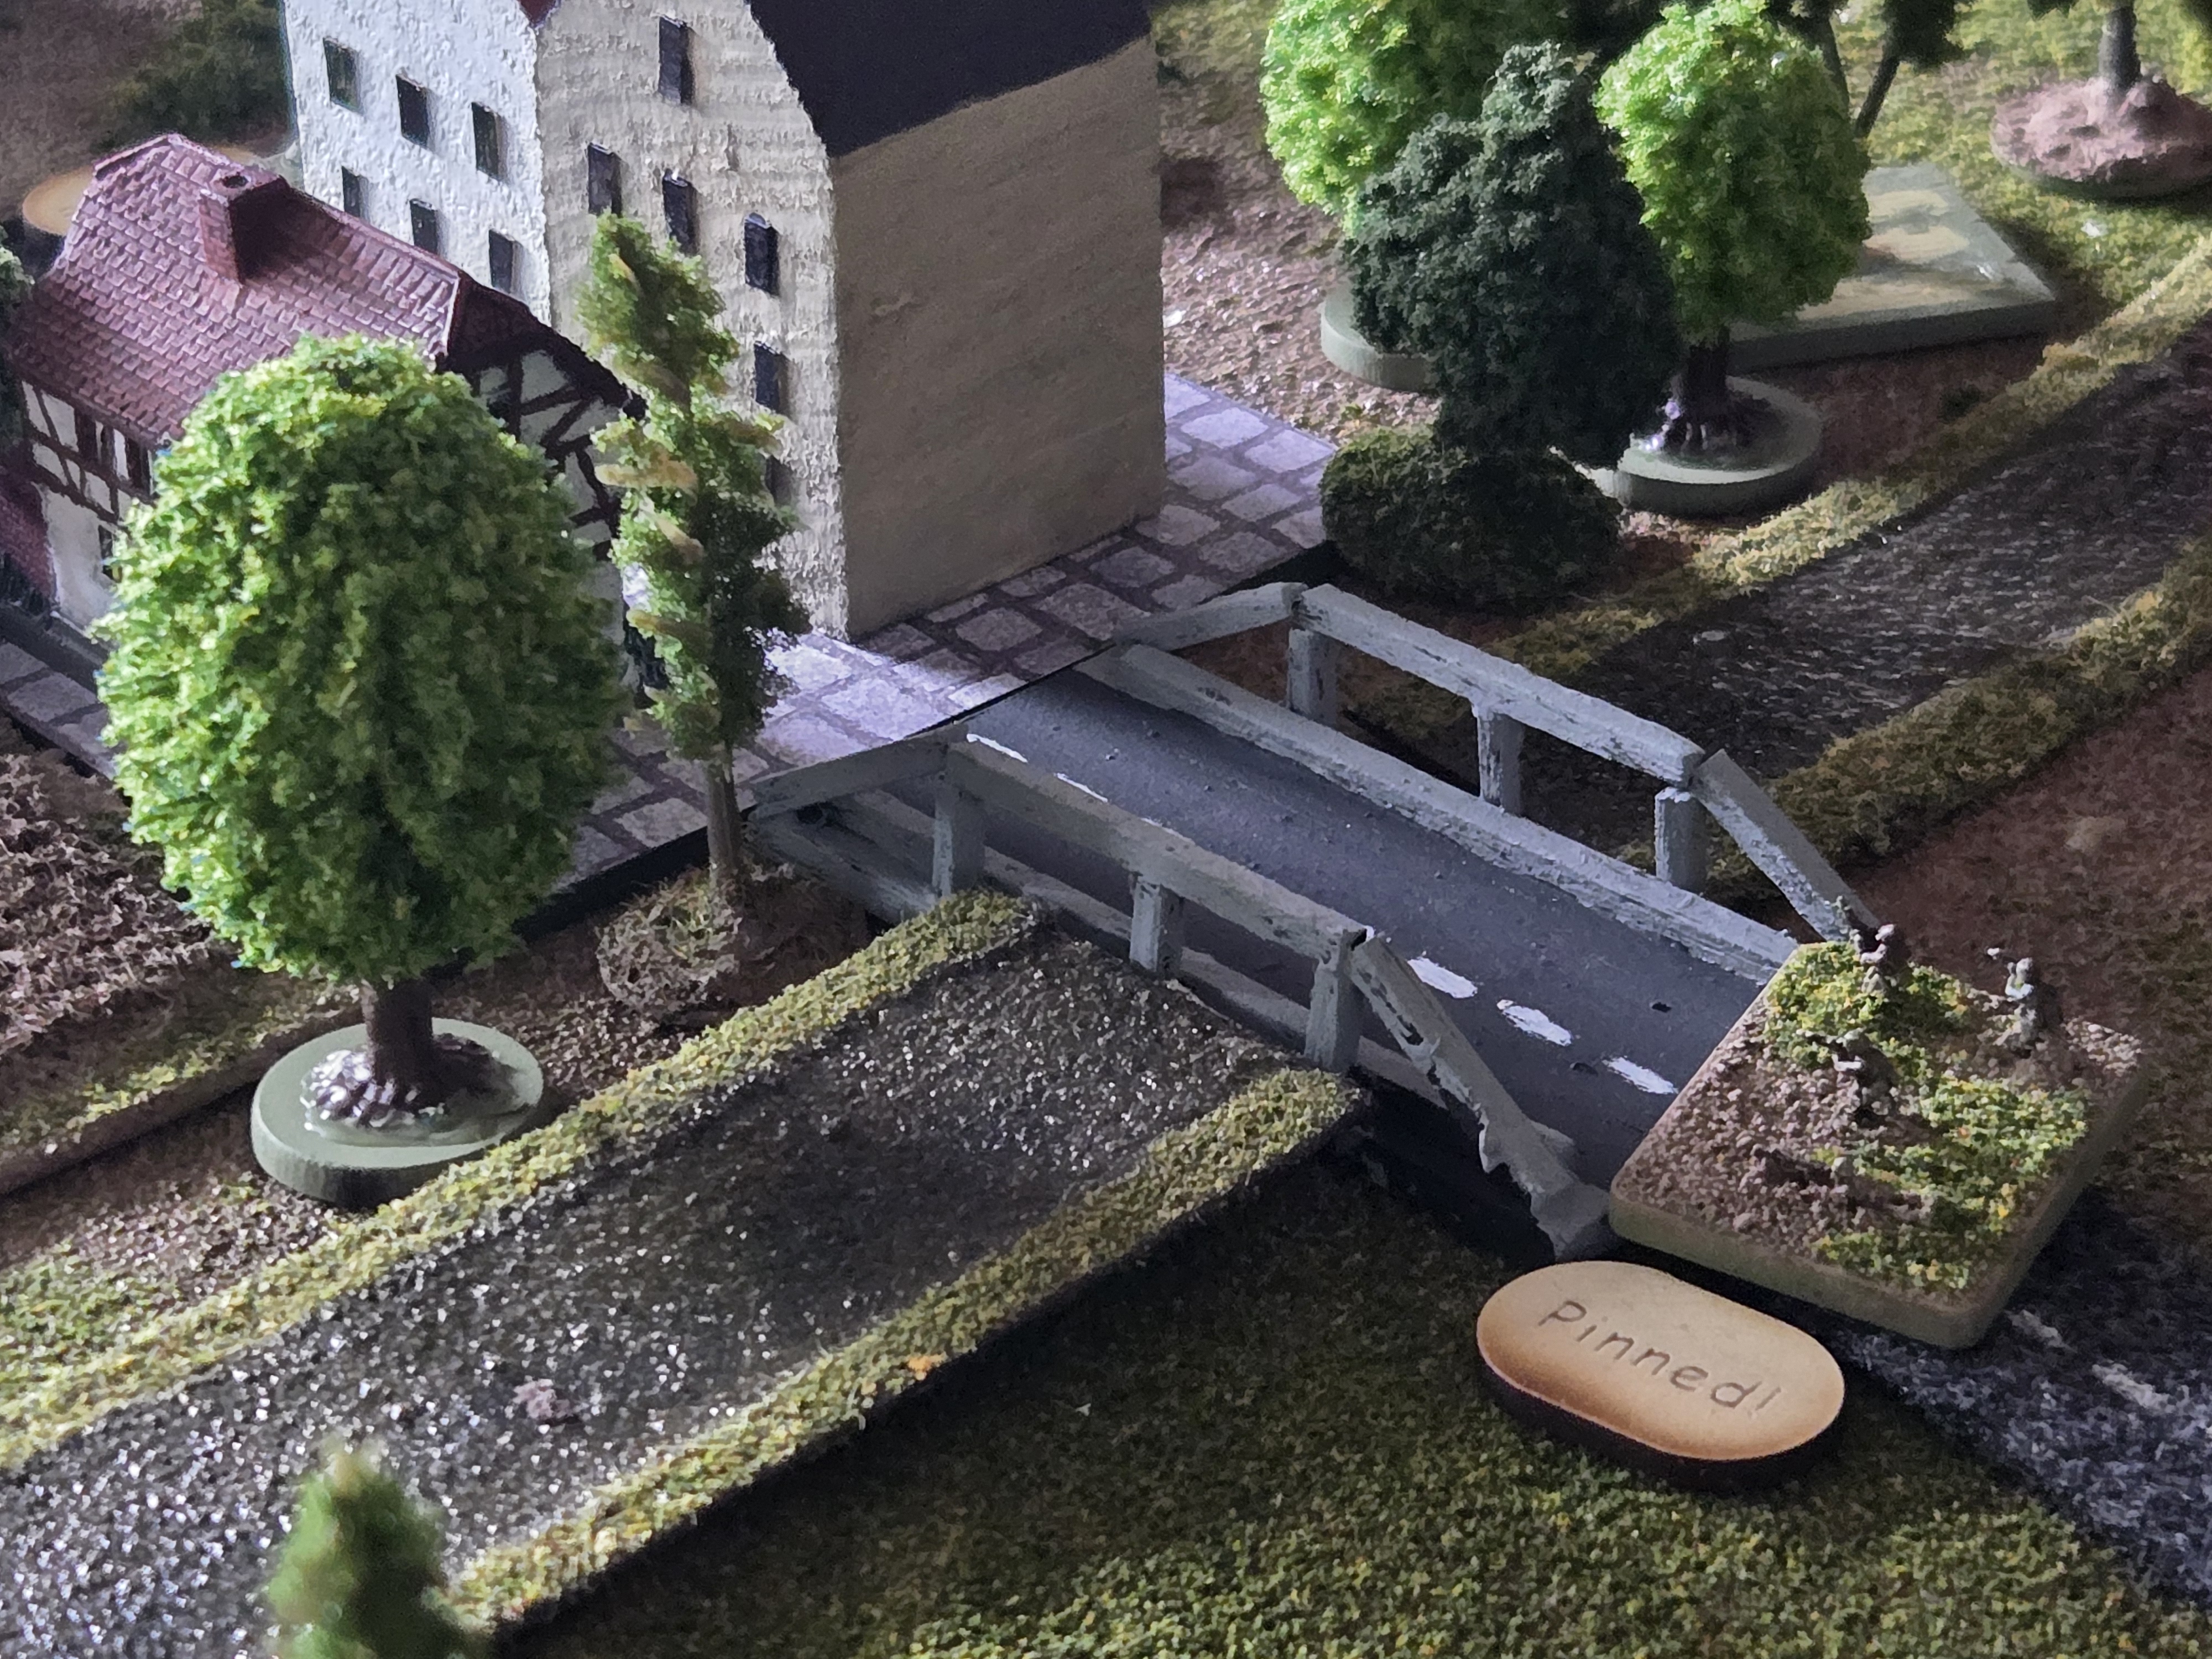
Third lesson is to assault / attack from multiple locations. Bringing the M1s to the east of Lemm should have happened much earlier in the fight and could have potentially knocked out the BTR sitting at the grey house waiting to ambush those GIs on their way into Lemm at the fight for the bridge. The American attack is behind schedule due to Soviet counter attacks and higher than hoped casualties.
So far this game has been very enjoyable – mostly for the unexpected things happening, and for the tactical considerations that the rules naturally force you to make. NORTHAG are probably my favorite Cold War rules, and I say that as both a former Army officer, and wargamer for 25 odd years – that the experience is as genuine as you can get (note i did not say realistic – but you pay for your mistakes dearly, and you reap the benefits of knowing when to take advantage of an opportunity on the battlefield) . Ive found in this game that the must be eyed from the perspective of a commander. In my book, not much higher praise can be bestowed on a set of rules.
Anyways, I am looking forward to typing up Part II. I’ve played a few rounds this morning and already have experienced some reversals of fortune.
Team Yankee’s assault towards Hill 214 continues! Remember, once Hill 214 falls (if it falls), that triggers the arrival of a T-62 tank company to counter attack. This is where we divert from the NORTHAG scenario template a bit as the reinforcements are event-based and not scenario template based. Stay tuned!
