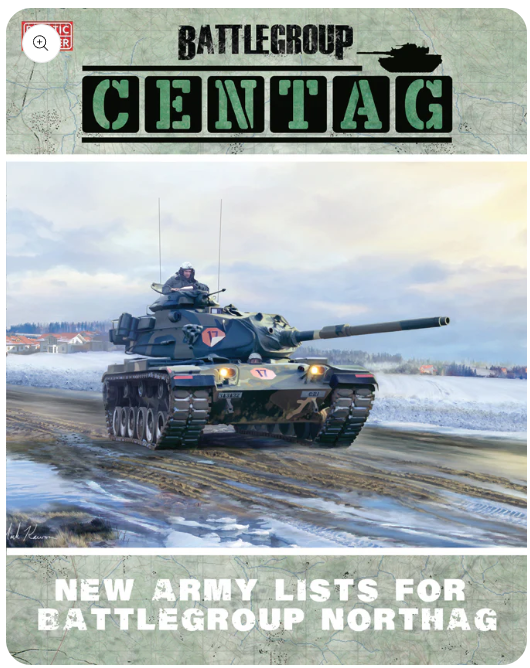
As The Angry Dachshund winds down “Cold War Month”, we played another Battlegroup: NORTHAG game using the West German Bundeswehr list from the “CENTAG” book, and a Soviet Motor Rifle Company in BTR-60s from the “NORTHAG” book. This was a roughly 330 point game’s worth of gear and troops but with somewhat disparate break points (Soviets were 43 and the West Germans were 34).
That didn’t stop the Soviets from losing, though! Read on.
For a “simple” battle, I picked the “escalating engagement” scenario from the rulebook. This was an easy choice because it is the only scenario in the rulebook. (I’ve started piecing together a deliberate assault scenario but just wanted to get something on the table quickly and had already done enough math to get the forces ready to fight.)
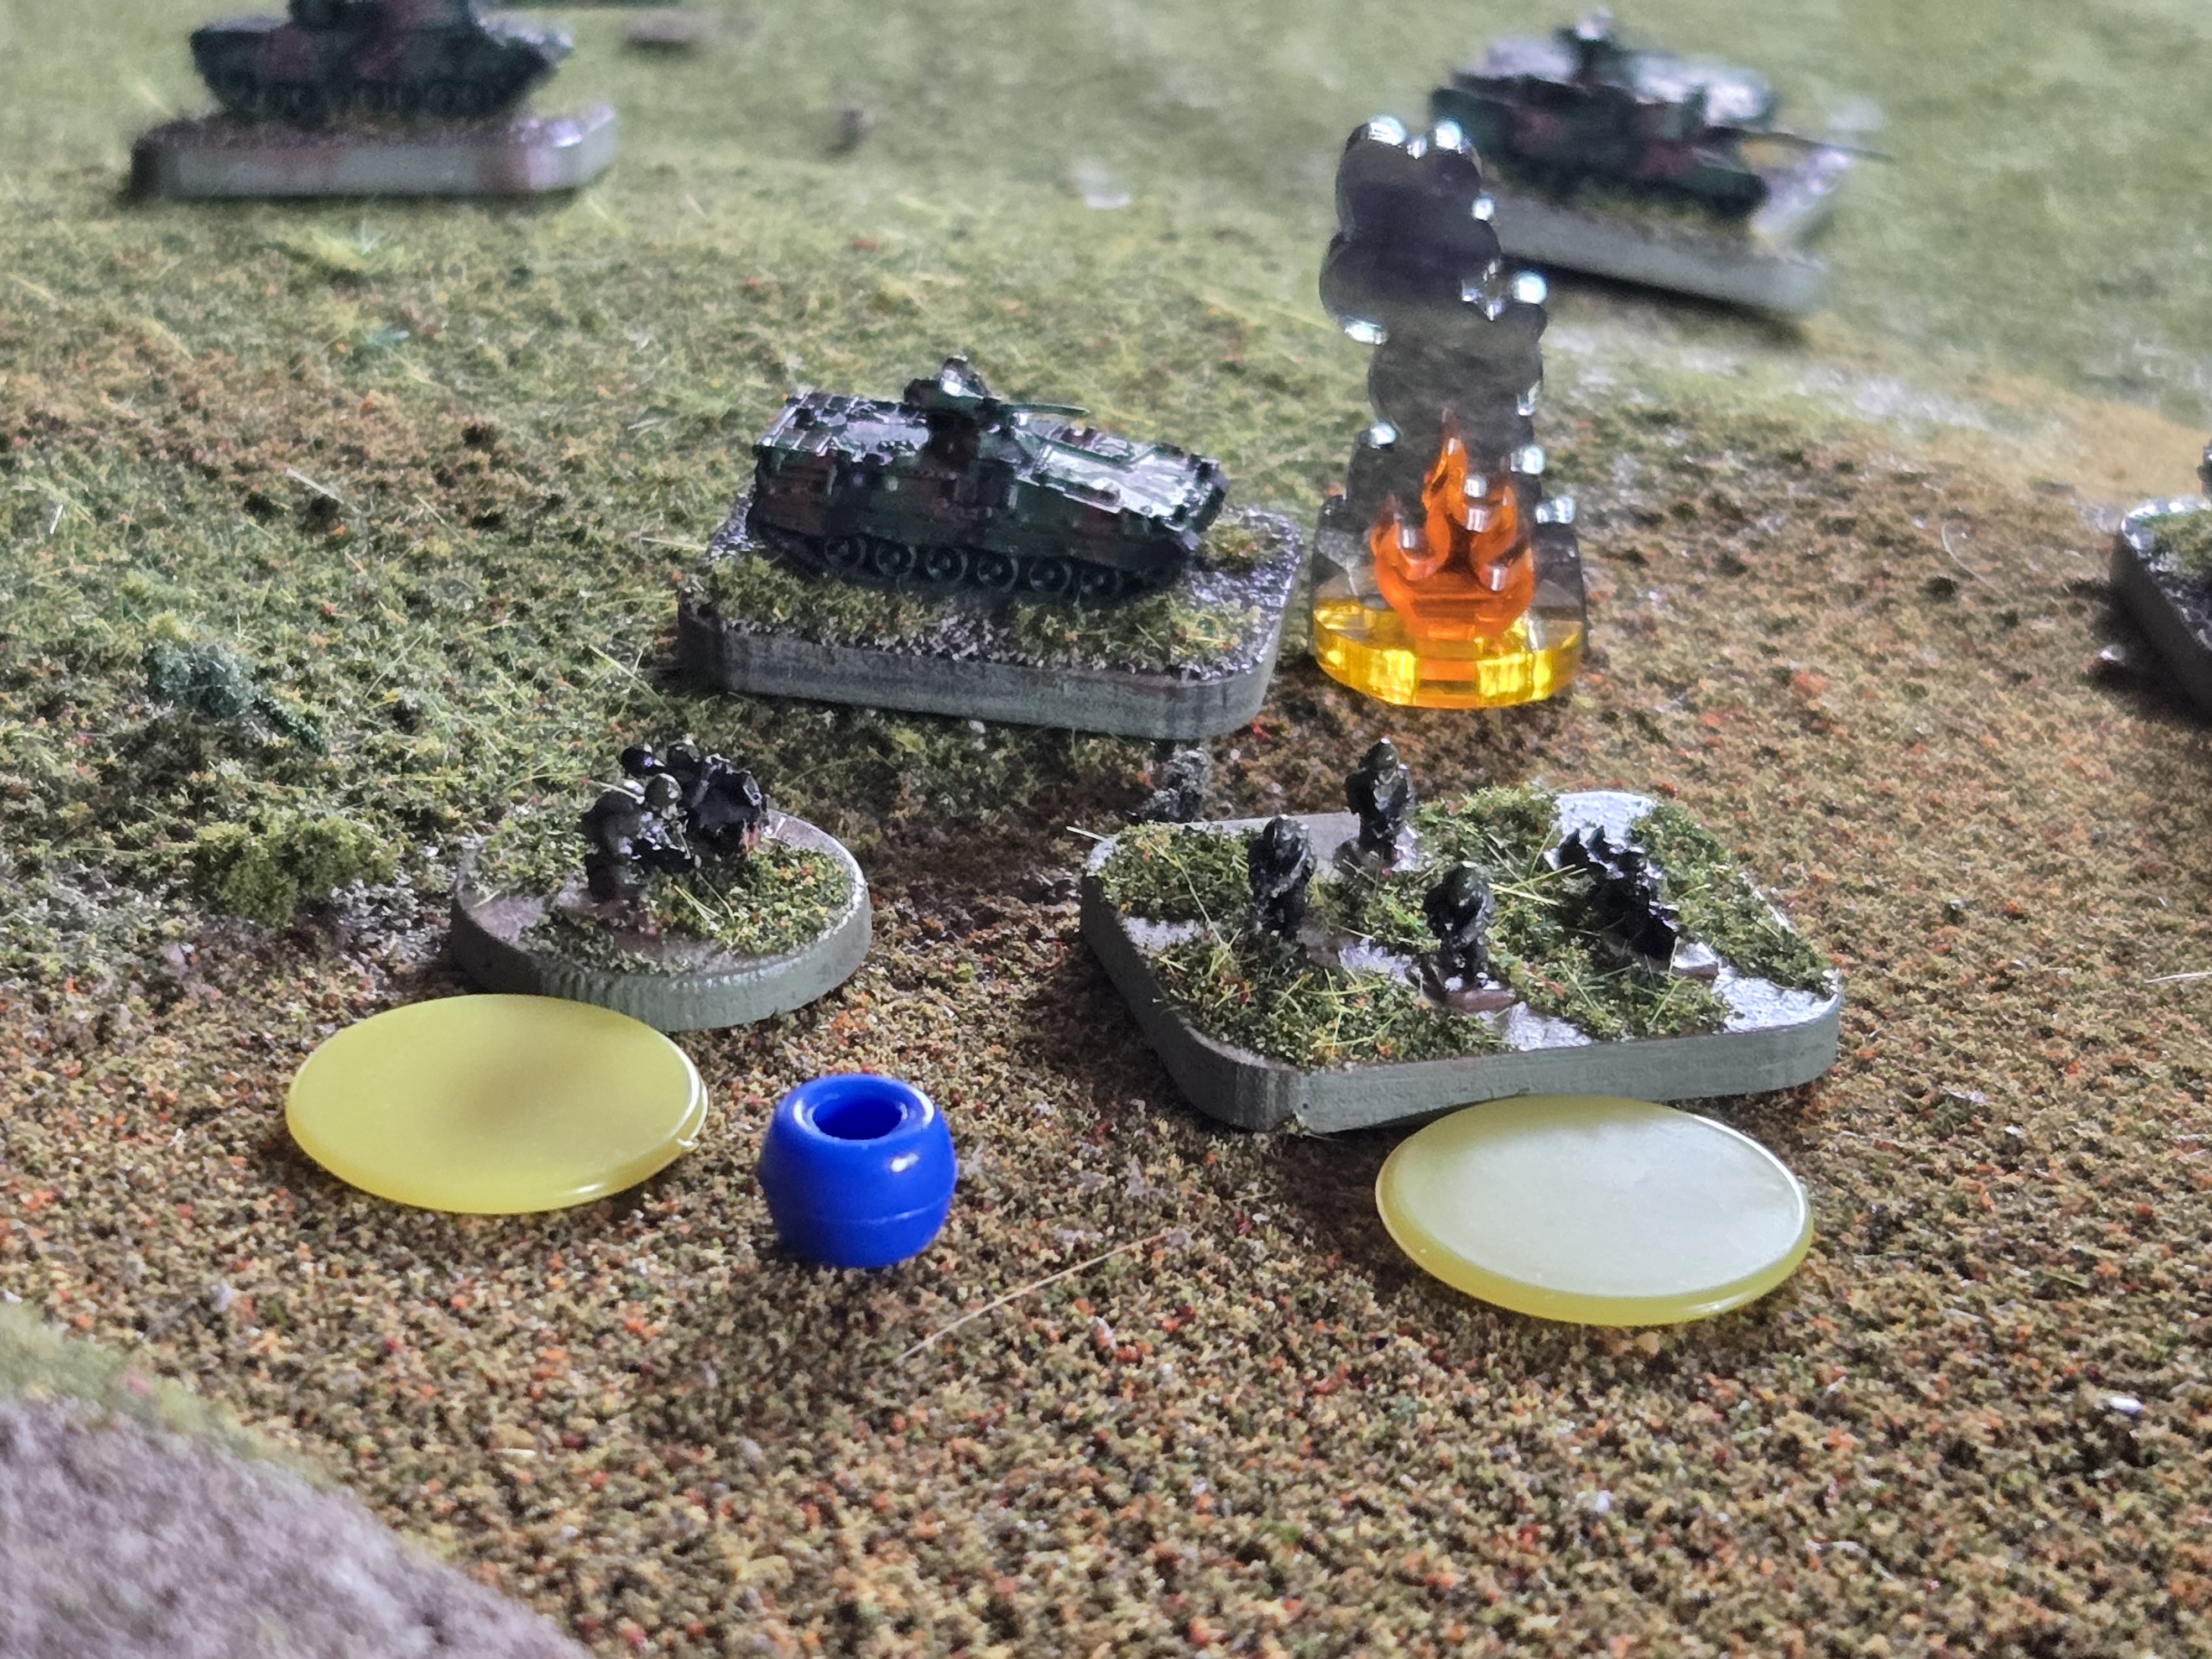
After playing a few of these battles now, I am finding that I really enjoy the challenge of playing with an infantry-heavy force and the Soviets have a large option with their motor-rifle company which consists of 9 light machine gun fireteams and 9 RPG teams mounted in BTRs or BMPs. If played right you can really cause alot of havoc as the infantry teams with their RPG-toting brothers are quite dangerous to be near, and once they get settled into terrain, they’re really tough to force out.
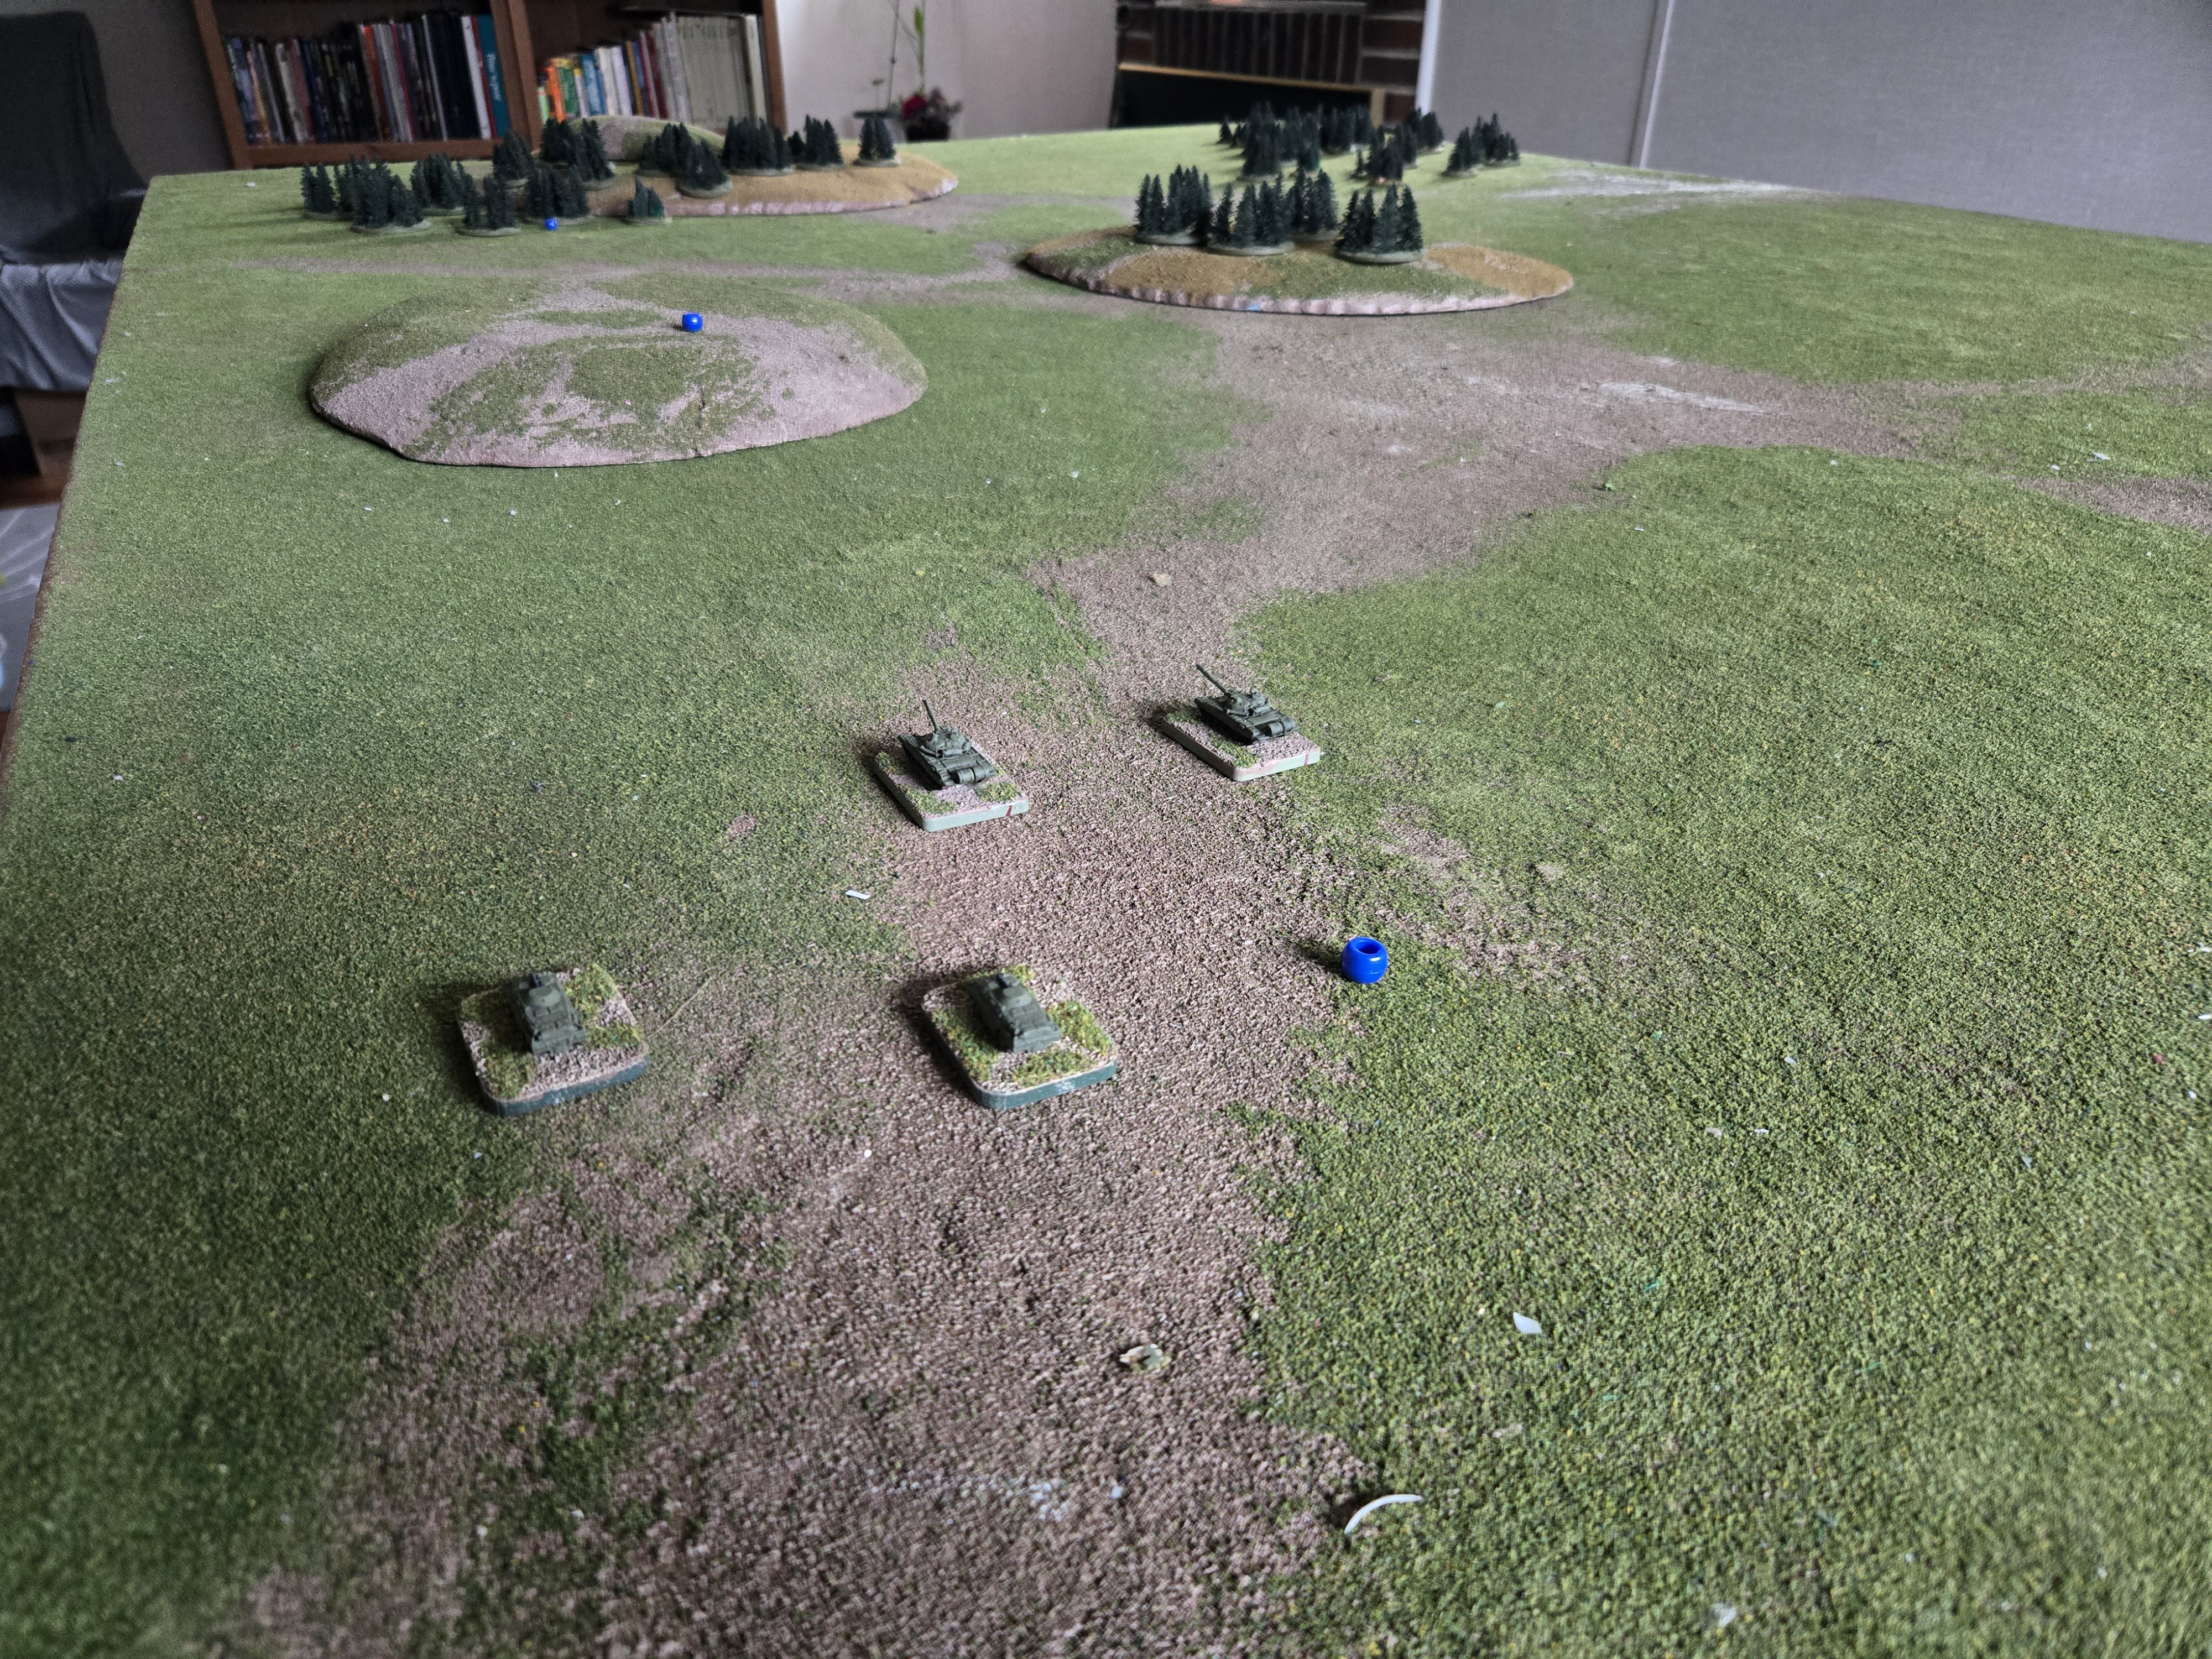
This was a simple setup with most of the objectives lined up from one long end of the table to the other. The Soviets “out scouted” the Germans with more scout elements on the table including 2 x BRDM-2 armored recce patrol cars, and 2 x T-64Bs to accompany them. The Soviets also purchased the “breakthrough” option, which forces a morale chit pull for every Soviet unit that leaves the table. My fear, which proved unfounded, was that this would be a jail break and NATO would be sent packing in less than an hour.
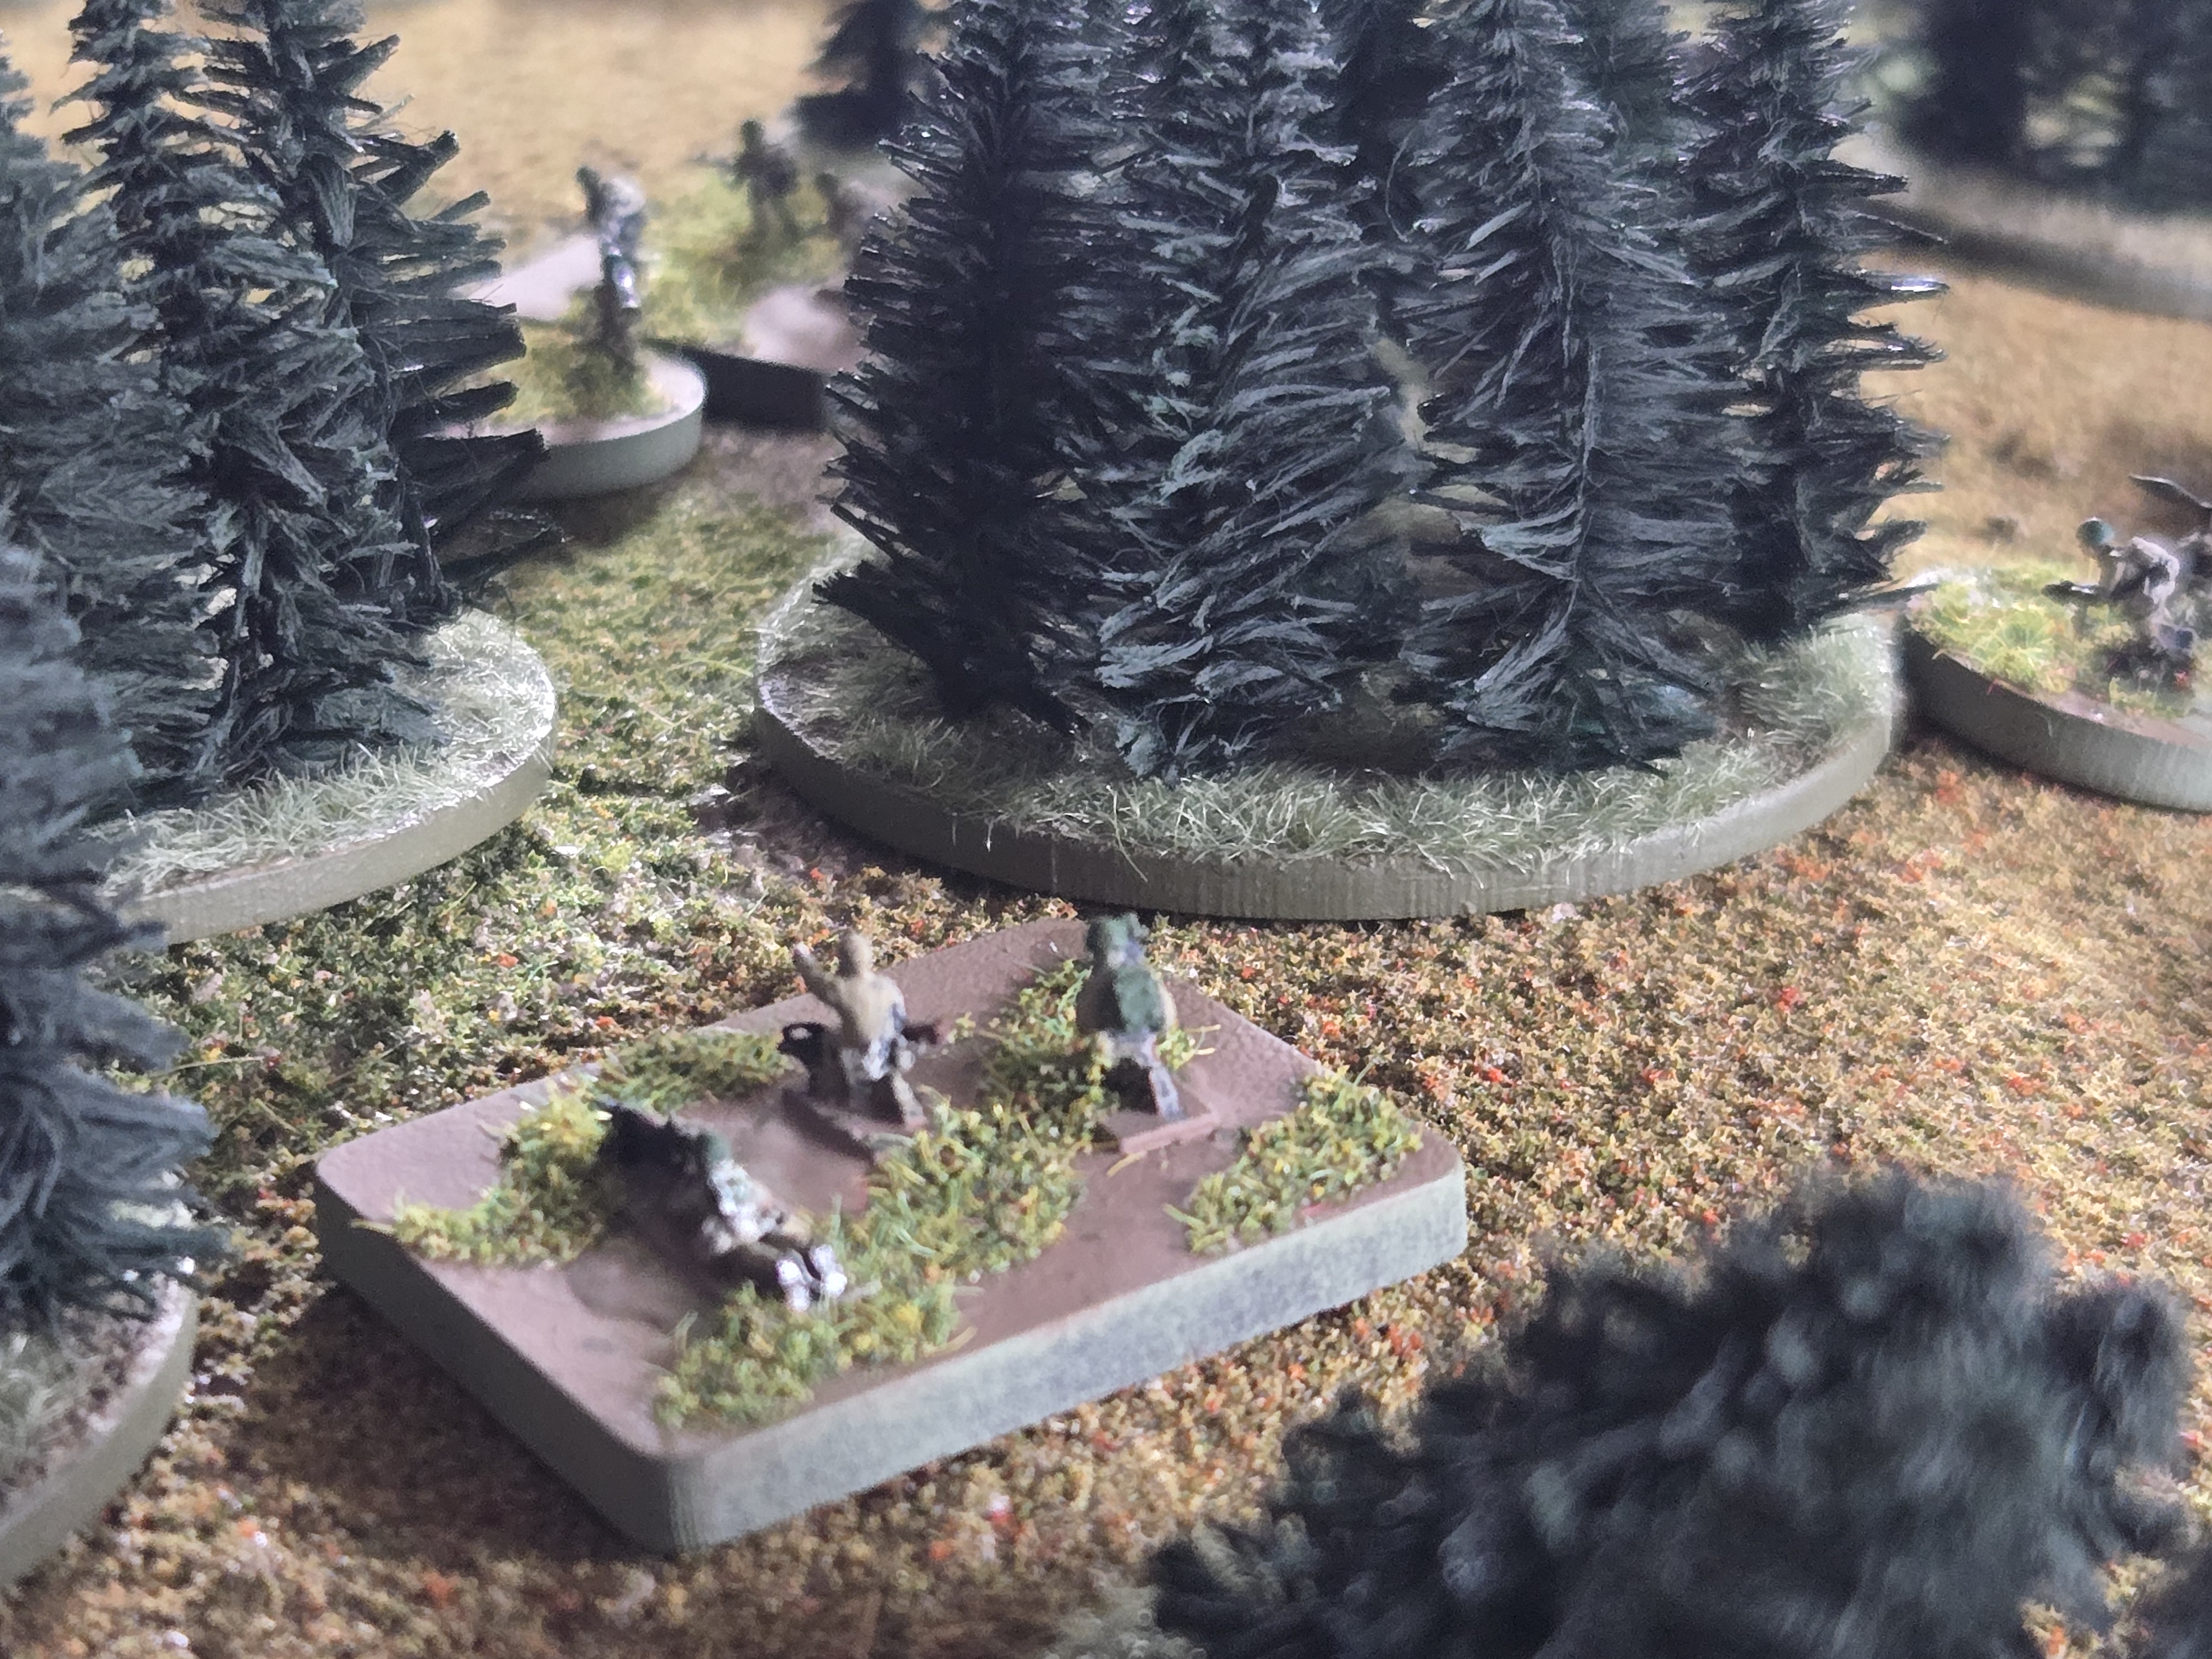
The Soviet scouts began skirmishing with the German Luchs recce and their tanks quickly got the upper hand on the Germans. The BRDMs pulled up closer to the table edge – right in time for the German Leopard I platoon to arrive in force!
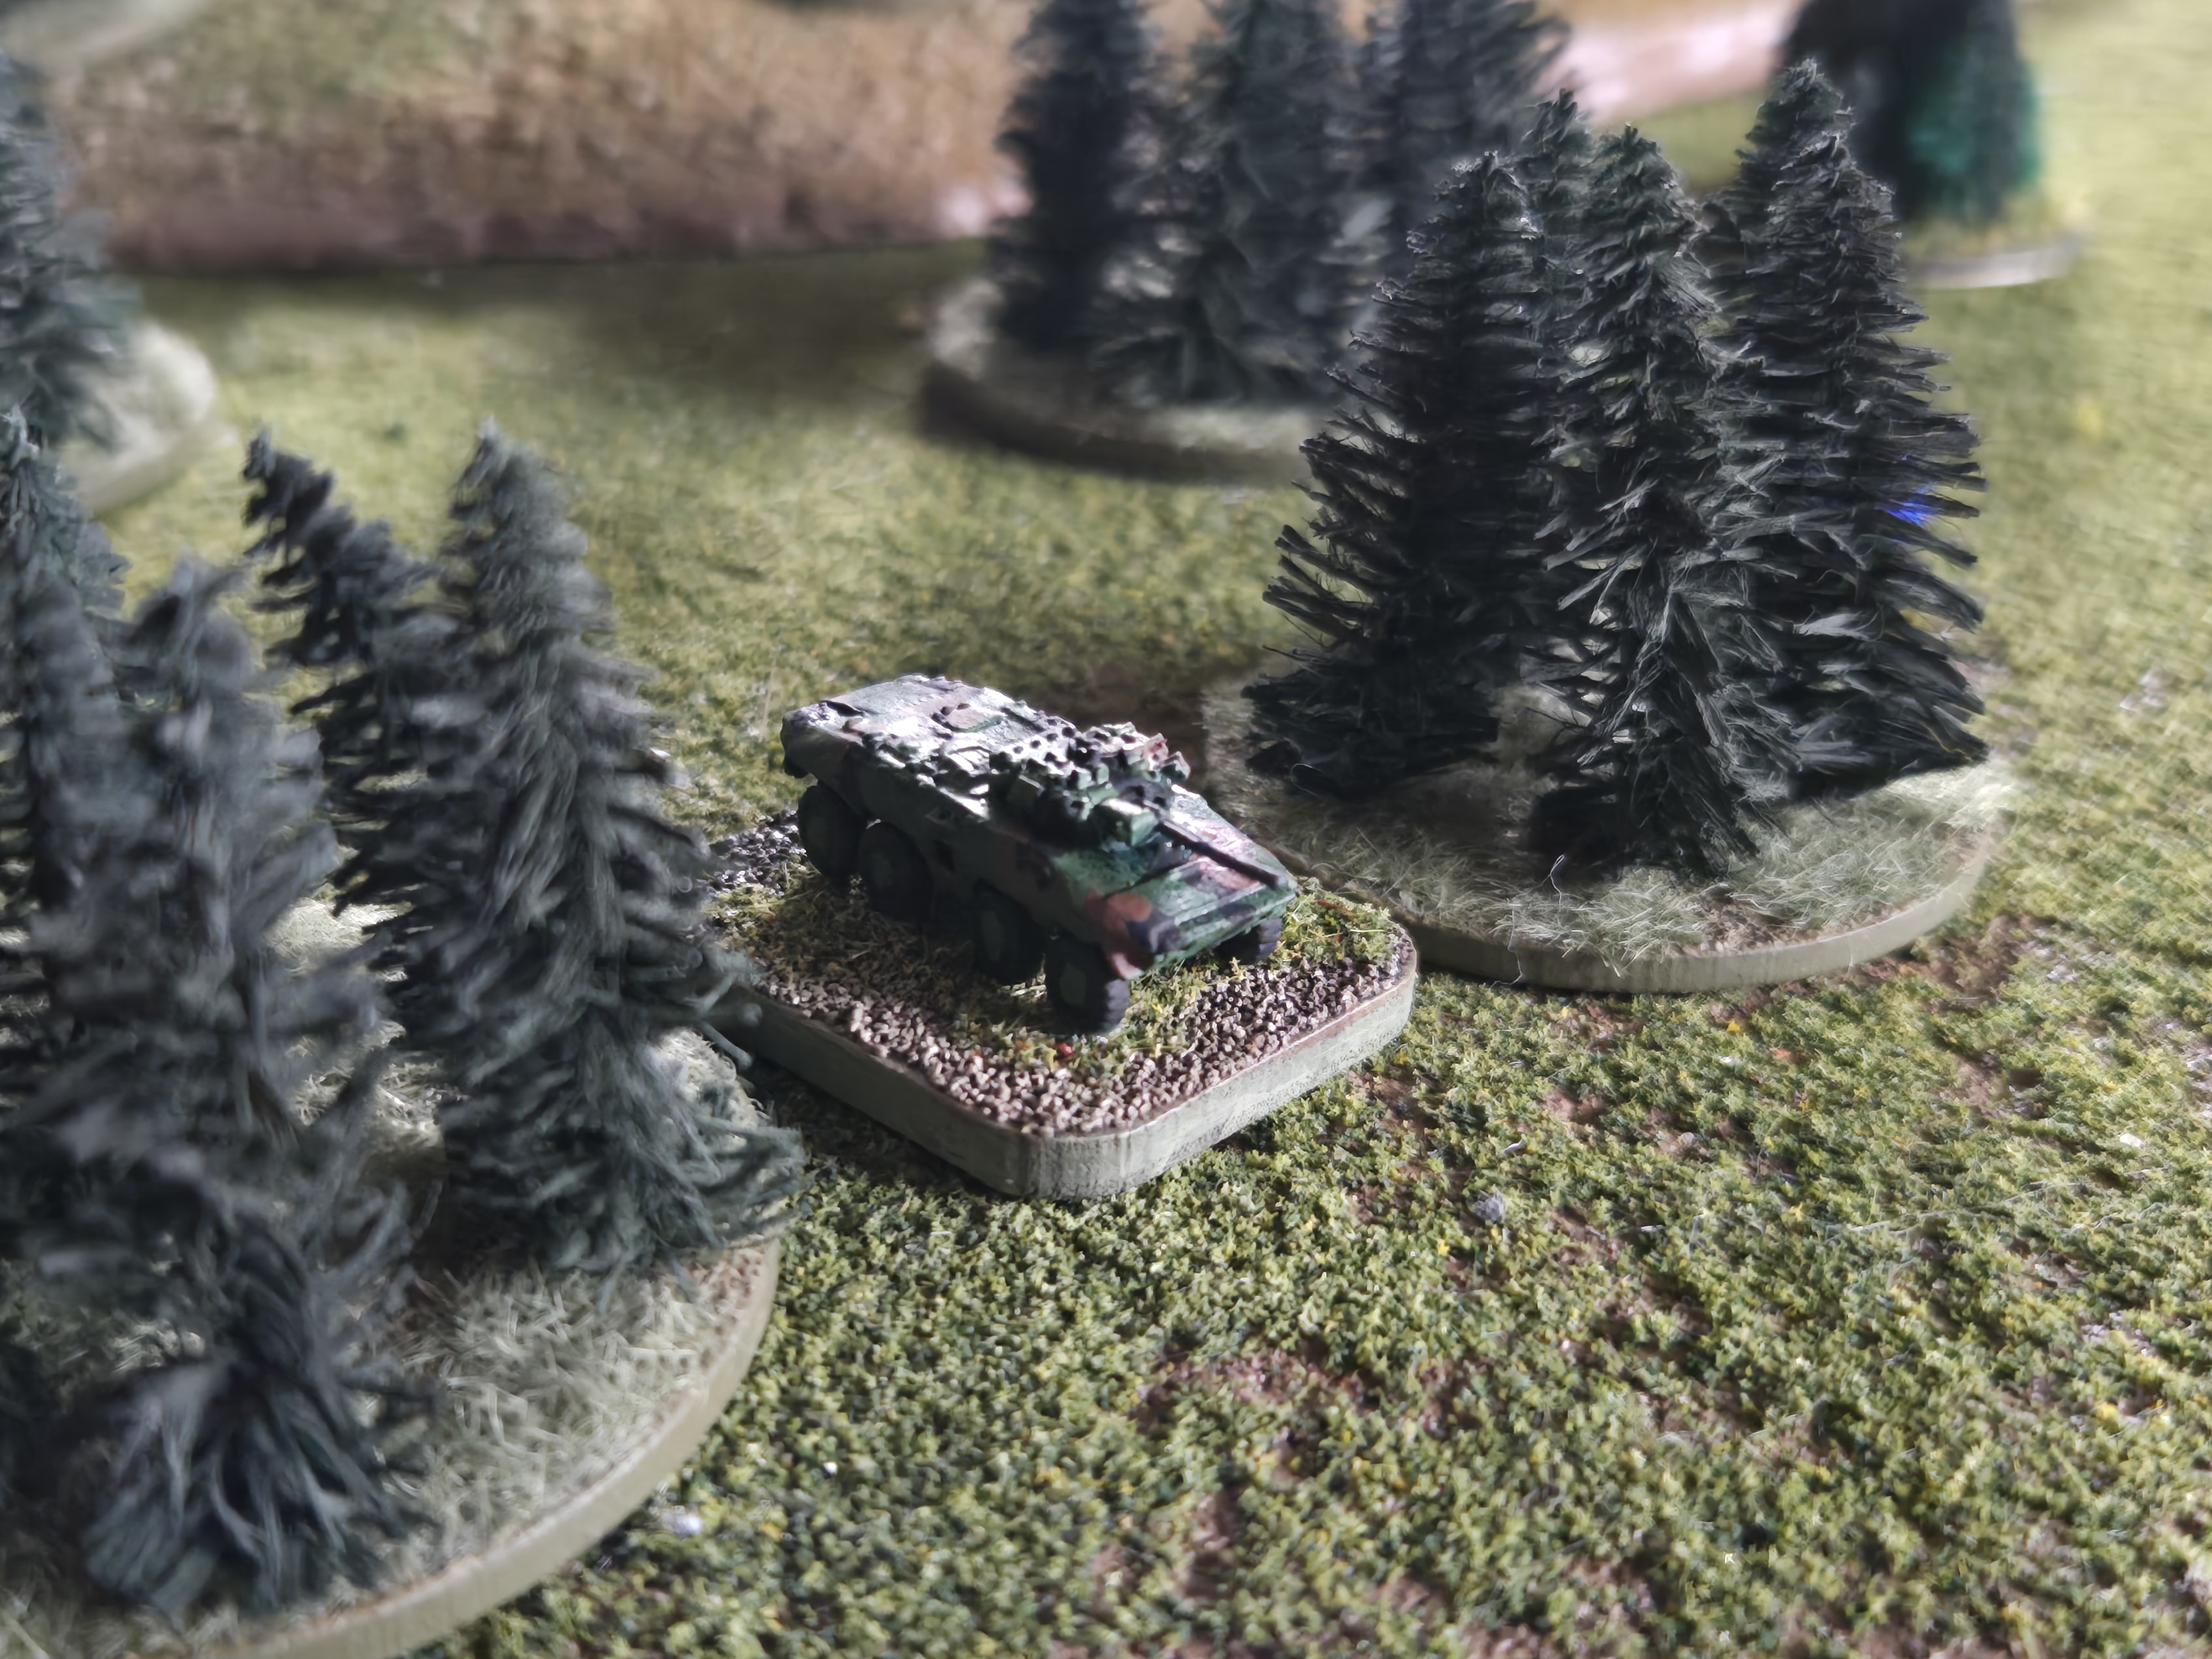

4 Leopard IA4 tanks arrive and block the path of the BRDMs and tanks and a knife fight develops with the Germans gaining the upper hand. Their “advanced optics” and “advanced gunnery” means the Soviet T-64s lose any advantage they had hiding in cover. Needless to say, the BRDMs do not pass – even with rolling “snake-eyes” to kill one of them.
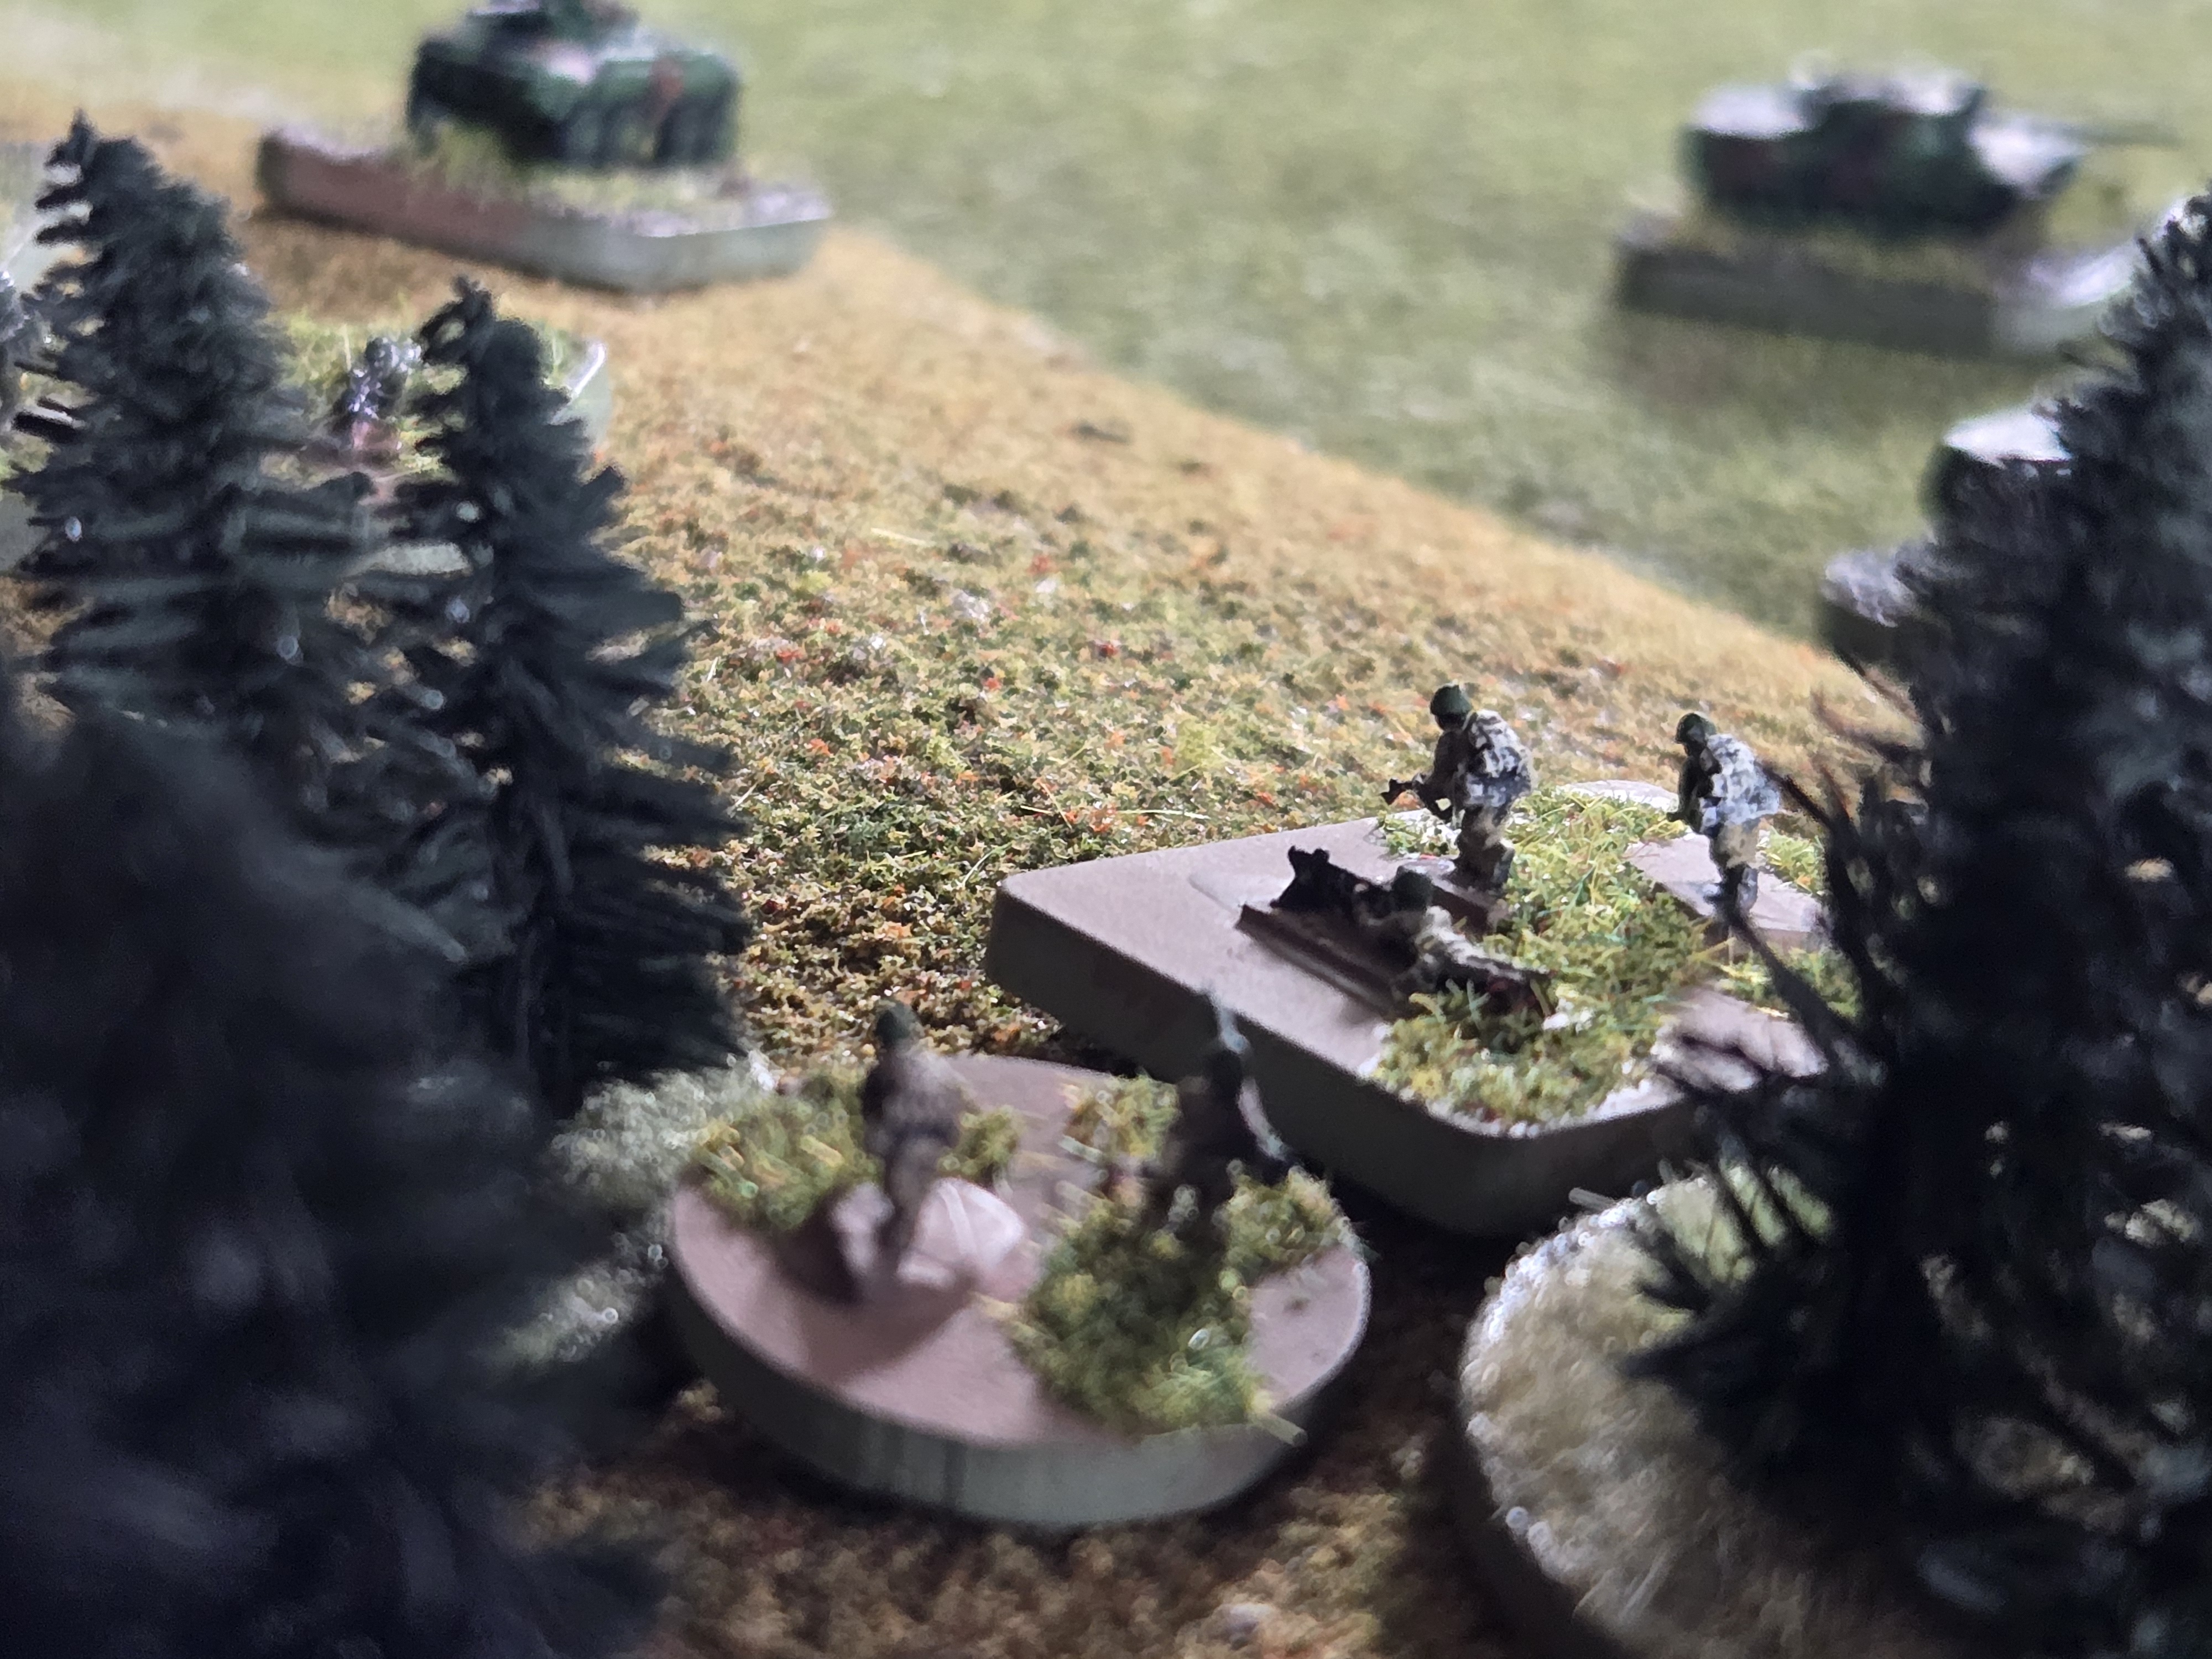
By turn 5 the situation with the reconaissance troops on the Germans’ right is stabilized however a new threat develops as a huge force of armored vehicles approaches the hill!
The Soviet vanguard has arrived – all 11 BTR-60s loaded with troops and gear. THey immediately aim for the valley to try and race off the table – but there is way too much ground to cover. The German tanks and Infantry Fighting Vehicles redeploy to cover the valley and it will be a turkey shoot unless the Soviet commander shows some initiative…
The Soviets, seeing the Germans redeploy to cover the valley, decide instead to assault the hill and go for an “all objectives secured” victory. Instead of racing off the table, the Soviets will dismount their horde of infantry platoons and assault the hill objective. If they can successfully seize it, the game will be won via objectives – the old fashioned way. My infantry platoons have 3 RPG teams each (total of 9) and can assault the German infantry on the hill. It will be glorious!
As I said before, I like playing with infantry forces in this game because they give you lots of options and have lots of capabilities. It forces you to think like a commander – deciding which tools from your toolbox to use.
The Germans also are much closer to their breakpoint than the Russians are. With a big difference between BPs, the Soviets are much more inclined than normal to push their troops and take some risks. Little did I know how quickly the fortunes of war could shift!
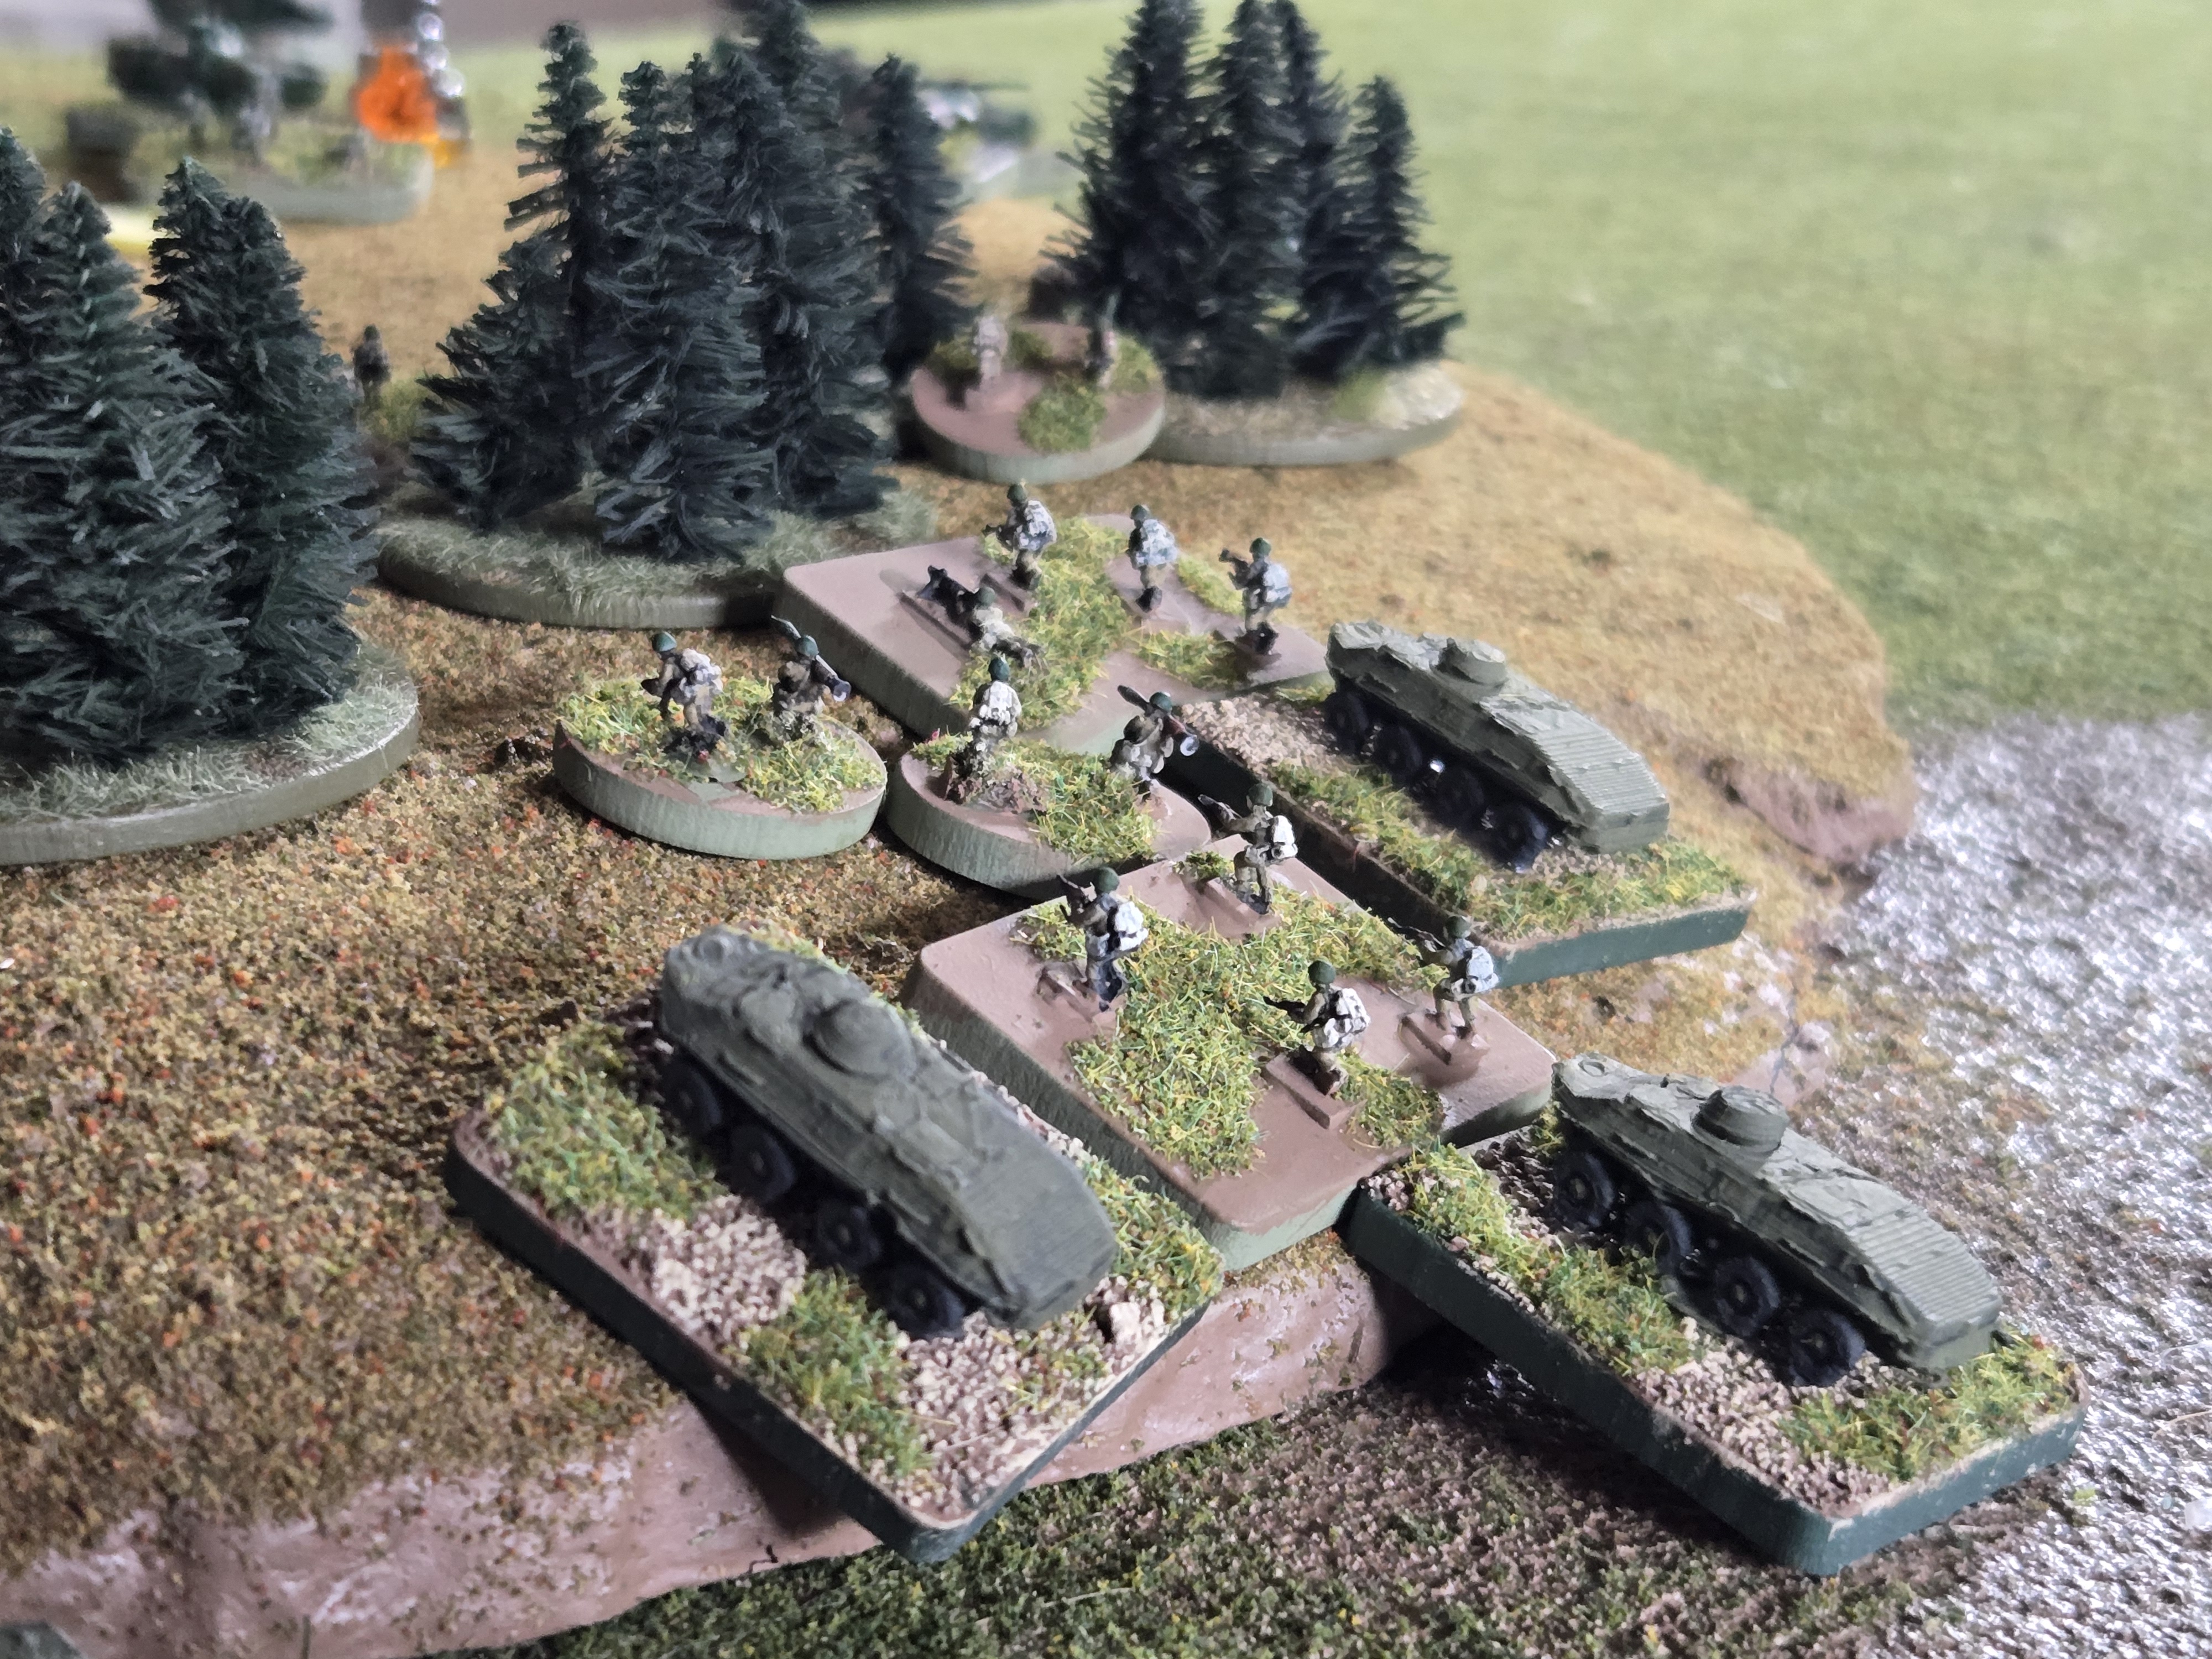
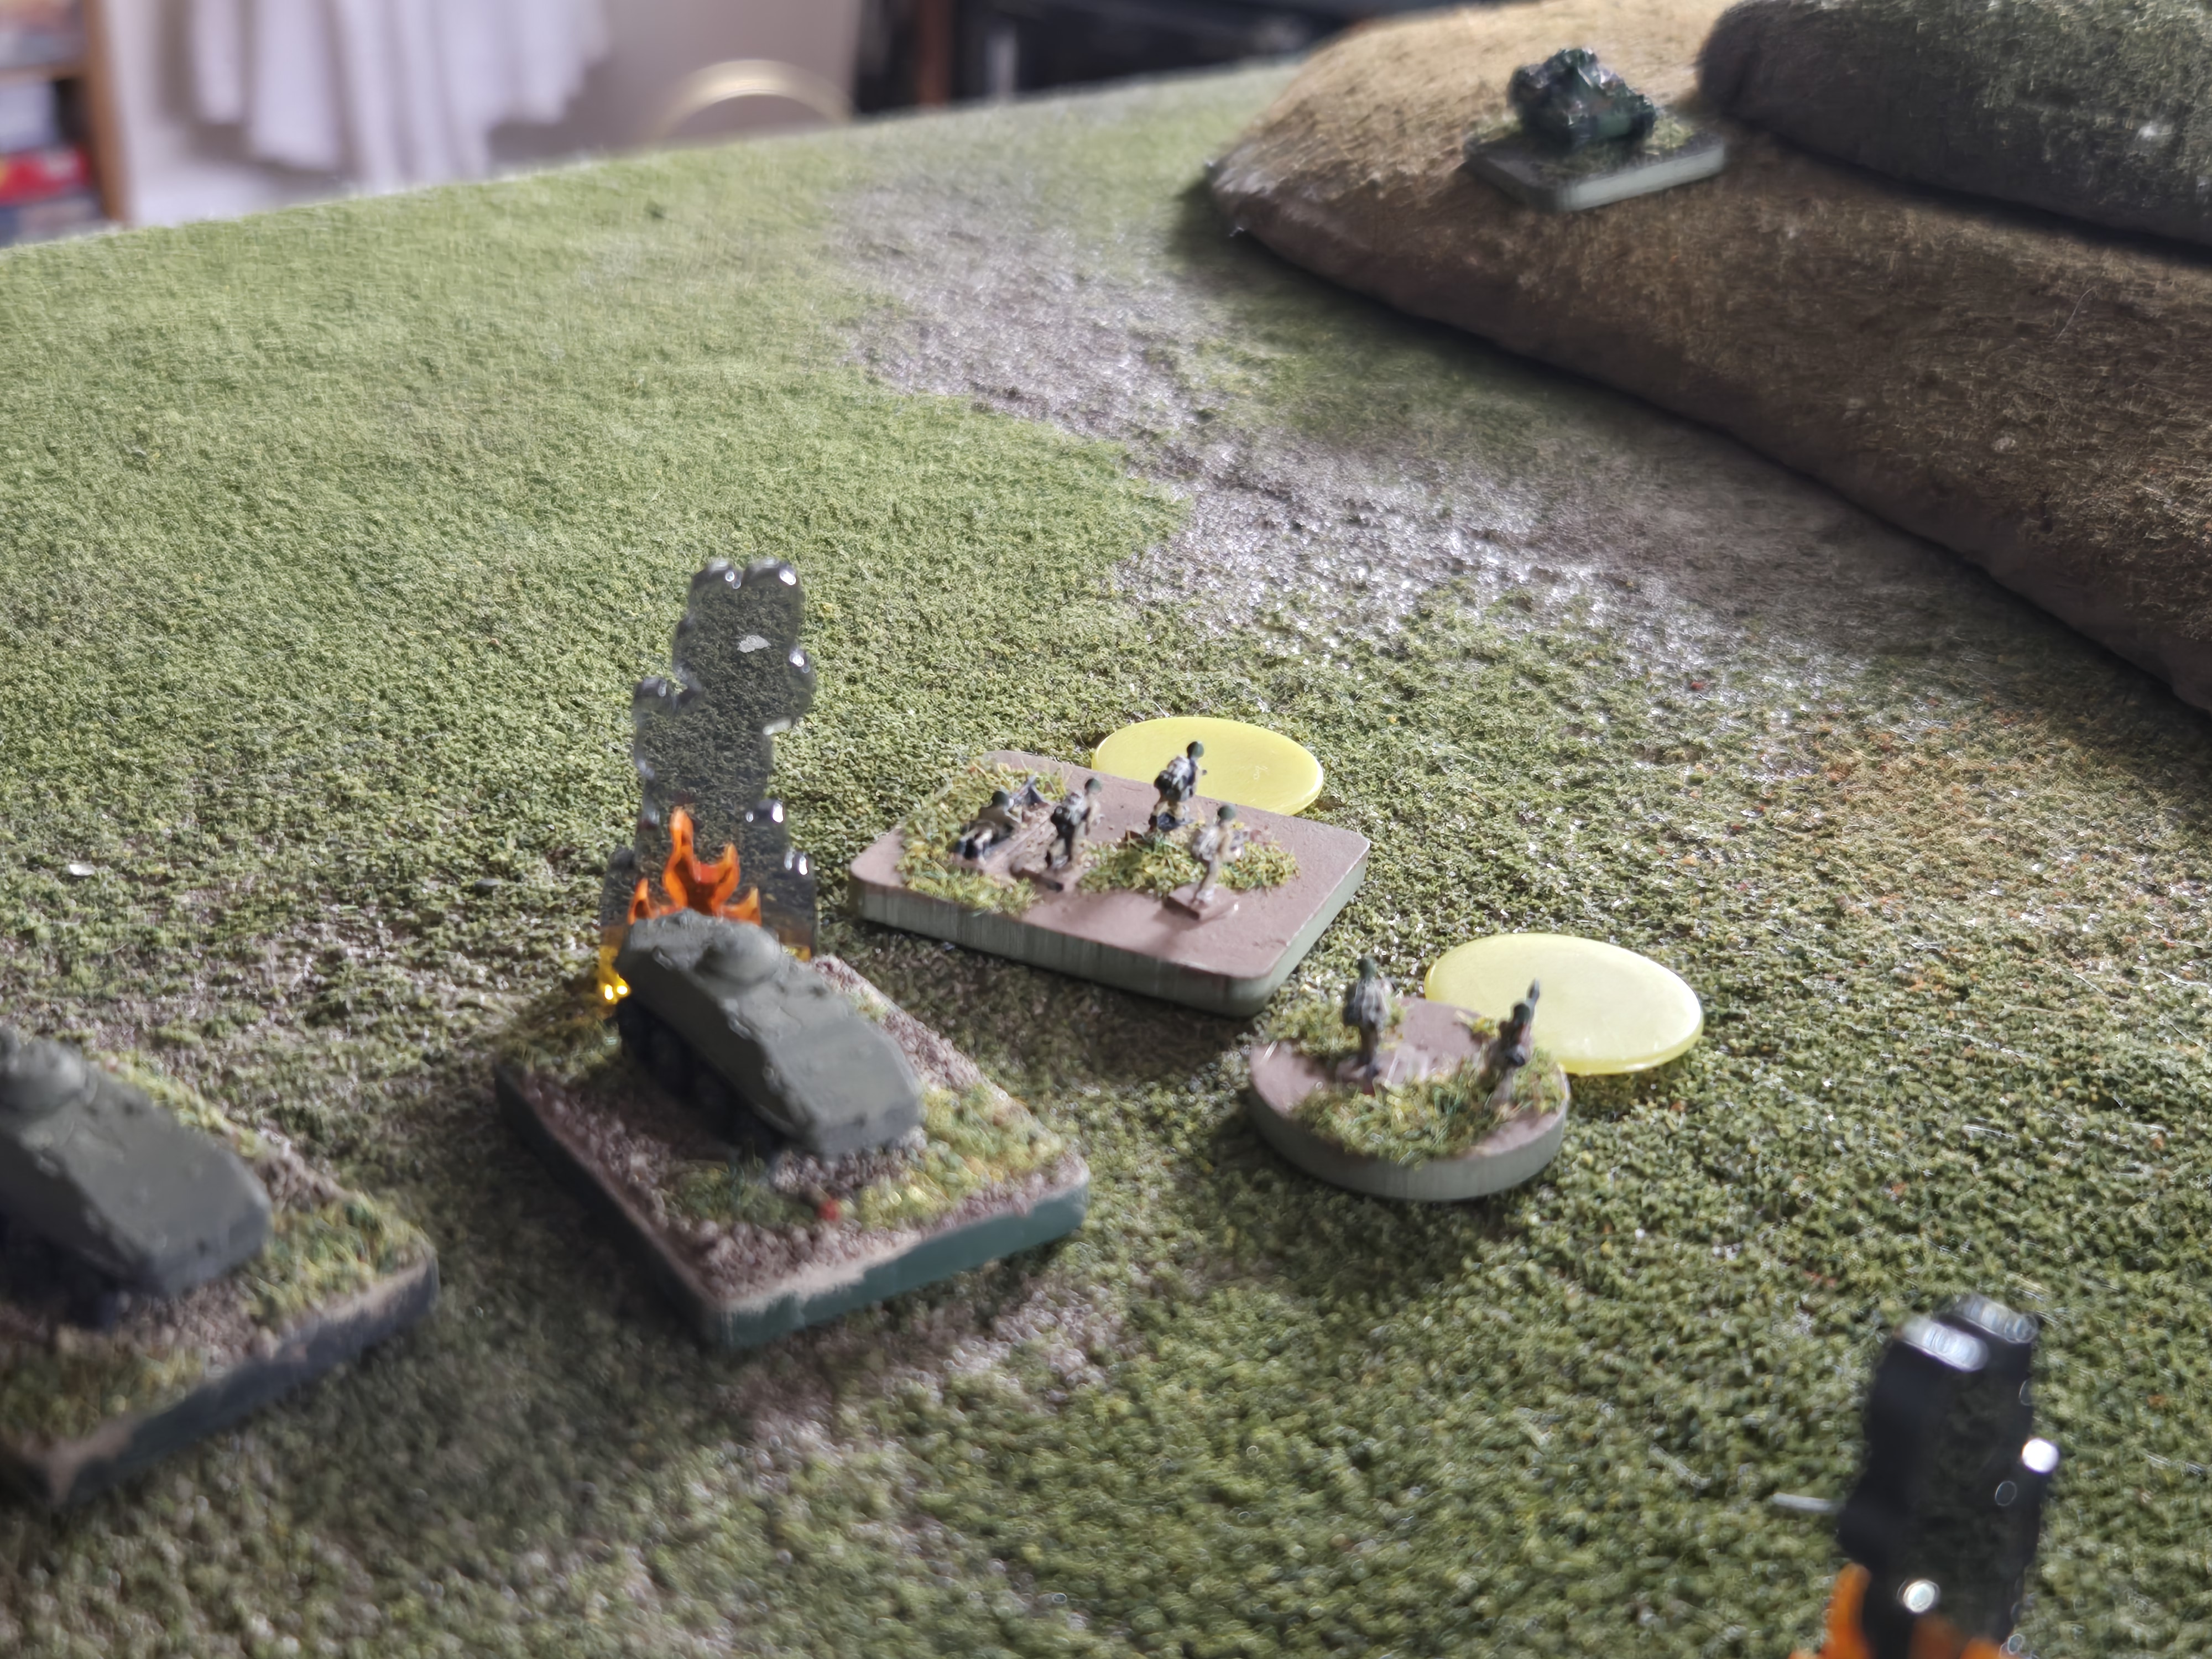
Things start to go a little sour for the Russians on Turn 6 as a Soviet timed artillery barrage clips and pins 2 of their teams assaulting the hill. To make matters worse, almsot every shot on the hill misses and the Germans are able to return fire and/or redeploy and end up killing or pinning lots of Soviet troops. The element of surprise has been lost!
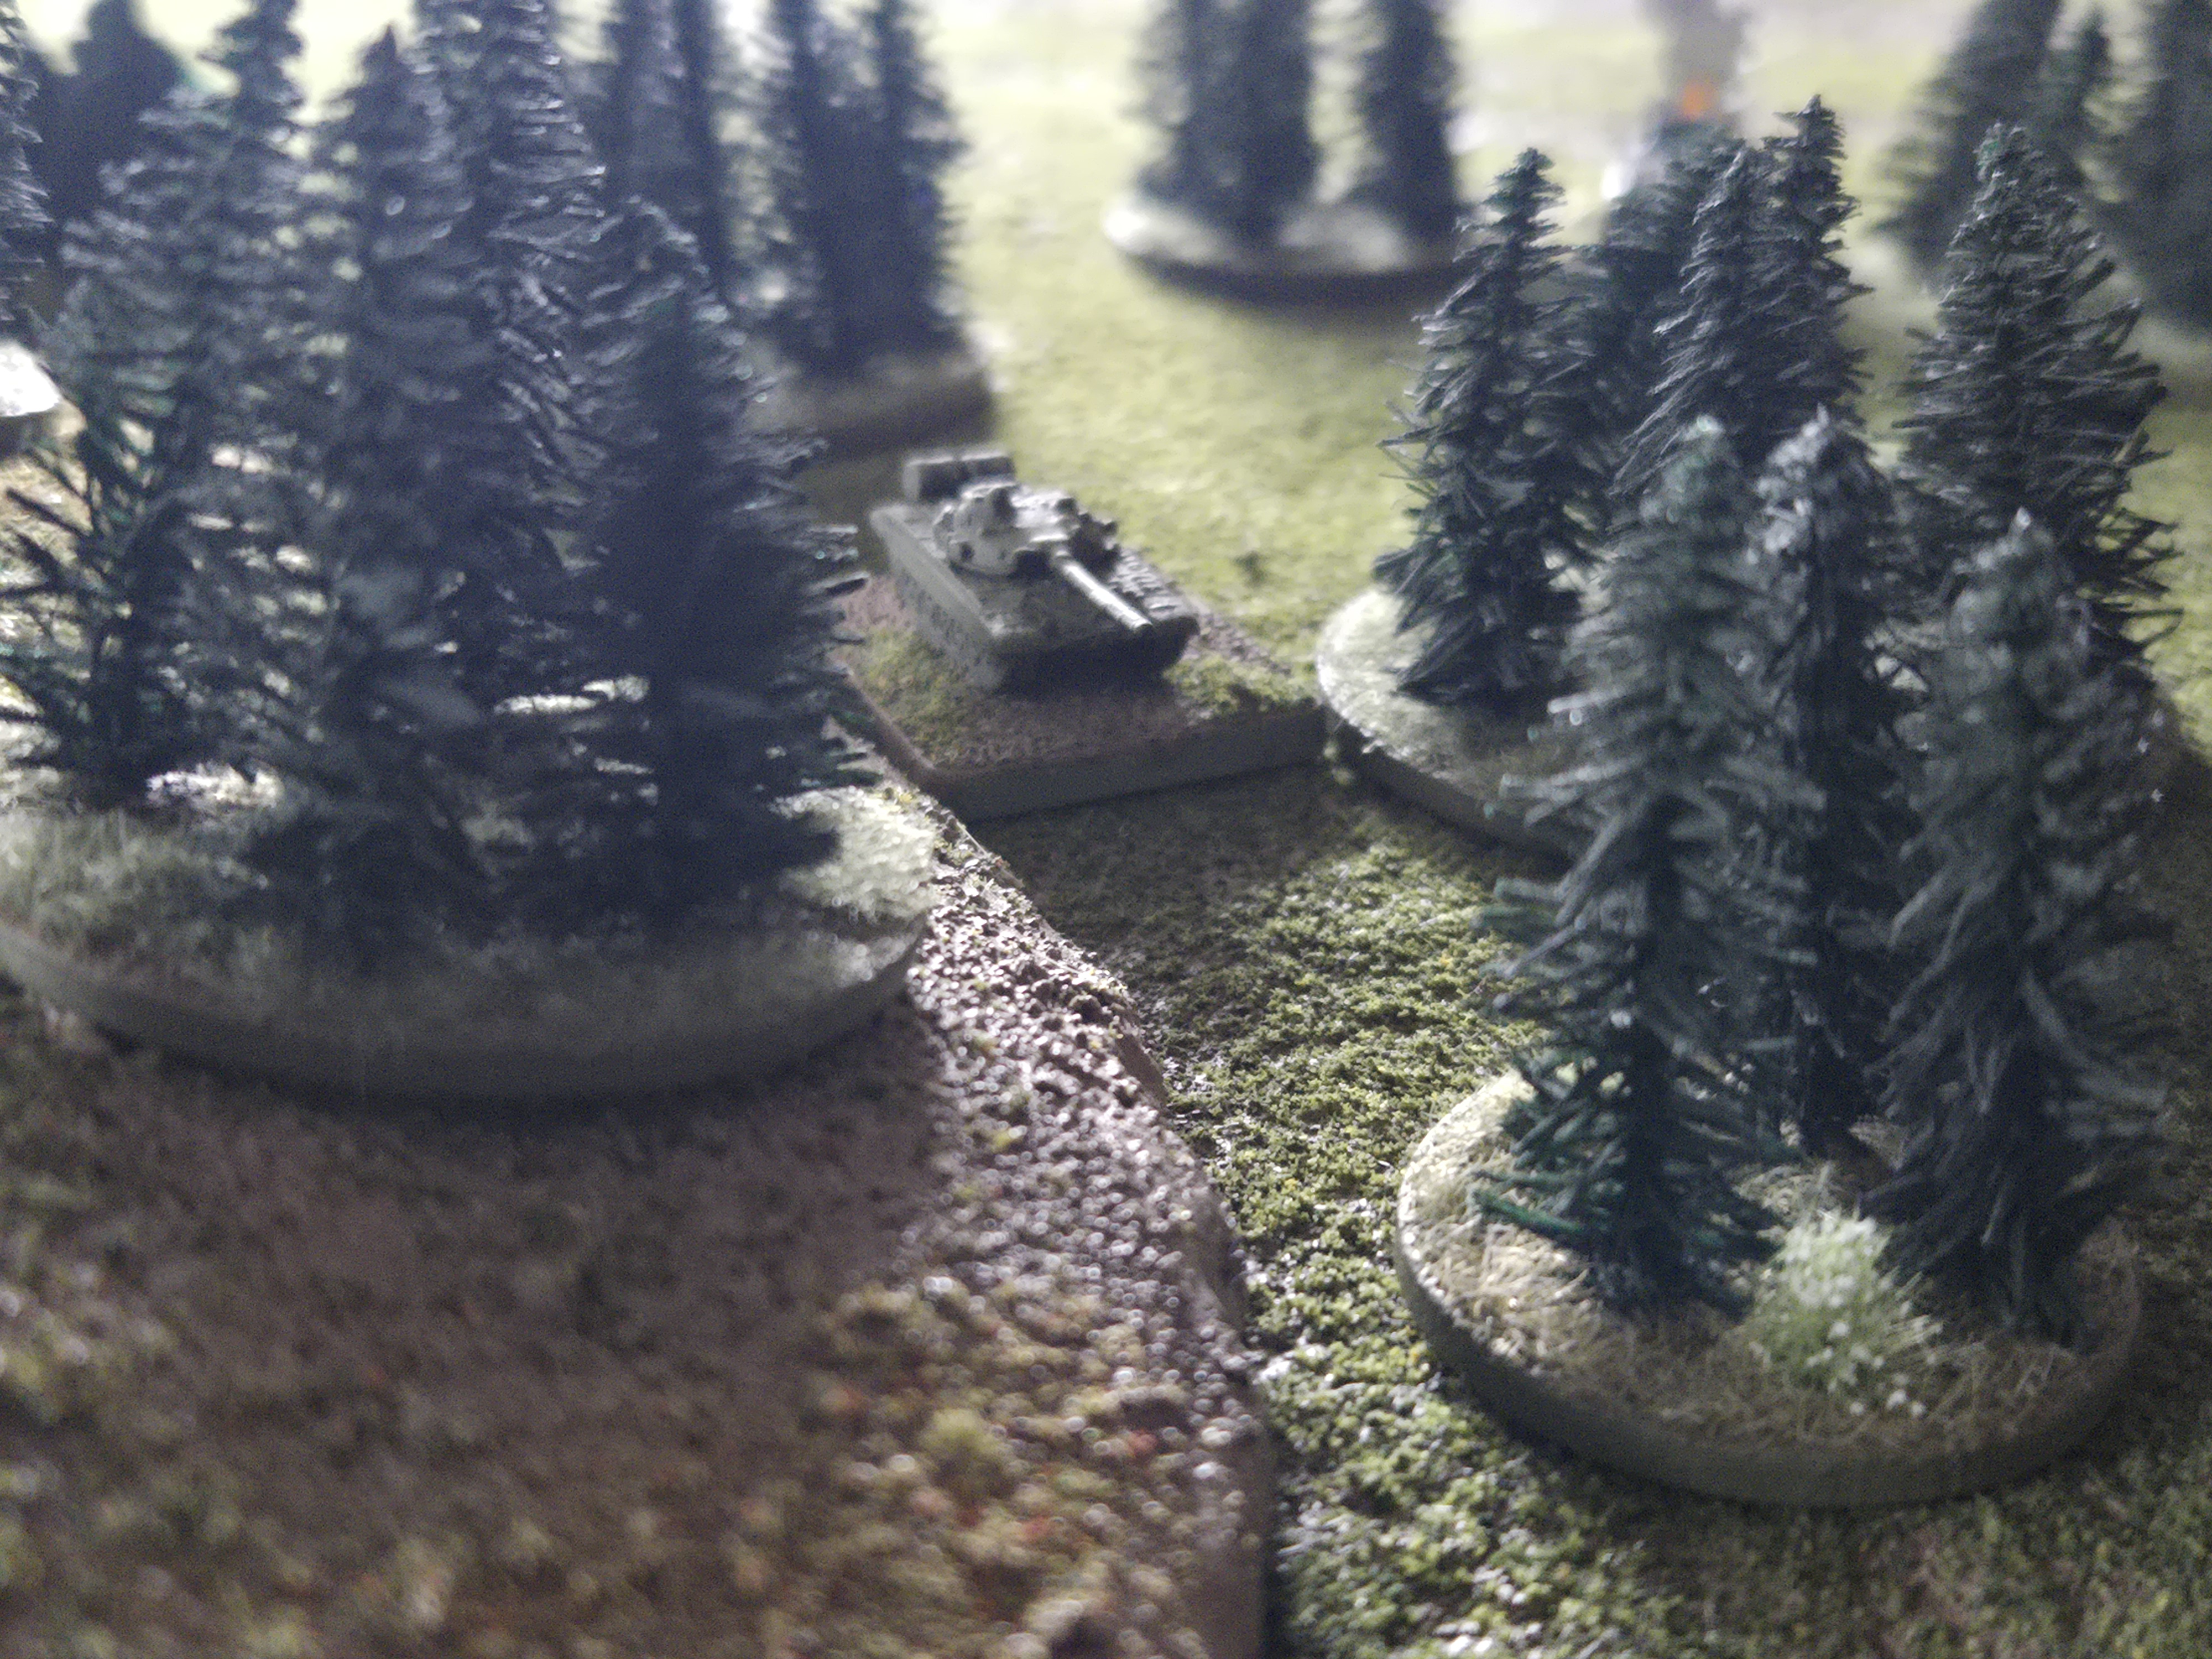
The Germans, knowing half of the Soviet company is still down in the valley, strikes. They move their tanks and Anti Tank Guided Missile vehicles around the hill (covered from RPG fire) and launch a serious barrage of fire at the BTRs milling about in the valley, knocking out all of the BTRs who had not yet joined the assault. Meanwhile, the German vehicles atop the hill redeploy to get a little cover, preparing to assault through the Soviet ambush.
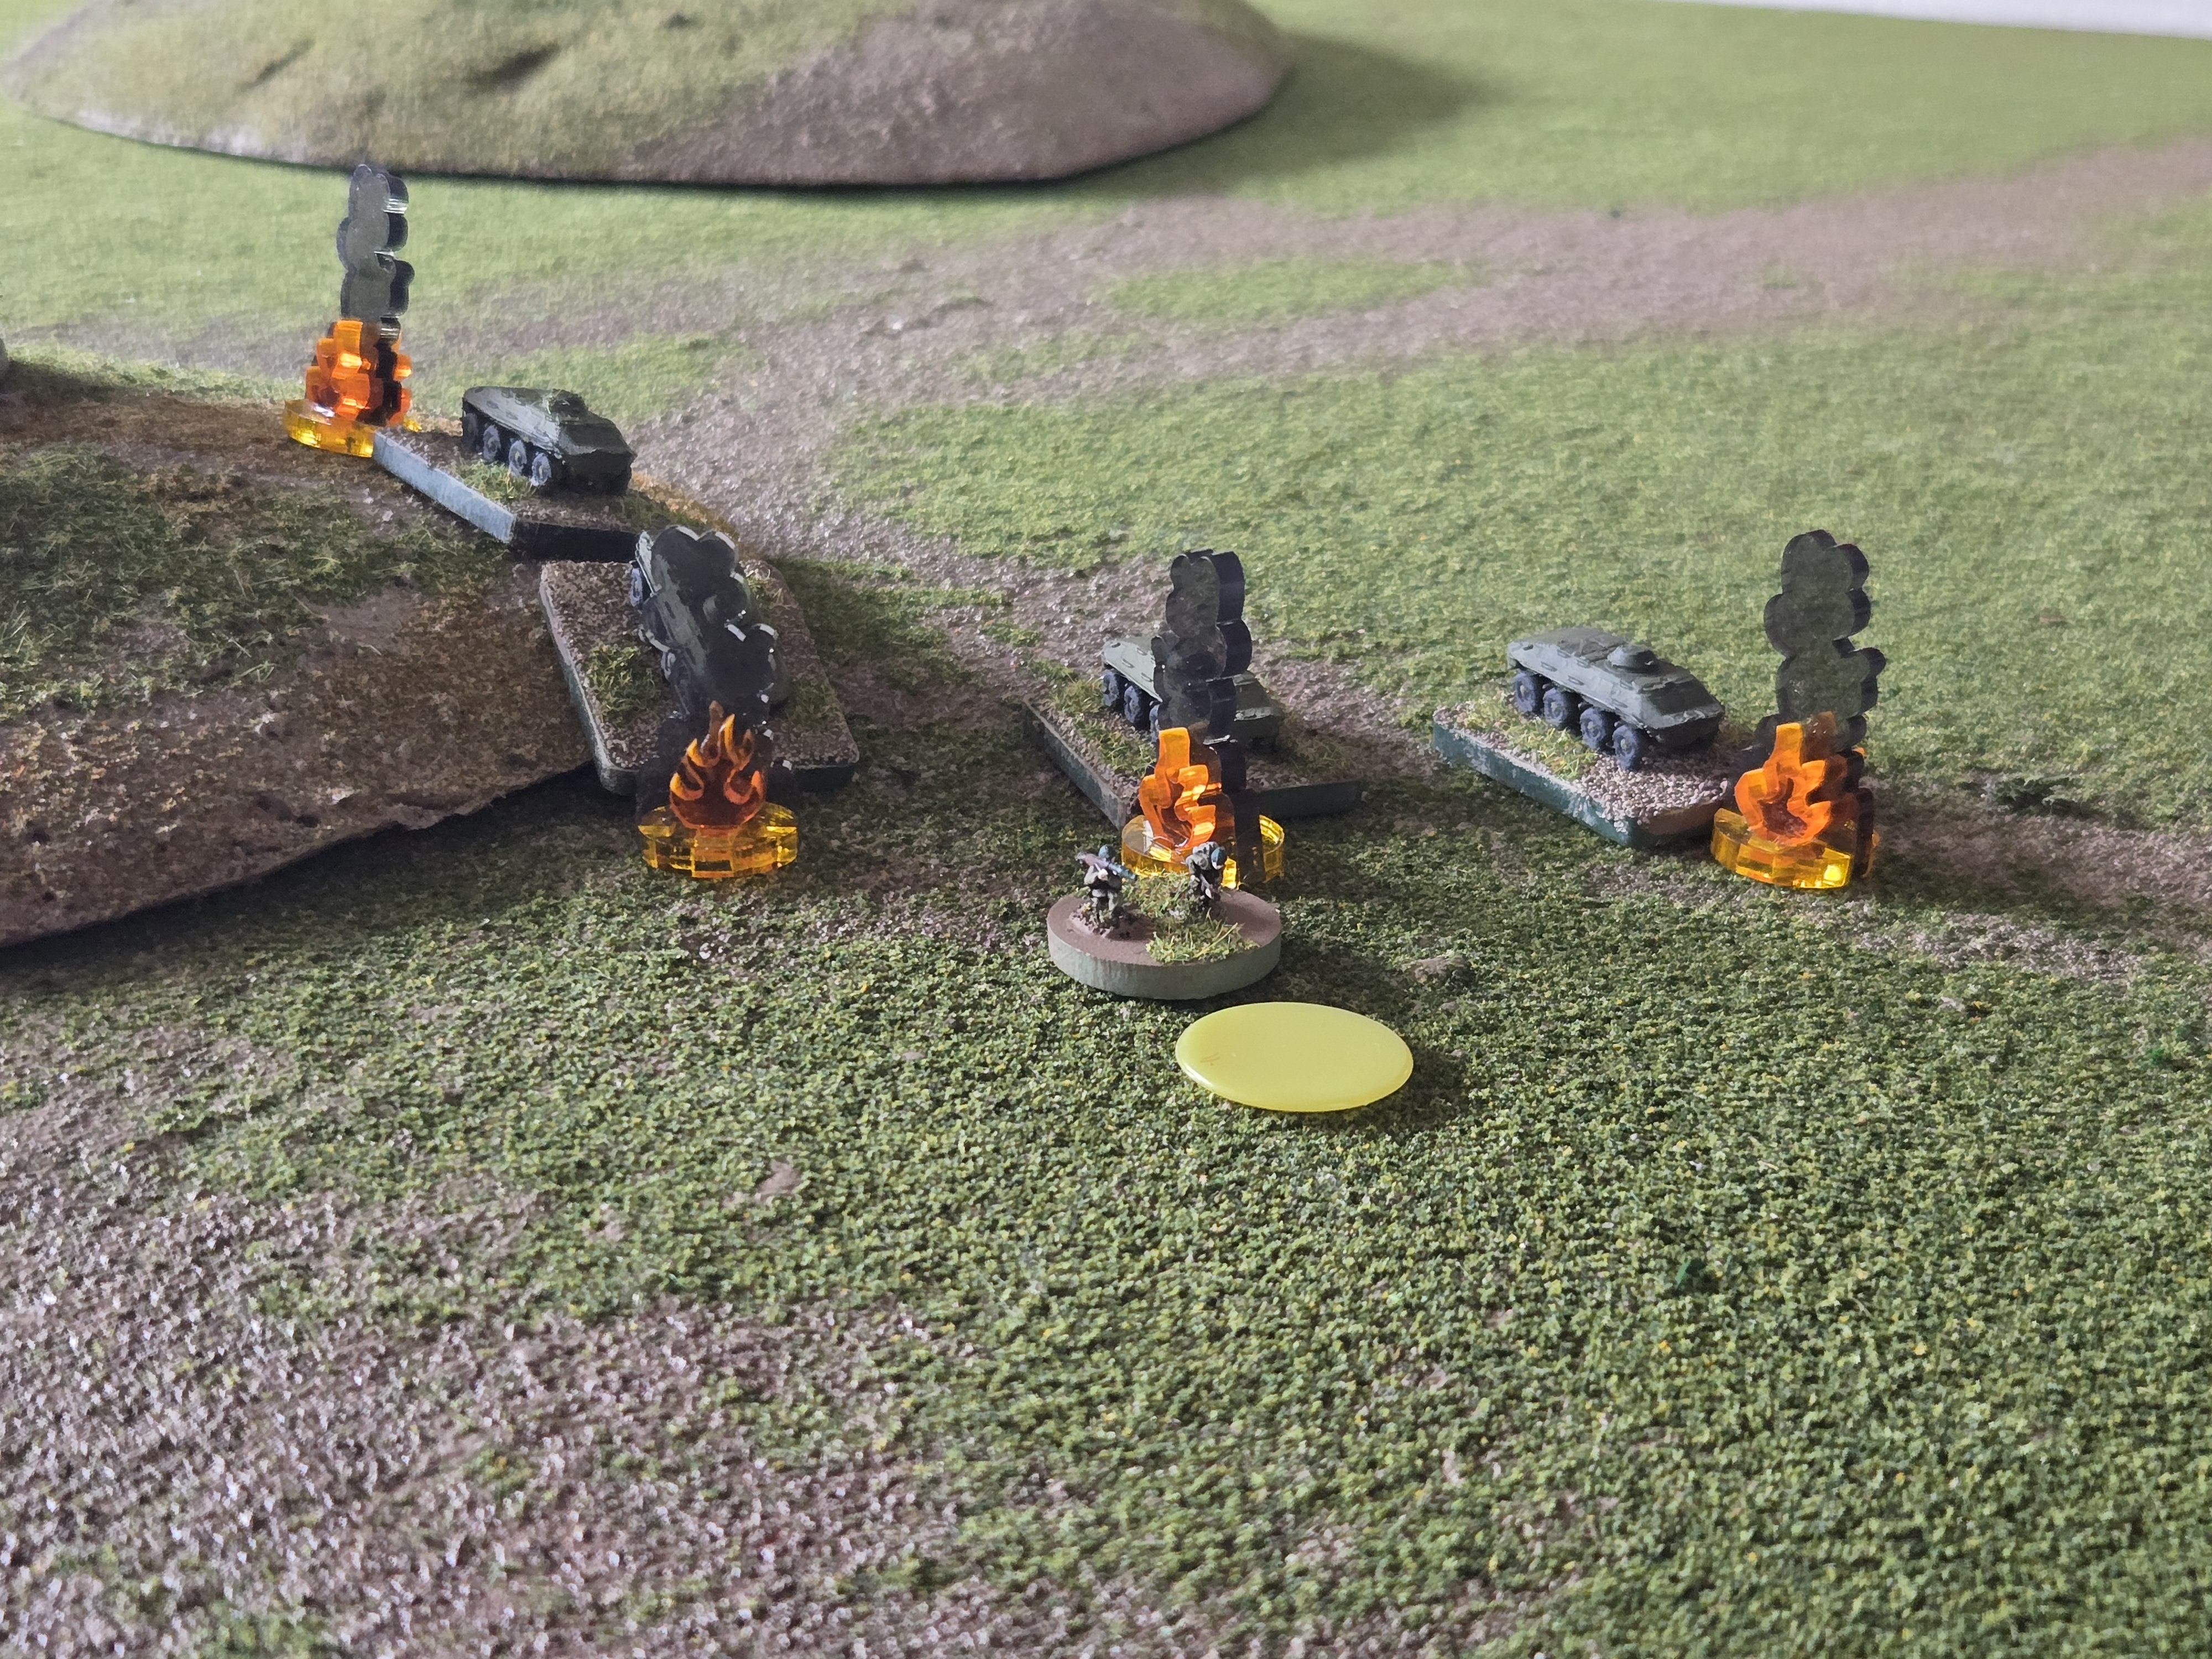
One bright spot is the Soviets were able to get 1 BTR off the table forcing a German chit pull which turned out to be a tactical “Nuclear Strike” (OMG!). A quick scan of the rules states that since I did not purchase the “cleared for nuclear attack” option at the start of the game, a nuclear exchange doesn’t happen. Well that’s heartening!
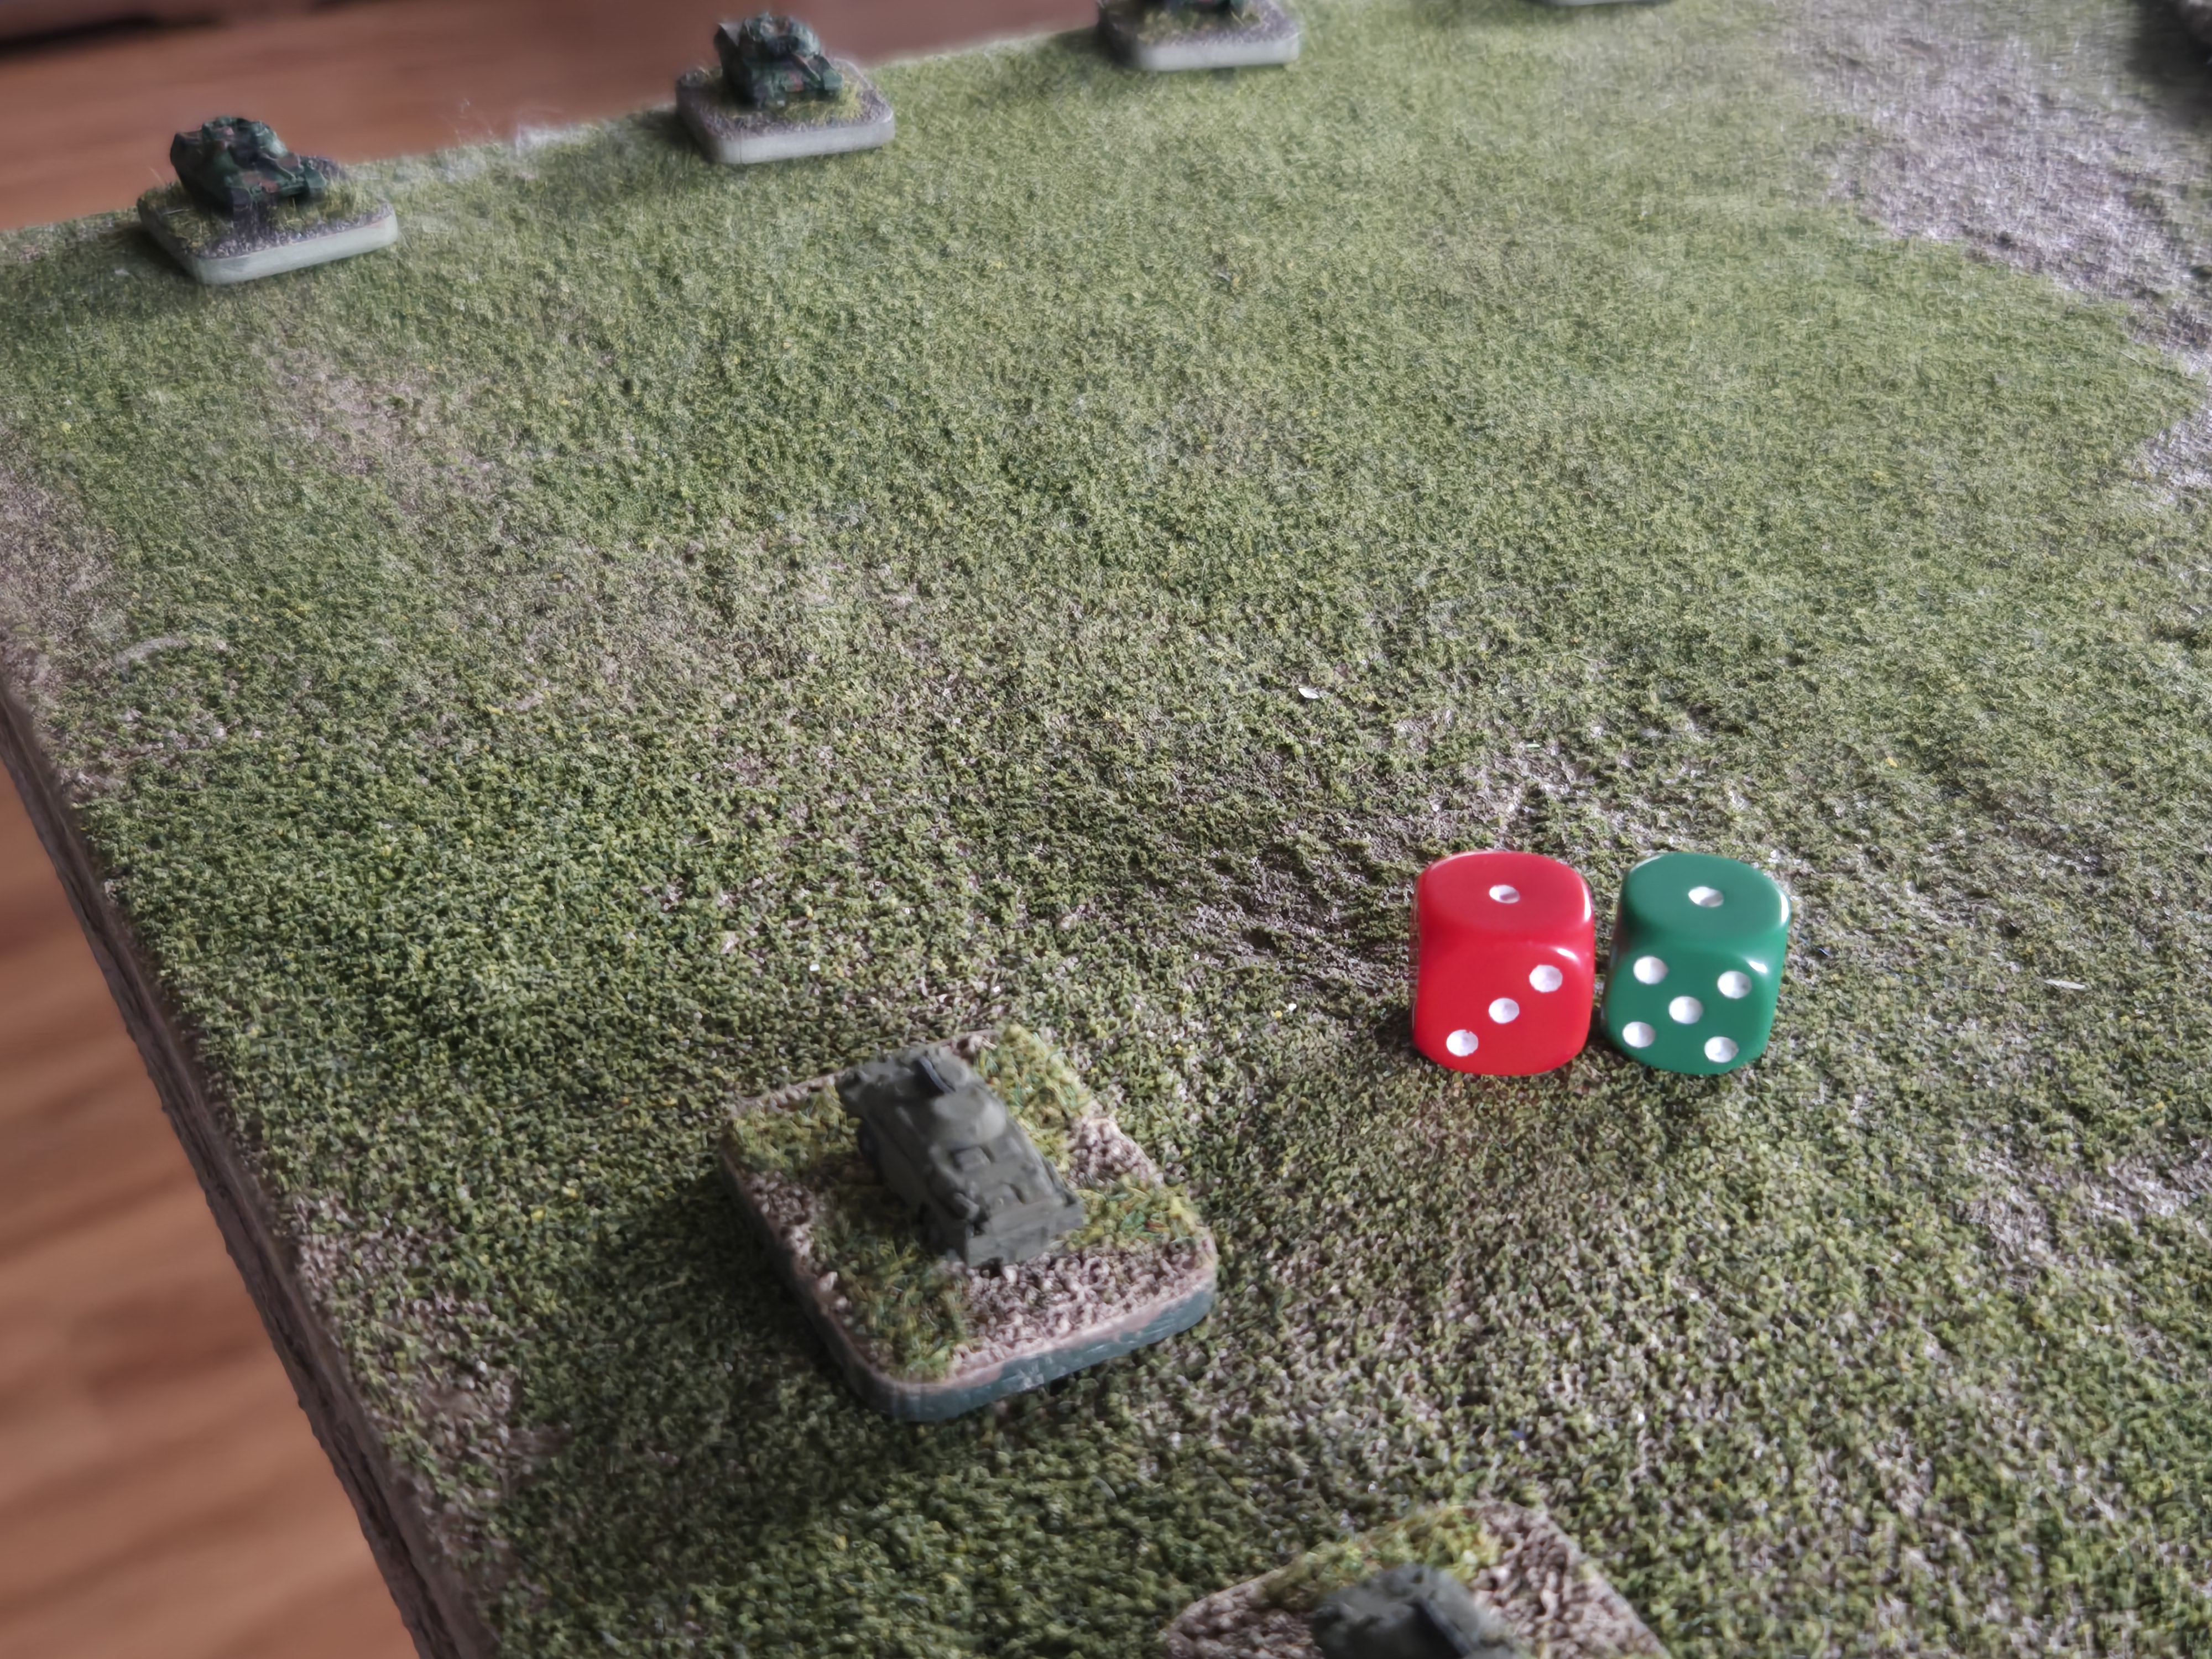
The single Marder on flank guard knocked out the remaining BTR who was trying to sneak off the table on the German right, forcing a chit pull. It had been awhile since I tallied up the Soviet morale chits. Some quick math reads “44” which is 1 over my morale. The Soviets, who had a serious force at the base of the hill ready to over-run it, now pull out and the battle ends. So close!
The Germans were at 27 – close to their BP but not close enough. Had the Soviets held on and over-run those teams on the hill top, the battle very well could have swung in the other direction. If the Soviet shooting had been better on the hilltop on Turn 6, knocking out a few more vehicles with RPGs, the game may very well have turned out differently.
I was hoping for a Soviet win here but it wasn’t meant to be – the German stuff just showed up at the right time and place and were able to use their mobility and shoot-on-the-move capabilities (they gain a +1 modifier to shooting with their advanced gunnery which cancels out the -1 penalty for moving) to beat the Russians.
Still though, the only thing actually losing the game for the Russians this time were the German missile vehicles and a handful of Leo’s on their baseline knocking out a bunch of BTRs in a single volley. The Germans fought right from the march. It was a near-run thing and exactly the kind of reversals of fortune you expect from the Battlegroup rules.
Wrapping Up Cold War Month
So far, the idea of “themed” months has worked well. I was able to explore a number of Cold War rules and broke out a substantial number of my 1/285 miniatures onto the table.
A large Dunn-Kempf game was played, as well as a large Battlegroup NORTHAG game based off of Objective LOG and Hill 214 from the Team Yankee boardgame was also played. I finally got my West Germans, painted in their NATO 3 color scheme to the table for an inaugural game, too.
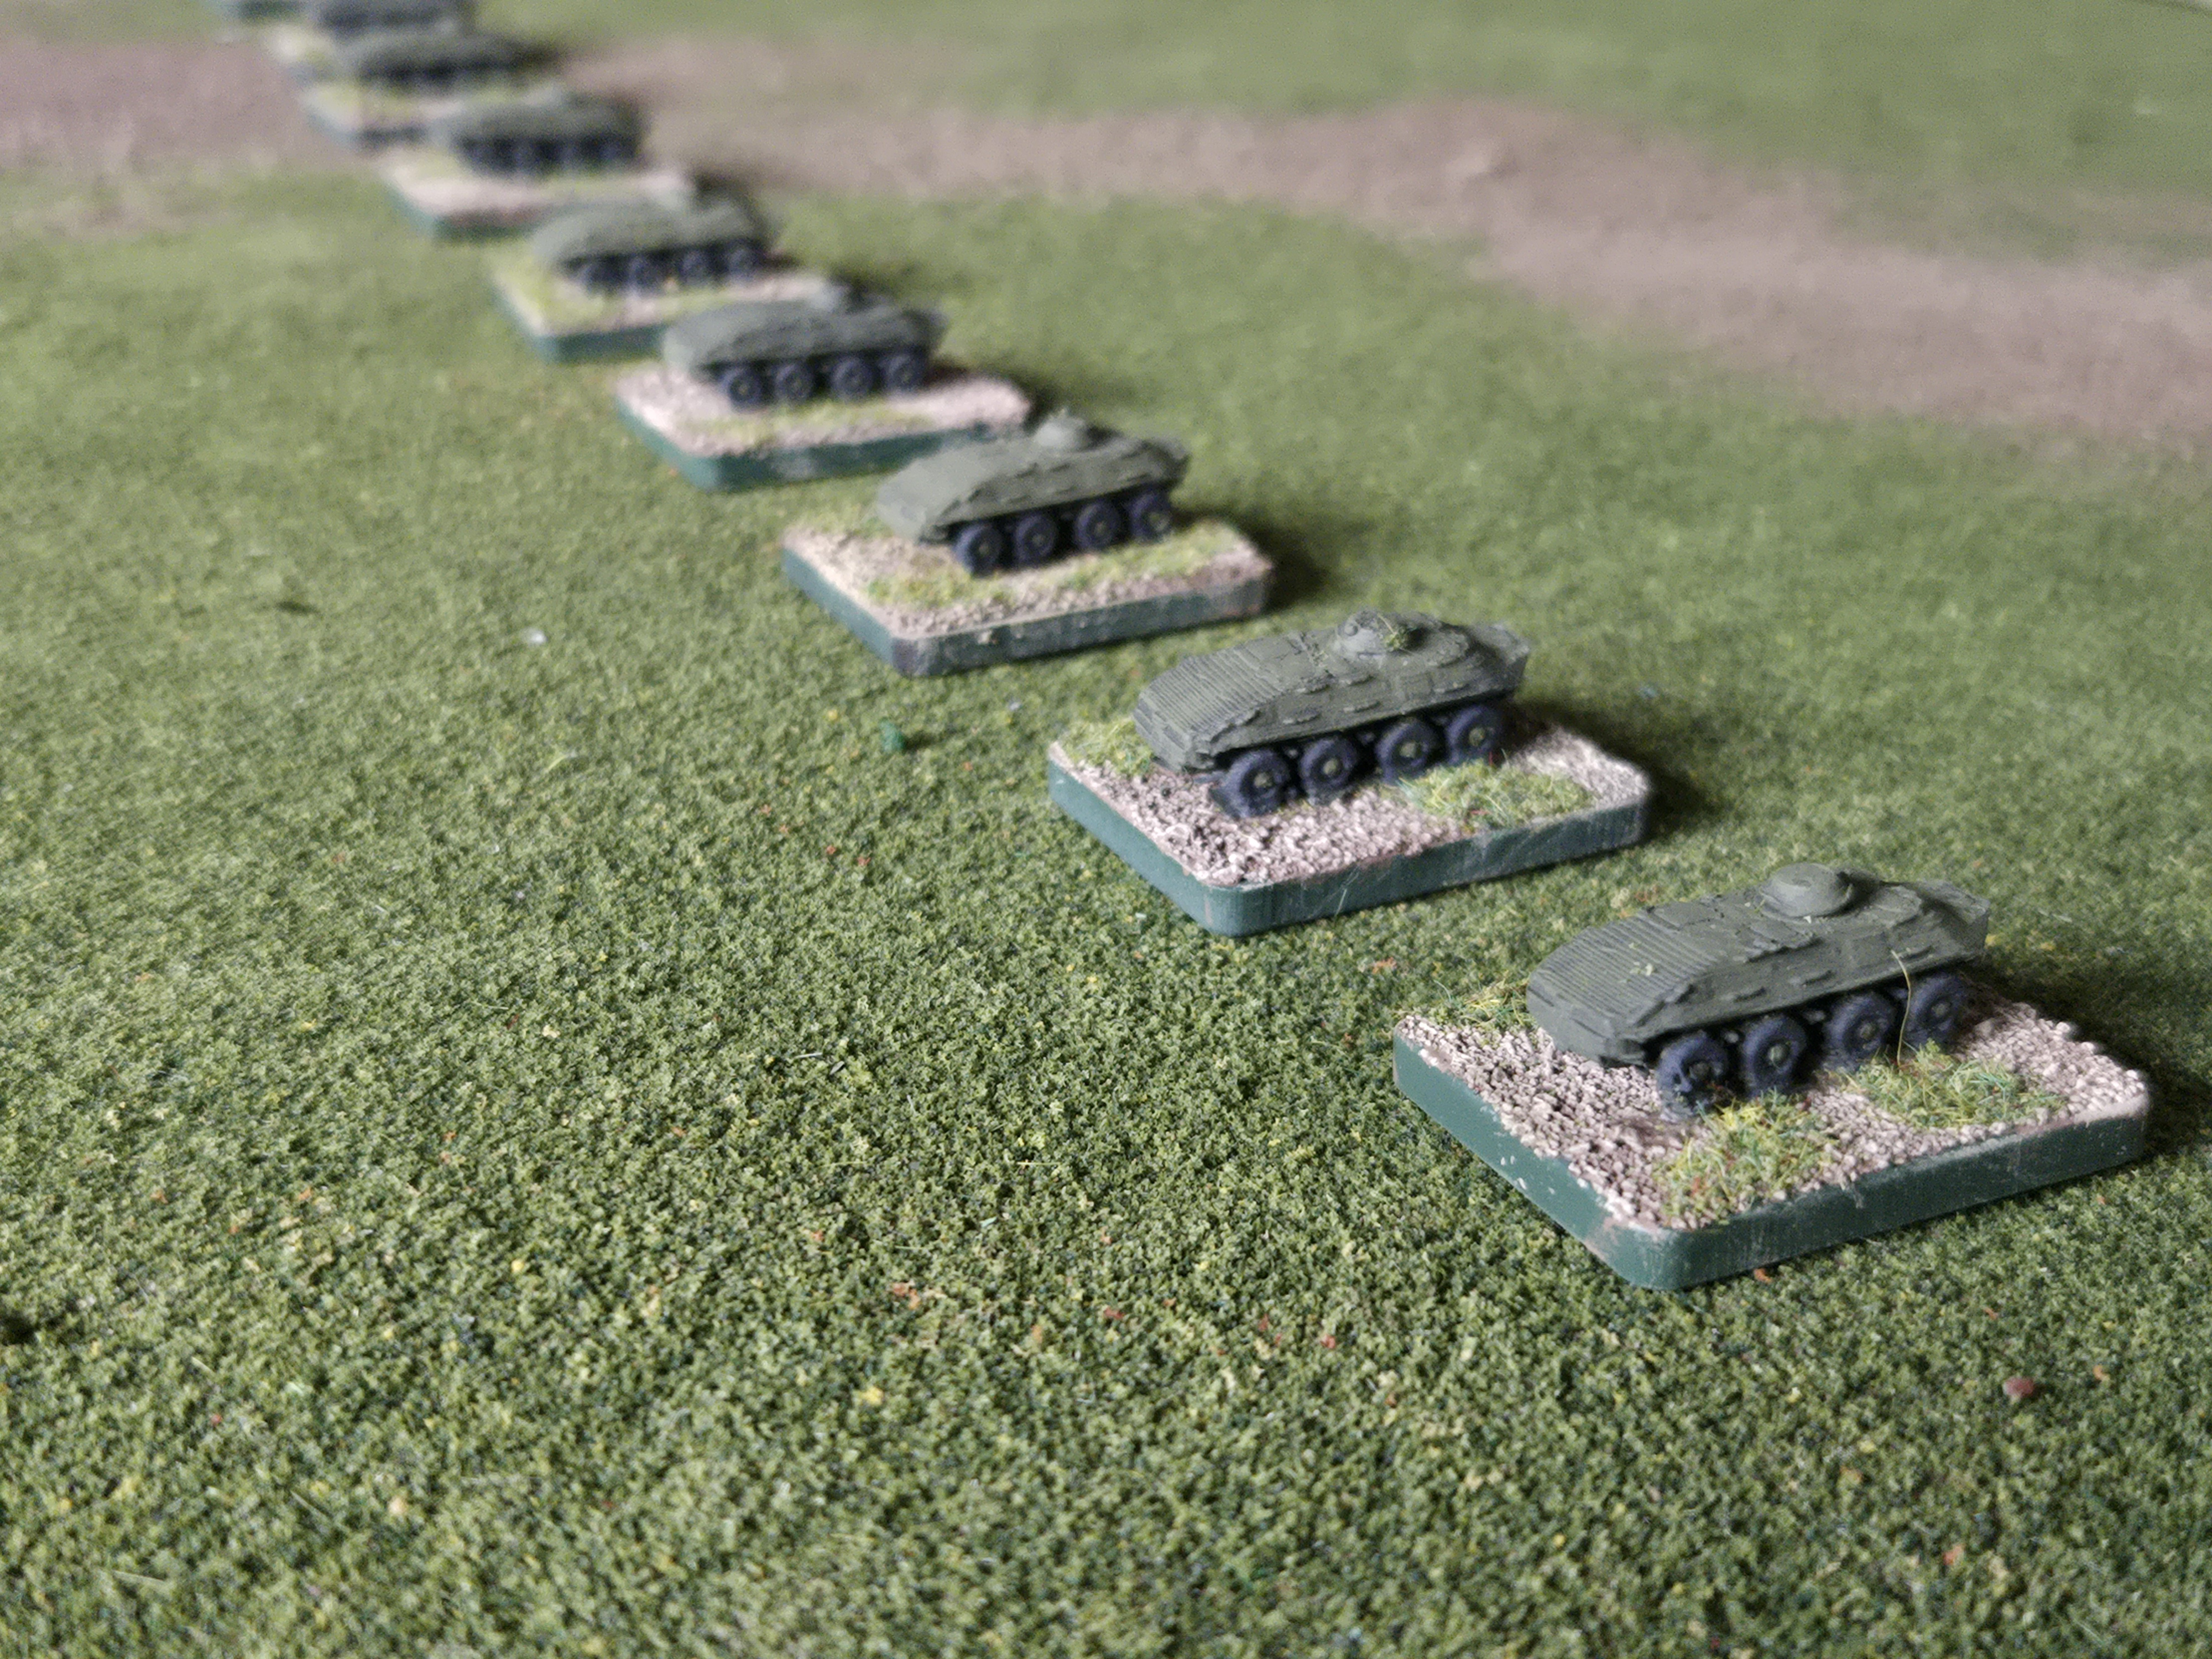
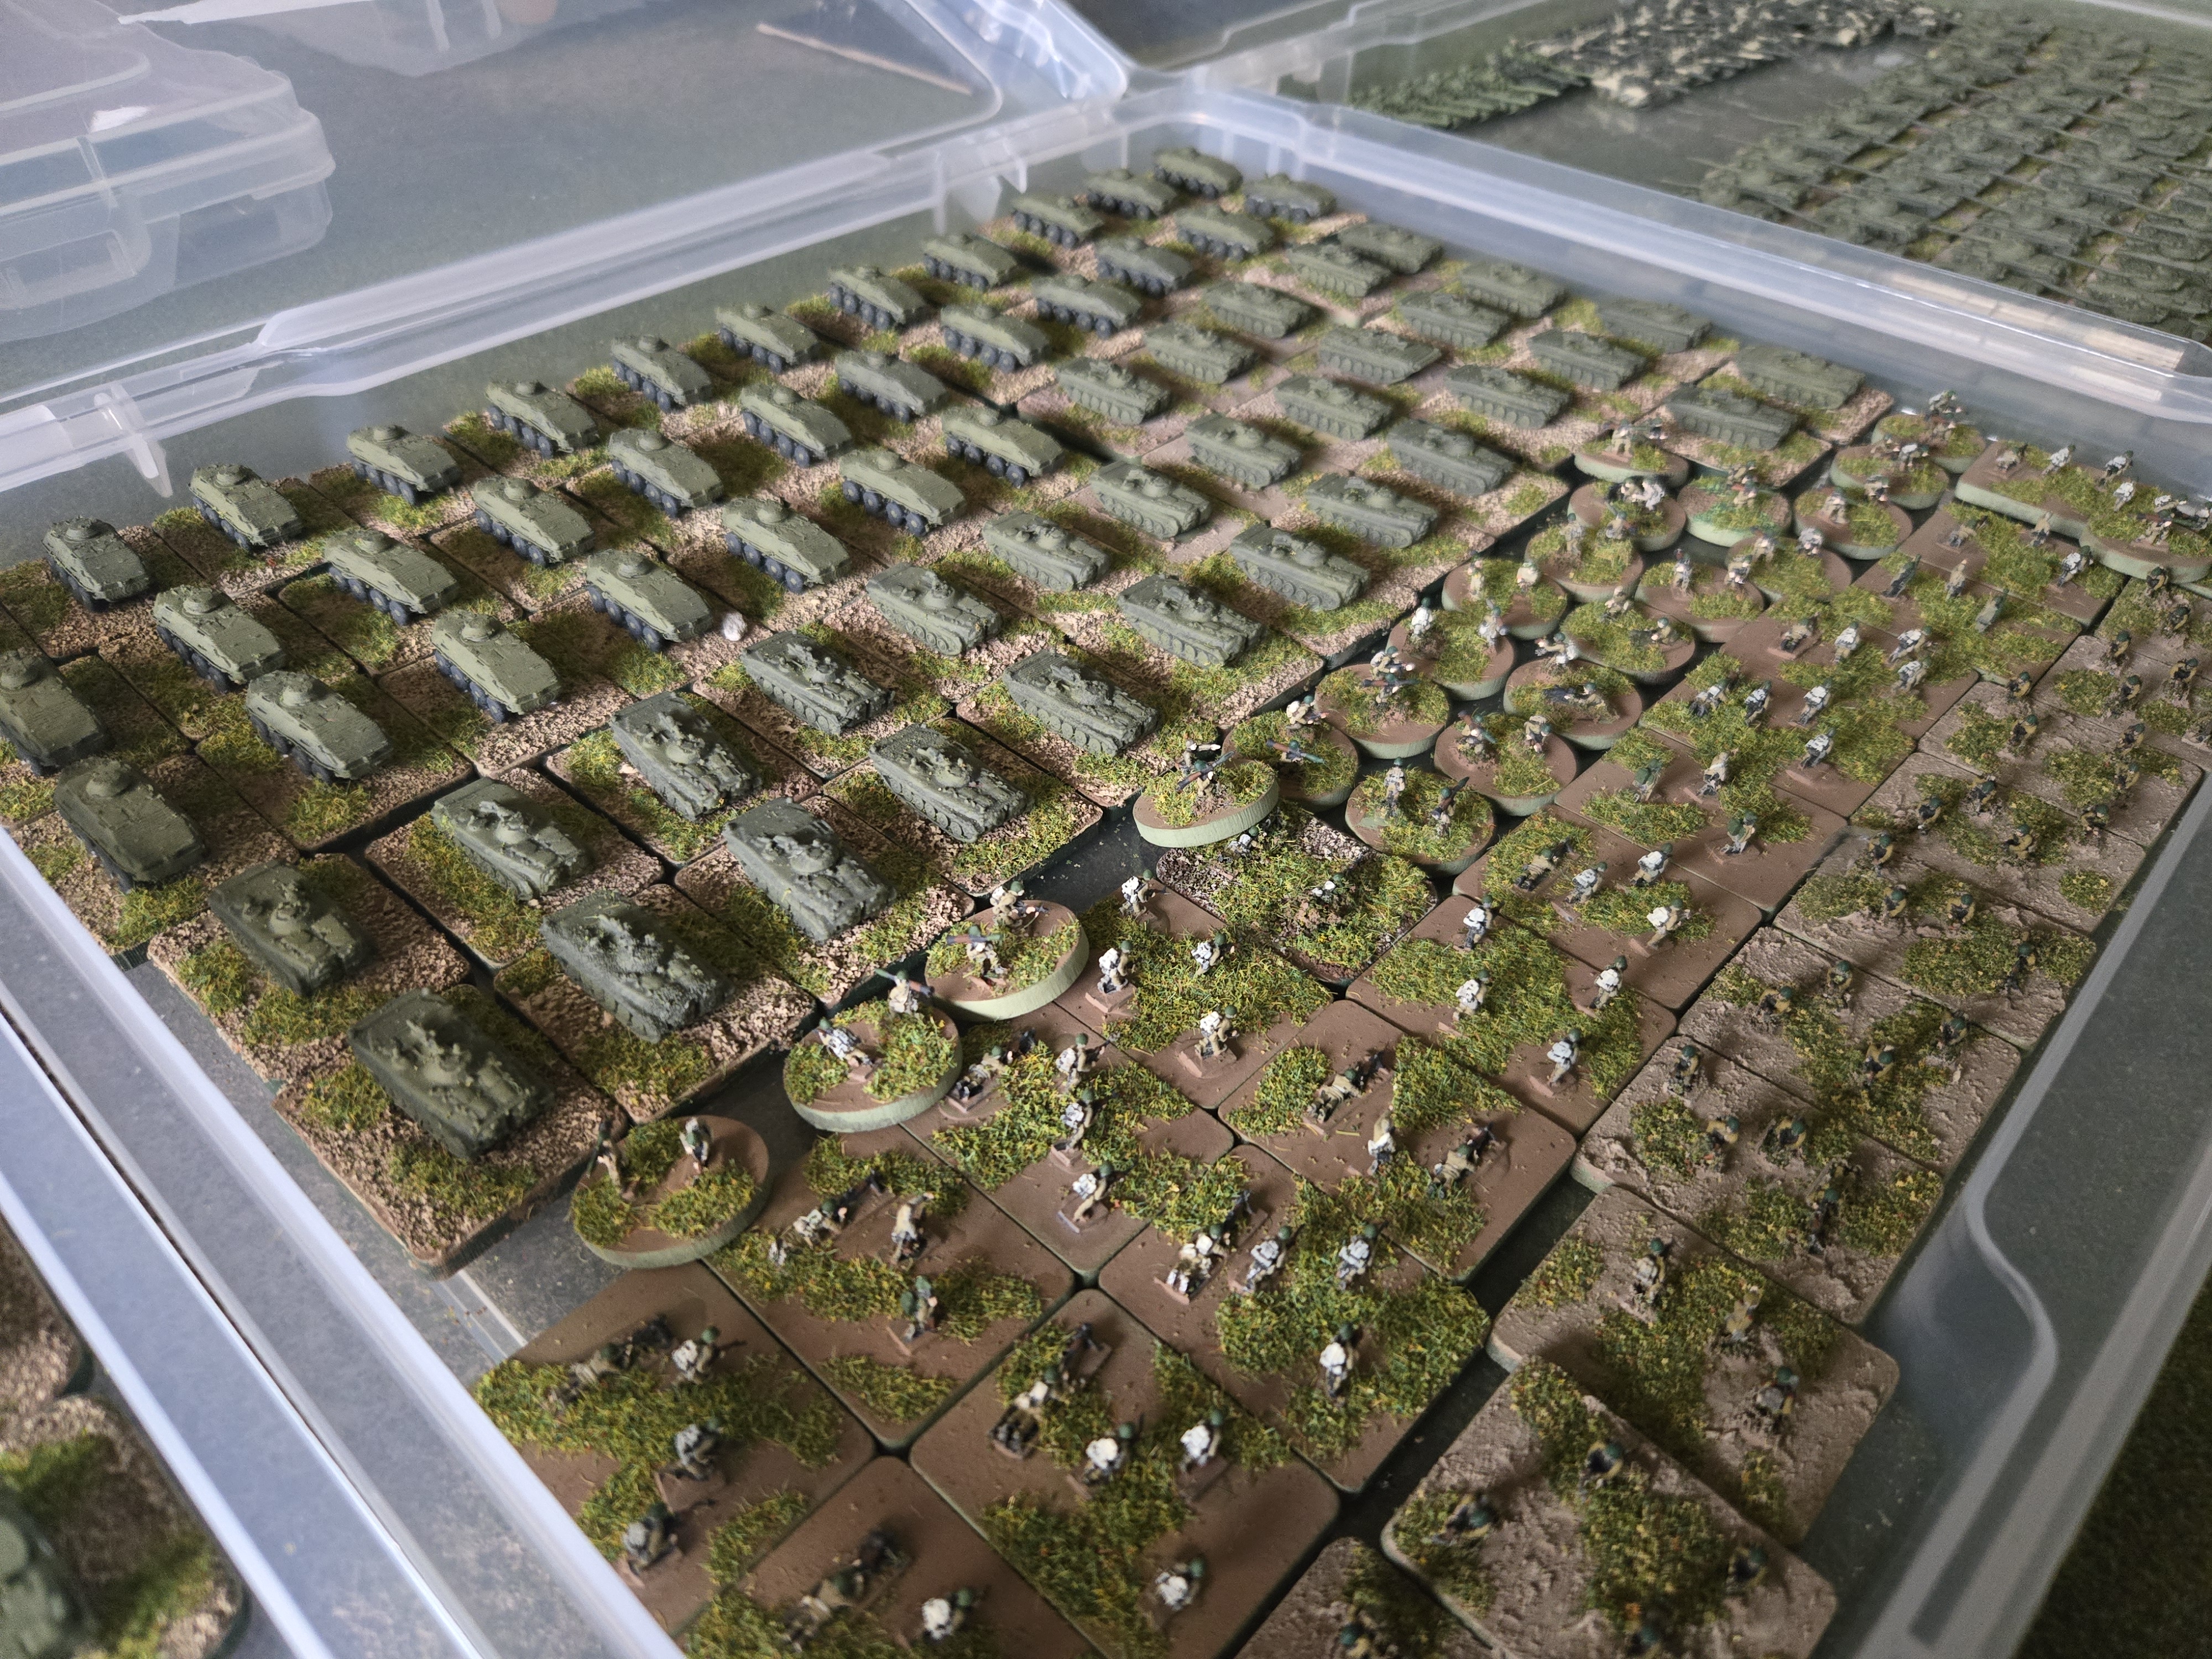
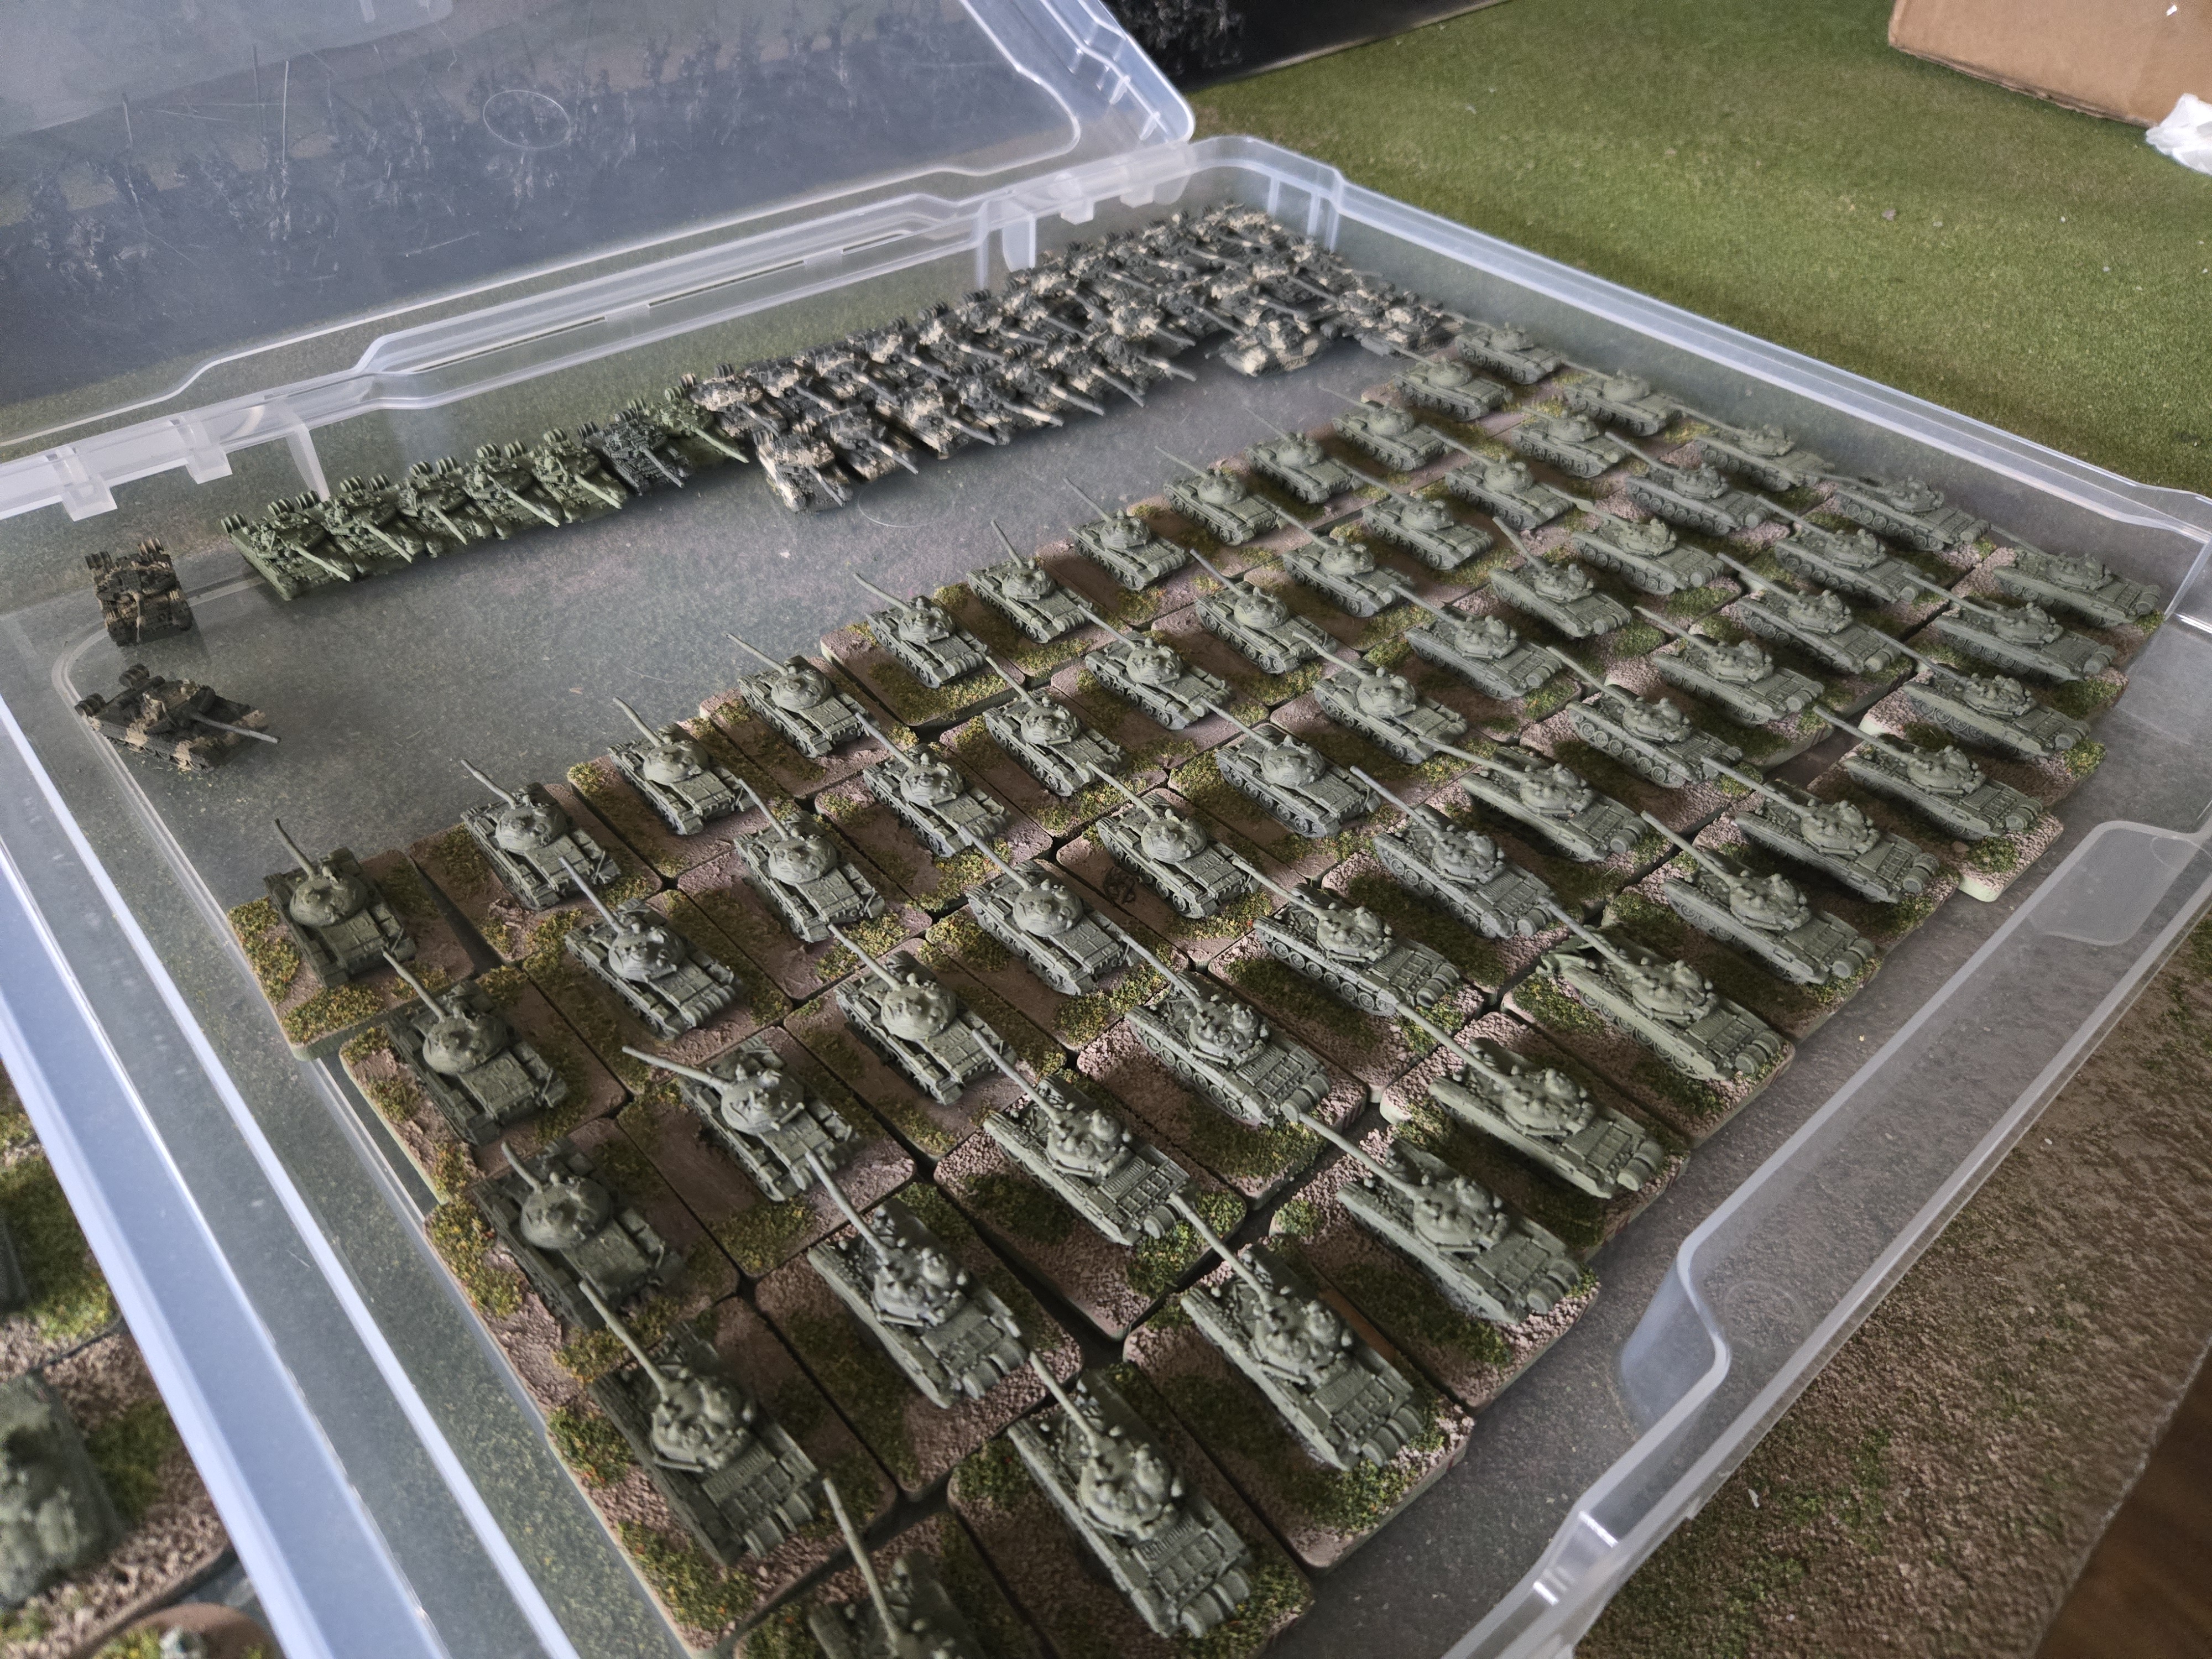
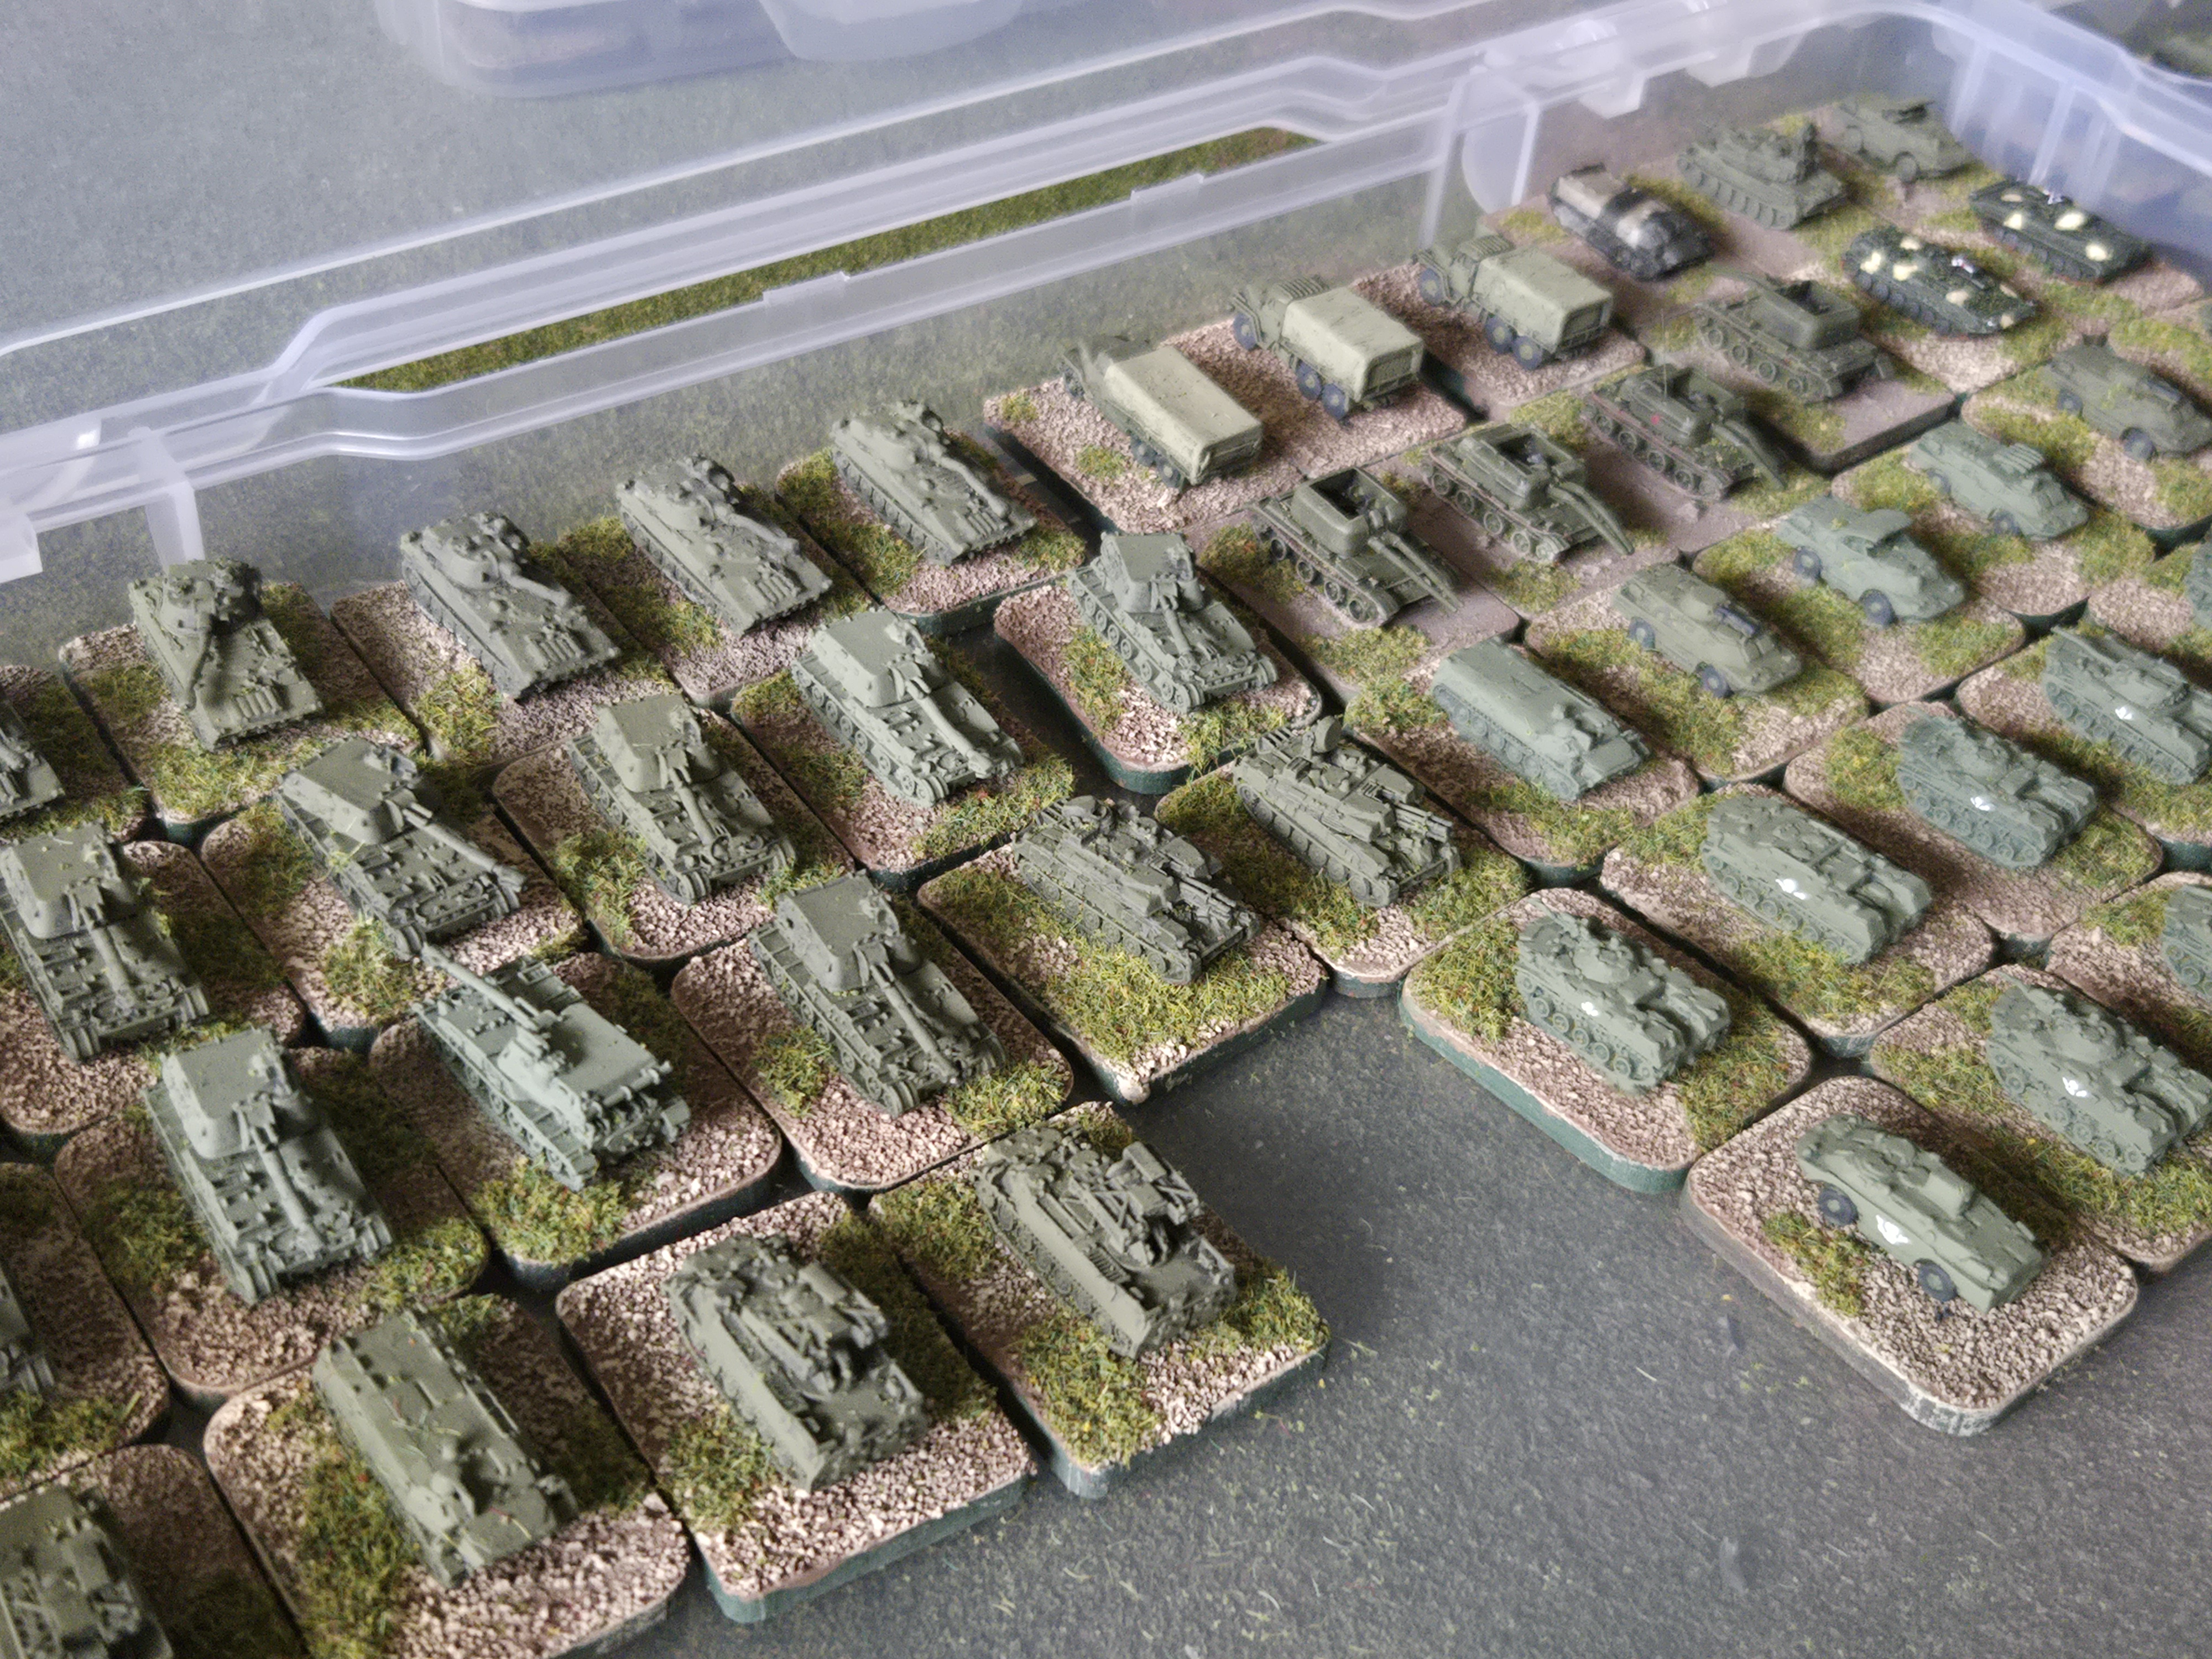
Speaking of 1/285 minis, I finished re-basing my American infantry in 1/285, finished my West German and Soviet collection (all of them are now painted to a decent standard – every last one – about 300 vehicles). Pictured below are teh Soviets.
Cold War month has been a blast. I learned that I like Battlegroup: NORTHAG best for large-scale Cold War battles and frankly I’m not sure what I’ll do with my 15mm Cold War kit as it just takes up too much space for me and I dont play all that much 15mm Cold War these days. Much to ponder here.
The goals for the month – that of finishing up my numerous microarmor collections, playing a bunch of Cold War games, and settling on my favorite Cold War rules has been accomplished.
As far as the month goes, there is still some time for me to put my 1/285 scale “Checkpoint: Charlie” era Cold War stuff together including Soviet T-10 heavy tanks, lots of US M-48s, and a host of other vehicles and assorted goodies but I’m not sure if I will find the time to do so. If I dont, it’s safe to say that “Cold War Month” 2026 has been a complete success and much fun. I am looking forward to unveiling April’s theme, but until I do here is a little hint.