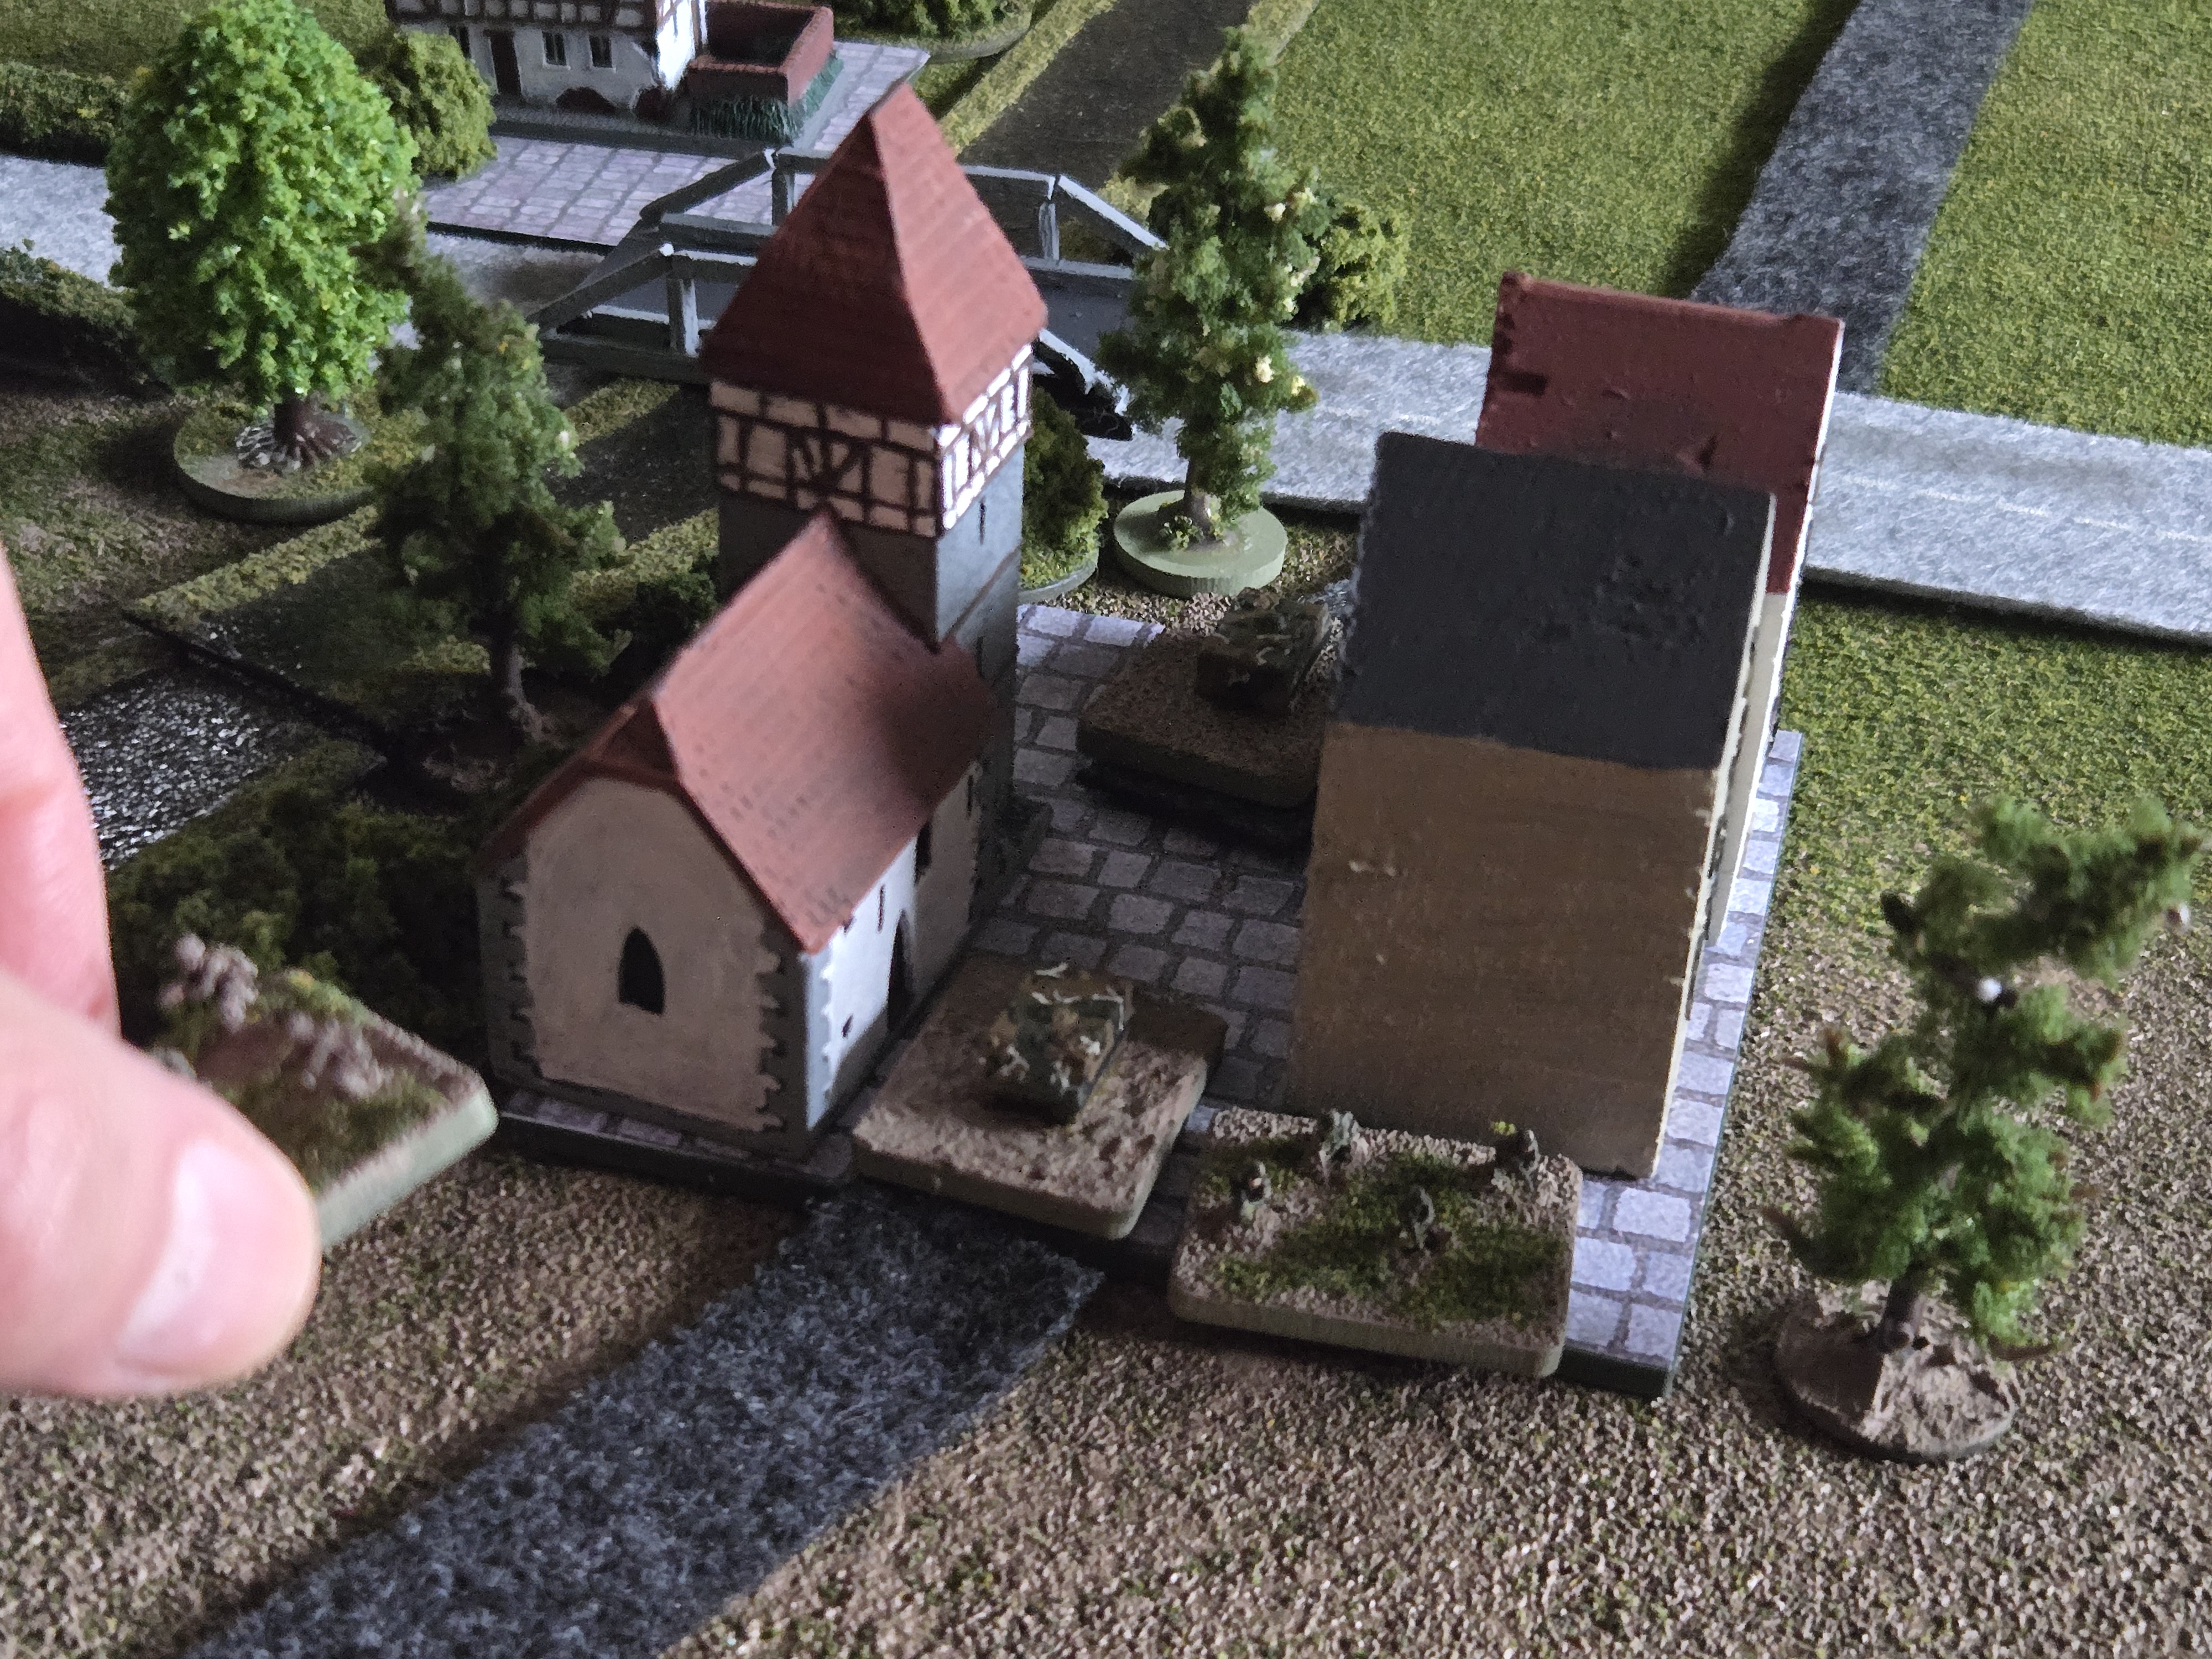
I was finally able to get a small game of Dunn-Kempf on the table using my 1/285 Cold War microarmor and the results did not disappoint! The scenario was taken from the GDW Board Game “Team Yankee” and features a platoon of Soviet T-72s and BMP-1s attempting to overrun a small, West German village which is held by 2 x sections of Cavalry Scouts in Bradley fighting vehicles. 2 x M1 Abrams tanks are racing to rescue them from the clutches of the evil empire.
I took a little artistic license with the OOB and since we’re playing DK, I used M113 APCs as the Bradleys and M60 Main Battle Tanks instead of M1 Abrams.
Before you dive in, the following WWIII battle report is probably best paired with the old “Steel Panthers 2 – Modern Battles” soundtrack…
TO THE RESCUE
“The remnants of a US recon company are desperately fighting for survival against a Soviet advance guard. Just as all seems lost, US tanks come charging to the rescue!”
Turn 1
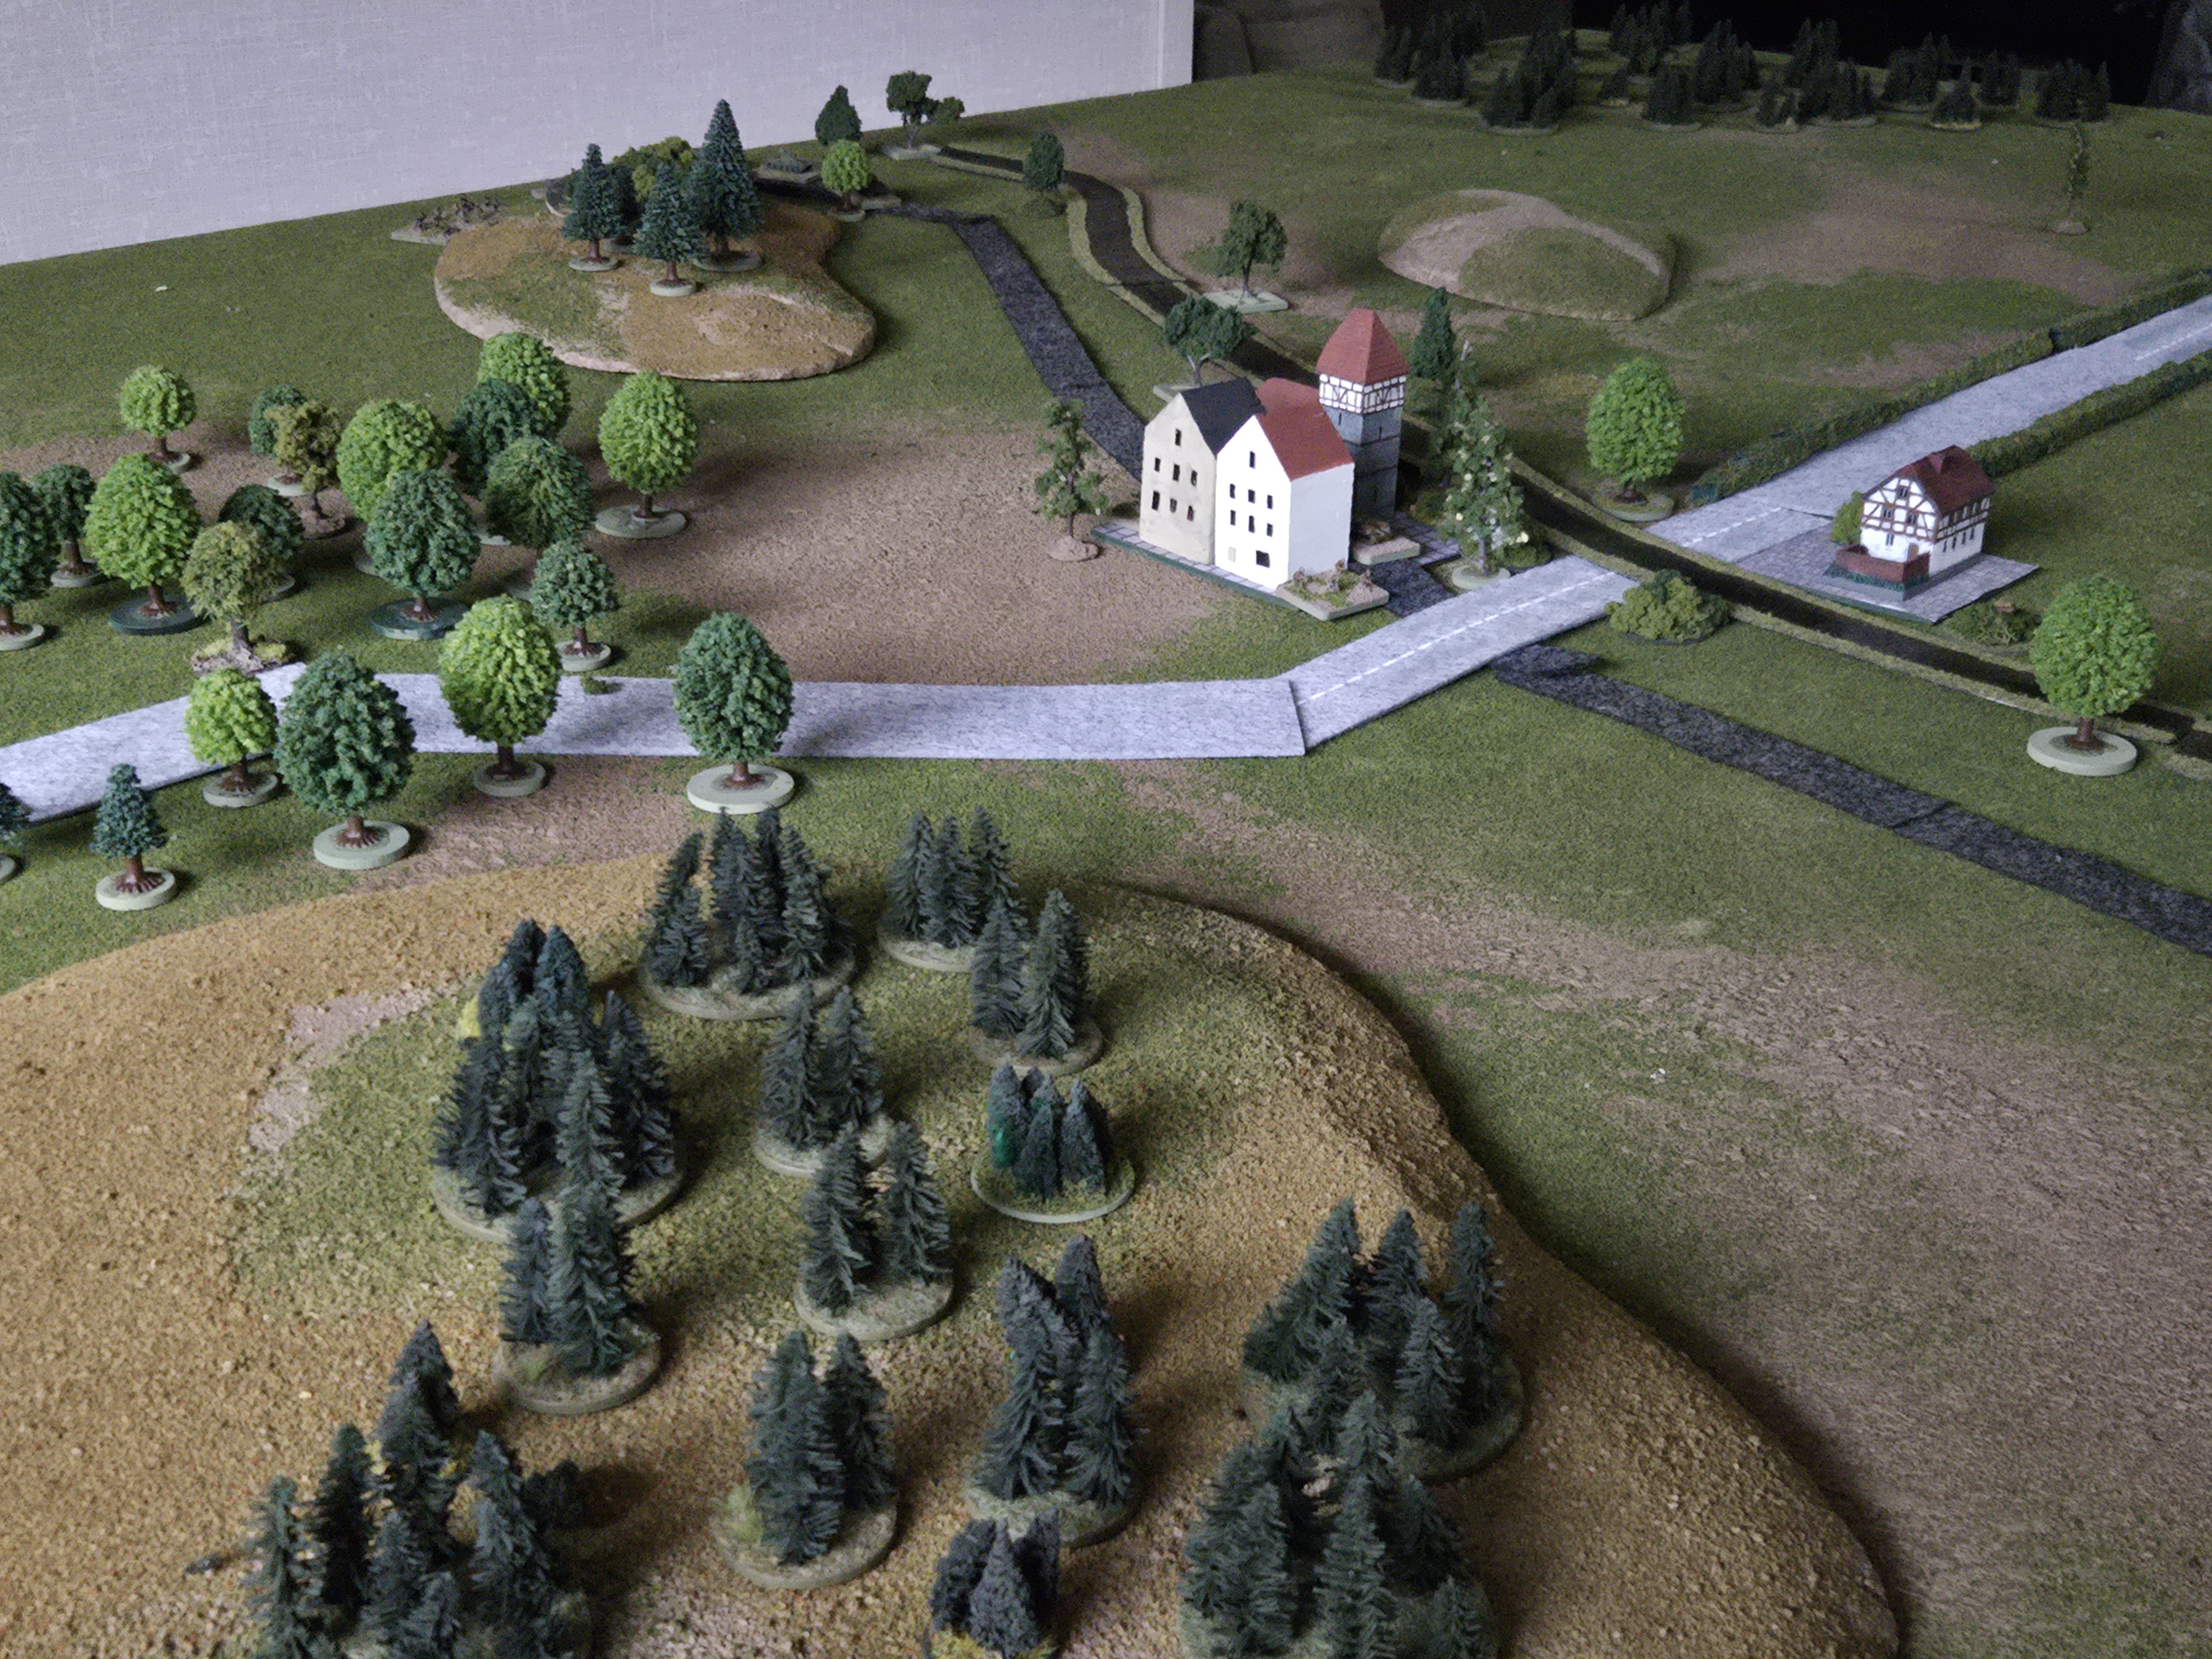
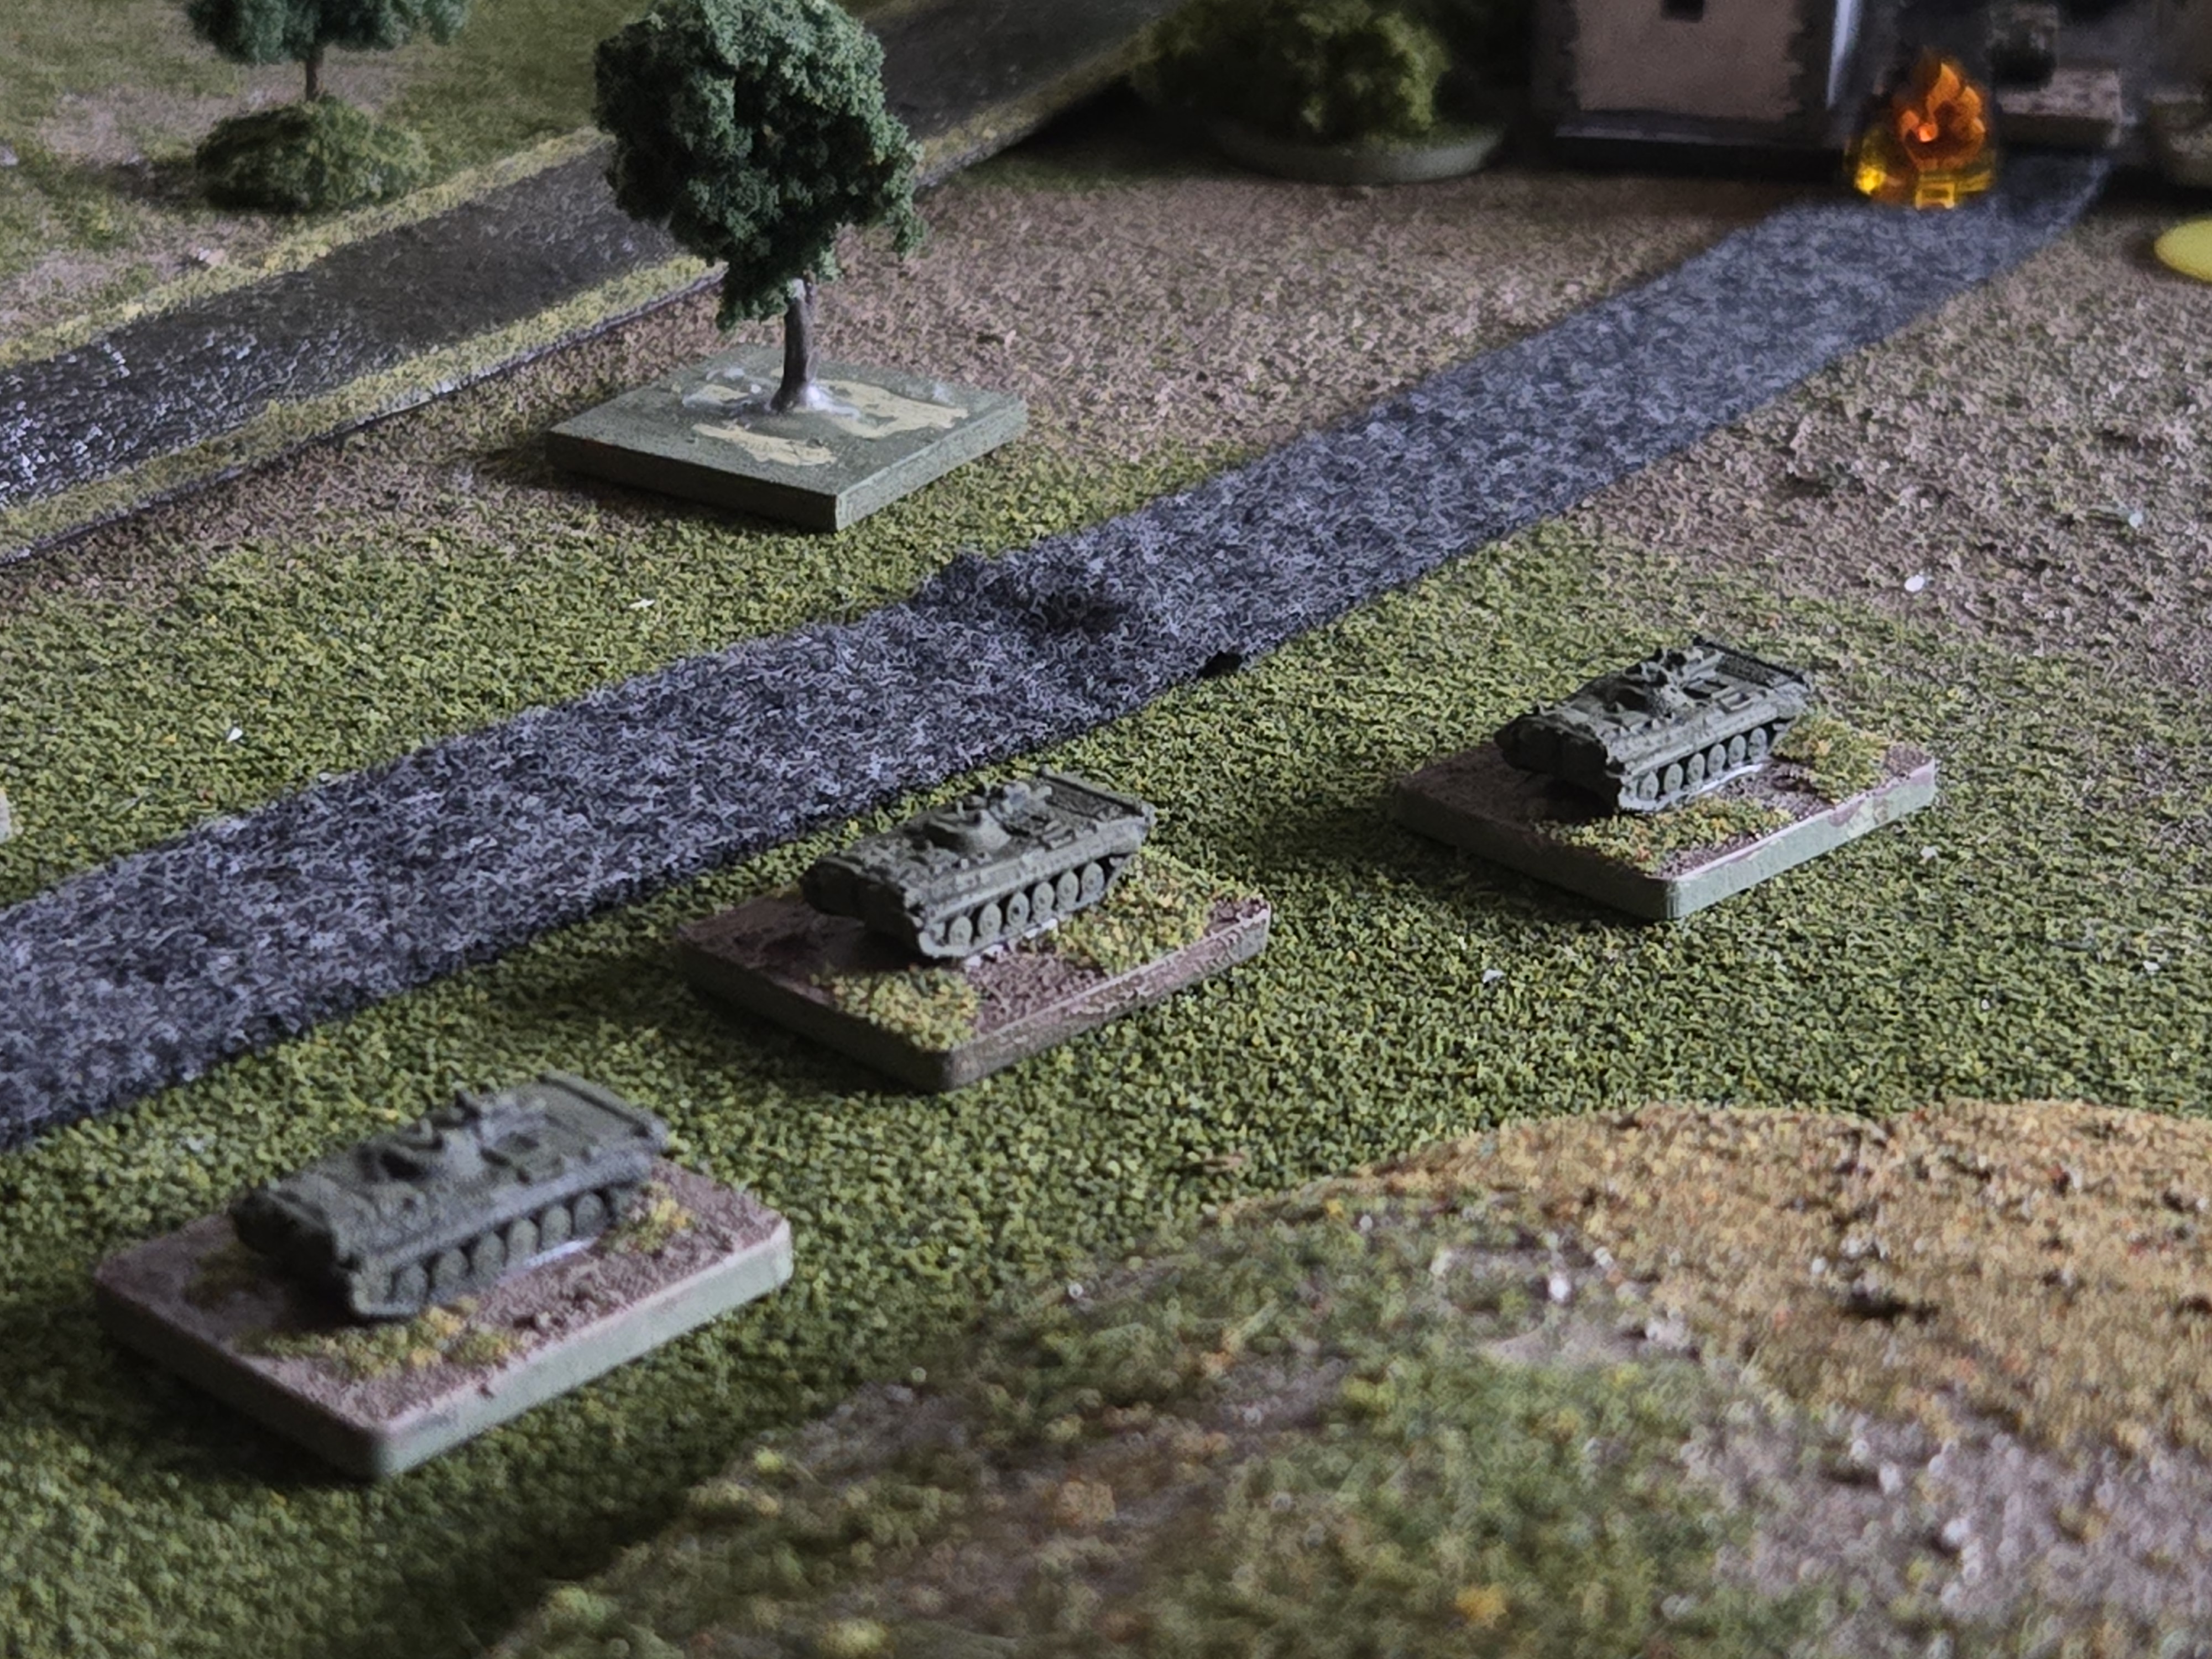
Just movement. The DK scales are very tight (1″ = 50m) and movement is not very generous with vehicles on a road moving 6 inches (300m) and infantry moving 2 inches off road and 3 inches on. Vehicles moving cross country get 4 inches of movement. Not sure the Soviets will even reach the village by Turn 8!
The first Soviet turn is spent completely in movement (targets in a town are spotted at 3″ and so the Russians can only move until they are fired upon). And fire upon them the Americans do! The US Squad in the townhouse opens fire with their Dragon Anti Tank missile at 500 meters.
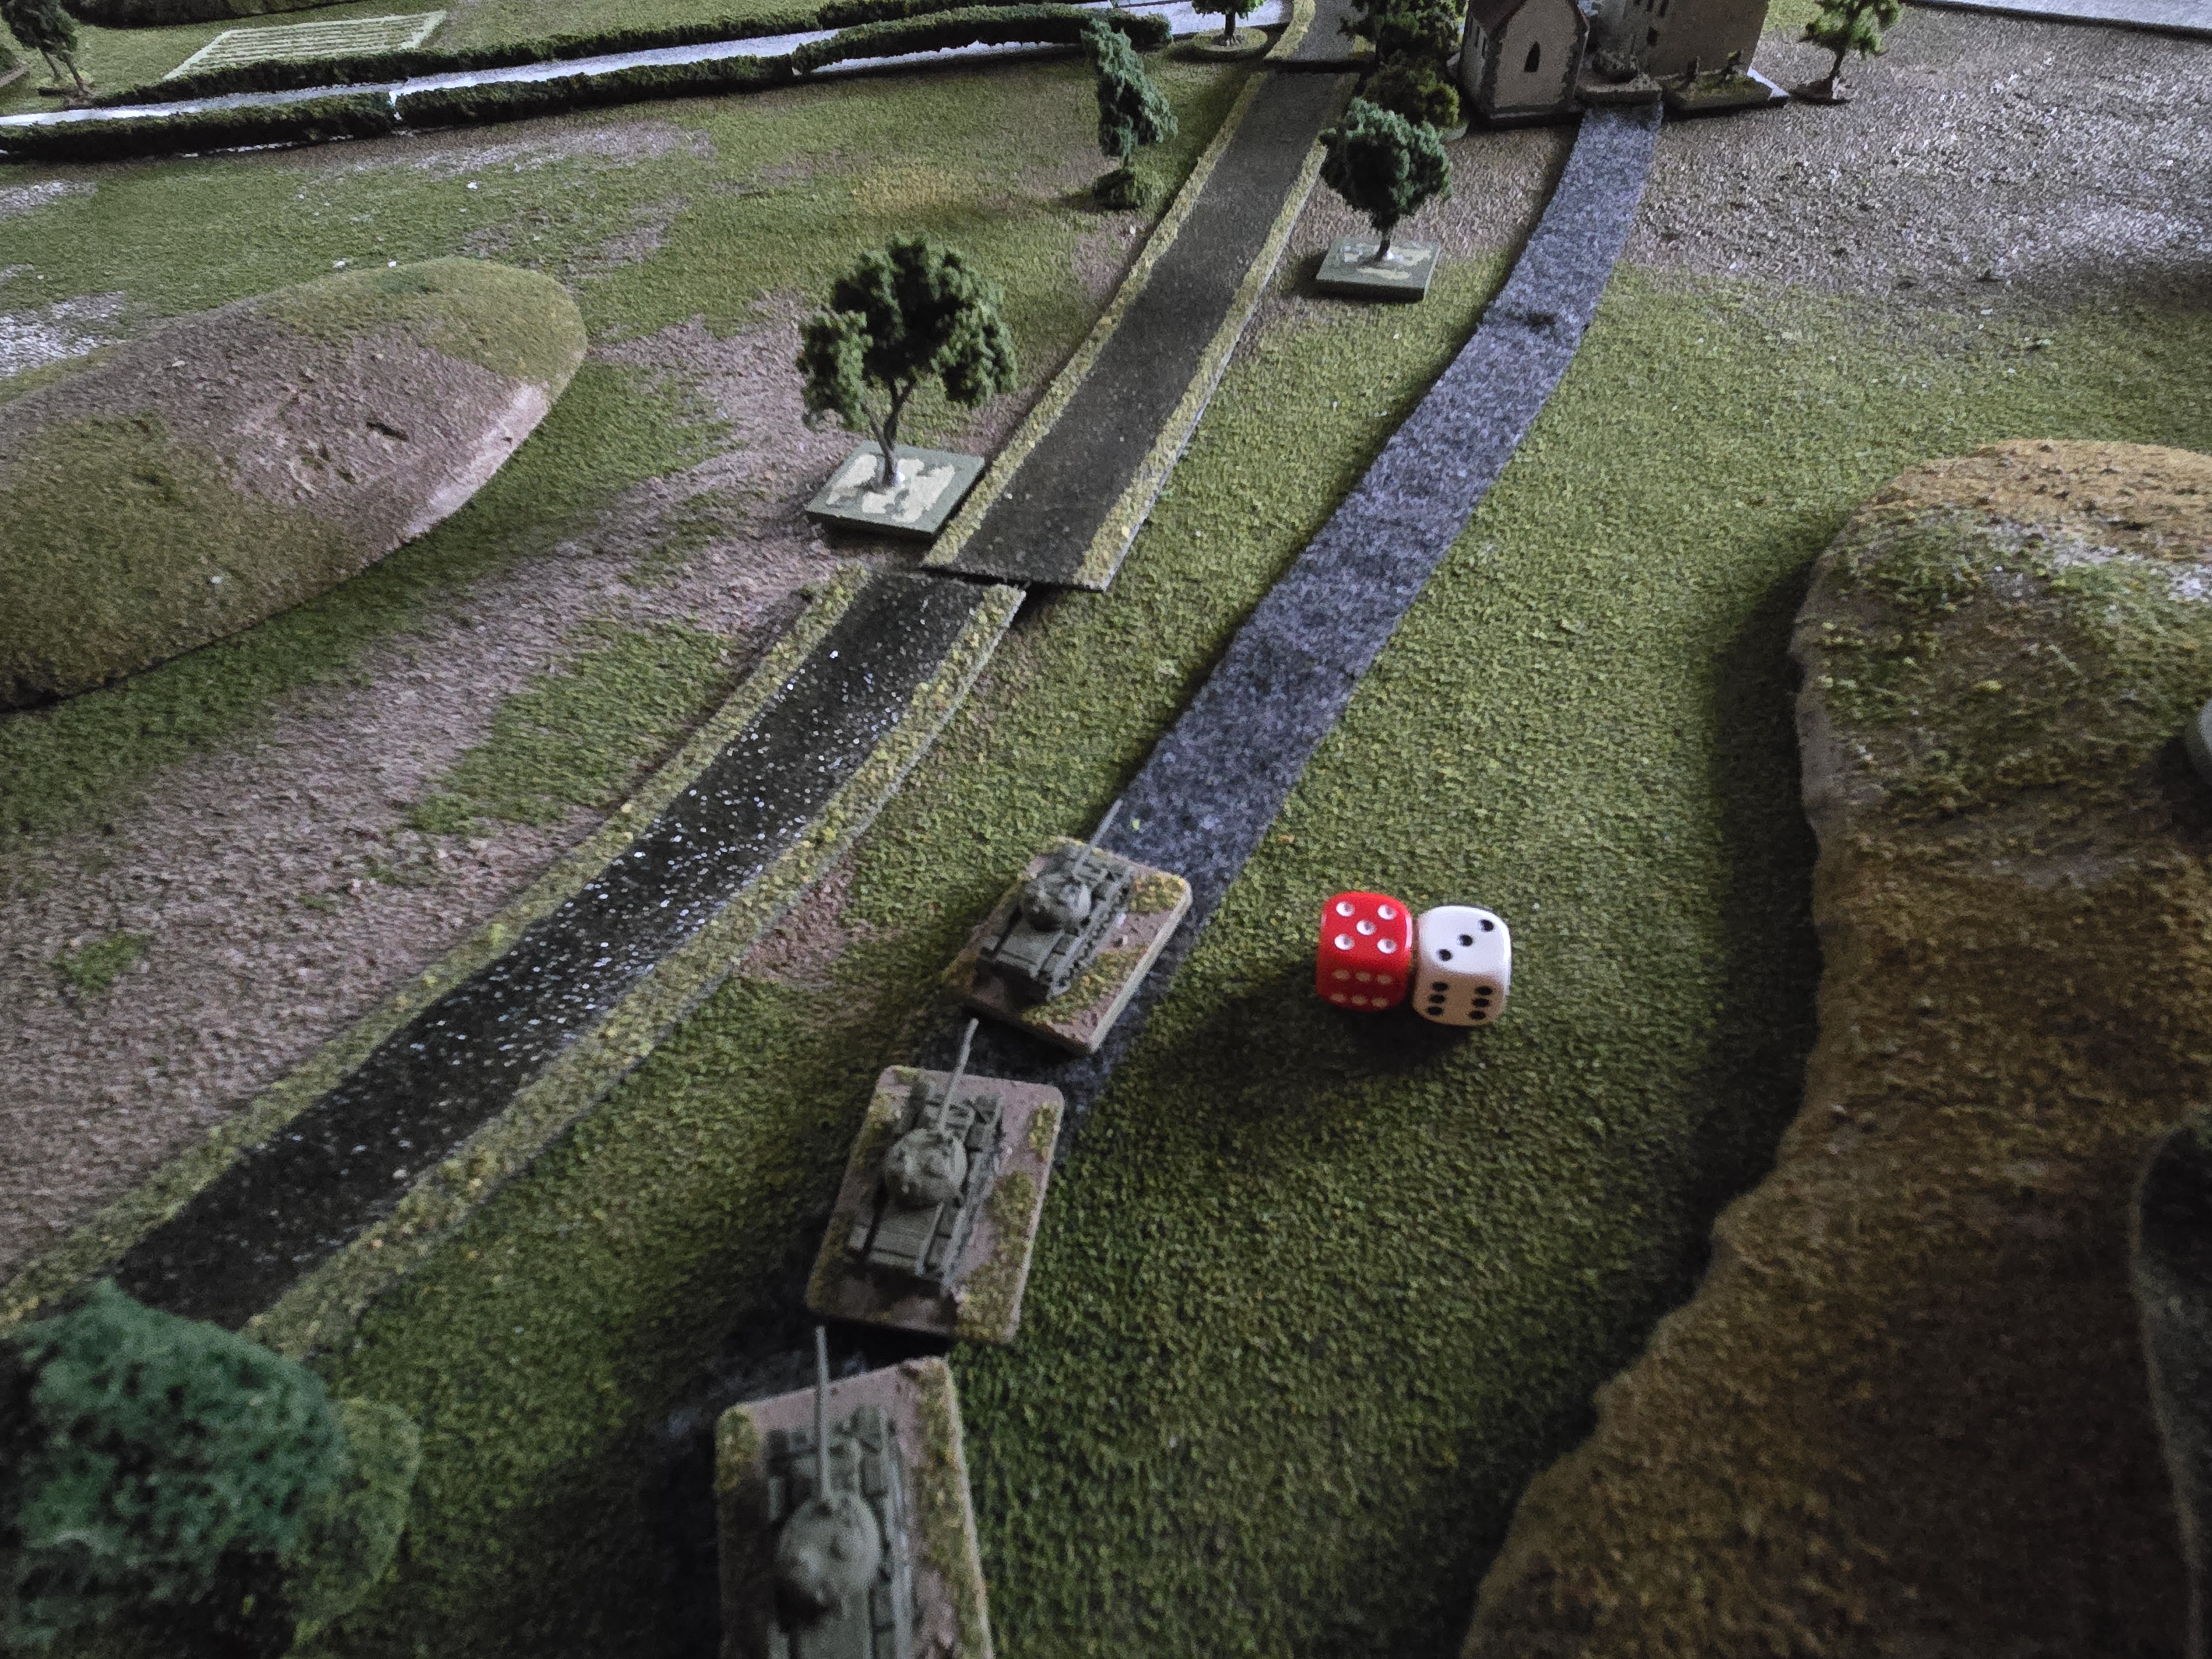

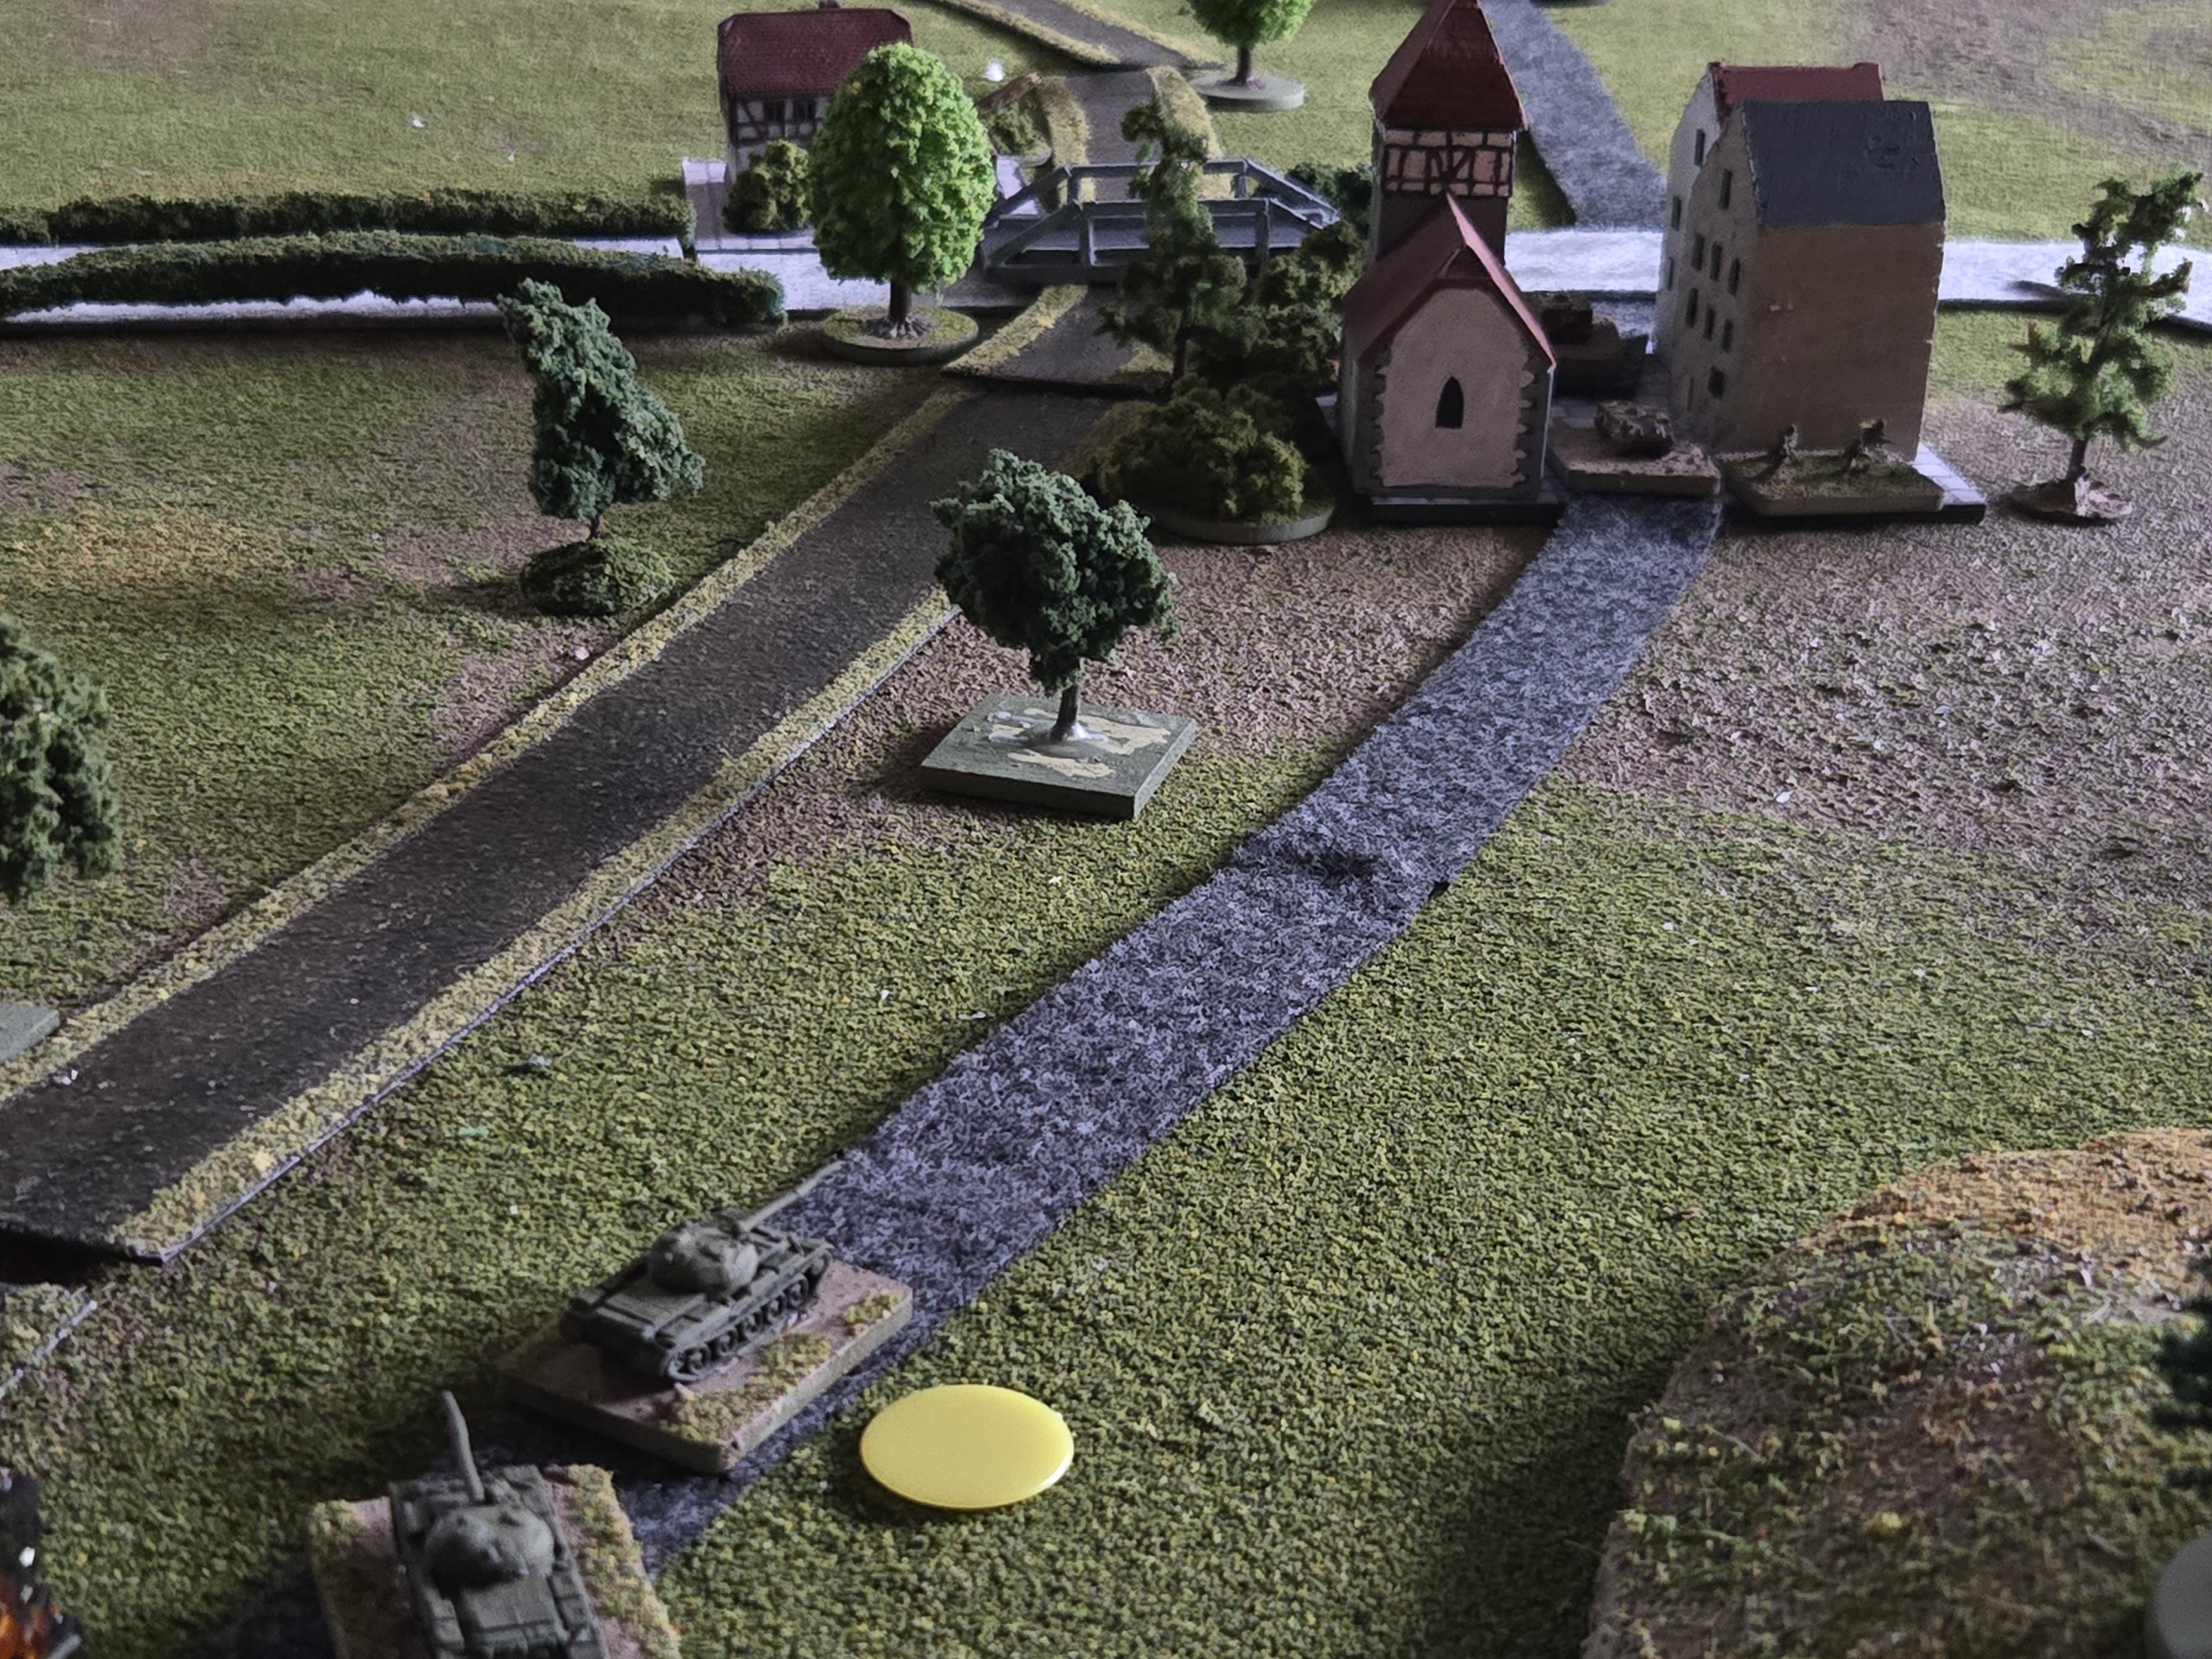
The American M60s trundle down the road at 6″ per turn. They’re still quite a ways away from influencing this battle. The Russians will get their revenge on these American cowboys!
Turn 2
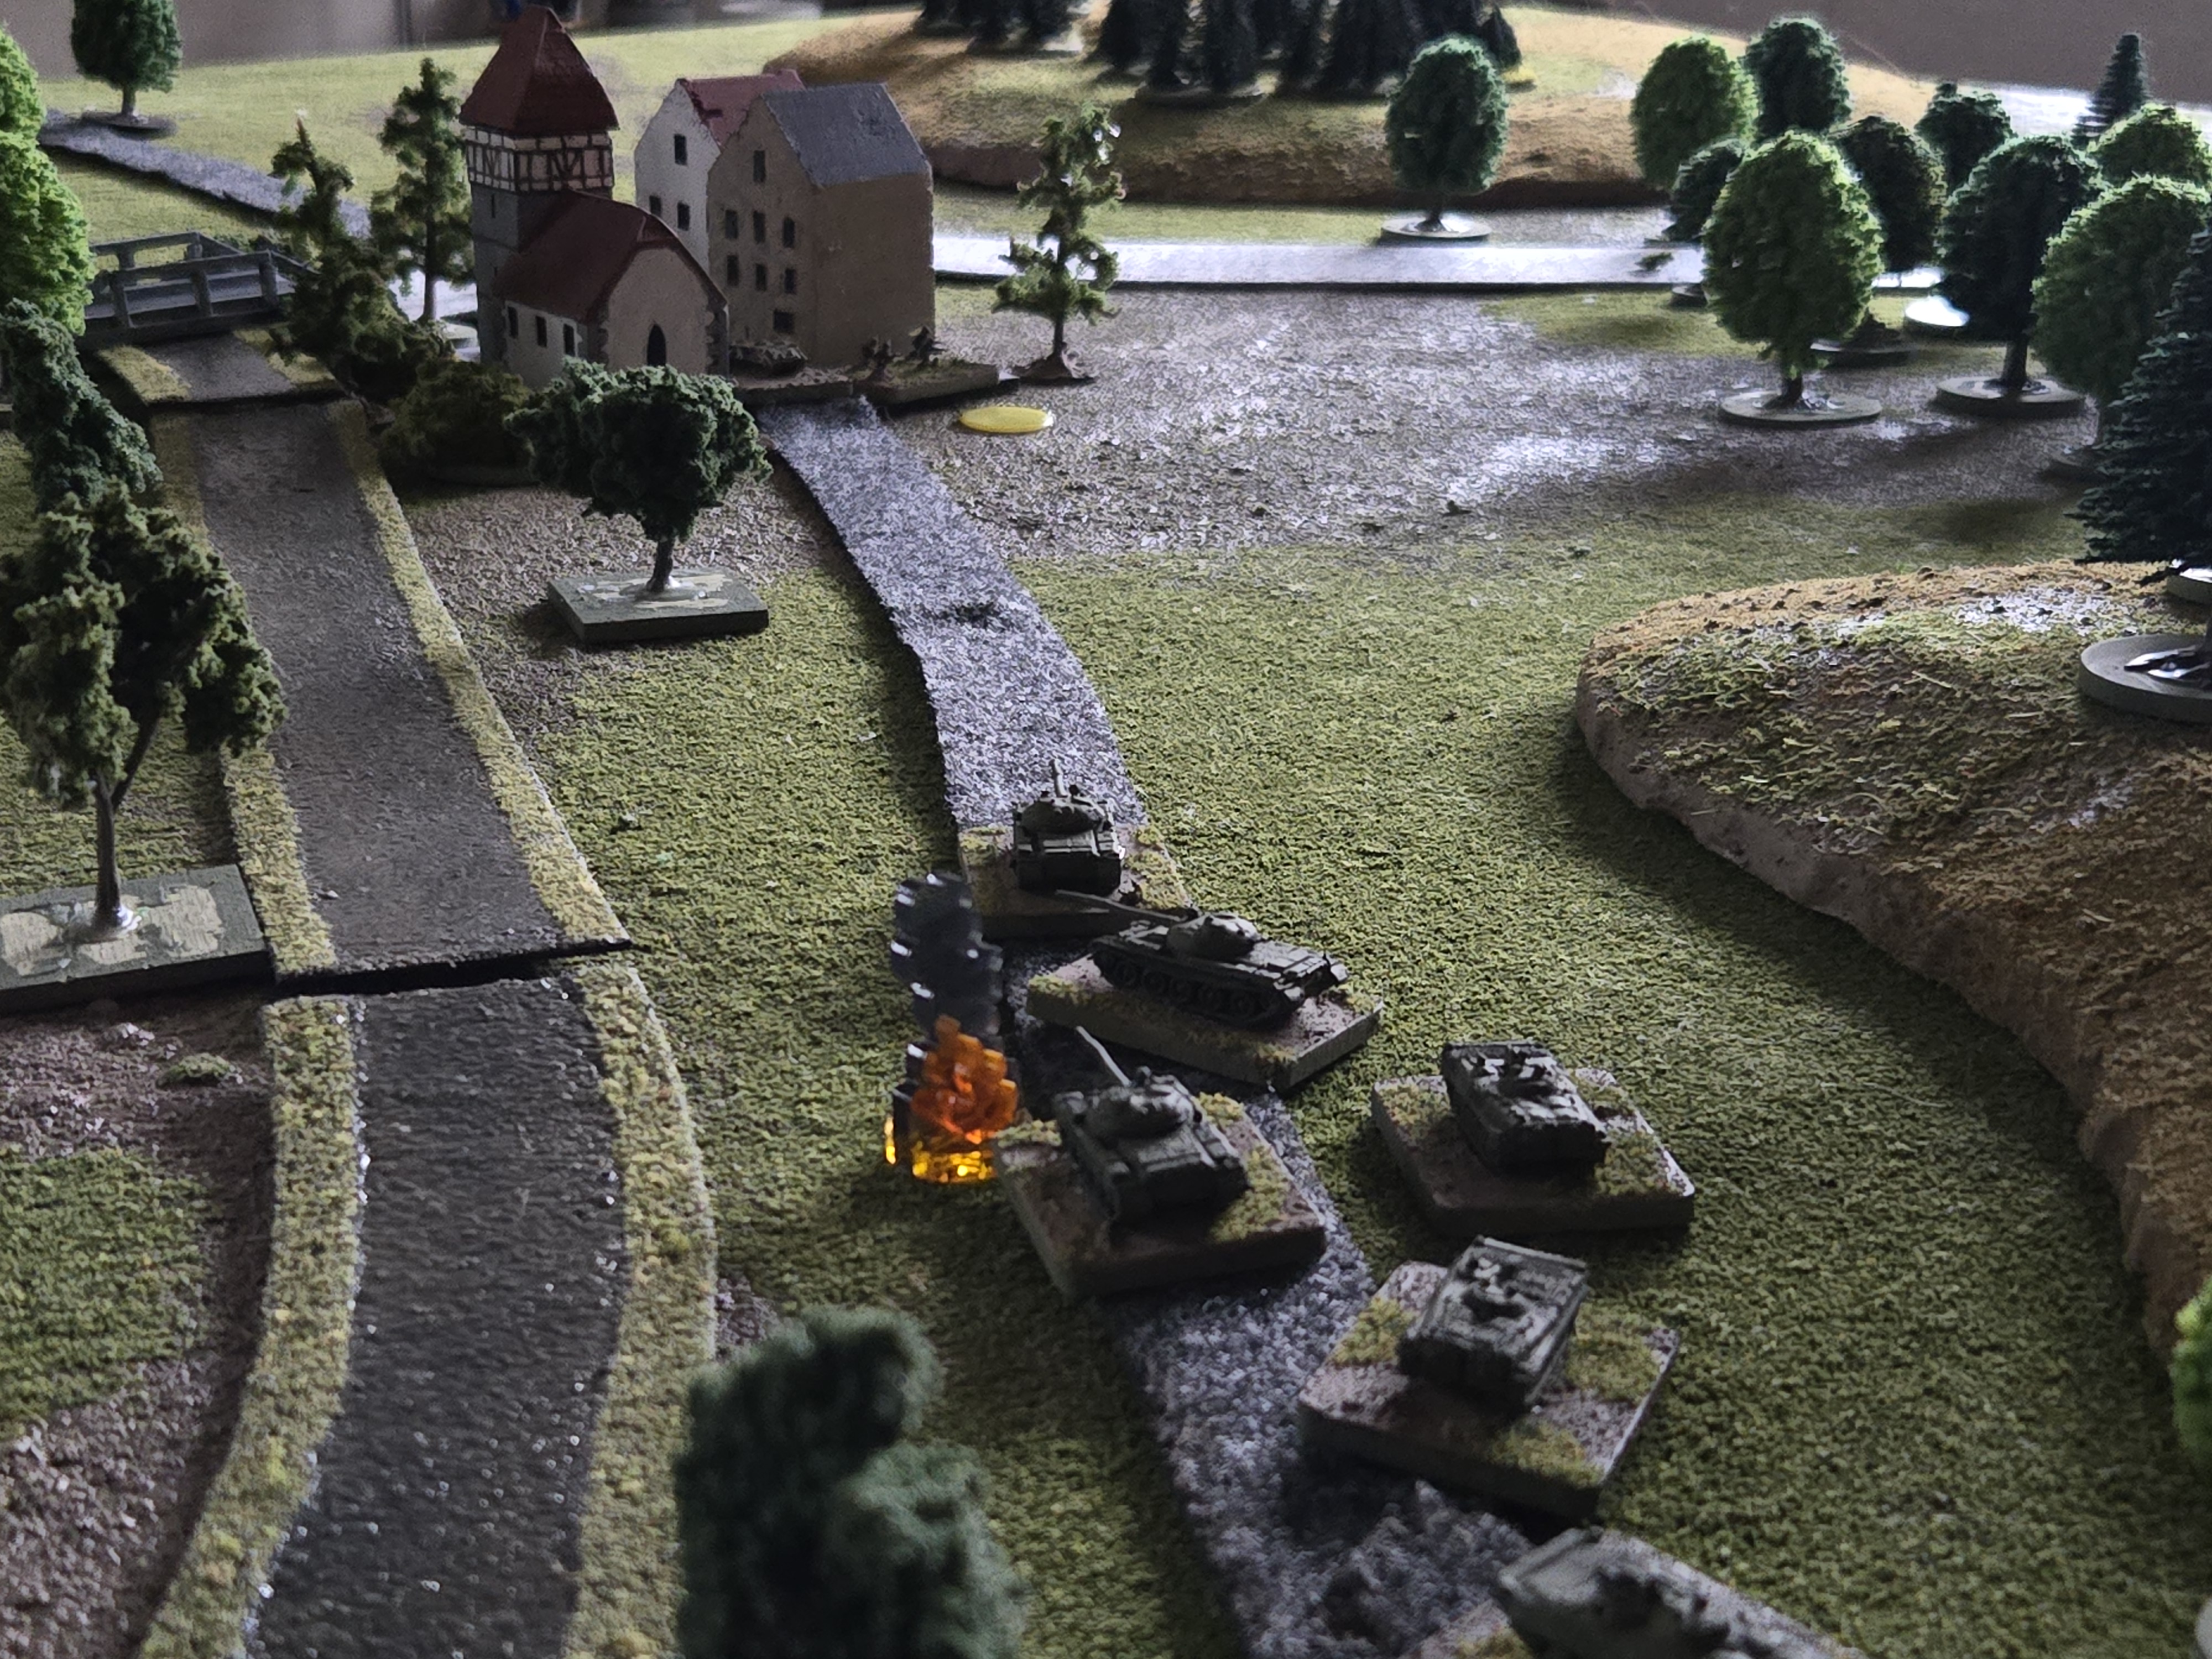
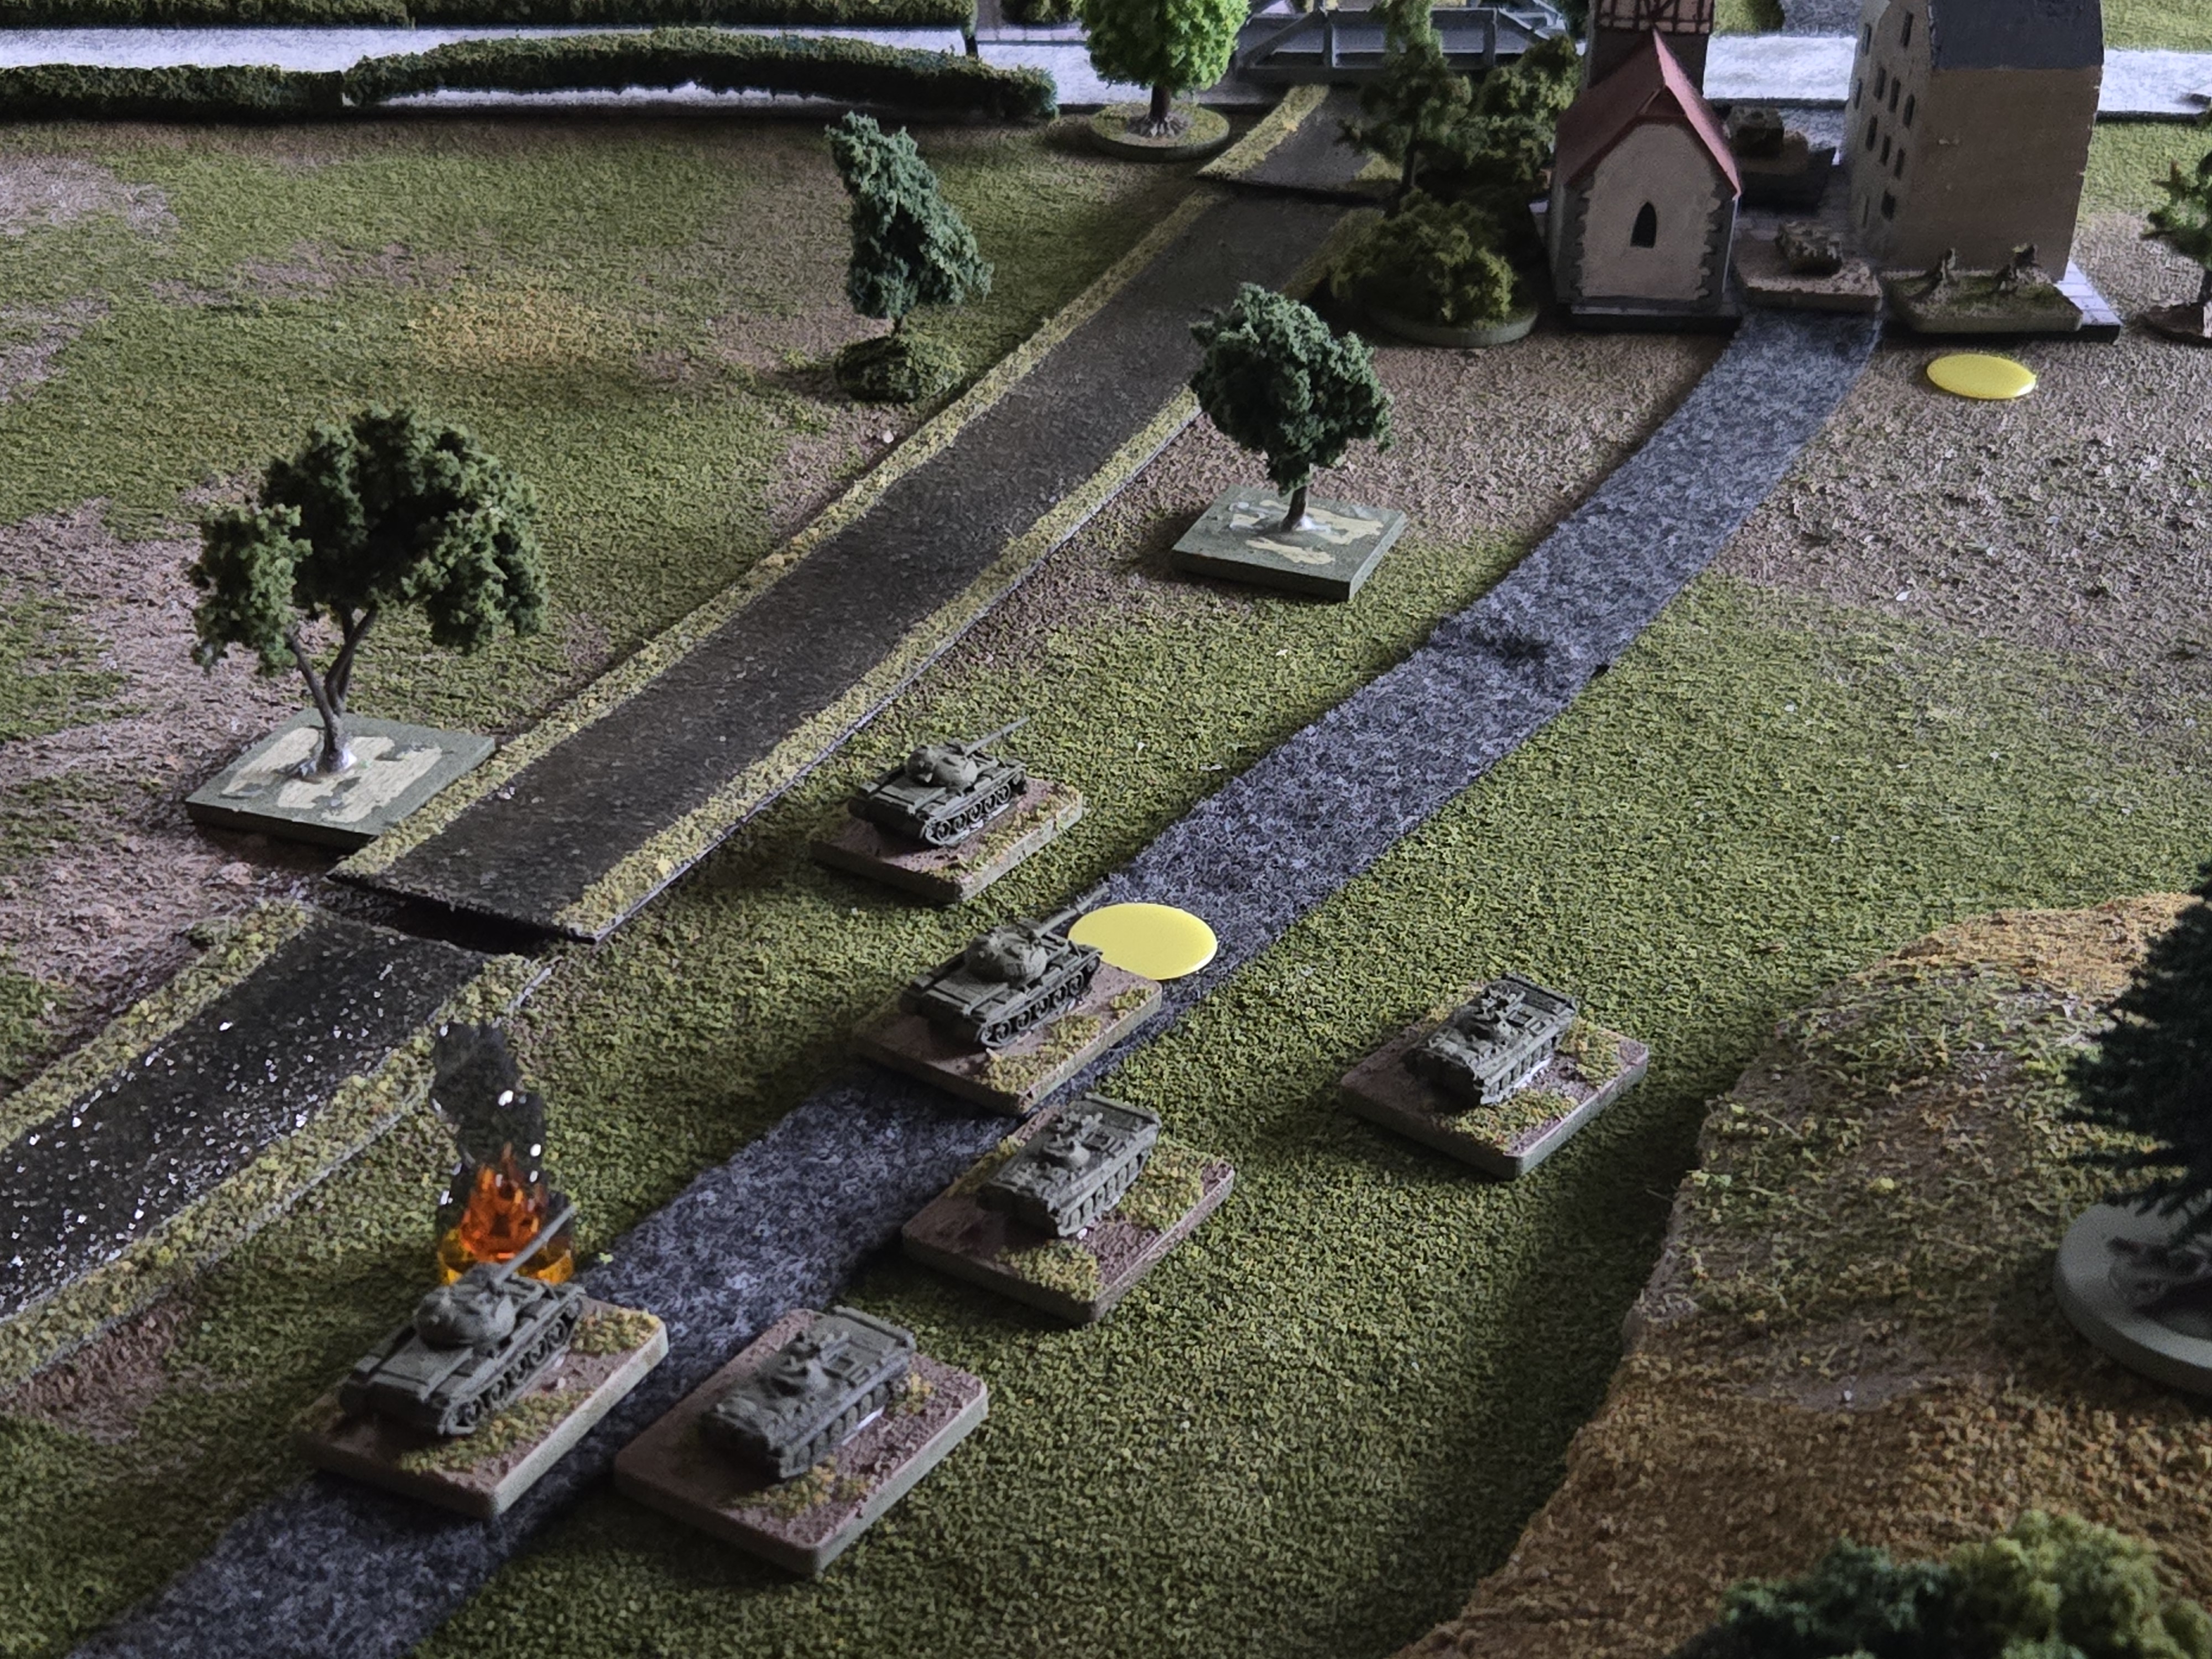
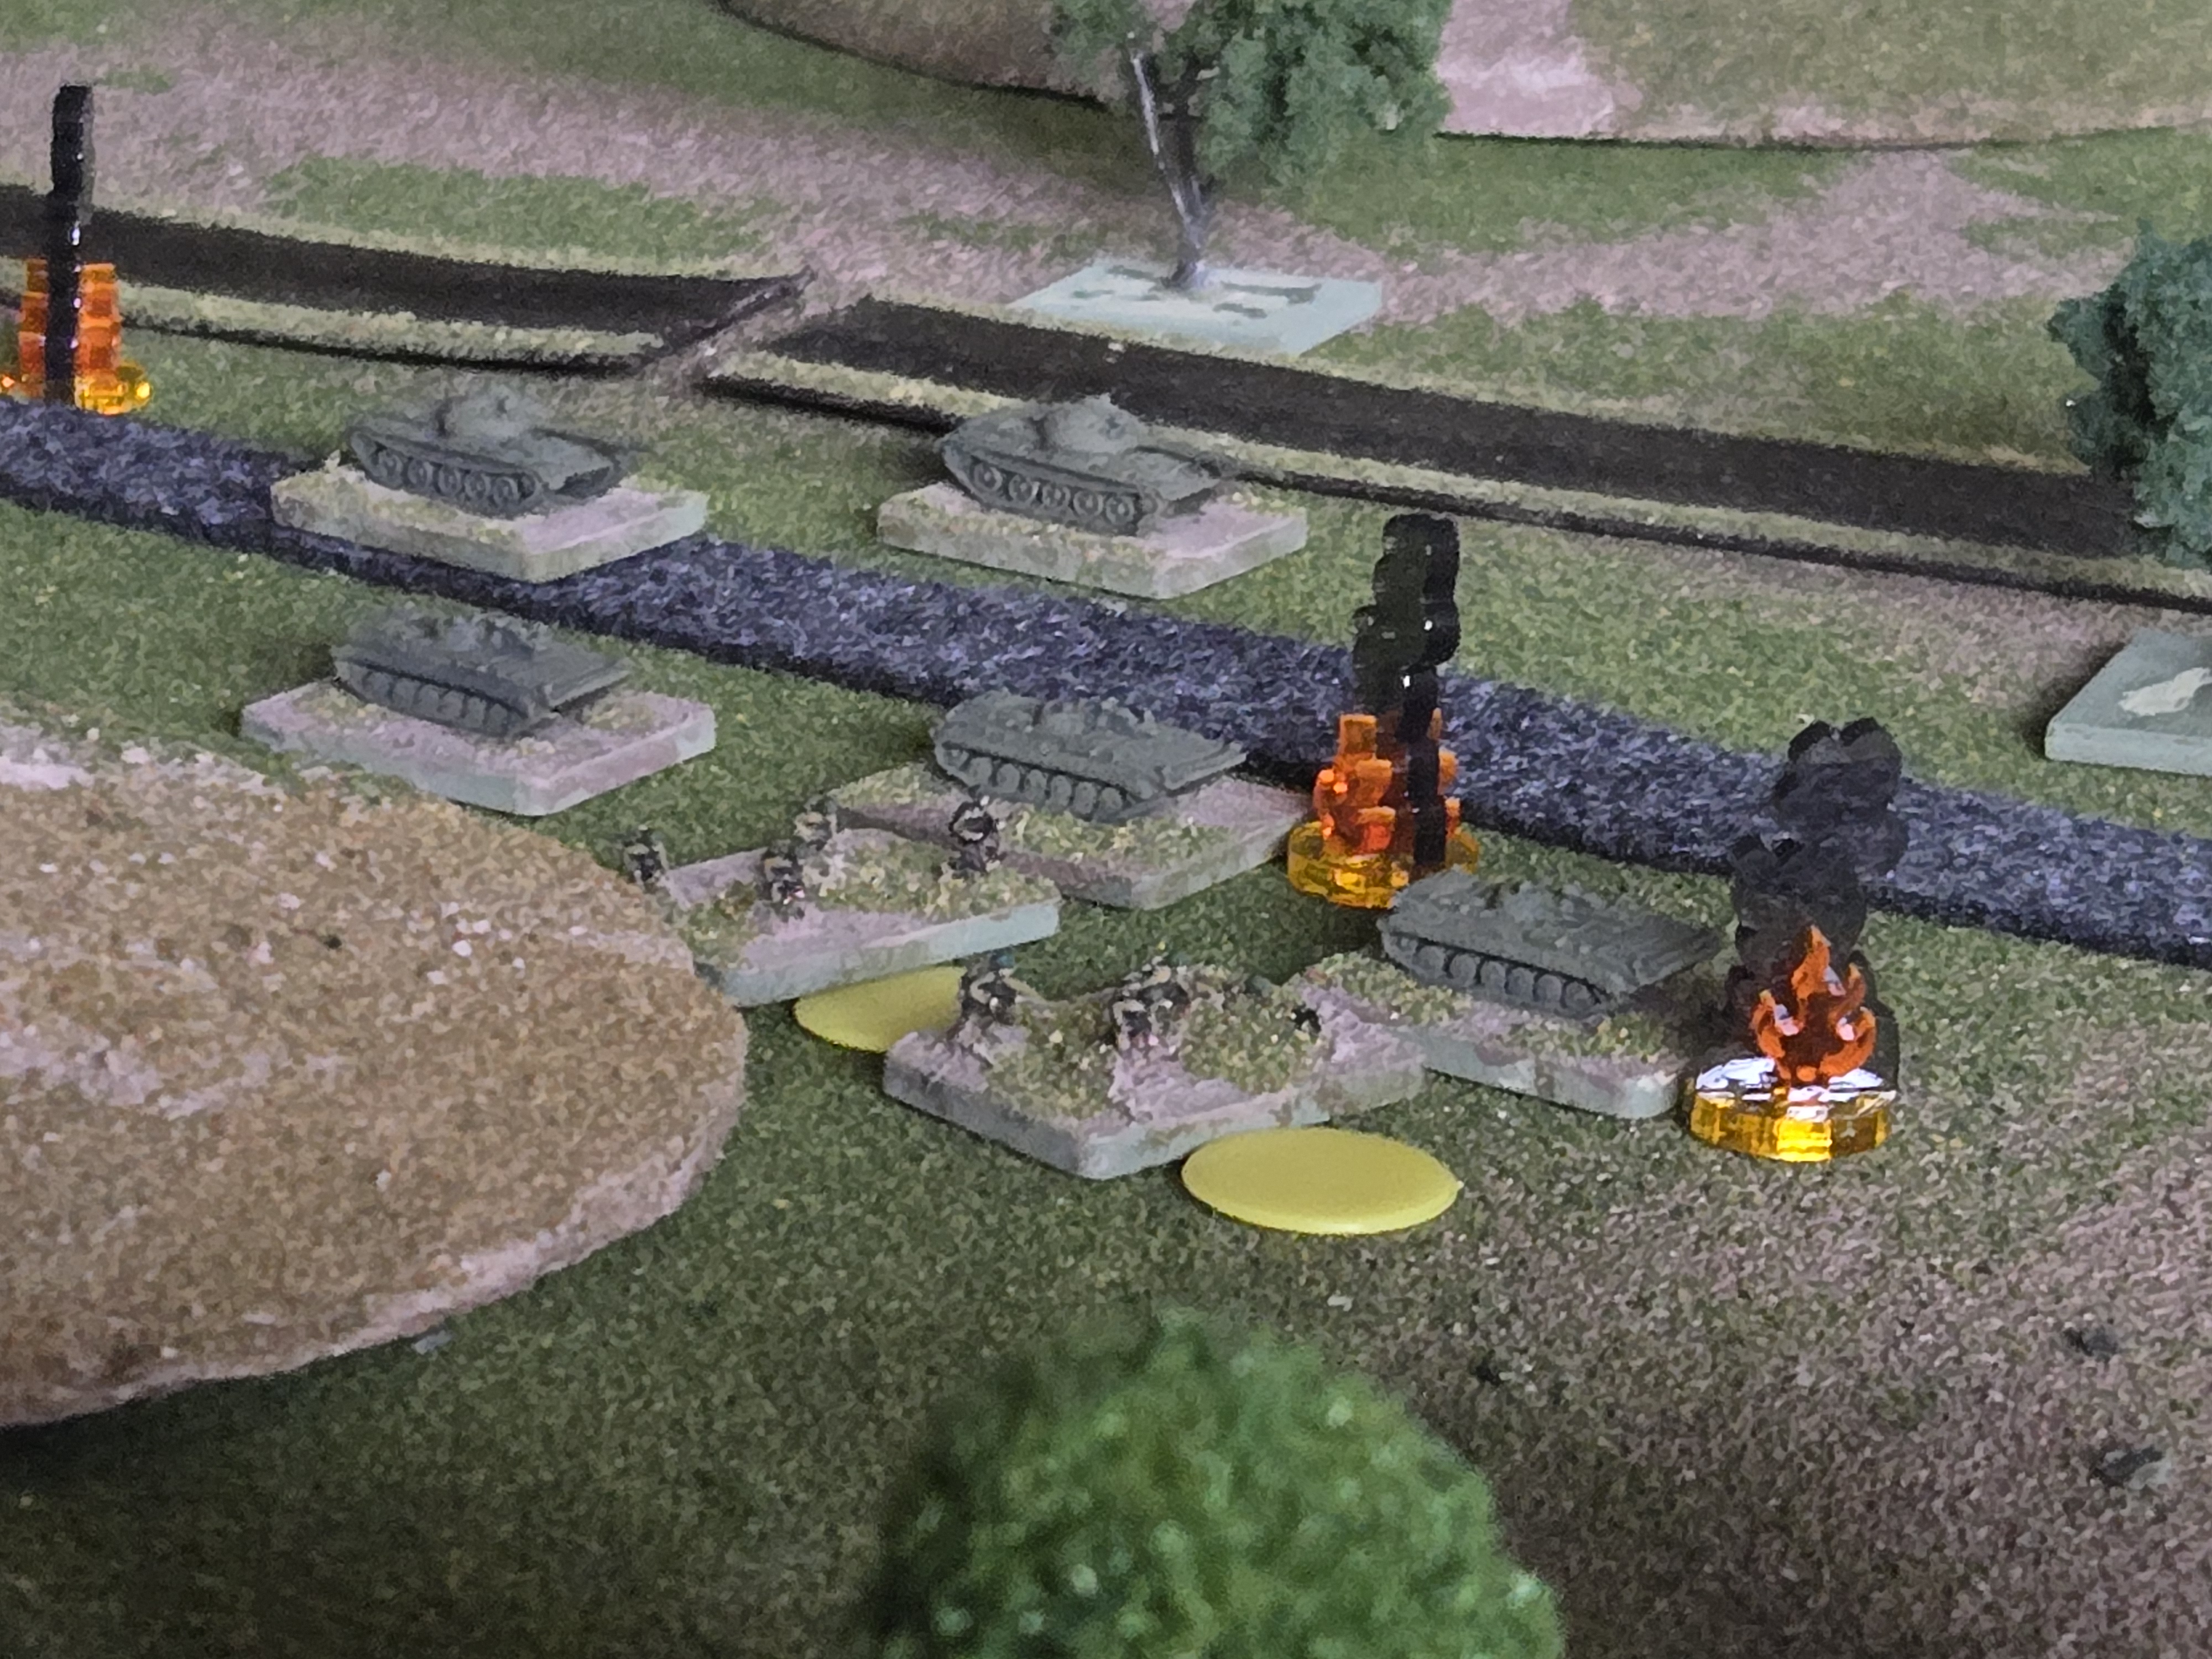
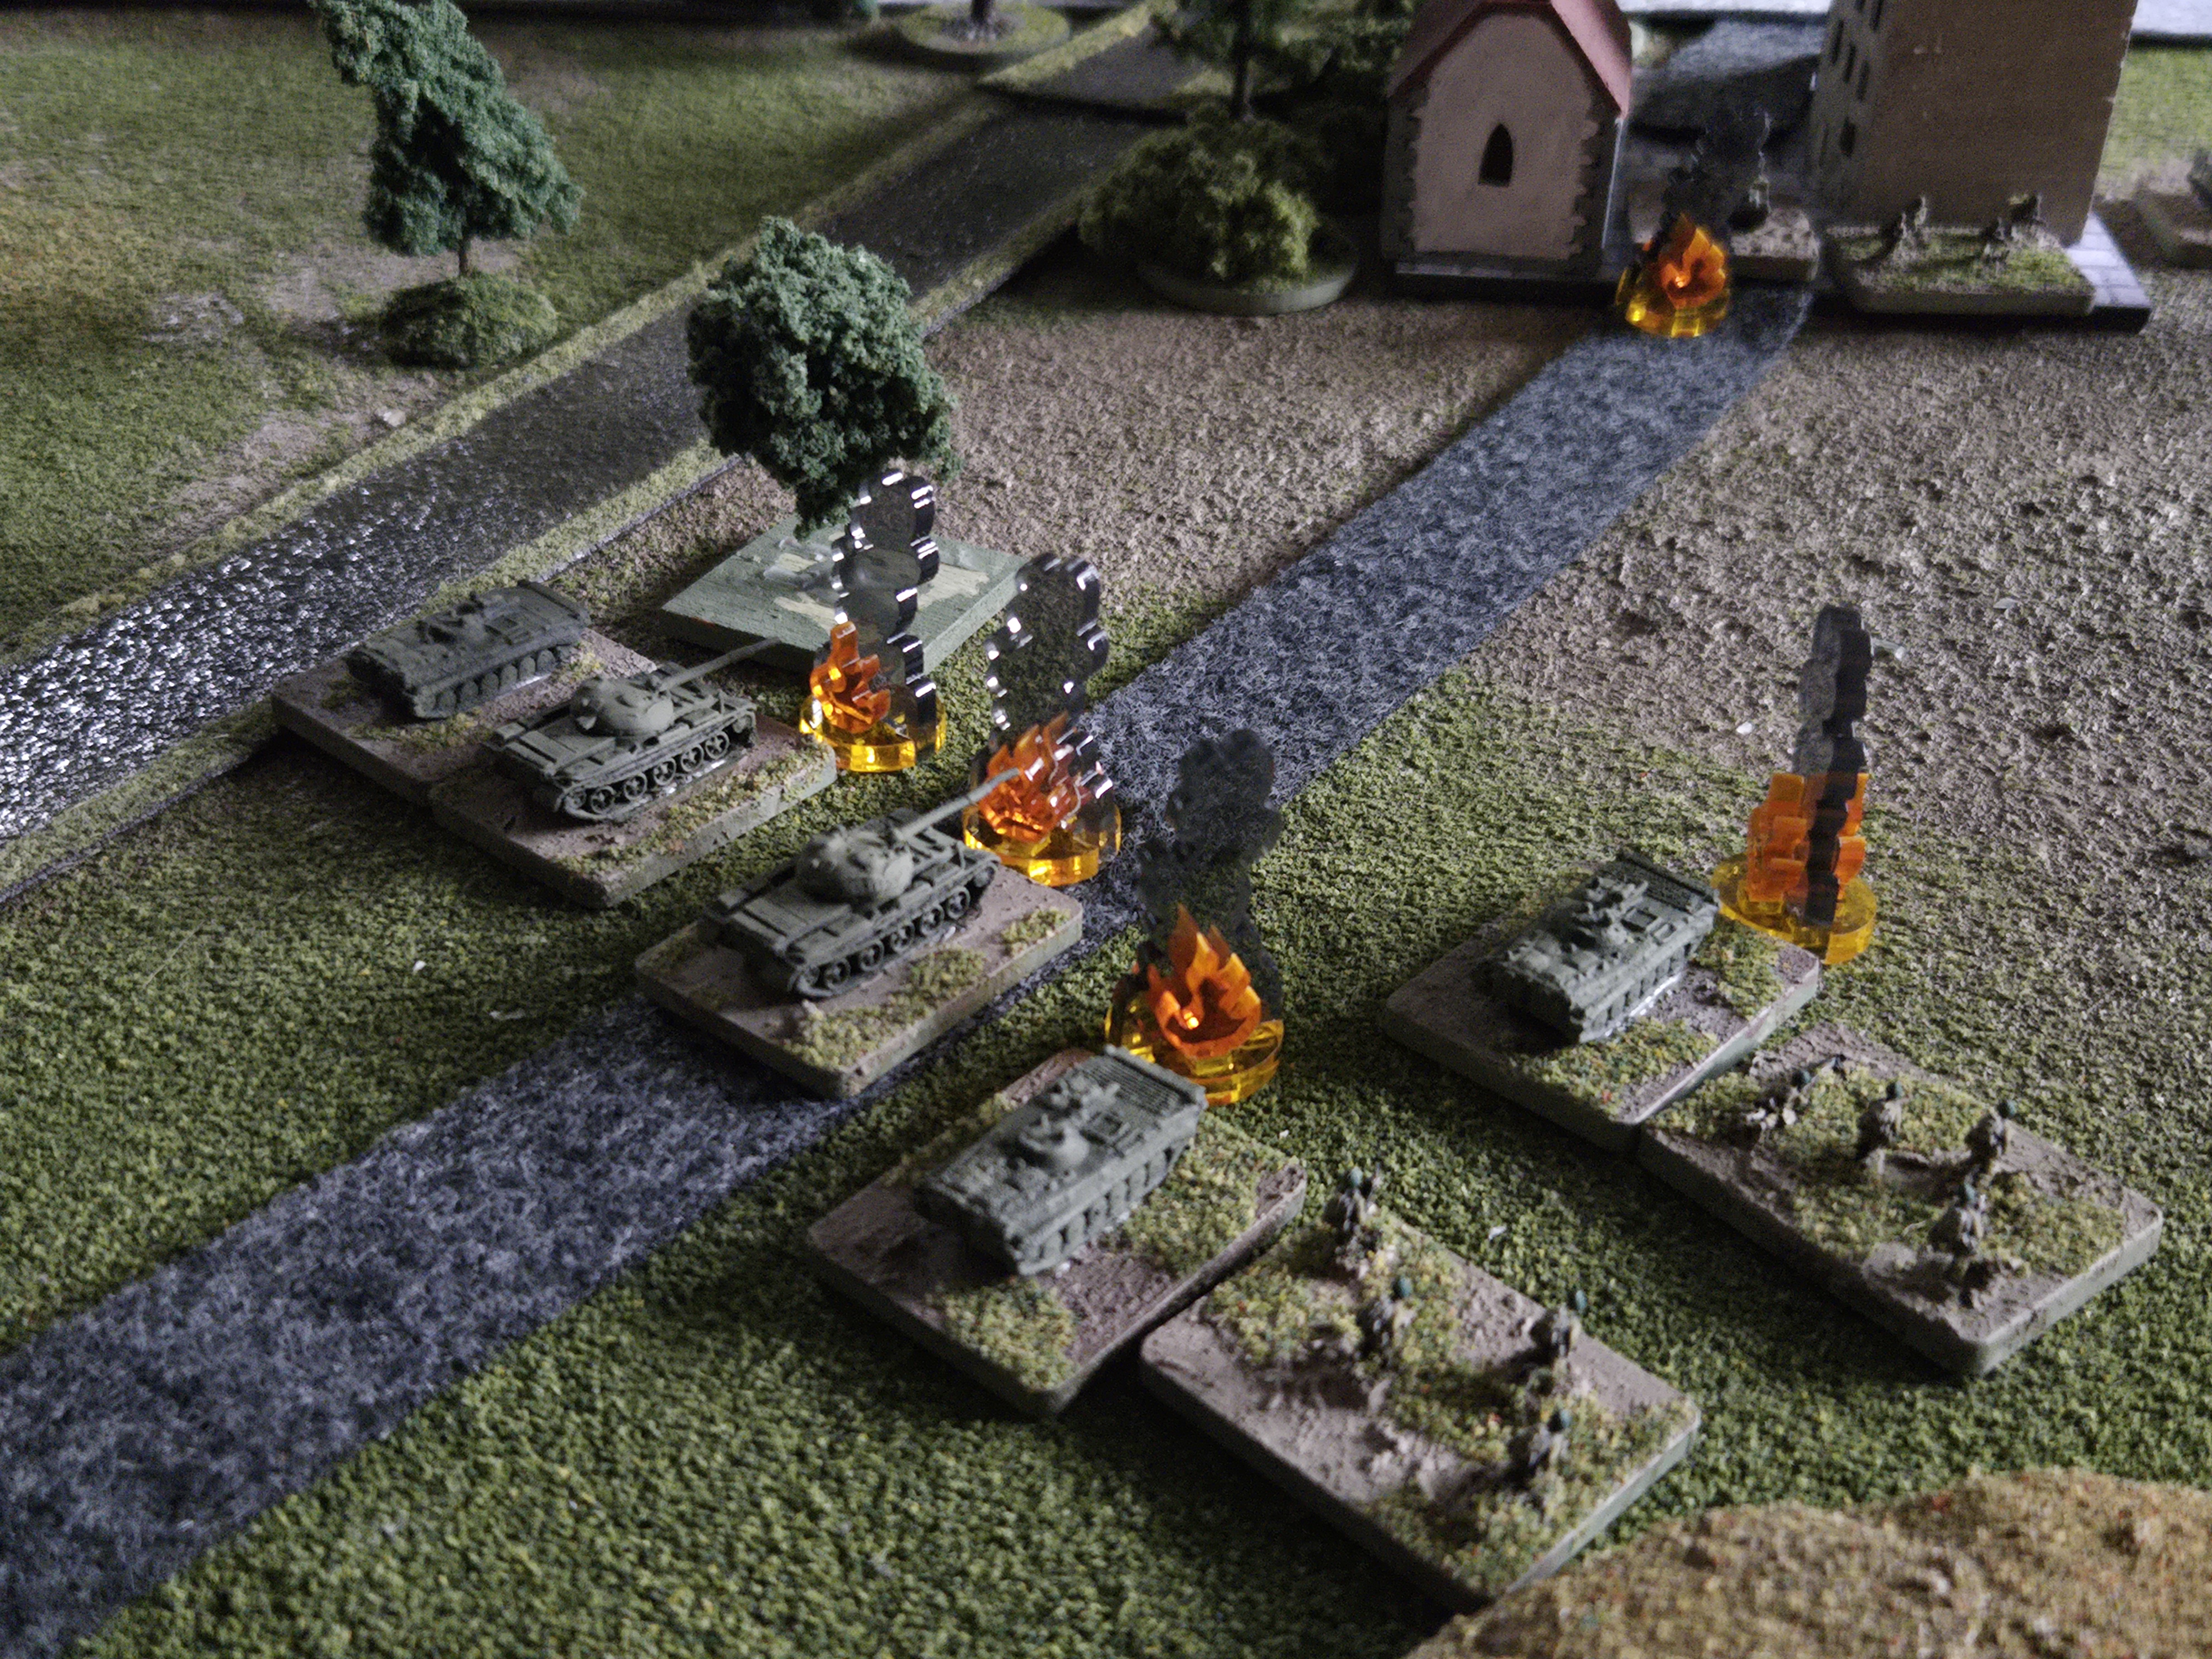
The Soviets unload with T-62 firing the AA machine gun at the tan building with the second tank in the column. Note how the tanks are snaking around the burning lead tank.
Turn 3
The Soviets continue to unload into the town now, intent on knocking out the American cavalry sections defending.
Turn 4
The Soviets pick up the pace now and move the BMP infantry fighting vehicles off the road to get more firepower to their front. They need to destroy or suppress those gunners to make this movement to the town easier. The American M60s creep closer to the battle area. The Americans spray .50 caliber machine gun fire at the BMP in an attempt to suppress it but the fire is not accurate.
Turn 5
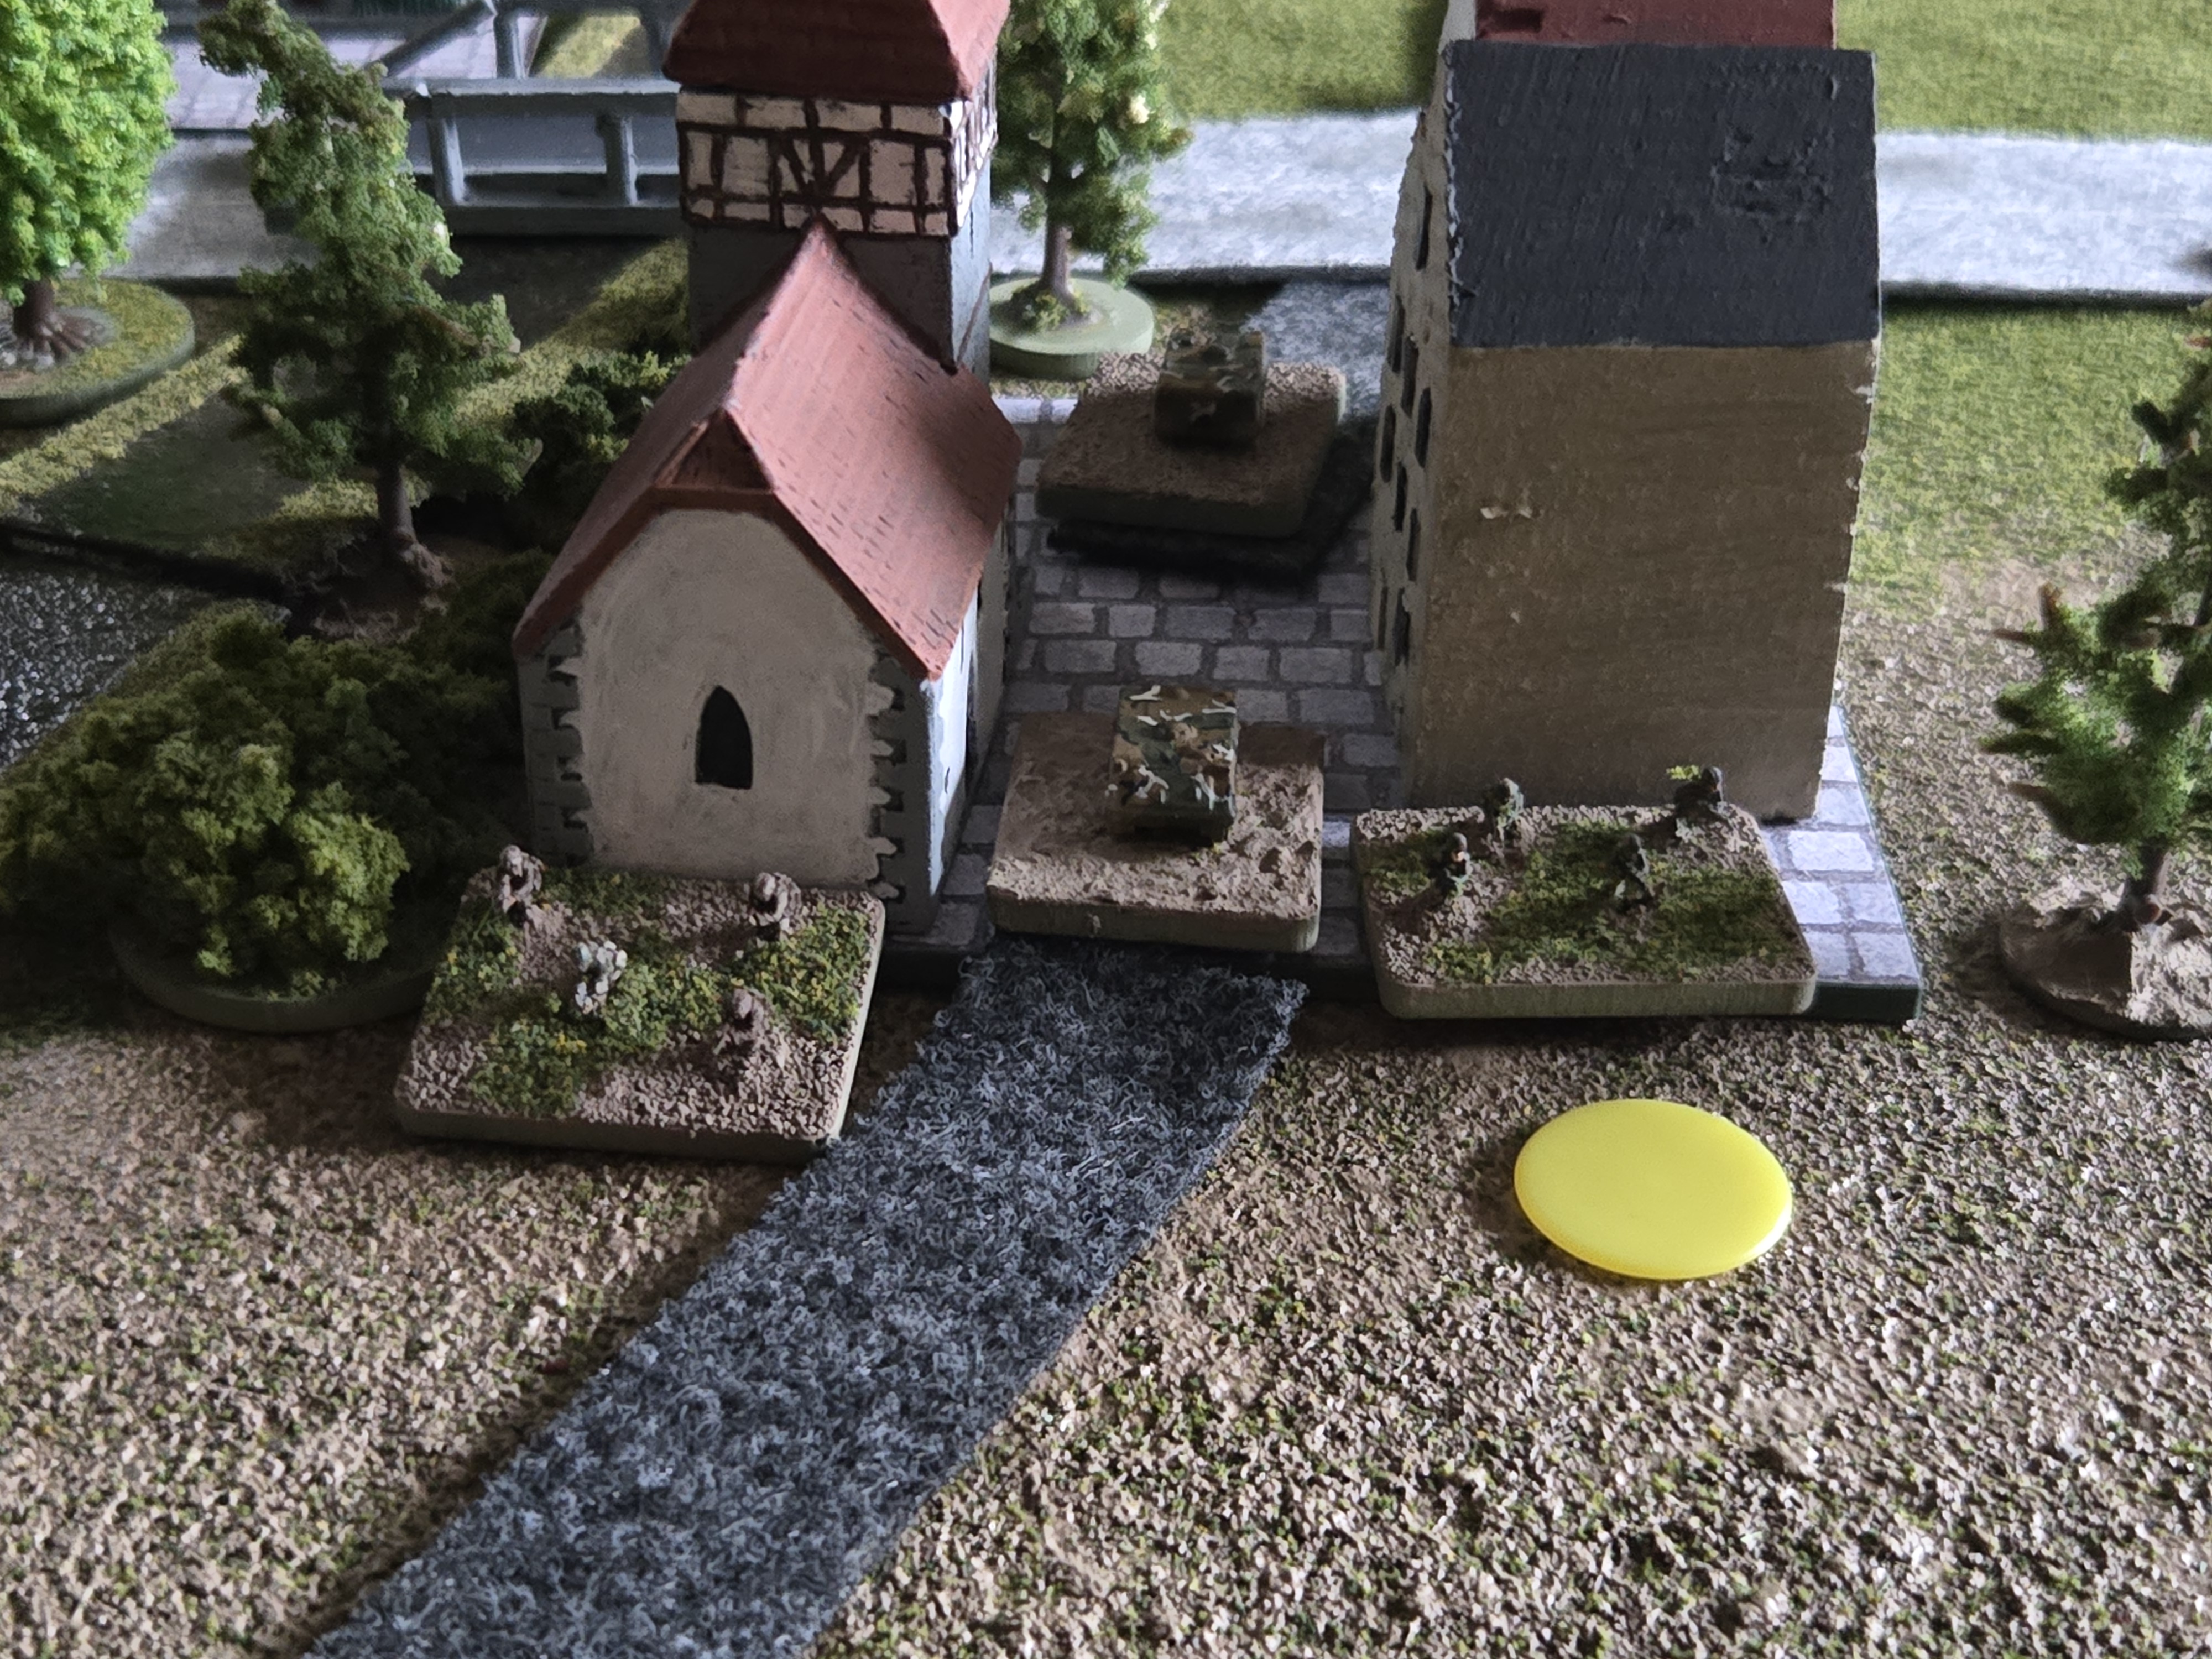
The Soviets, seeing the fire from the M113 in the town, open fire and knock it out with an HE round. More fire keeps the US cavalry scouts suppressed!
Turn 6
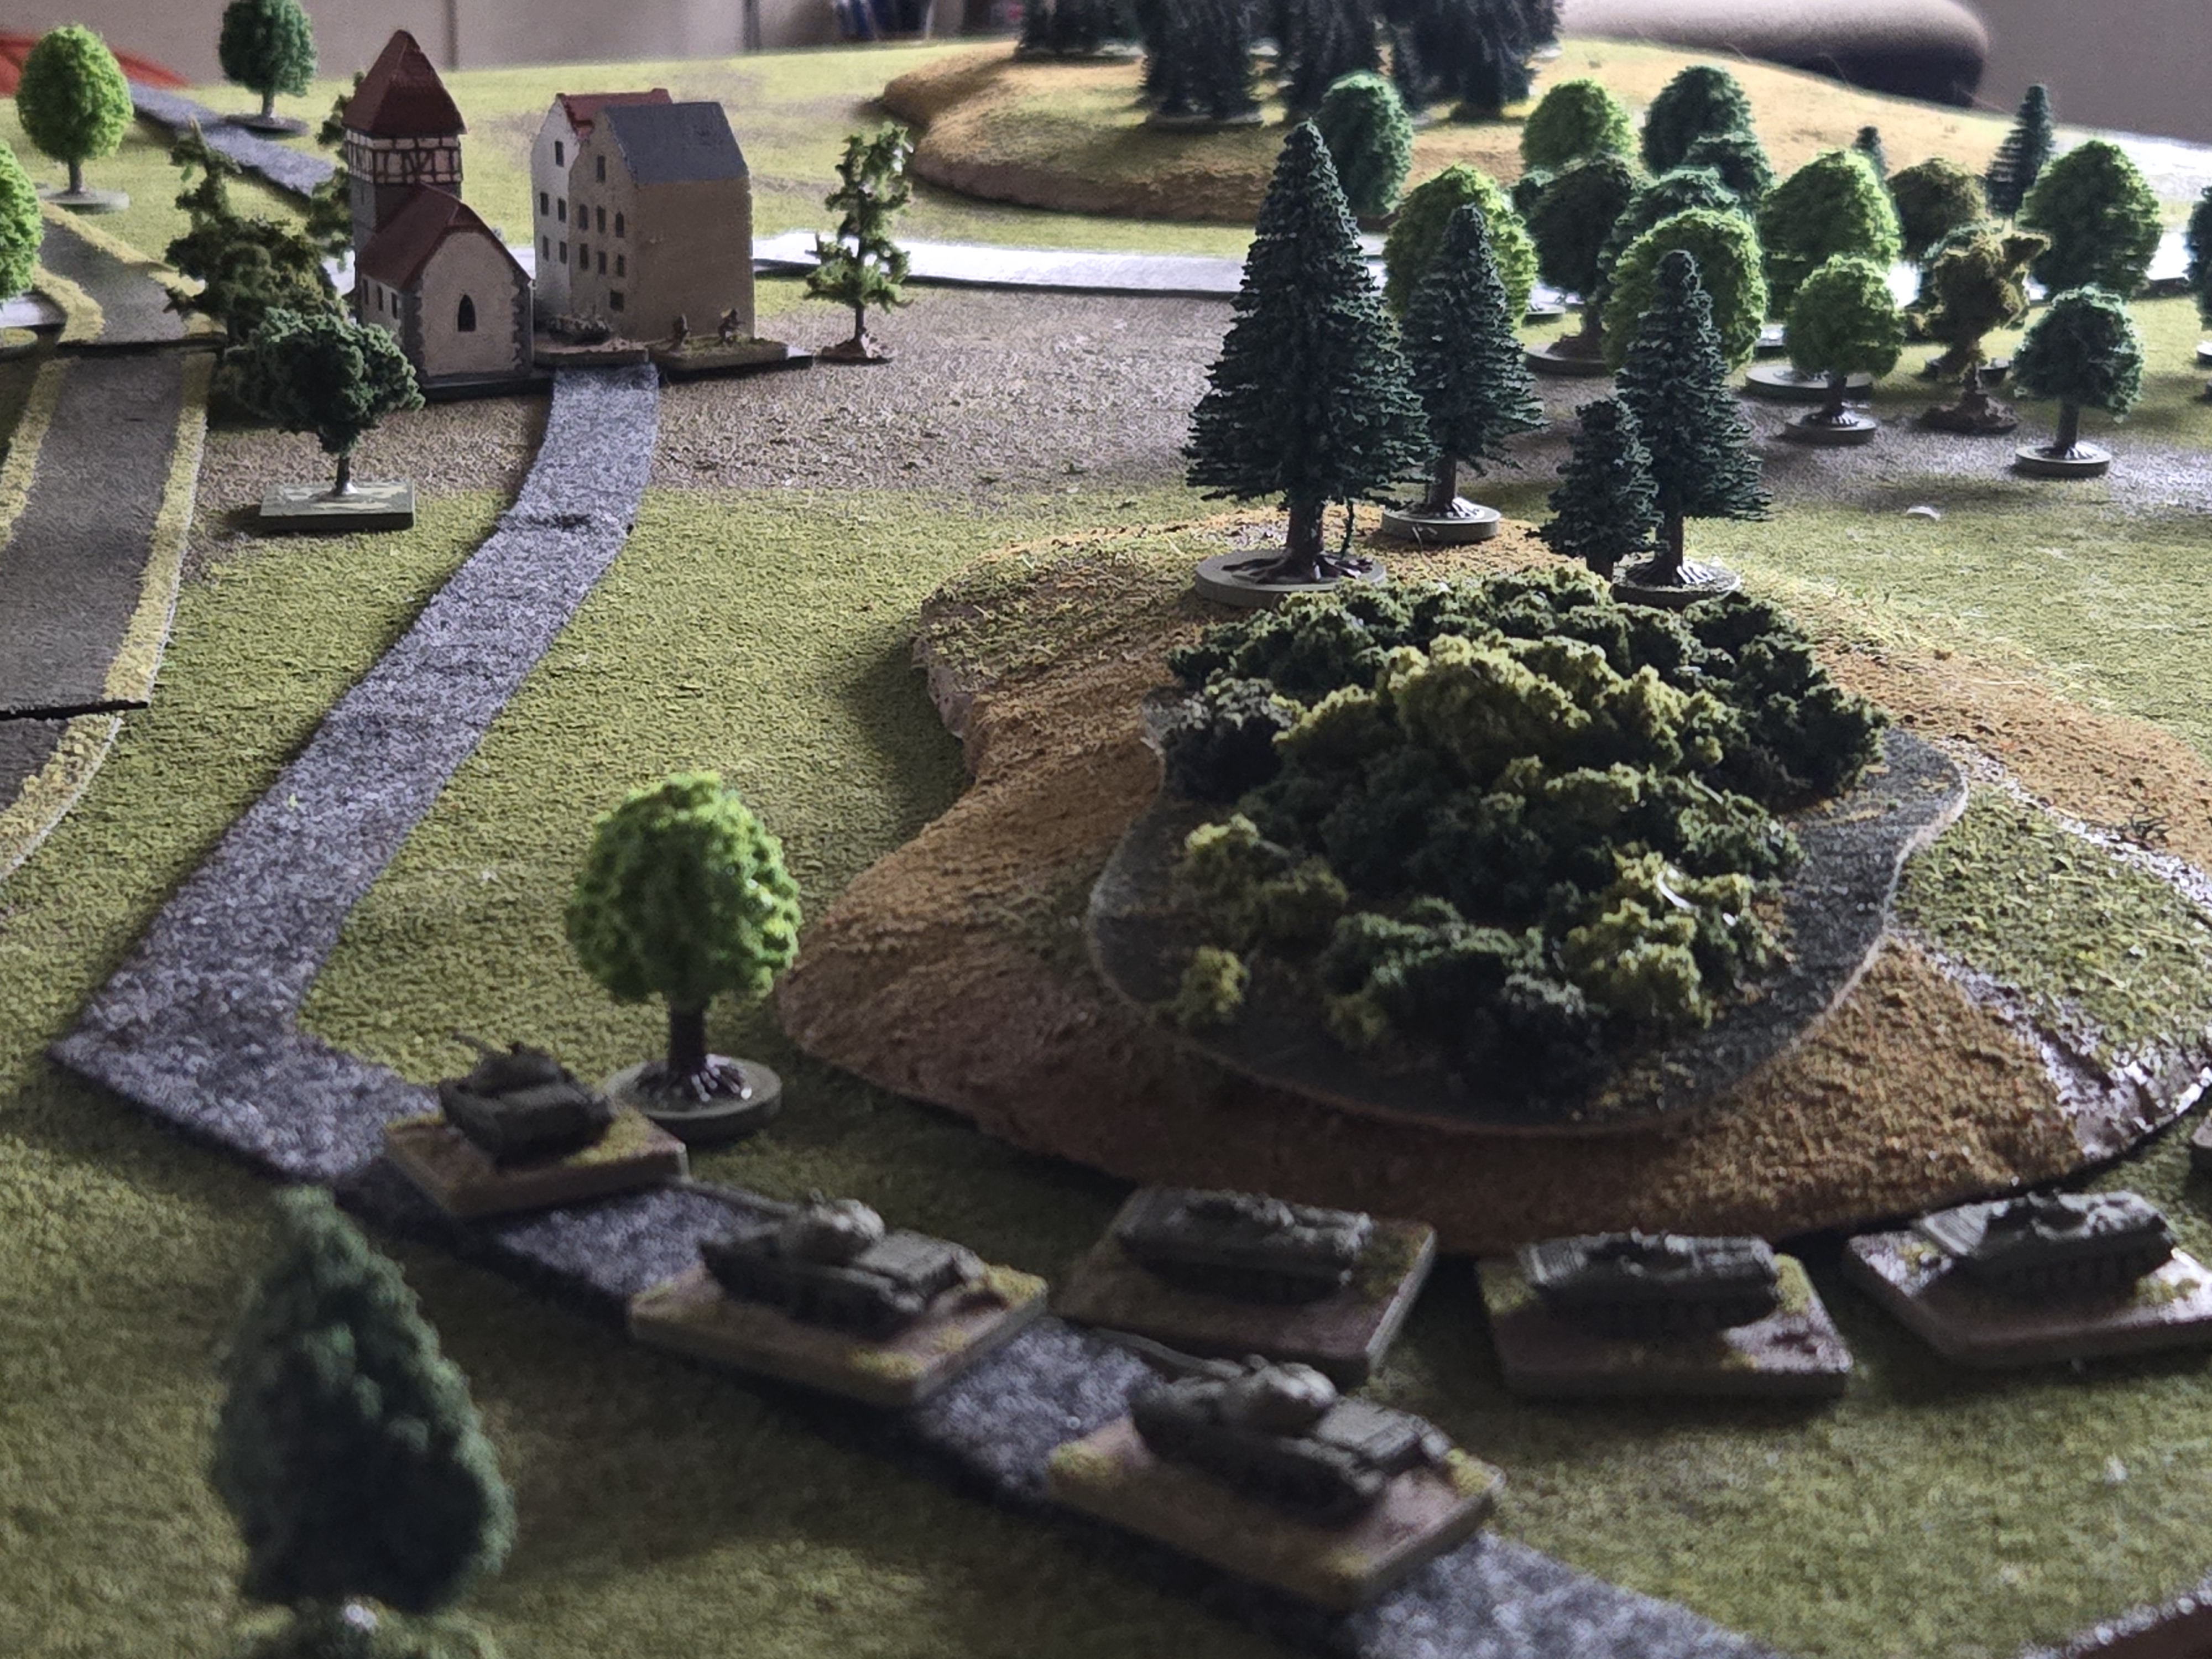
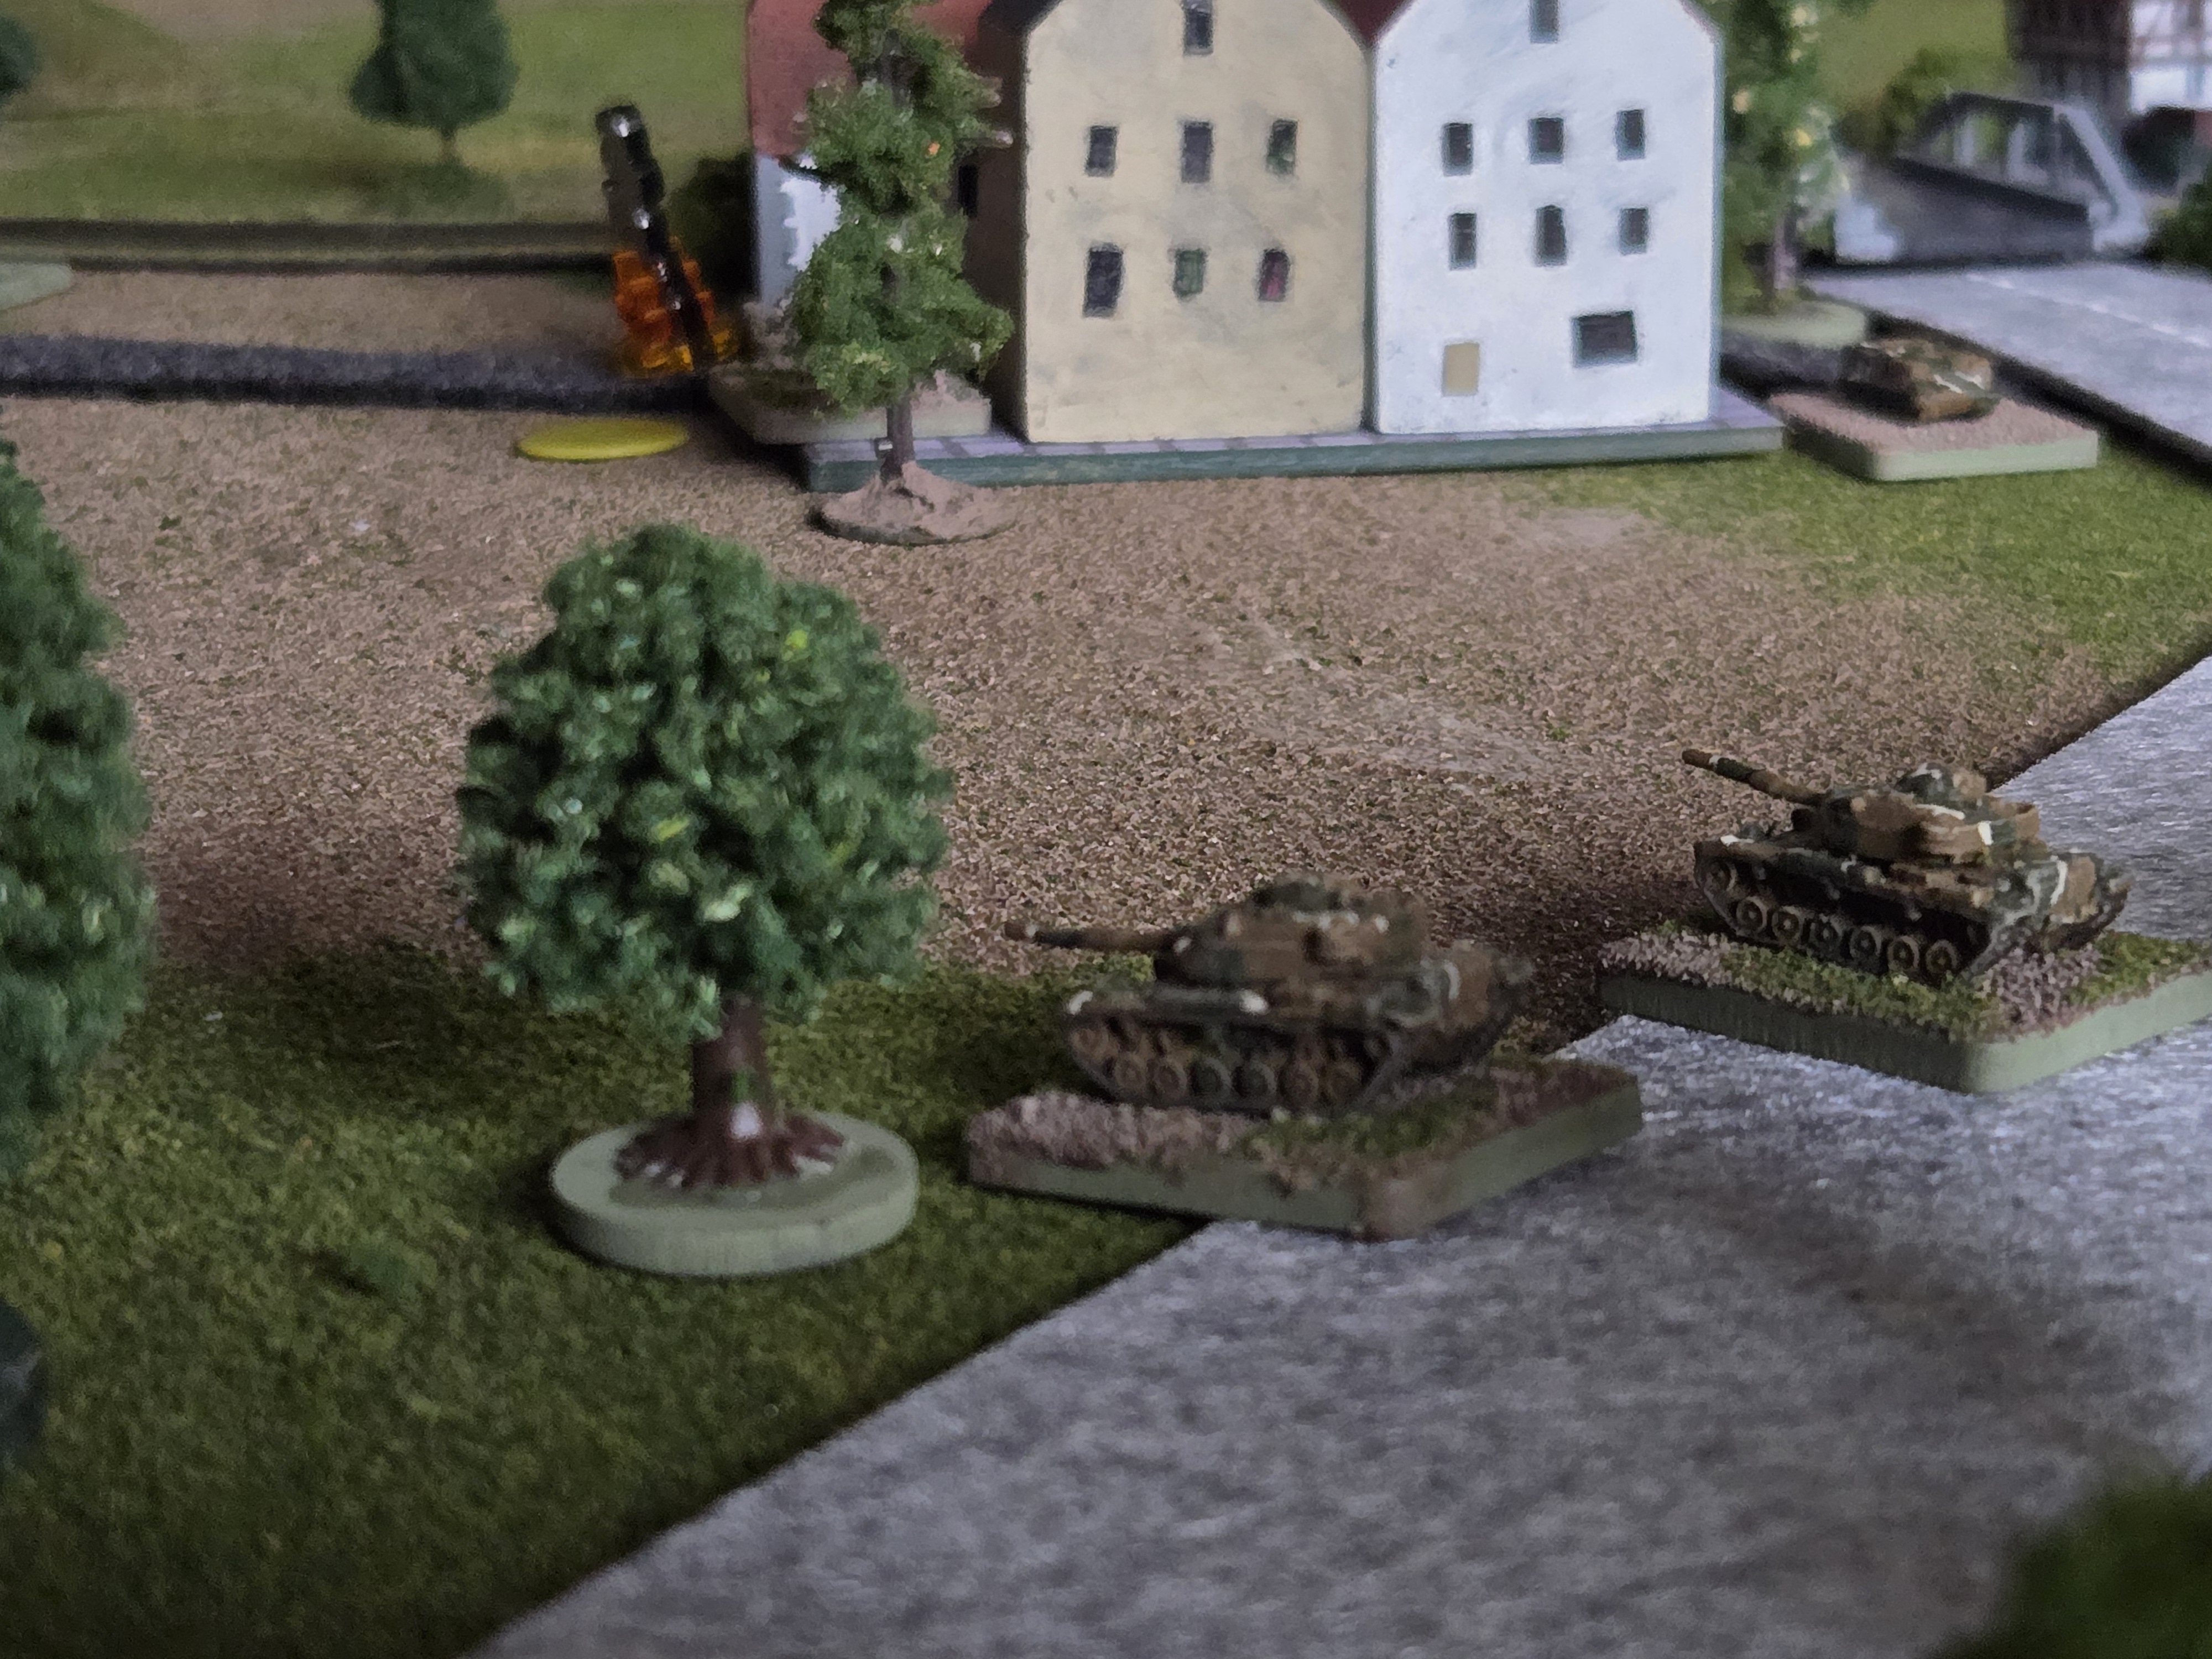
The Soviet BMPs surge toward the town to try and capture it and just in the nick of time, the Cavalry shows up! 2 x M60 tanks appear from the woods along the highway north of the town!
Turn 7
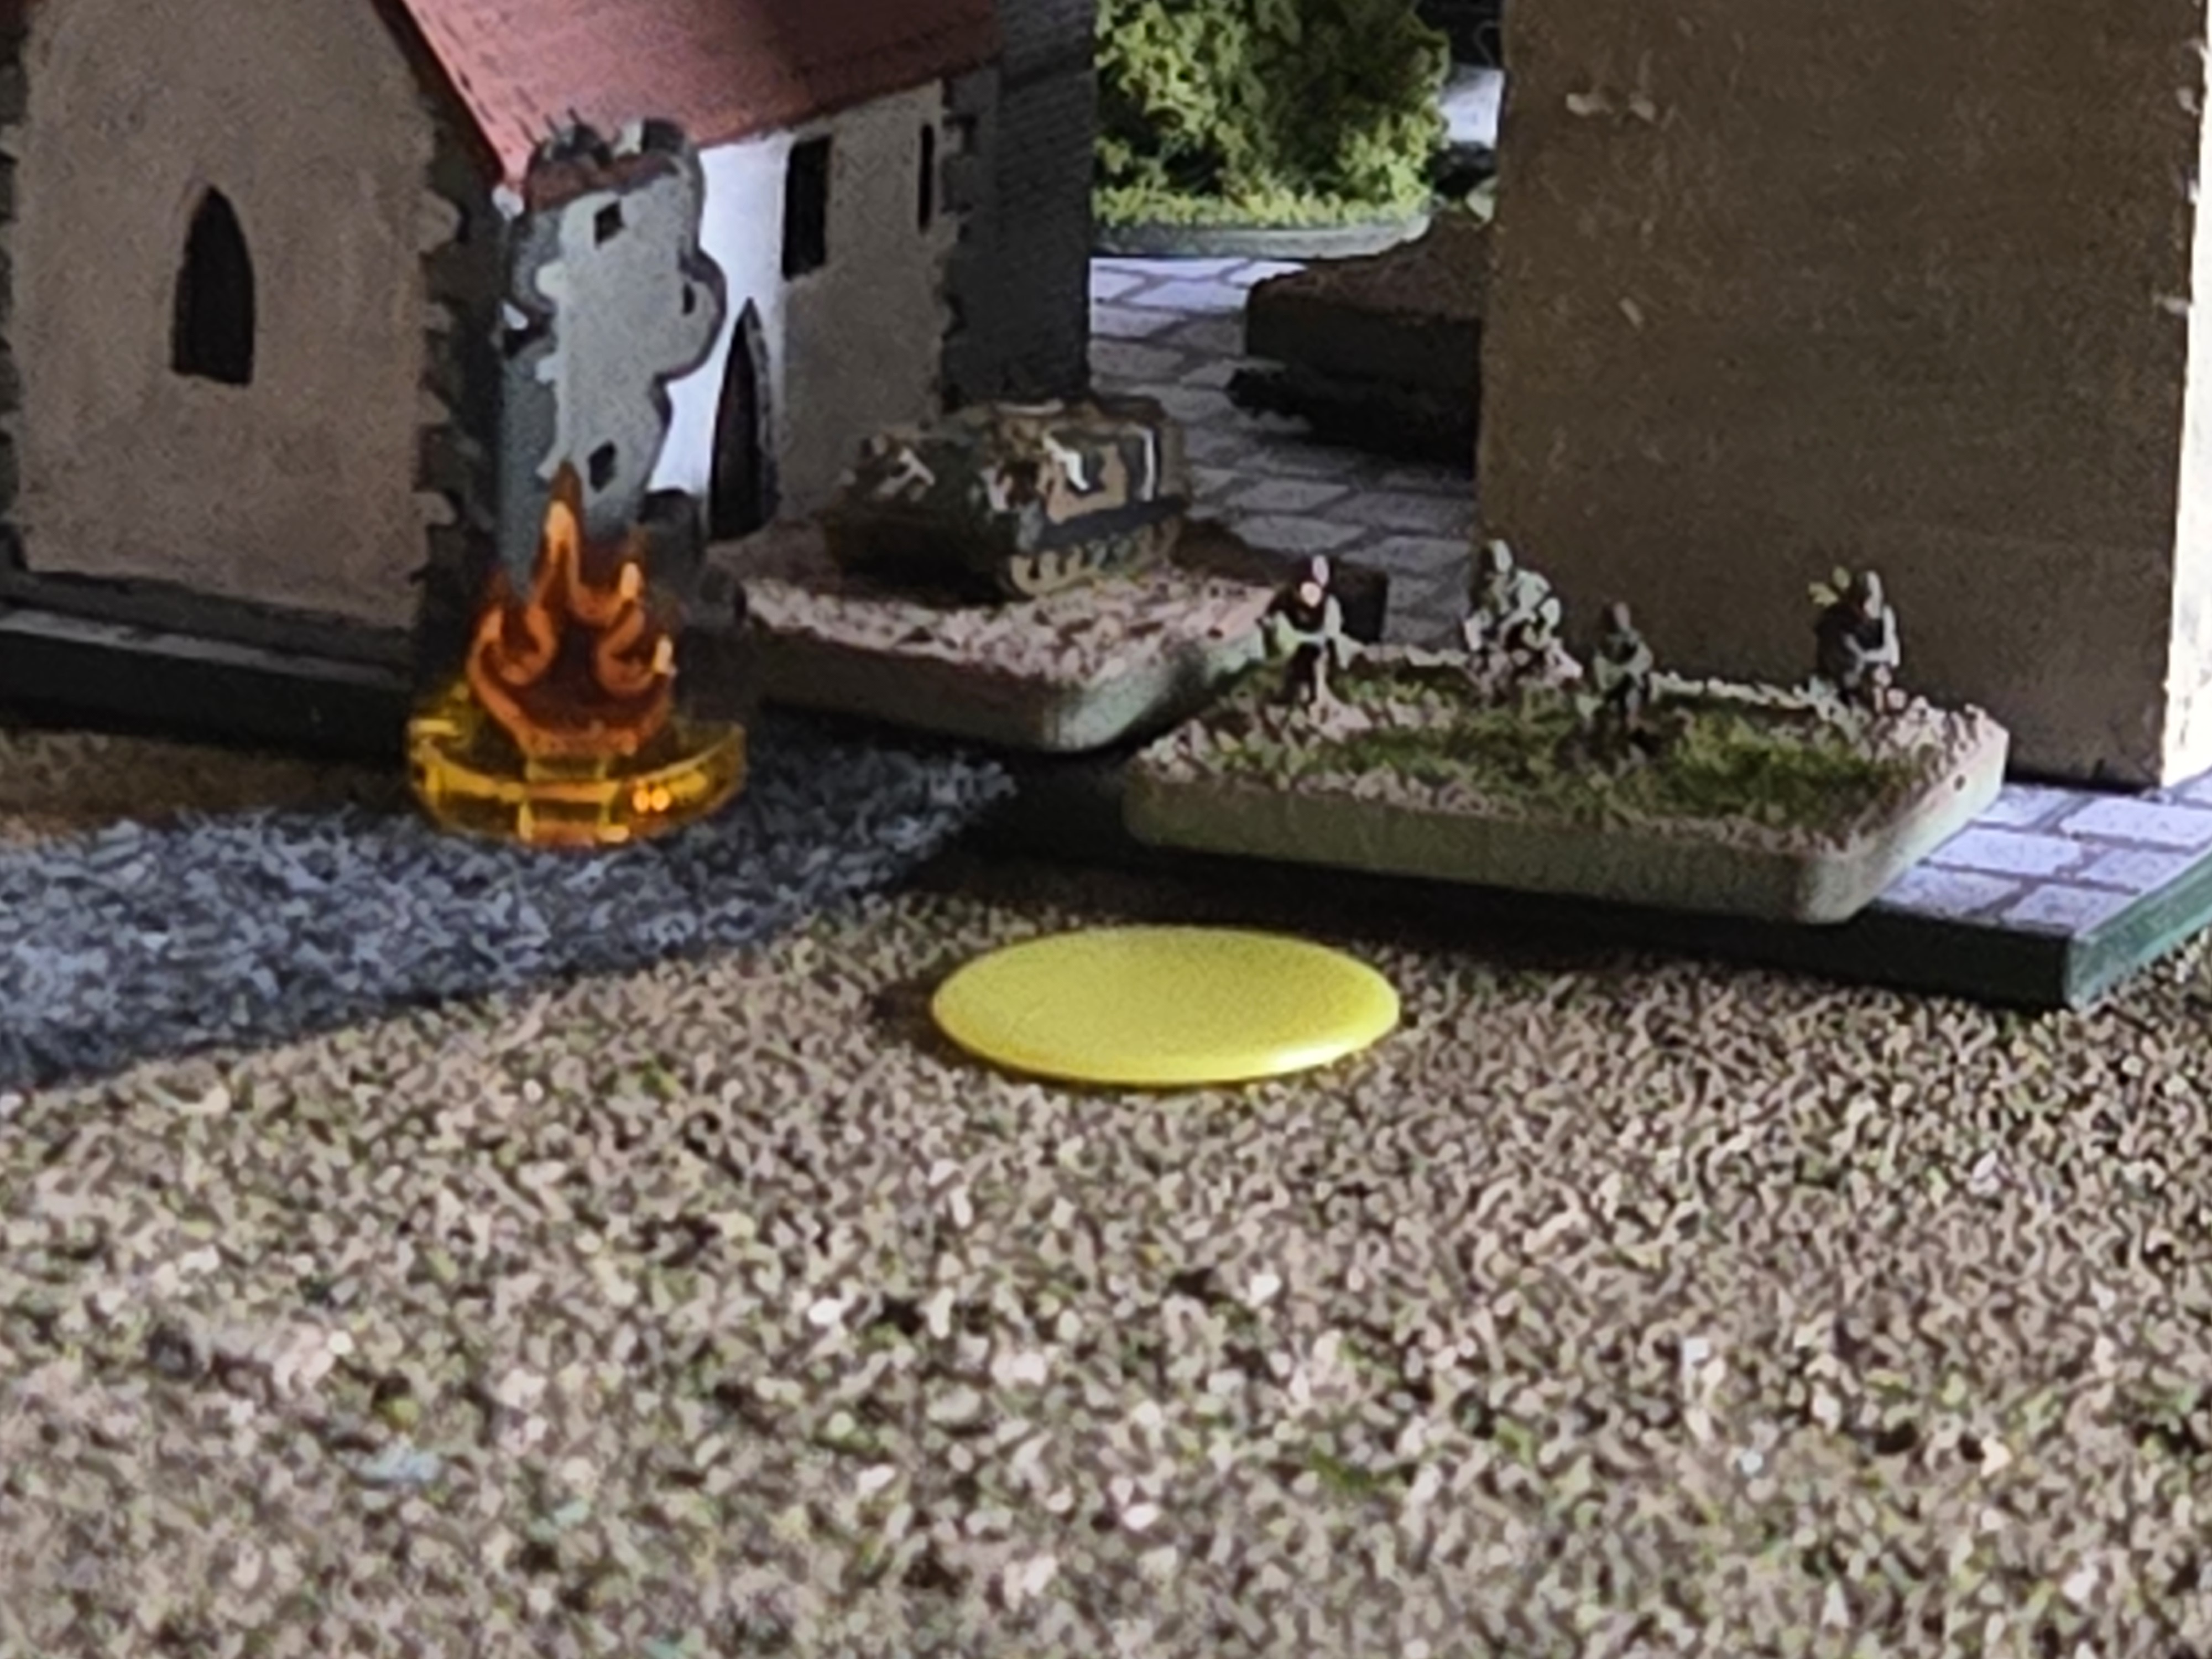
The Soviets go for broke and surge a T-62 and BMP along the river towards the church. If they can get a dismount section into the church they can actually still win this fight!
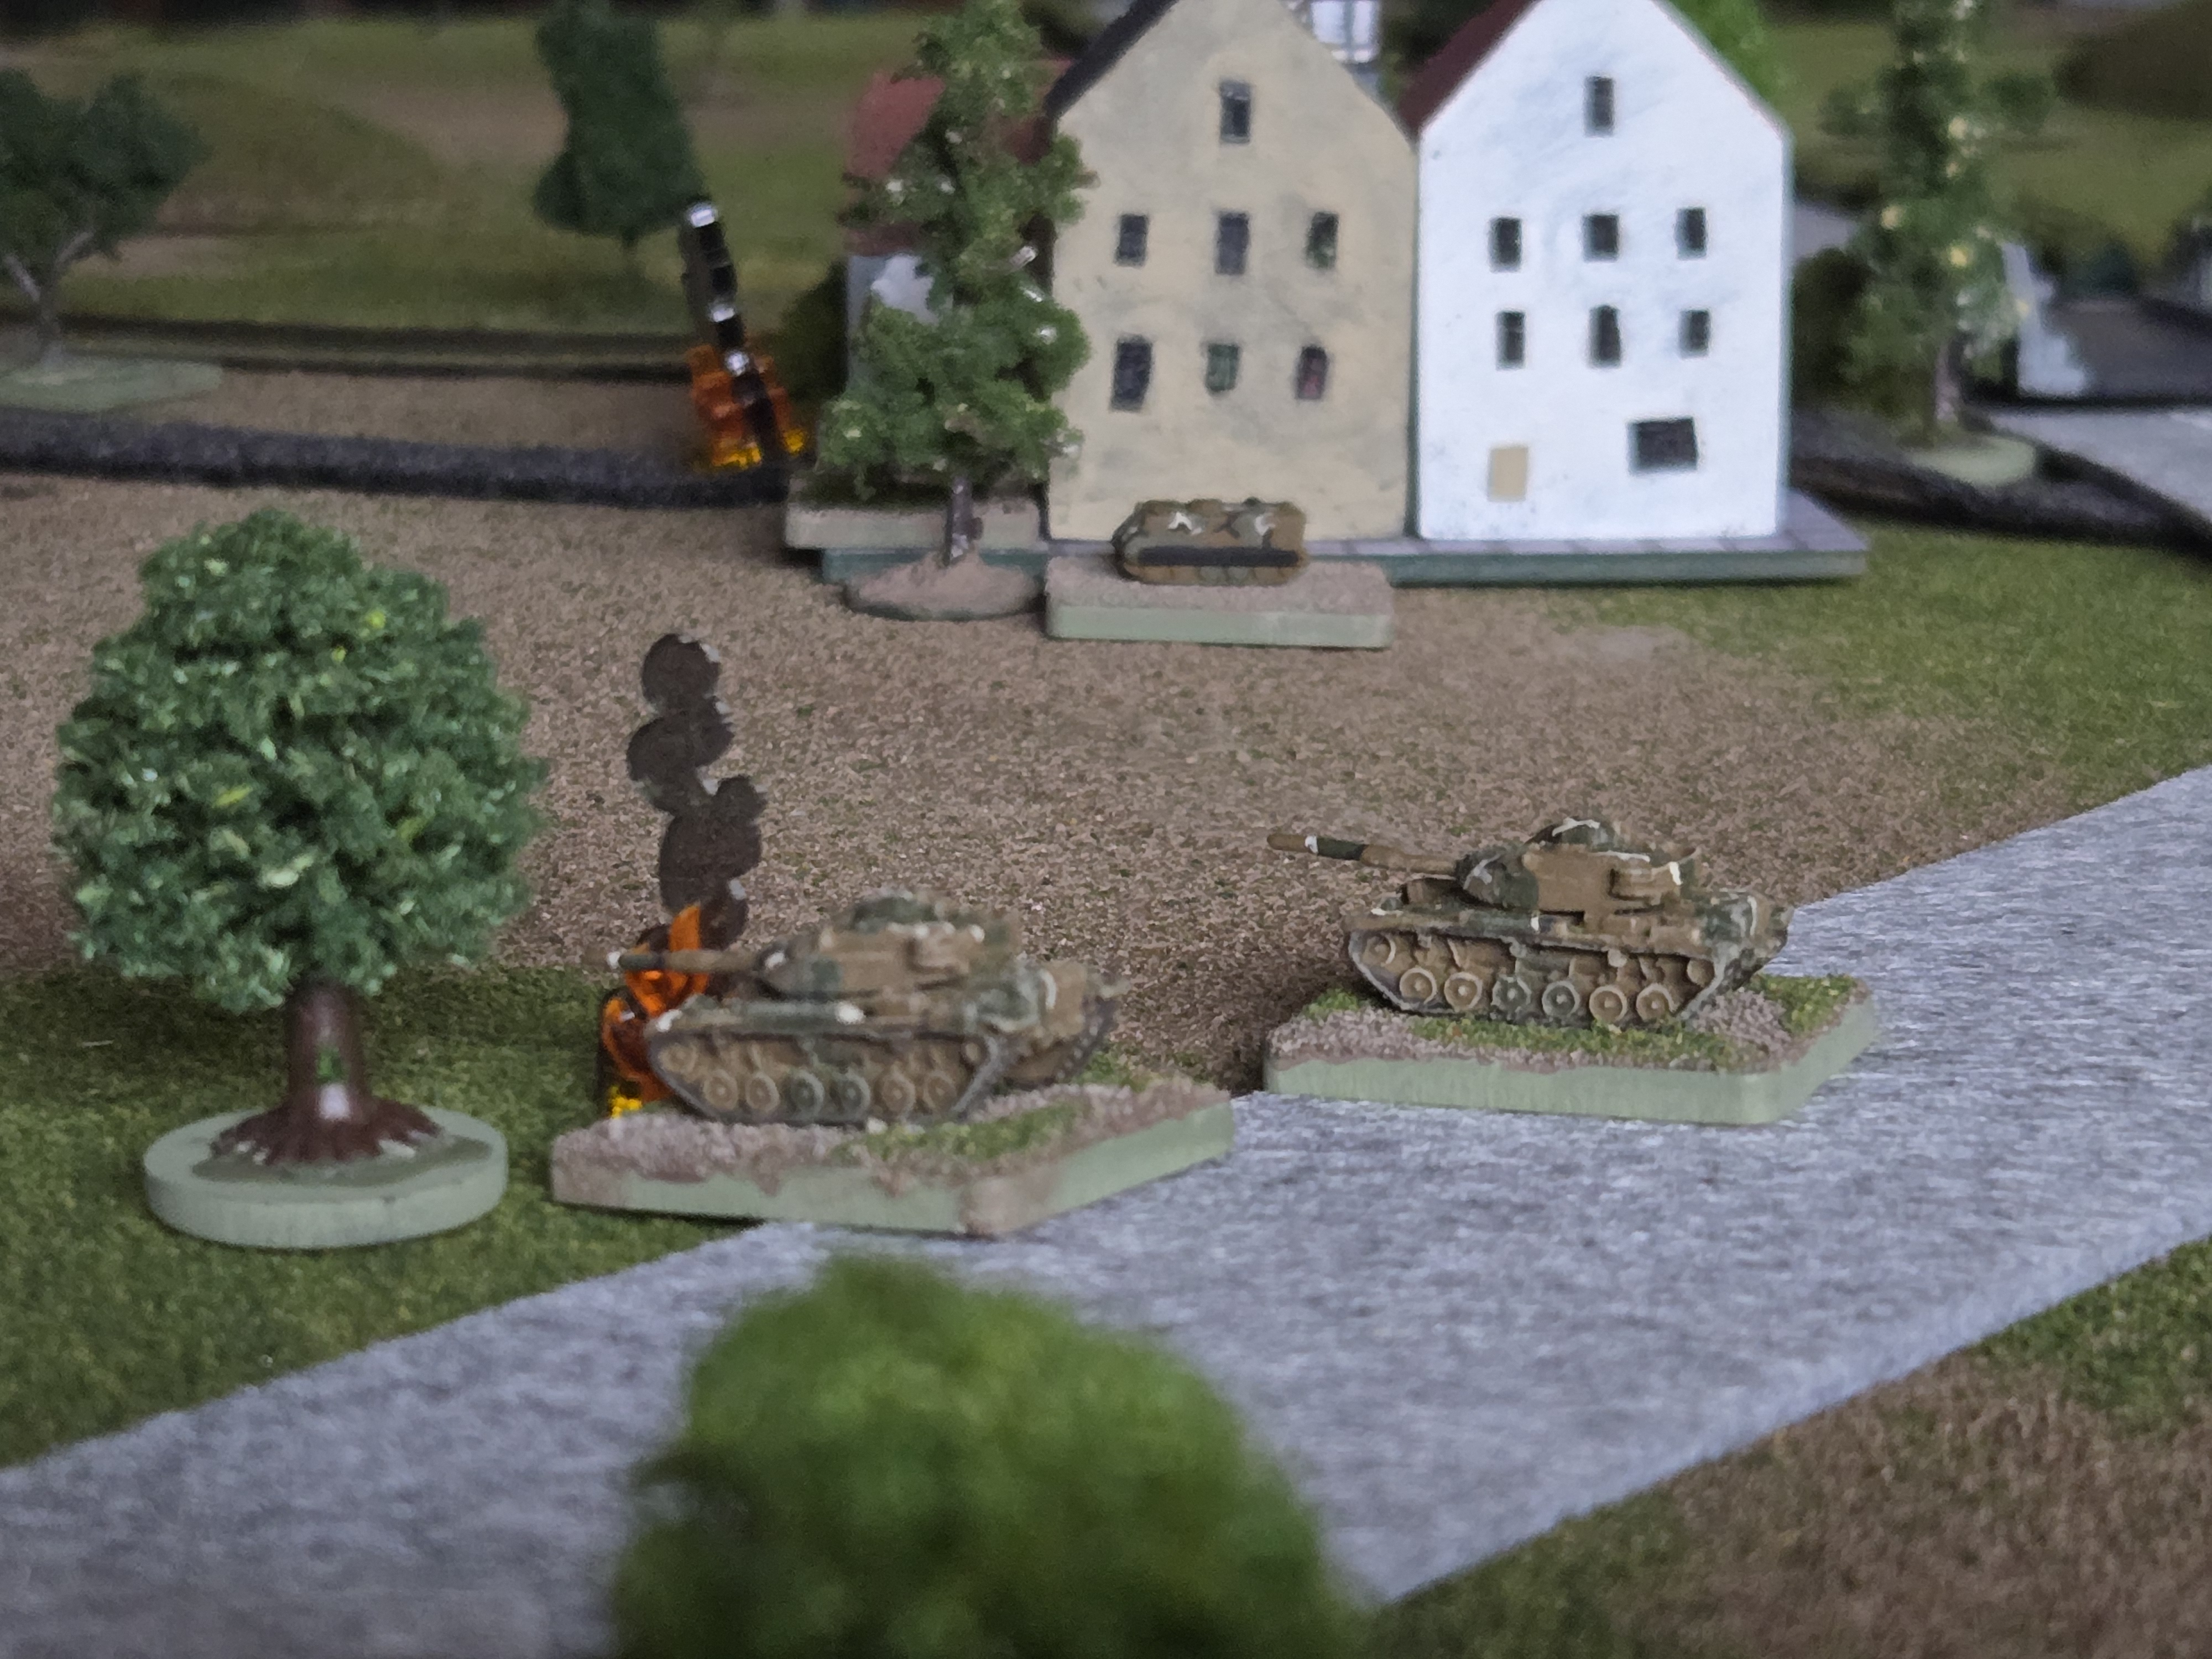
By the end of Turn 8, the final BMP is destroyed by the single remaining American M60 and the squad in the townhouse. This was a tough fight and it felt brutal. Most weapons have a good chance of getting an effect on the target (even if they can’t kill it) and suppressed tanks fire at a disadvantage and suppressed infantry can’t fire at all. Fire and maneuver is rewarded and the old saying rings true: “if it can be seen, it can be hit. if it can be hit, it can be killed”. Nowhere is this more apparent than the modern battlefield.
Issues Encountered
During play a few things stood out to me.
Range & Rounding.The range blocks in the game are in increasing increments (50, 100, 250, 500, 750, 1000, etc) so it is inevitable that you will have to round numbers up or down. There is no guidance for this at all that I could find, so I’ll have to think about this one a little bit.
Dismounts. As mentioned above, there was no guidance given about the fate of dismounts when their transport is knocked out. Are they simply knocked out with it? Do they have a chance to save themselves? I ended up dismounting them, suppressed.
Line of Sight. Always a sticky subject – there is not much given on LOS so you really do have to identify the effects of terrain and how LOS works prior to starting play. There is a highly restrictive (or highly realistic?) observation table that tells you what you can see at a given distance. So if the intent is to make LOS hard on the firer, I’ll have to take that into consideration.
Modifiers. The modifiers sneak up on you and they’re easy to forget or easily missed – even with the QRS. I found myself forgetting to apply them sometimes so I had to go back and re-roll some of the To-Hit rolls. There are quite a few modifiers that go into the To-Hit roll and are dependent on the firing unit’s status (moved? not moved? suppressed?) and the target’s status (moved? not moved?) and that is alot to apply. I’d almost like to make this a 2D6 game with a mean to-hit score, and a to-kill score based solely off the percentage required, then expressed to the closest 2D6 equivalent. I’m envisioning a handful of modifiers that keep it within the spirit of the rules here by moving the target up or down (not the dice roll). (As an important aside, 2D10 as percentage dice would probably be the most accurate way to do this, but I can’t stand using D10s! As a thought exercise, I already have the percentages for the To Hit / To Kill rolls from the tables worked out and I could just play those within the results of a 2D6 roll, instead of the strange 16-66 method used in DK.)
Movement & Play Sequence. The play sequence is rigid and deliberate. This isn’t a problem really, but being used to more free-flowing games like Battlegroup: NORTHAG where a player can pick the order of operations, I kind of like having just a little more flexibility. That said, this play sequence just *works* with fire enabling suppression which gives you a bit more confidence moving across open ground when the enemy is present.
Templates. I didnt play this game with the templates provided in teh book (the scenario didn’t call for indirect fire) but I will be soon. If I play another GDW Team Yankee scenario, then there is most certainly a number of salvos of IDF that I’ll have as either the Soviets or the Americans. I’d like to get artillery support dialed in and figure out how to call for, track and eventually adjust fires. This is where an umpire helps tremendously. The real DK requires players to develop a fure support plan complete with pre registered target points and on call support elements. If I’m going to play a larger game of DK, I’ll need to get the artillery system worked out.
Final Thoughts
This was a great game! Lots of excitement and it moved fast (except for the agonizingly slow movement rates). The game is certainly written to be as specific (not abstract) as possible and very much plays like a military simulation (think JANUS or something you’d encounter at the Battle Sim Center). I hope I’ve successfully demonstrated that it has tremendous potential as a stand-alone wargame with whatever forces you choose. The sequence of play is gold, and would also work for a WWII wargame as well.
I would like to play this same scenario with my old Battlegroup: REFORGER or the current Battlegroup: NORTHAG rules to see how they play in comparison. Unfortunately NORTHAG doesn’t scale *down* so well and so I may have to dust off REFORGER and give it a go but as a thought exercise this was incredibly fun to get some Cold War kit on the table and blow up some stuff 🙂
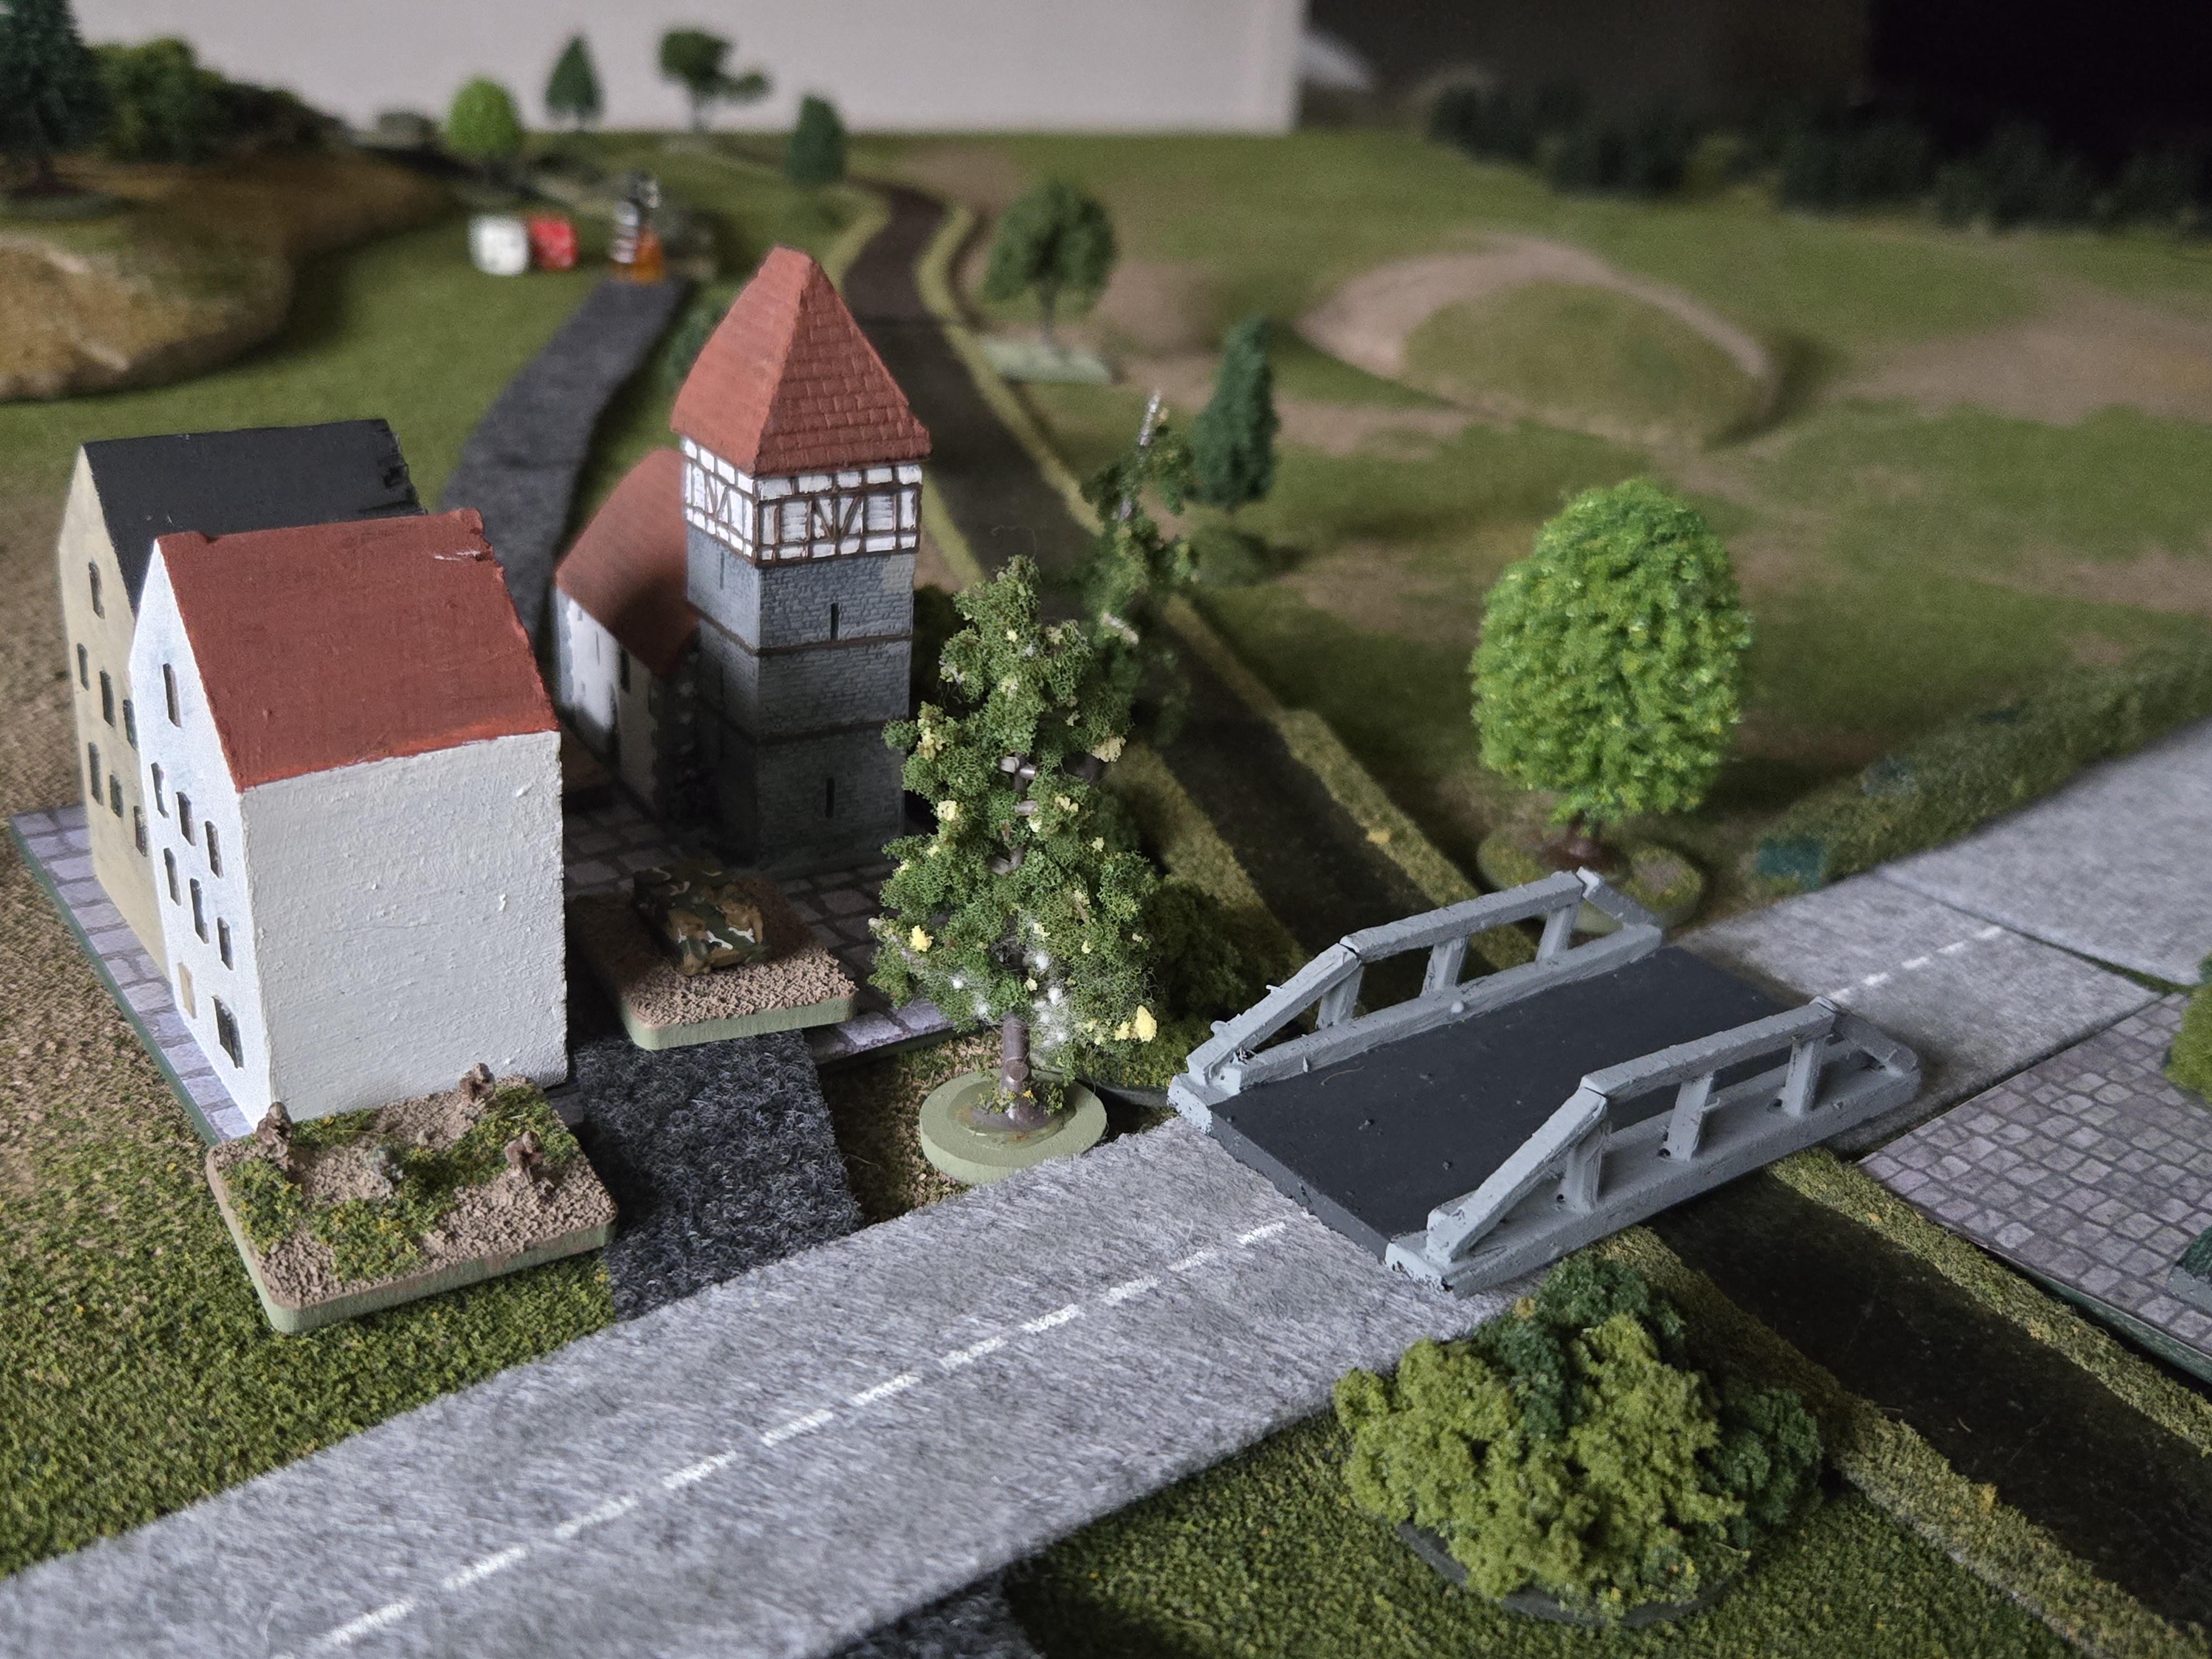
Also – I want to build up more Cold War terrain – this terrain looks great so I need to finish more roads, more modern buildings, billboards and industrial areas for use in even bigger battles.
