I have not posted as much as I would have liked to this month but I’m happy to report the progress has been steady. All of my ACW units (about 20 infantry units for each side) have been rebased with some units receiving new uniforms and the artillery receiving new paint jobs. I have a few units still to rebase (some elite Union units picked up at a convention recently) and a few units to paint (Richmond Zouaves), but for the most part, the hard work is over.

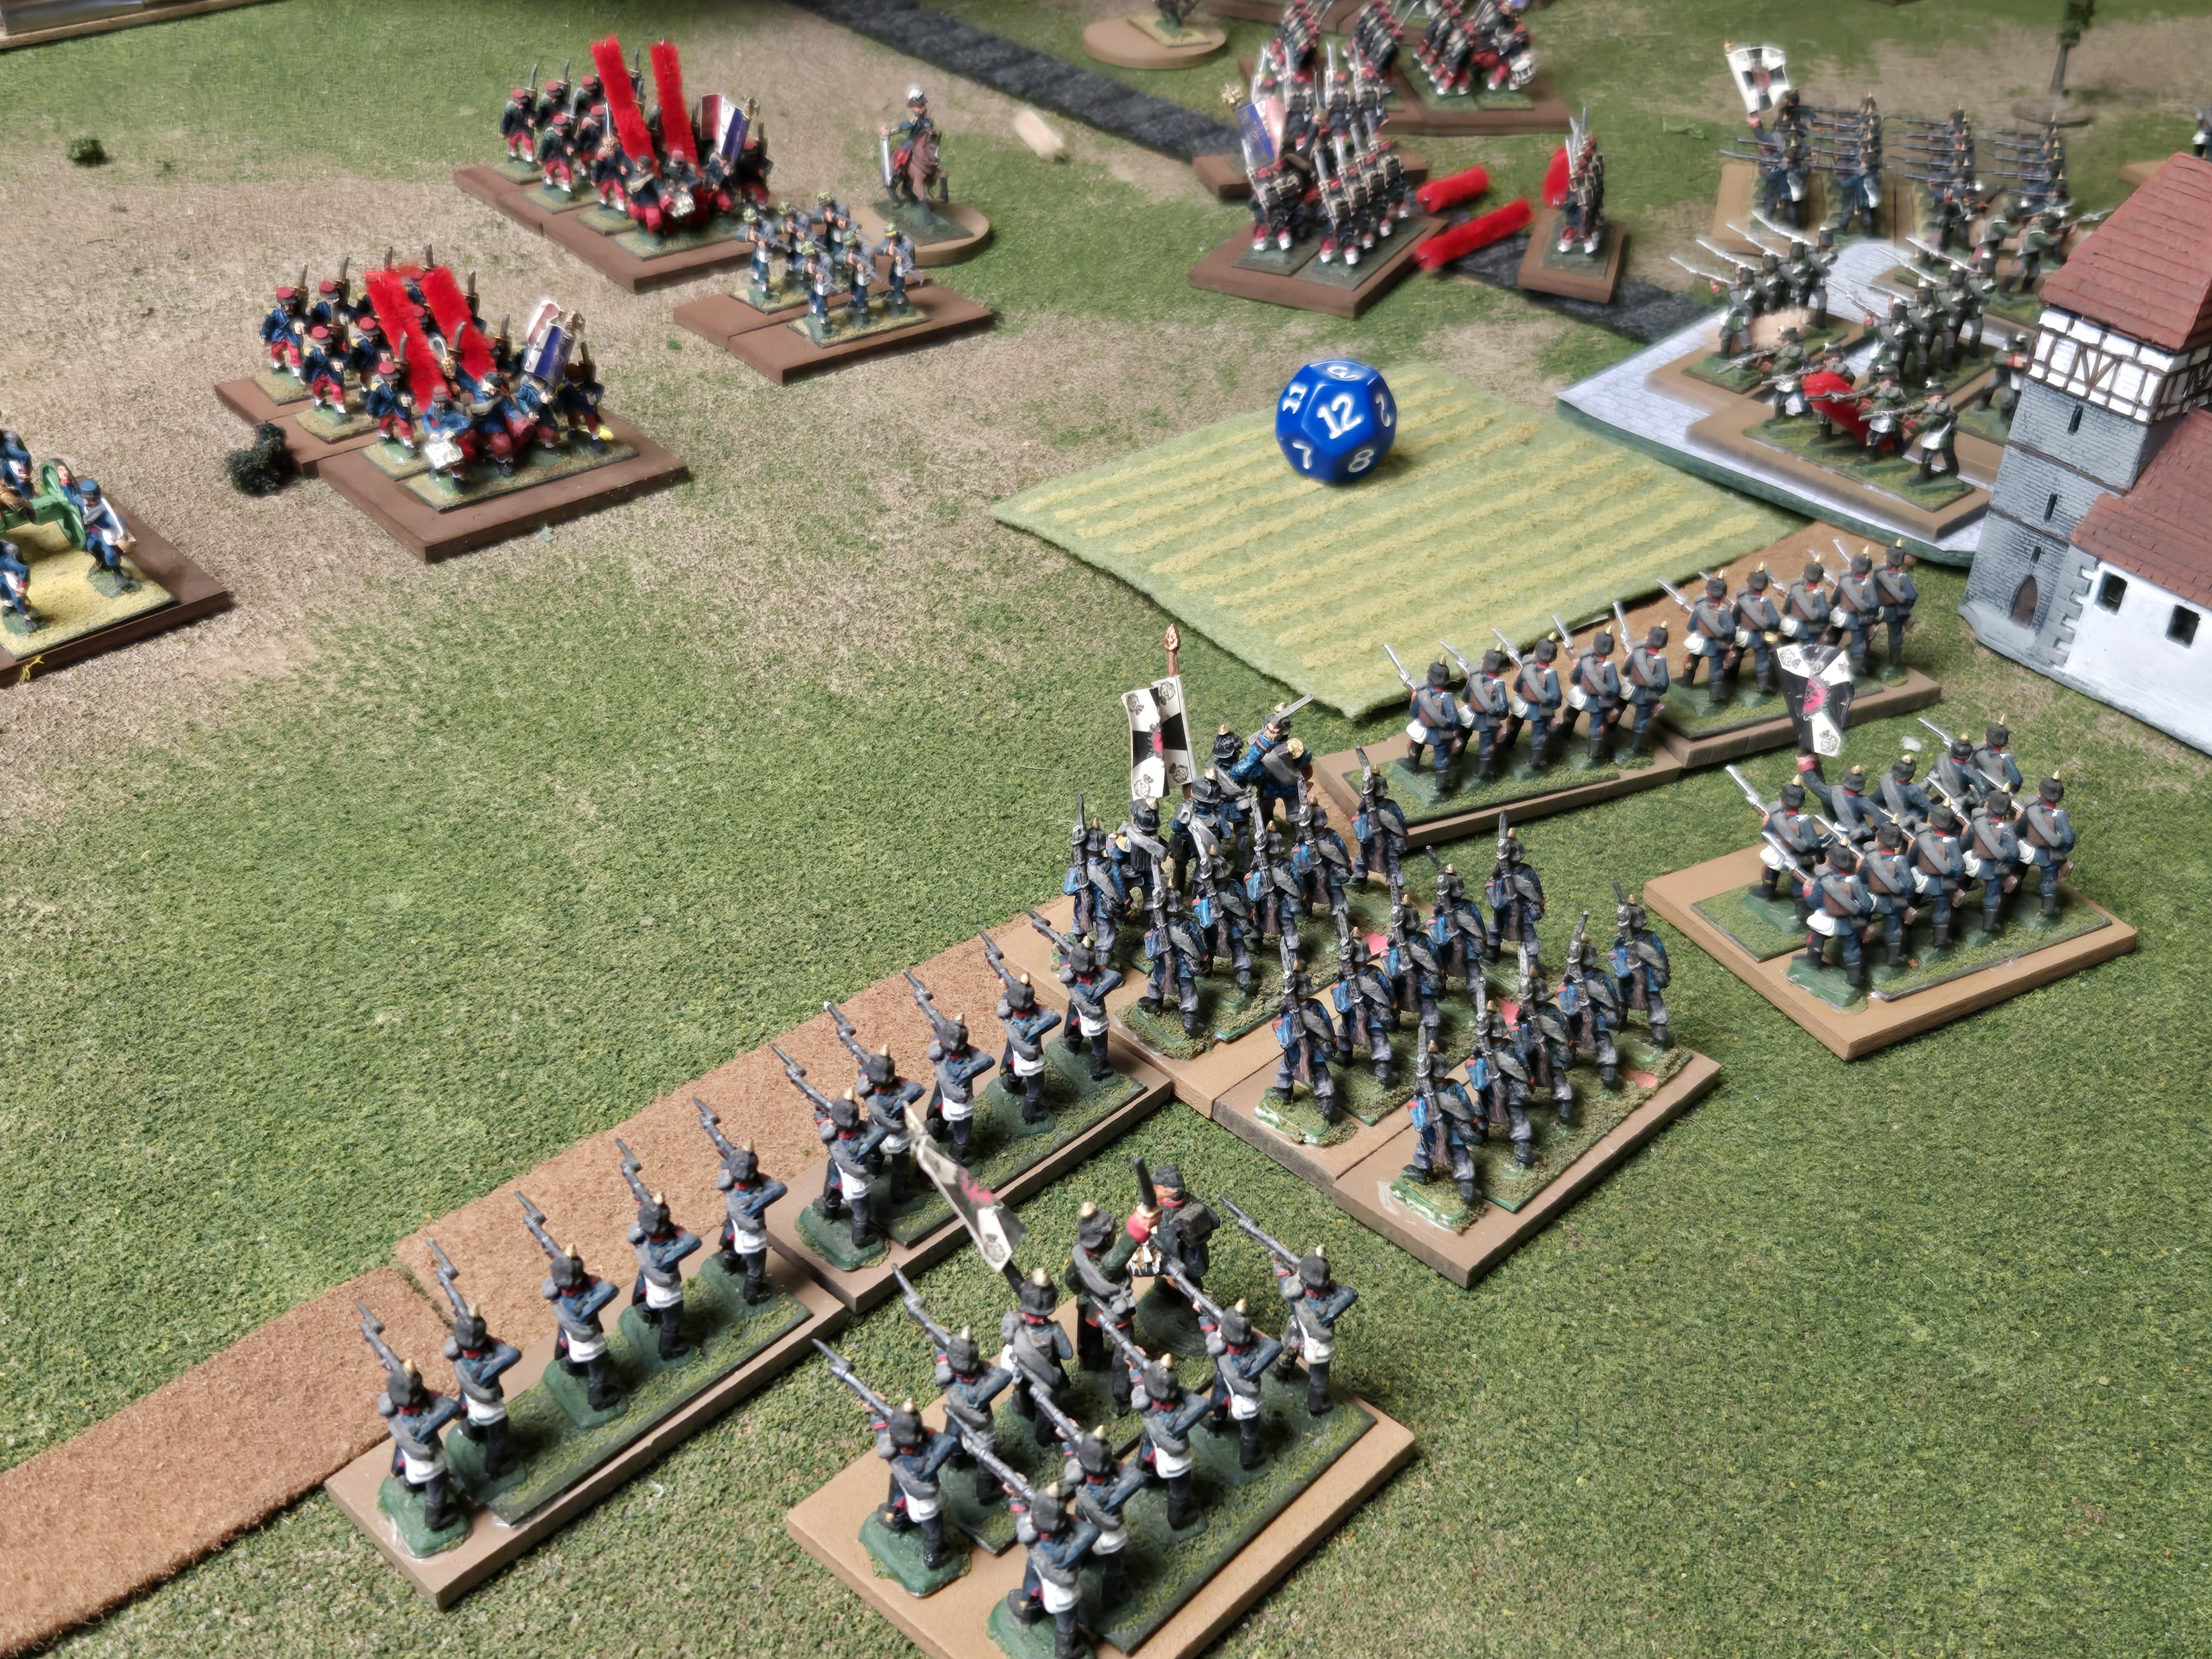
I also had a breakthrough recently with the rules solution after playing Alex’s inspiring Franco-Prussian war rules, themselves a modified version of Neil Thomas’ “19th Century Wargaming” book. Alex added some layers of chrome to those rules which introduced some very fun and meaningful decisions to the game and I immediately was struck that many of those ideas would port nicely over to the American Civil War.
I’ve been refining those ideas throughout the month so far and have played a few test games with the rules which are shaping out nicely. My hope is to use them for a large-ish game feauturing either Salem Church or Bull Run. (Bull Run would be more interesting, I think, with the large variation of units and qualities, and the assymetric reinforcement schedule).
Alex reconfigured the turn sequence of NT’s 19th Century Wargaming, and also added some options for command and control, enhanced the charge and melee sequence and made artillery a little more “scary” in my humble opinion. I’ve taken his changes and incorporated most of them into Neil Thomas’ American Civil War rules in his seminal classic “Wargaming: An Introduction“.
Here is a link to where you can find a fan-produced and cleaned up version of those rules but I strongly suggest you acquire a copy for yourself. They cover most of the “big” eras that are popular with historical miniature wargamers and offer rules that are sophisticated enough to satisfy most wargaming tastes and deliver a practical game in a reasonable amount of time.
For the American Civil War rules, I’ve kept the troop types from the book but with a twist. Instead of fussing about with multiple formations offering different advantages for formations, it’s understood that the Regimental commanders are expanding and contracting the line and adopting the formations as they need to in order to overcome most terrain challenges. The primary fighting formation therefore is aptly (and doctrinally) called “Line of Battle.” Line of Battle allows a unit to fire a “Full Volley” with 2D6 per base but if a Full Volley is delivered, the unit must remain stationary. This is a nod to 19th Century Wargaming and Alex’s rules where the Infantry line really is the ‘queen of battle’ however when maximizing firepower forward, mobility is reduced to practically zero as the soldiers are focusing on firing and reloading, and the formation is more close, supporting delivering powerful volleys or receiving a charge.

Instead of fussing about with various formations, I’ve instead opted for a firing option called “partial volley” which allows a unit in Line of Battle formation to fire 1D6 per base and still move. This also makes charging units from the front very risky/deadly, especially if full strength!
Staring at the prospect of receiving 8D6 hitting on 3+ in the face before melee is enough to make even the stiffest upper lip grimace a bit.
There is a dispersed formation called “skirmish line” for detachments of skirmishers and dismounted cavalry who cannot fire “Full Volley” but who also pay no penalties for movement into terrain.
Probably the biggest change Alex incorporated was the Turn Sequence Change with firing coming *before* movement. This is a big dpearture from all of NT’s rules but I think it rather nicely reflects military decision making and the concepts of fire then maneuver. The Turn Sequence I’m using for the ACW rules is as follows:
Command: Units attach/detach and replace Generals, Units check command radius, Lay guns, Change Formation, Dig In, Rally
Fire: Units fire artillery and small arms
Movement: Units in command move. Units out of command must pass a D6 throw (2+ or 3+ if 3 bases lost) to move. Conduct charges.
Close Combat: Units fight in melee. Alex has both units exchange a round of fire first, prior to going into melee and I really like that feature – units may naturally pull out or pull back if they lose a base prior to melee. It’s feels better than an arbirtrary morale check. Chargers still roll to close, though, just like in NT’s original ACW rules. I’ve added that a unit with an attached officer *automatically* passes its charge test.
Retreat Rules. One of the frustrating aspects of some of NT’s rules are some lack of clarity around procedures. Alex introduced some cool retreat rules which I’ve shamelessly stolen for use with the ACW. In NT”s ACW rules, when a unit loses a base, it must pass a morale check or retreat. In this instance, Alex has offered us 2 possibilities – that of an orderly withdrawl while facing the enemy and falling back a short distance (1″ + 1D3 inches facing the enemy) or more of a rout situation where the unit retreats 2″ + 1D6. This is based off a second morale check that occurs immediately after failing the first. If the unit must retreat, the owning player must determine how it retreats. The active player has the possibility of passing a morale check as well to rally, attempt a pursuit, or organize his unit. I really like this narrative-building approach and it adds an entirely new dimension to the NT rules.
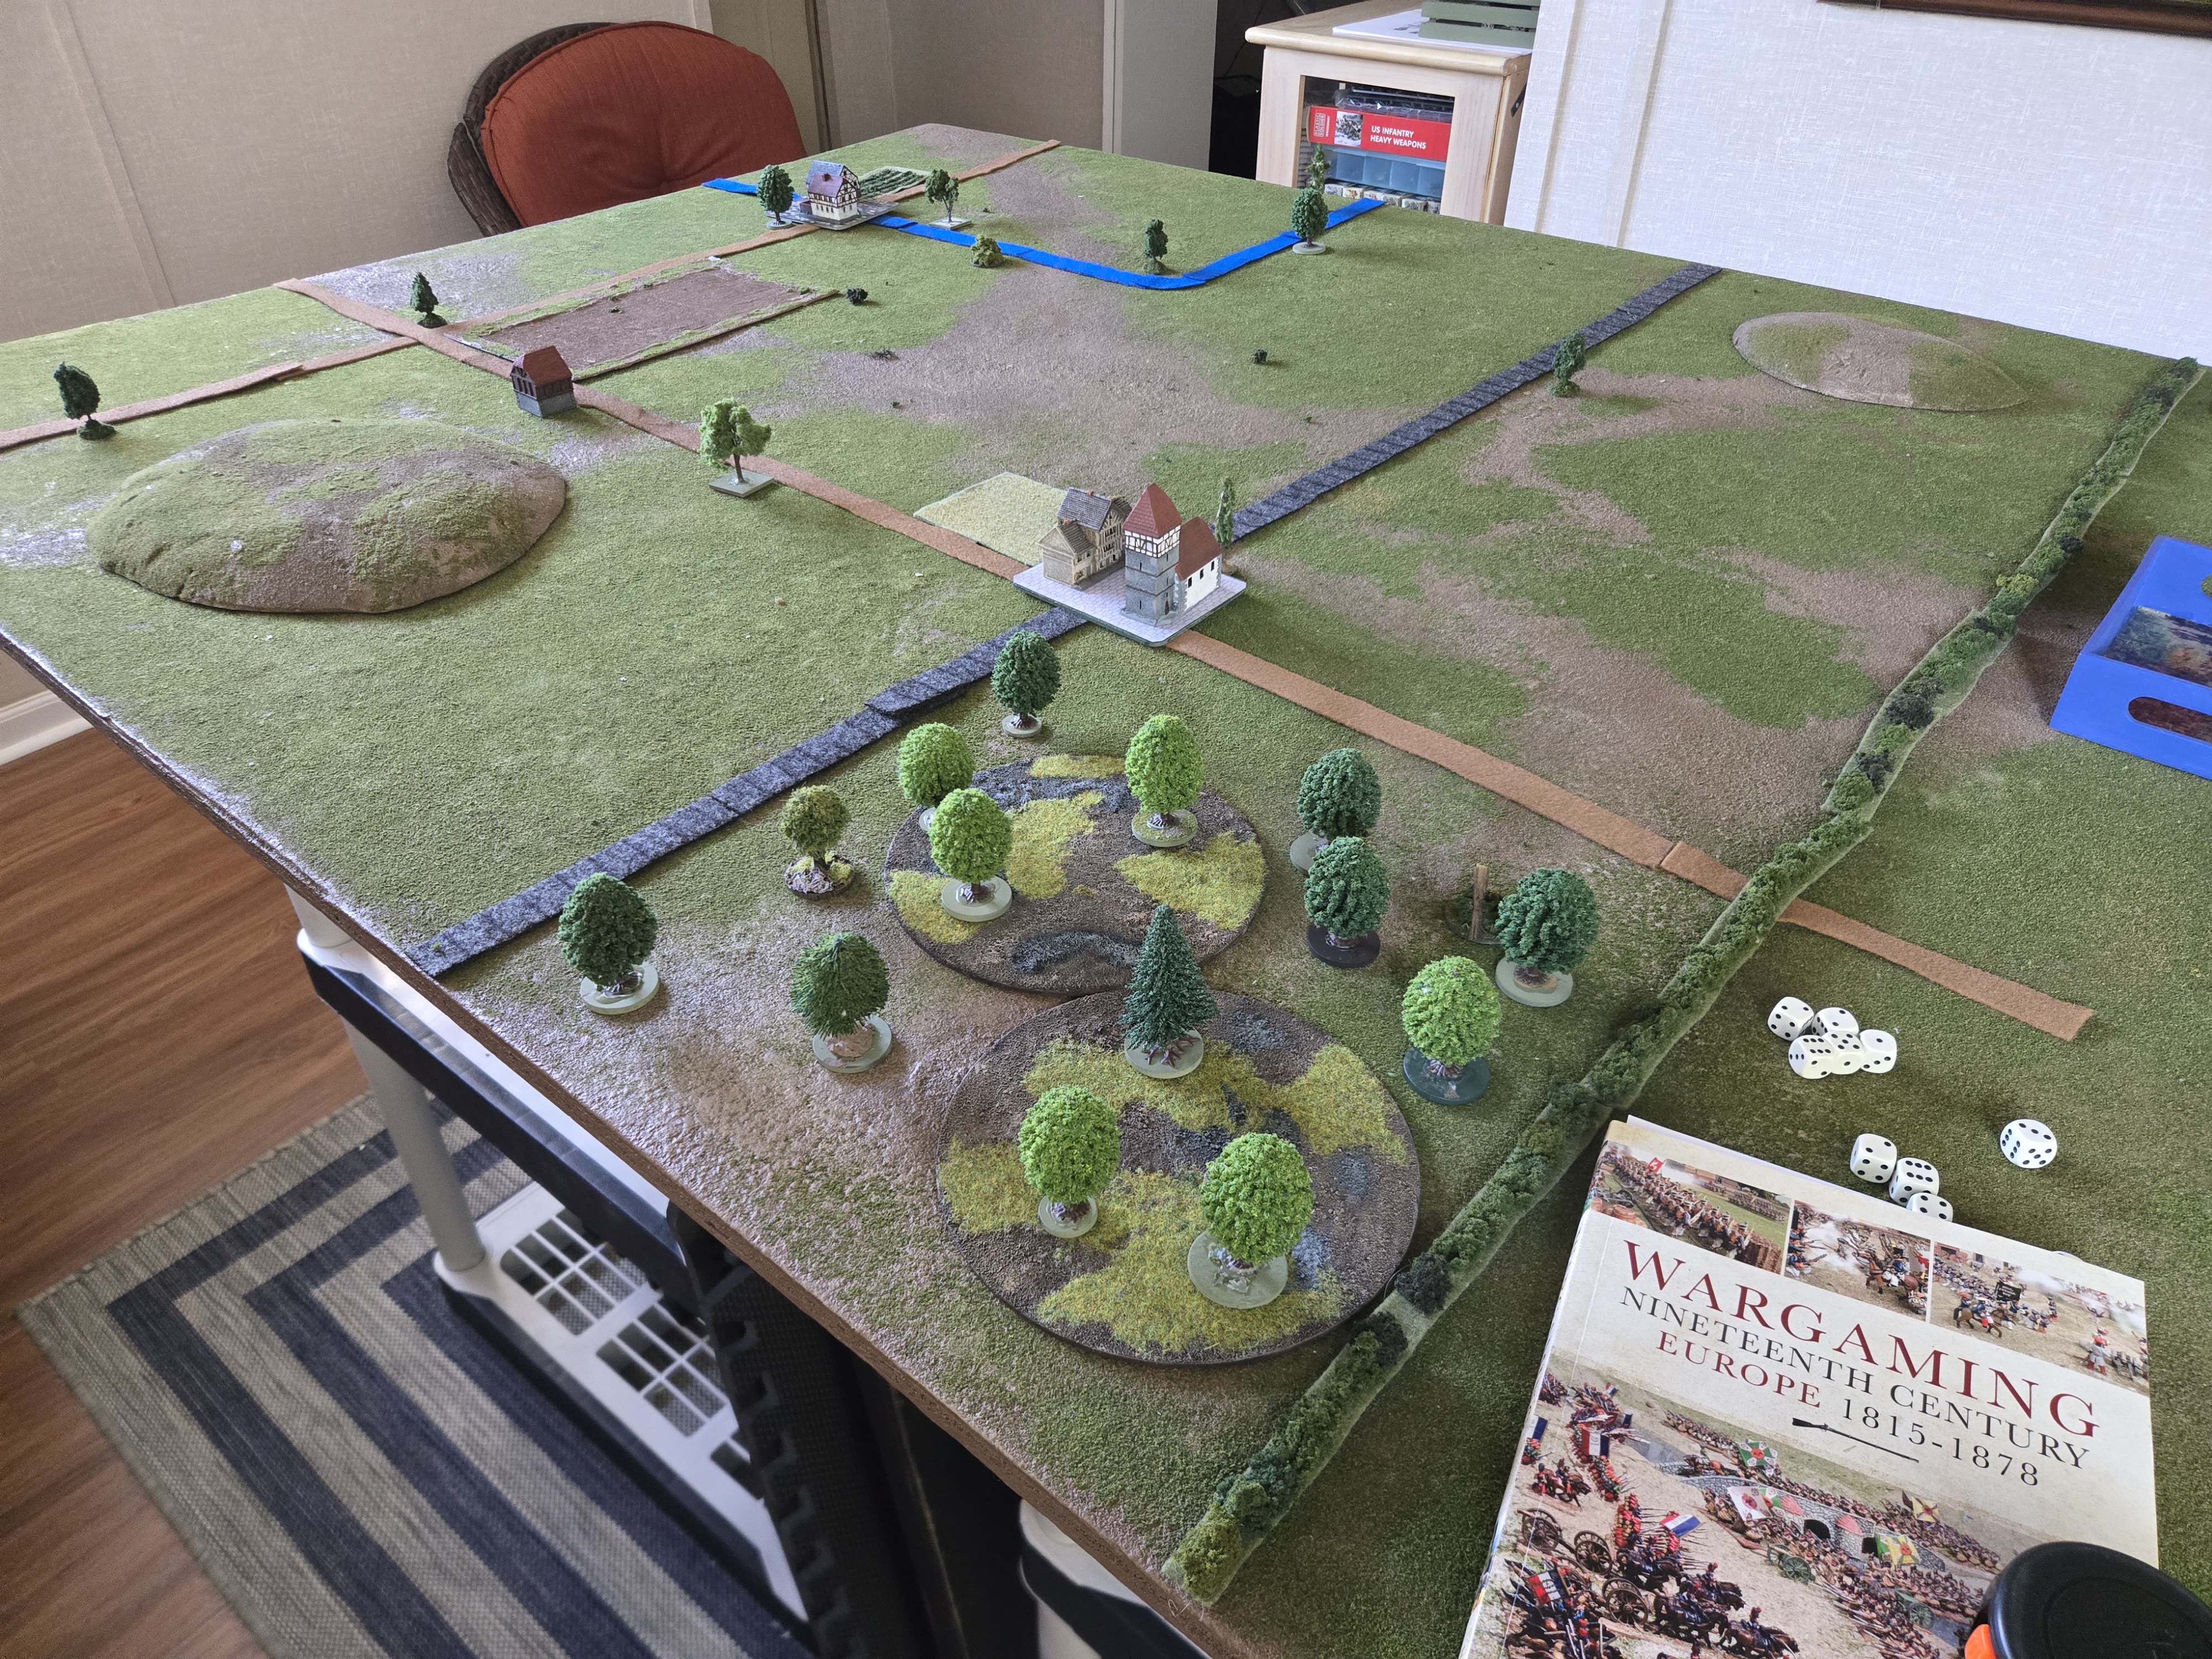
I’ve put a ground scale into effect and developed range brackets for Small Arms and for Artillery. (Close-Deadly / Distance / Extreme). To hit at those ranges is always 3+, 4+ and 5+ regardless of weapon type. There is a save throw (sorry for those not so inclined) of 5+ in the open, and 4+ in cover.
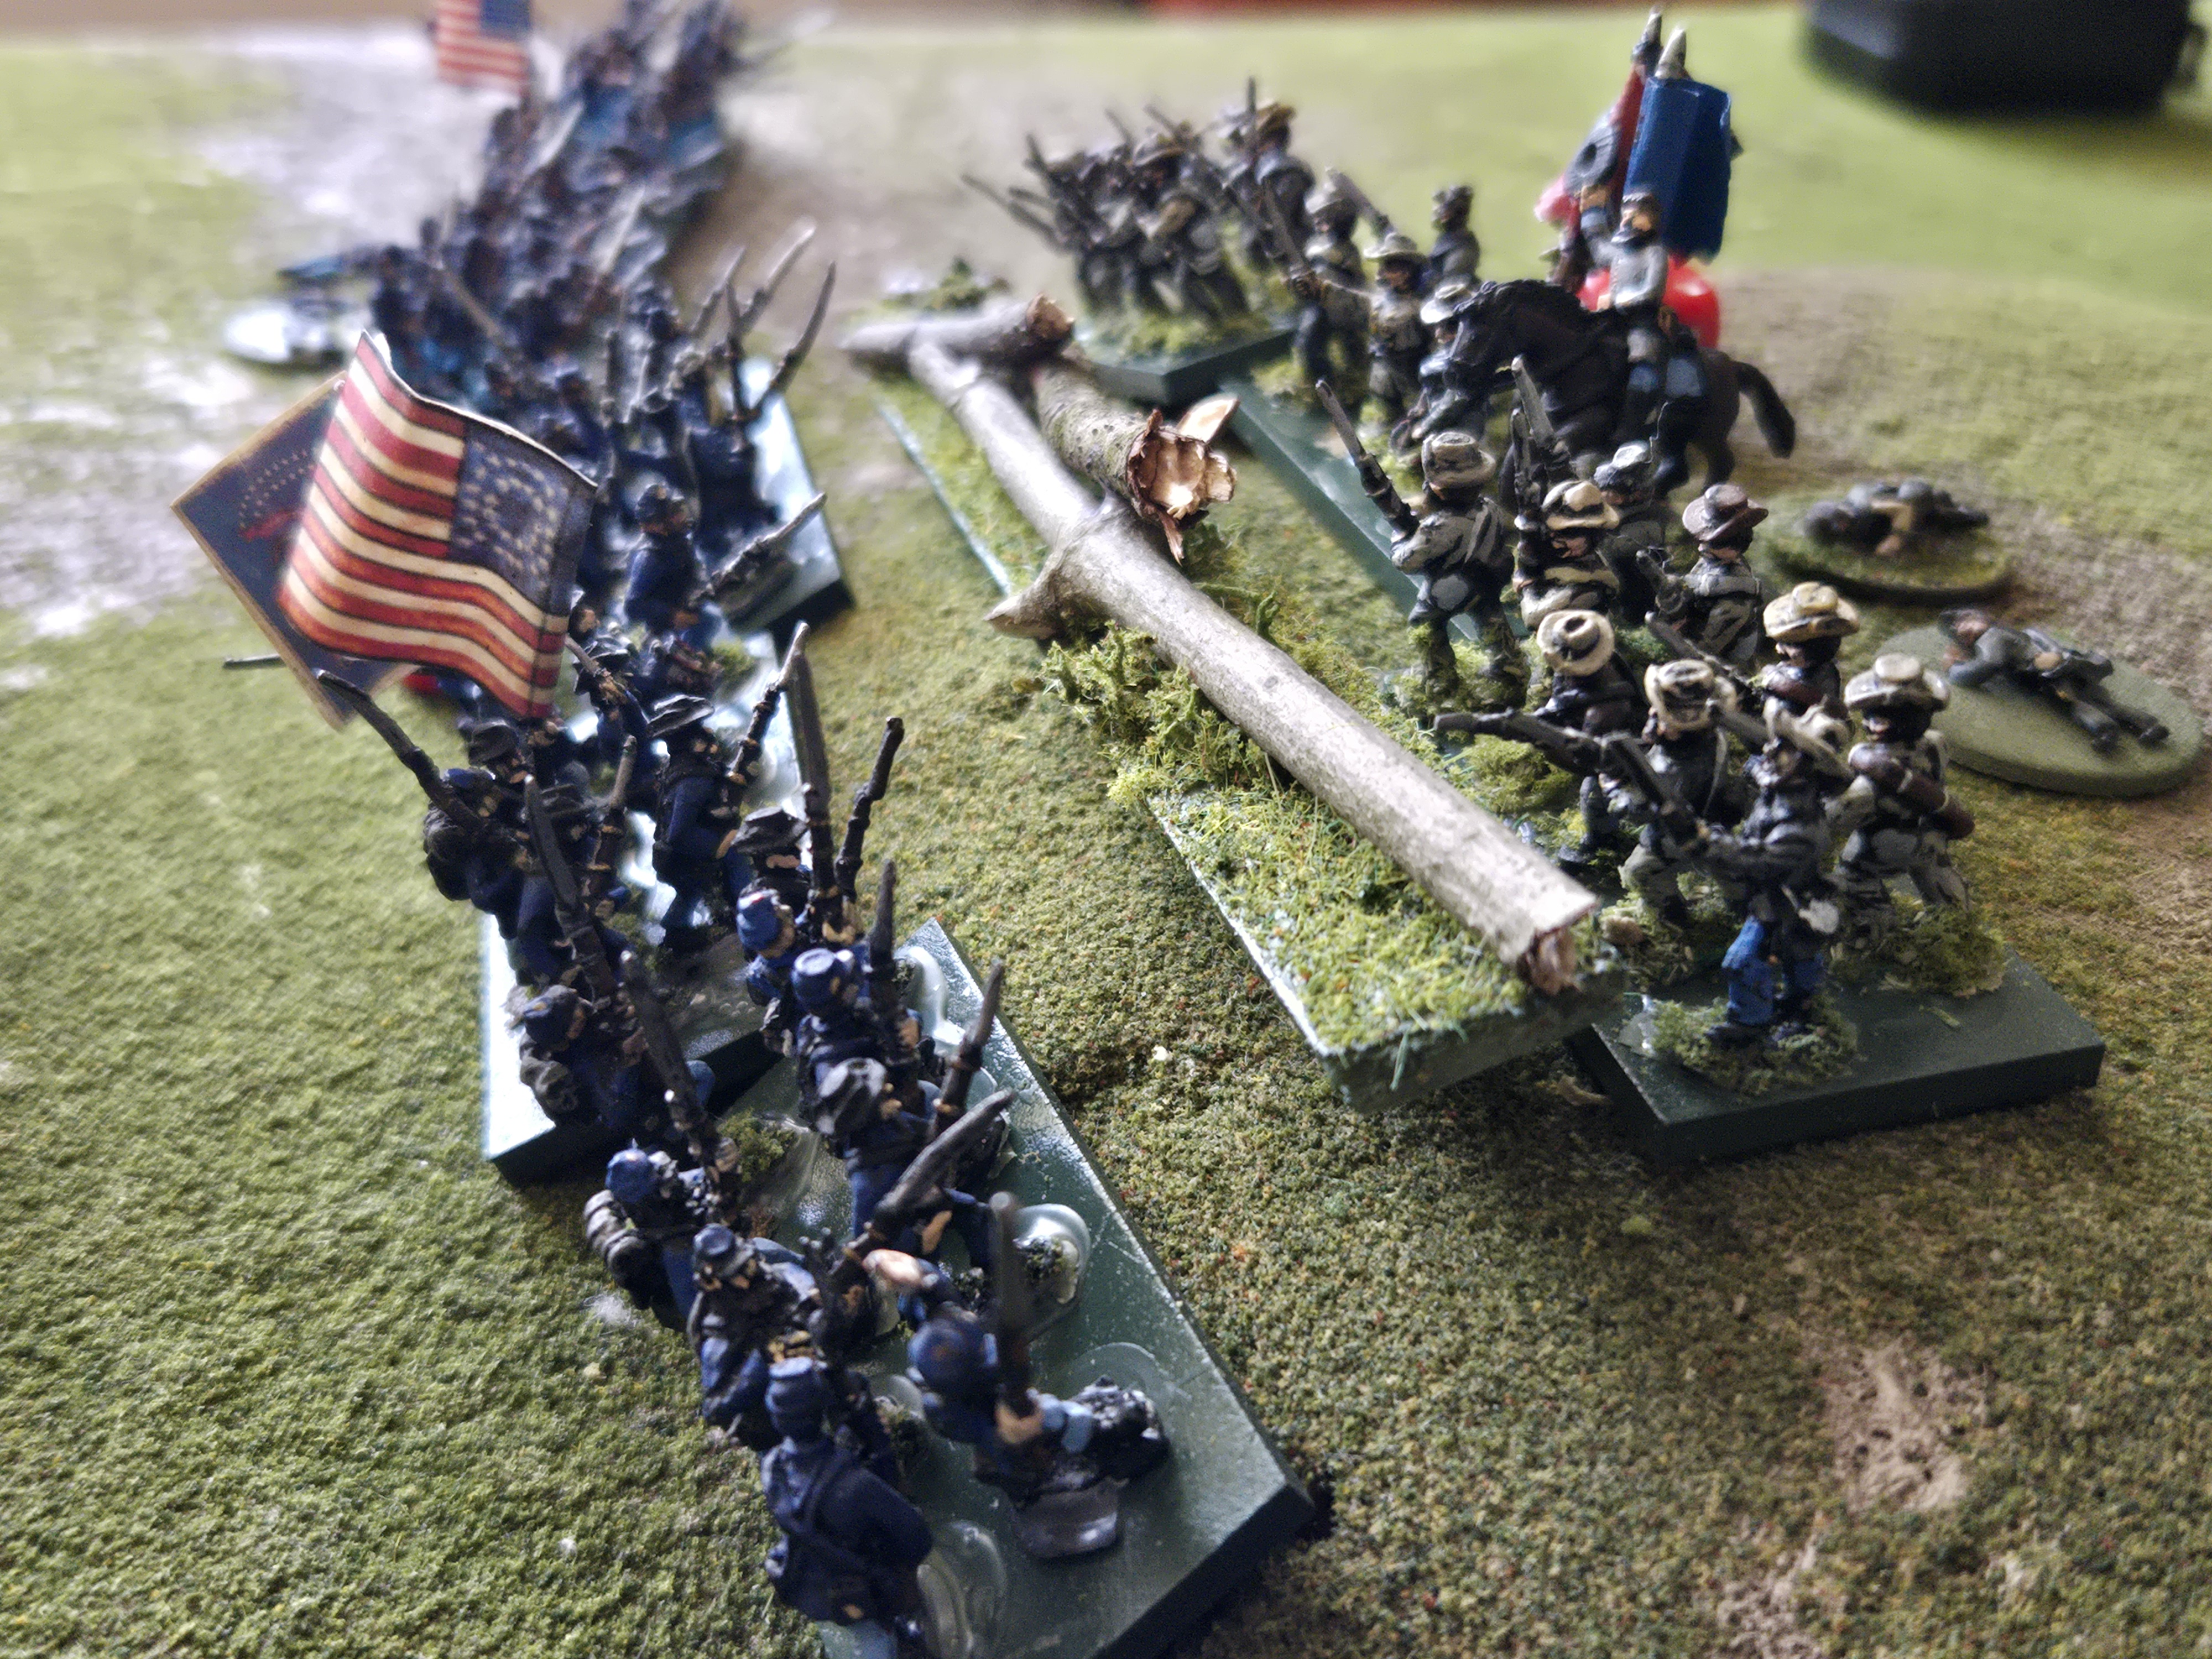
Another neat feature allows a unit to forego its turn to “dig in” thus giving it 1 better save and also re-roll a morale check failure after losing a base to shooting (thus remaining in its position longer – think the 20th Maine at Little Round Top). This reflects the realities towards the end of the war where units stopping for any length of time immediately started to improve their position and move downed trees and rocks in front to enhance their cover.
The”refreshed” rules add alot of decision making a little more tactical nuance to the Neil Thomas rules and I have really enjoyed playtesting them so far. These would probably scale up/down and convert to hex easily enough. My thoughts are a variation of them could be used for higher echelons where units were in a more static “defensive” posture allowing maximum firepower forward, while other units were in a more maneuvering posture, allowing assaults and sweeping movements but with less firepower. Probably not enough time to think on that with April already 2/3 over but a divisional variation is something to consider for future projects.
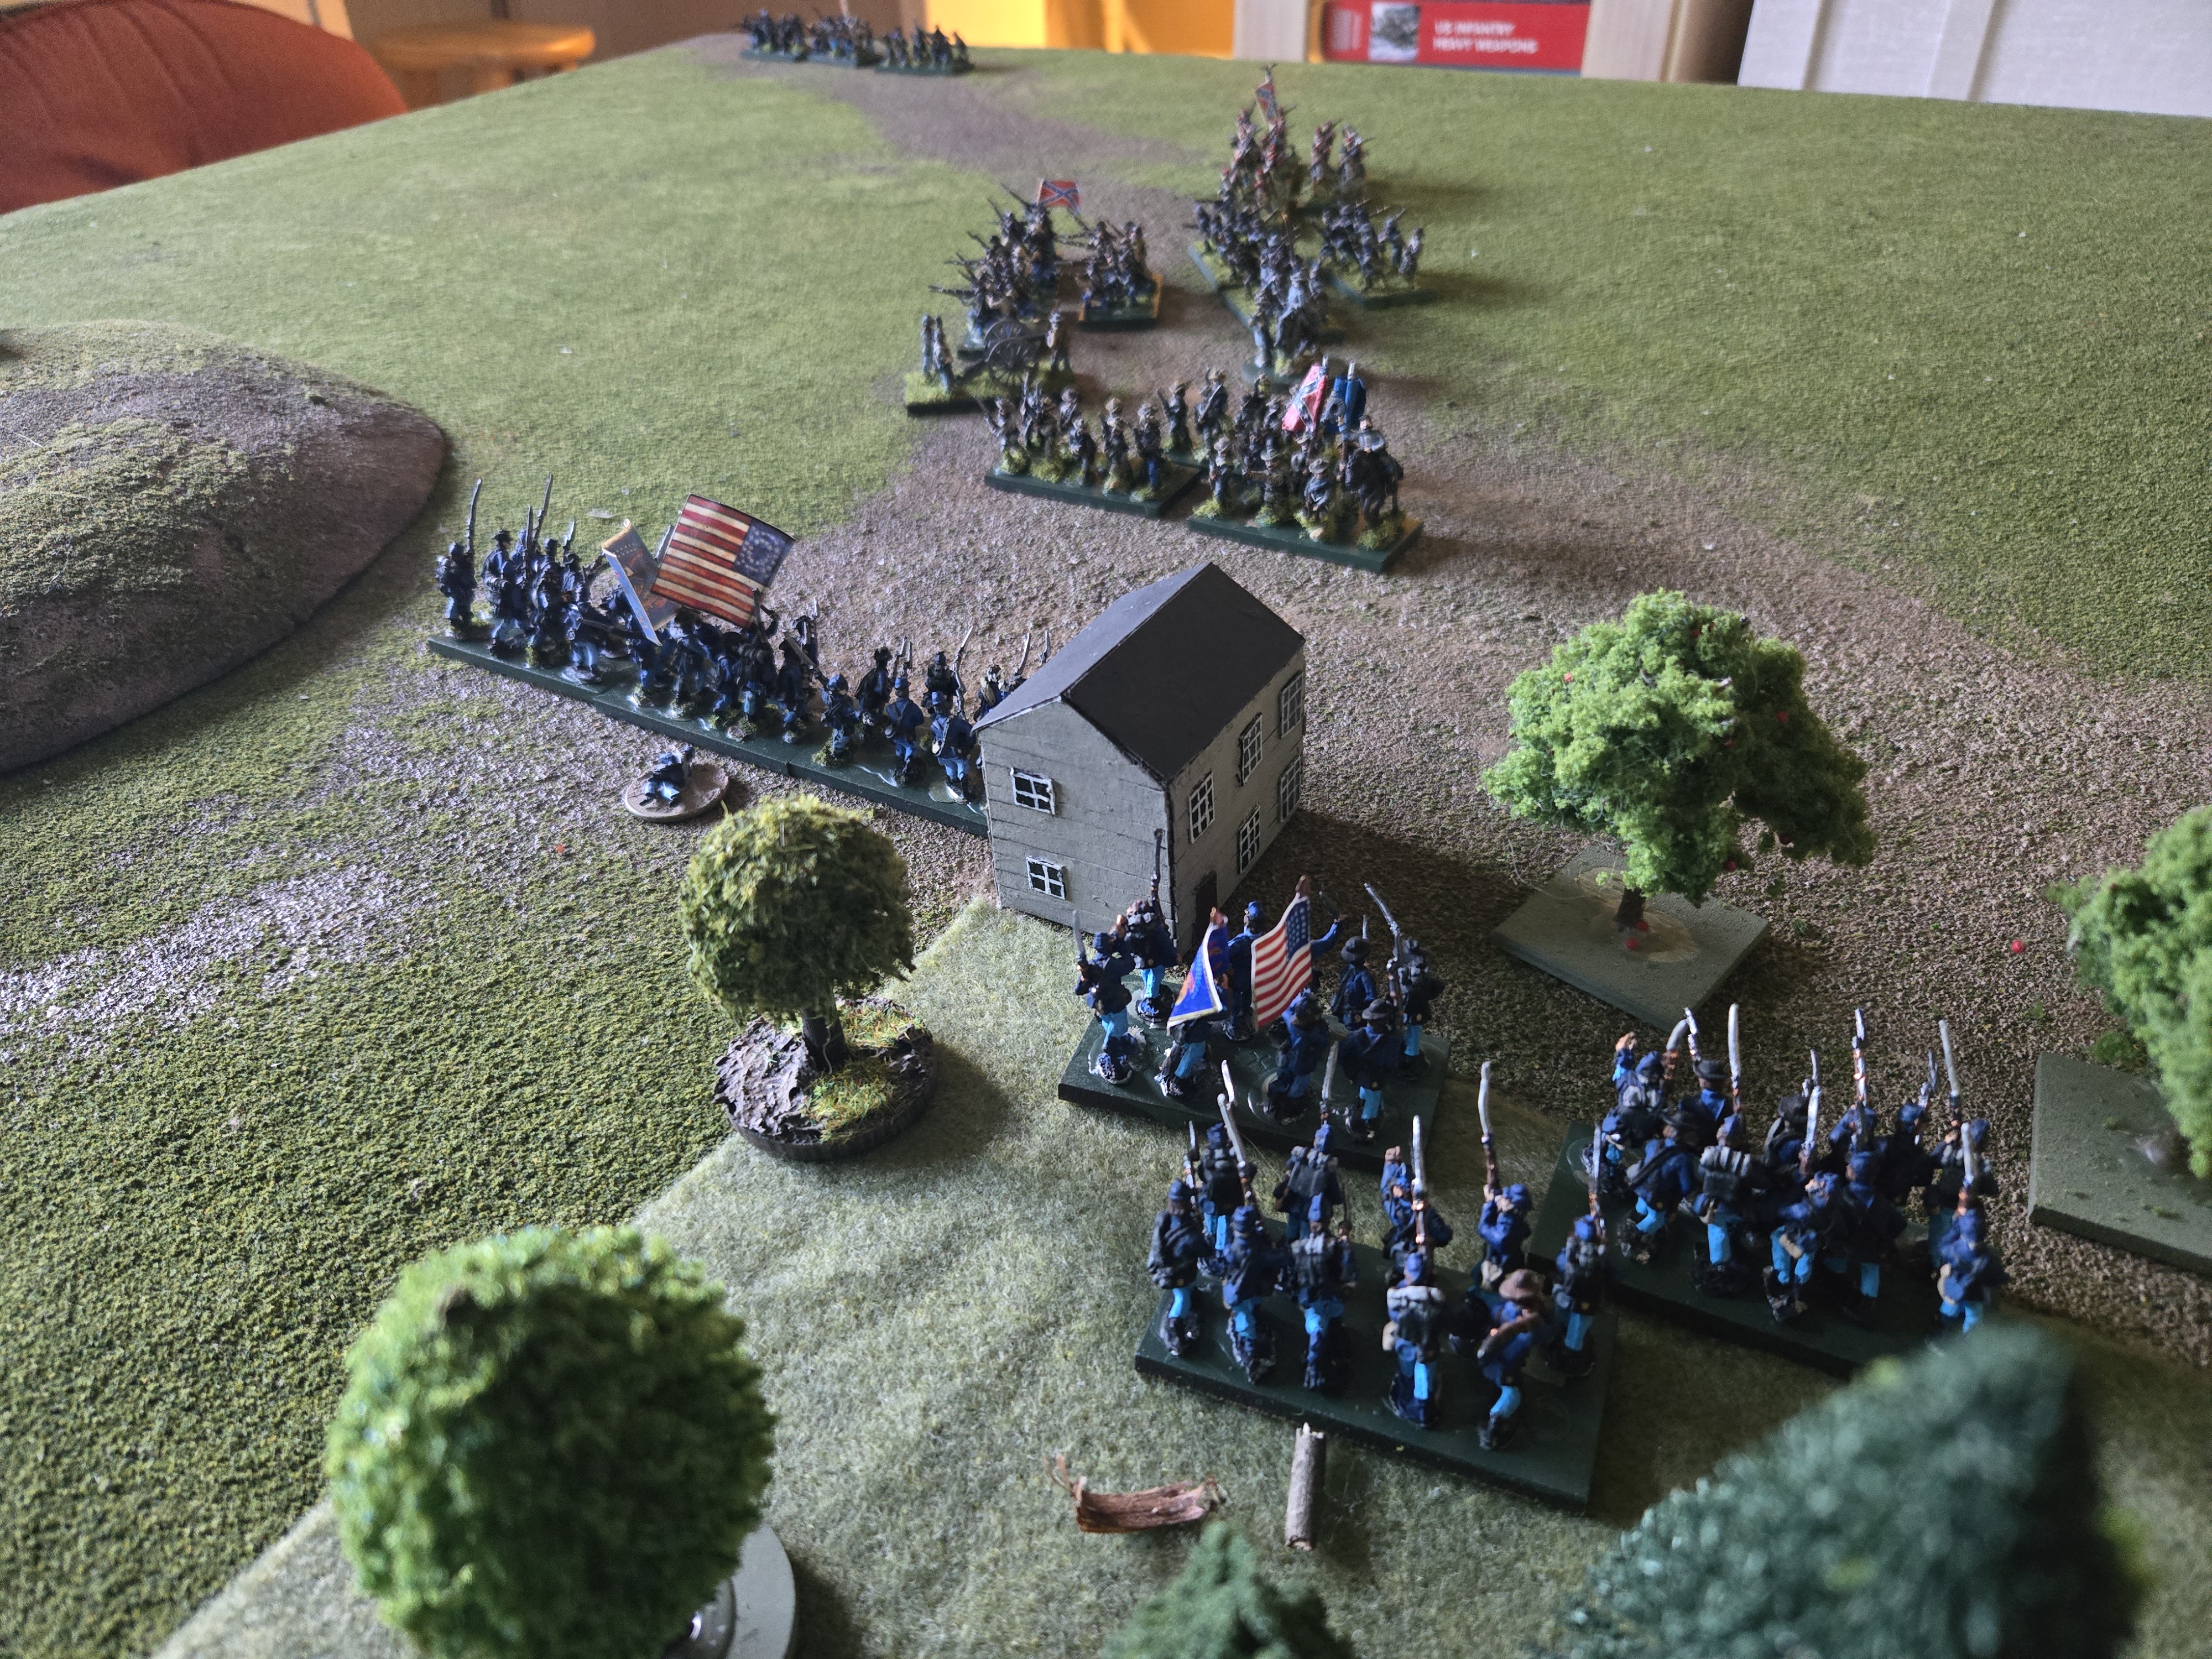
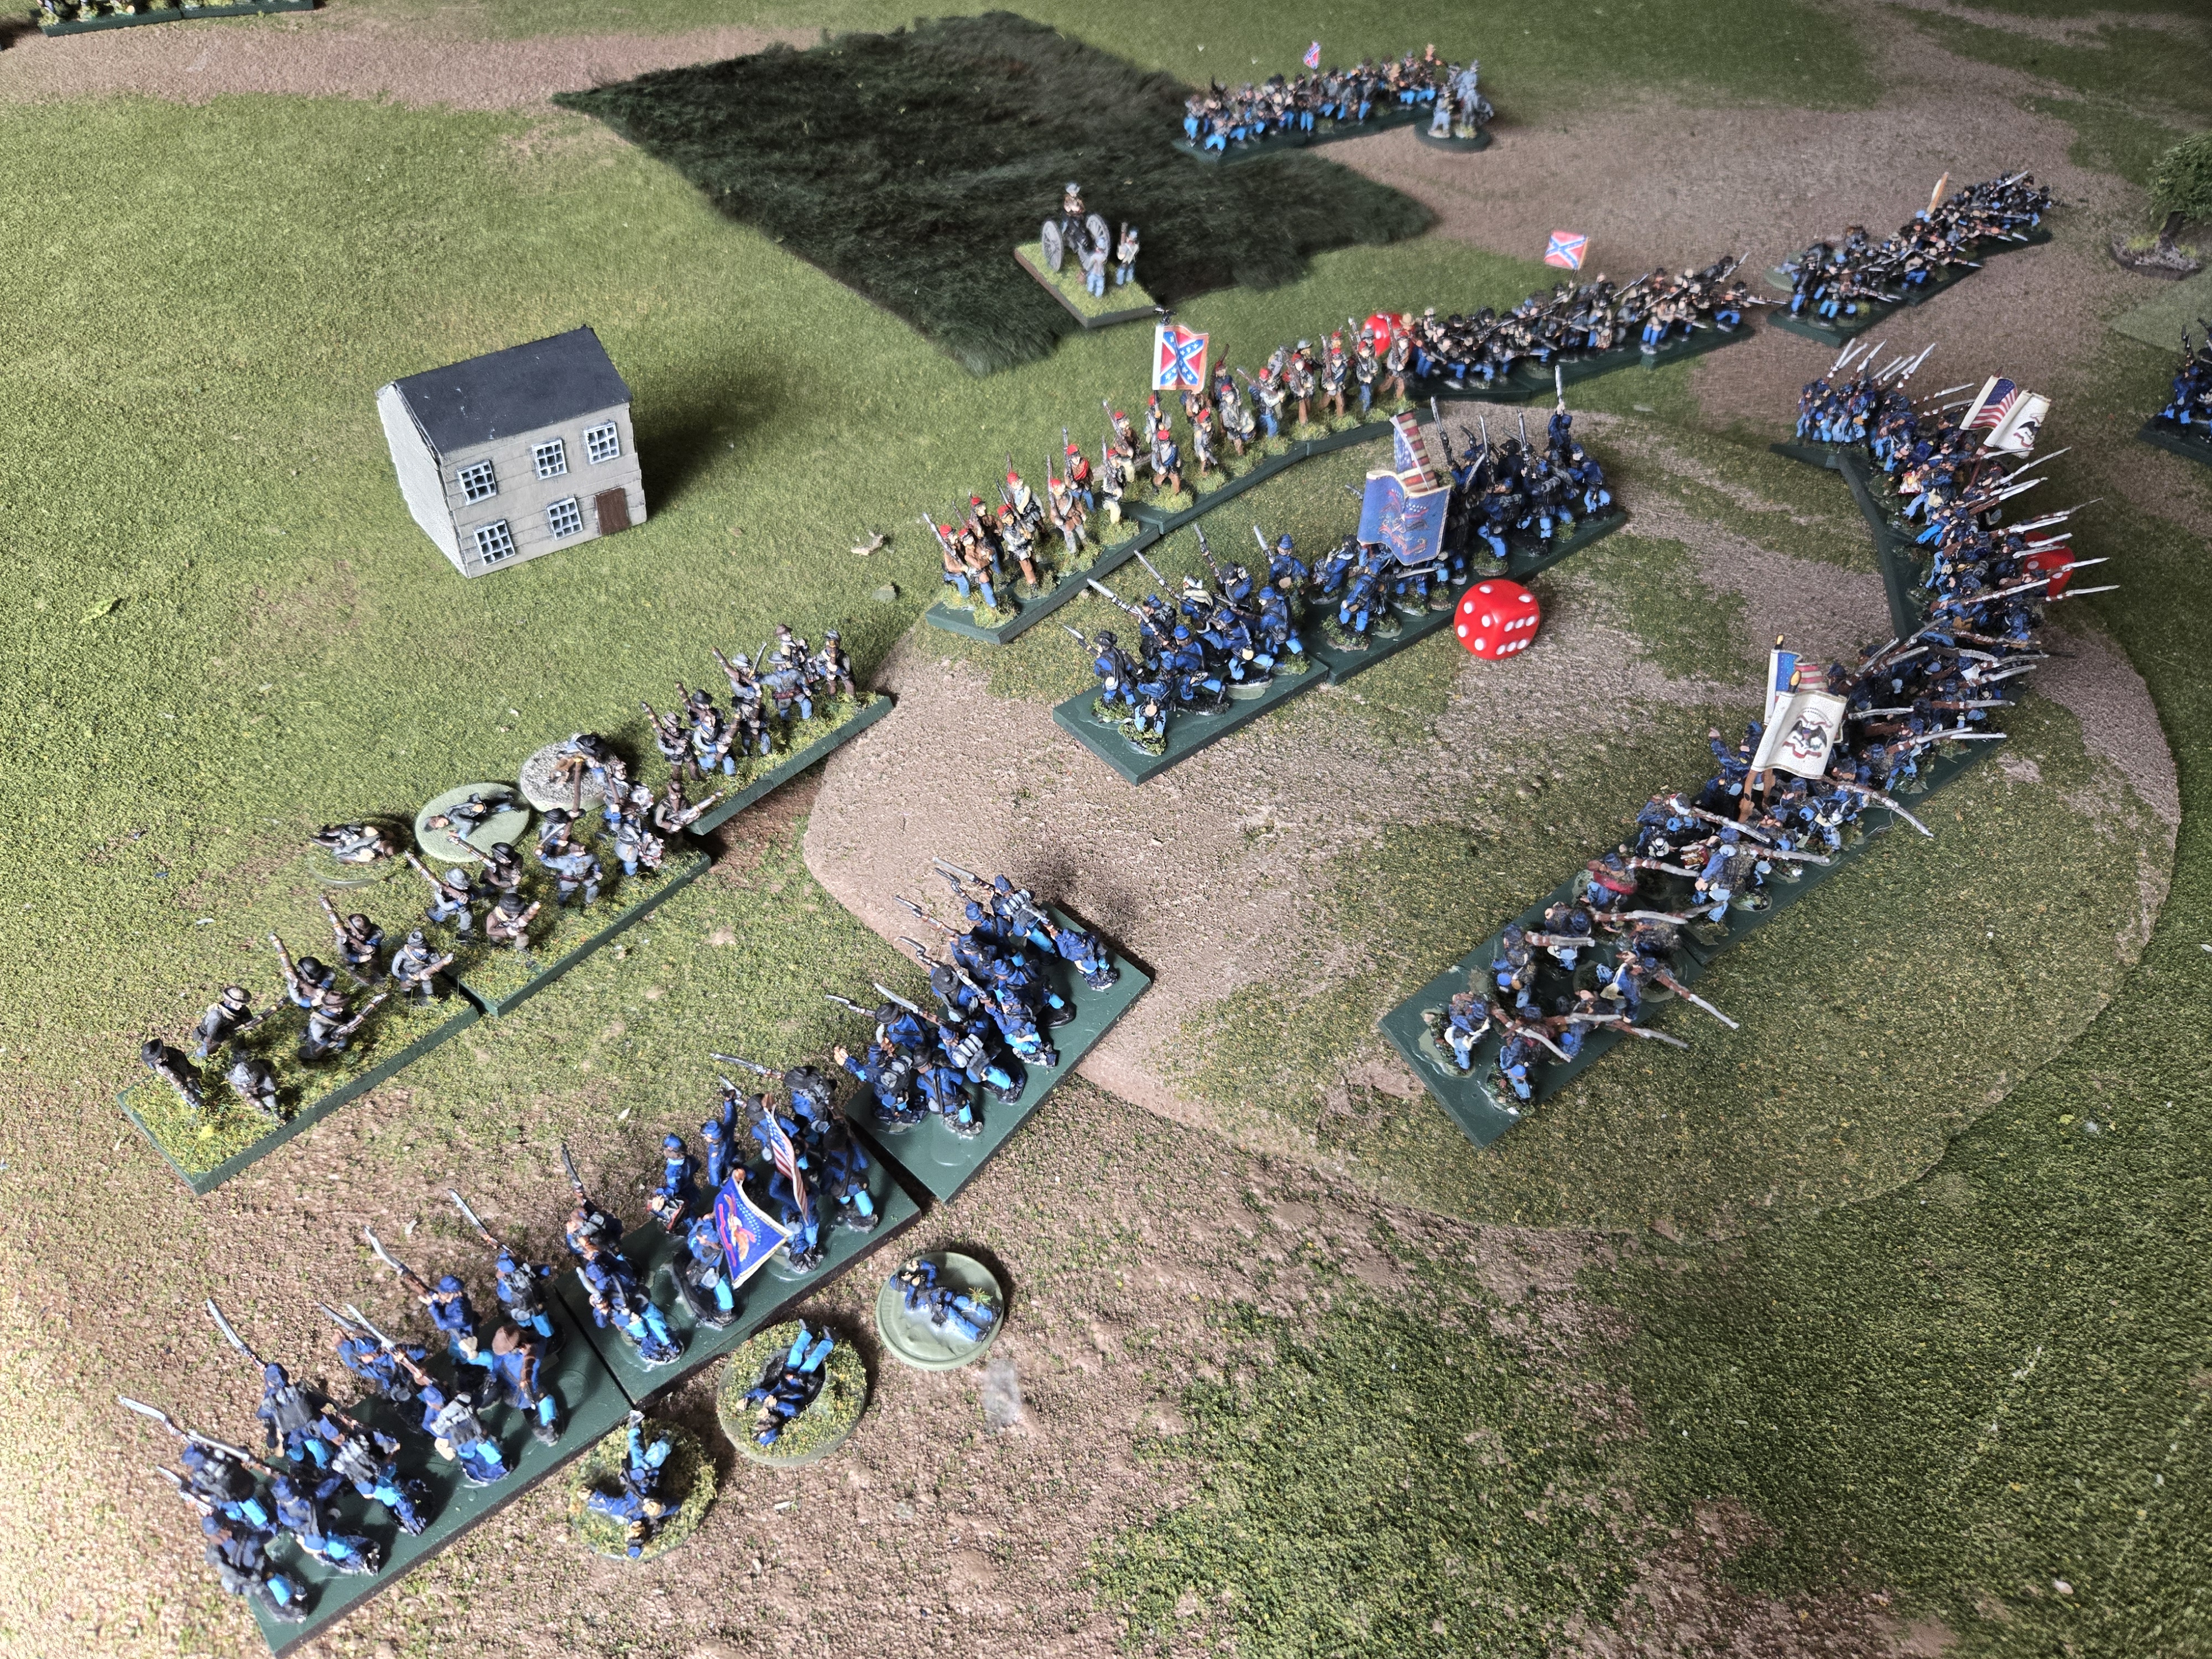
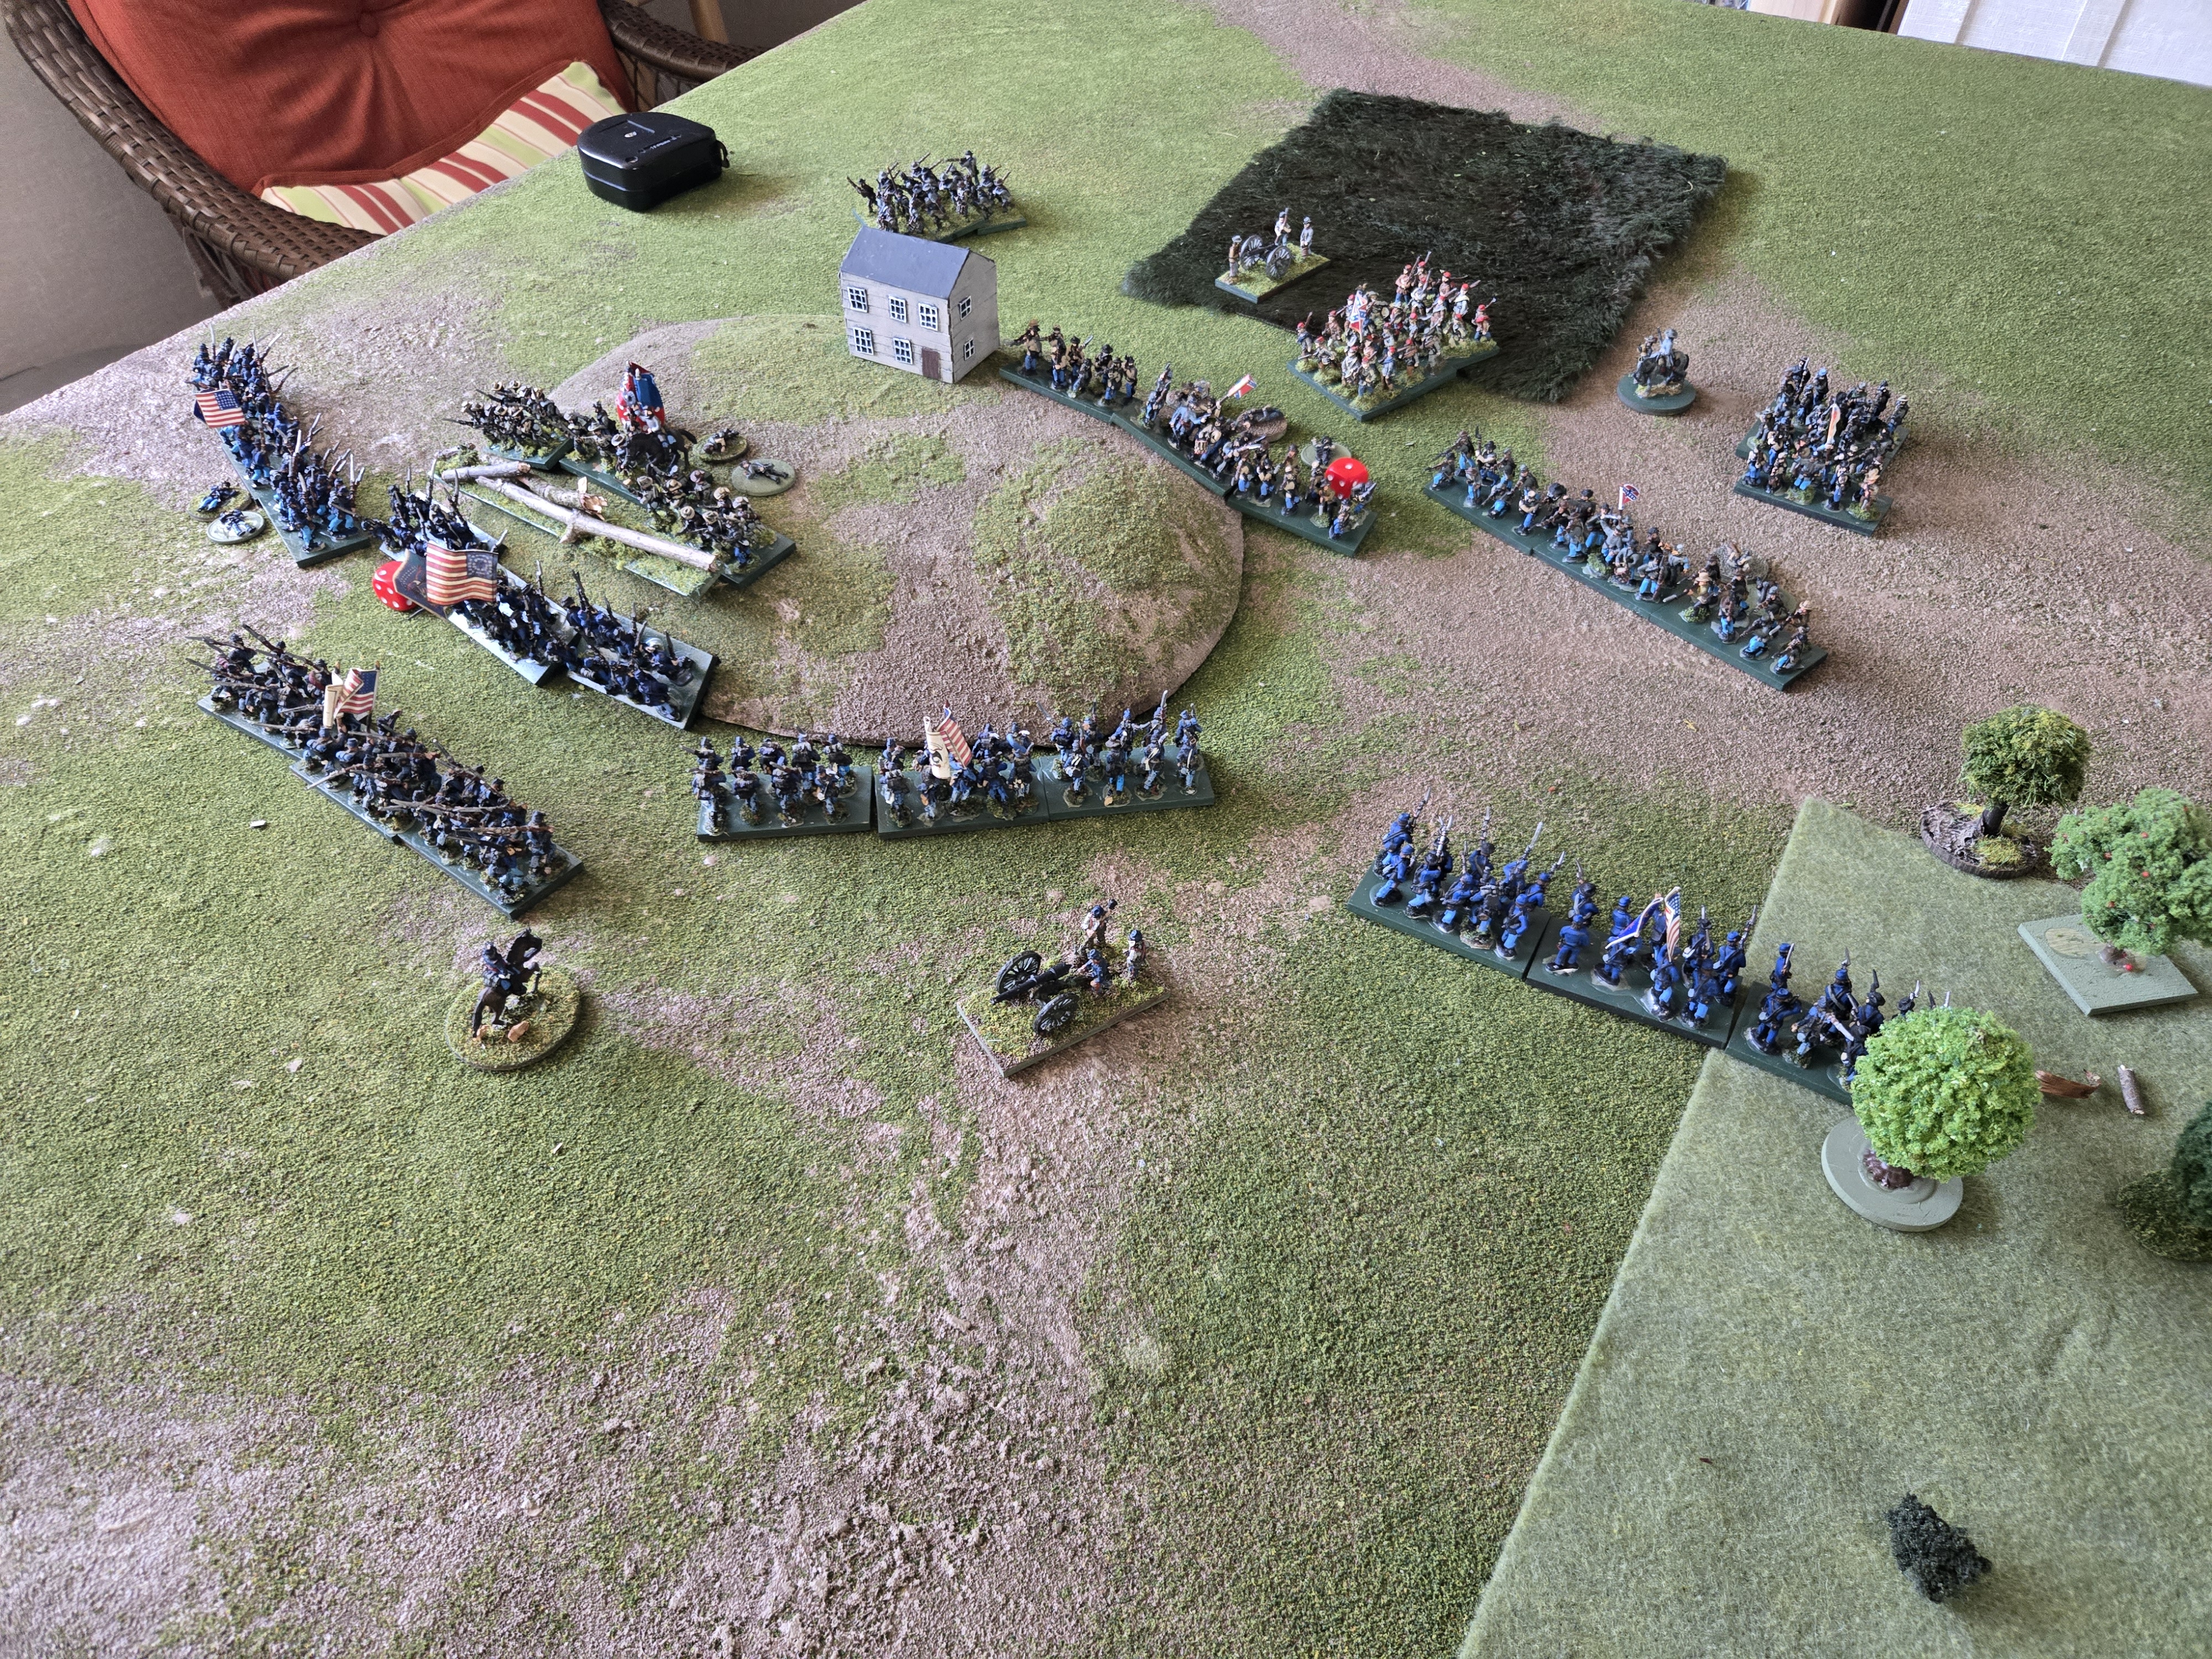
I’ve been playtesting the rules with Scenario 4 from Neil Thomas’ “One Hour Wargames” and it’s been fun working my way through those problems. The last game I played, the Rebels (red player) fought the Union to a standstill but the games have mostly been ending in a draw, albeit with lots of interesting things happening.
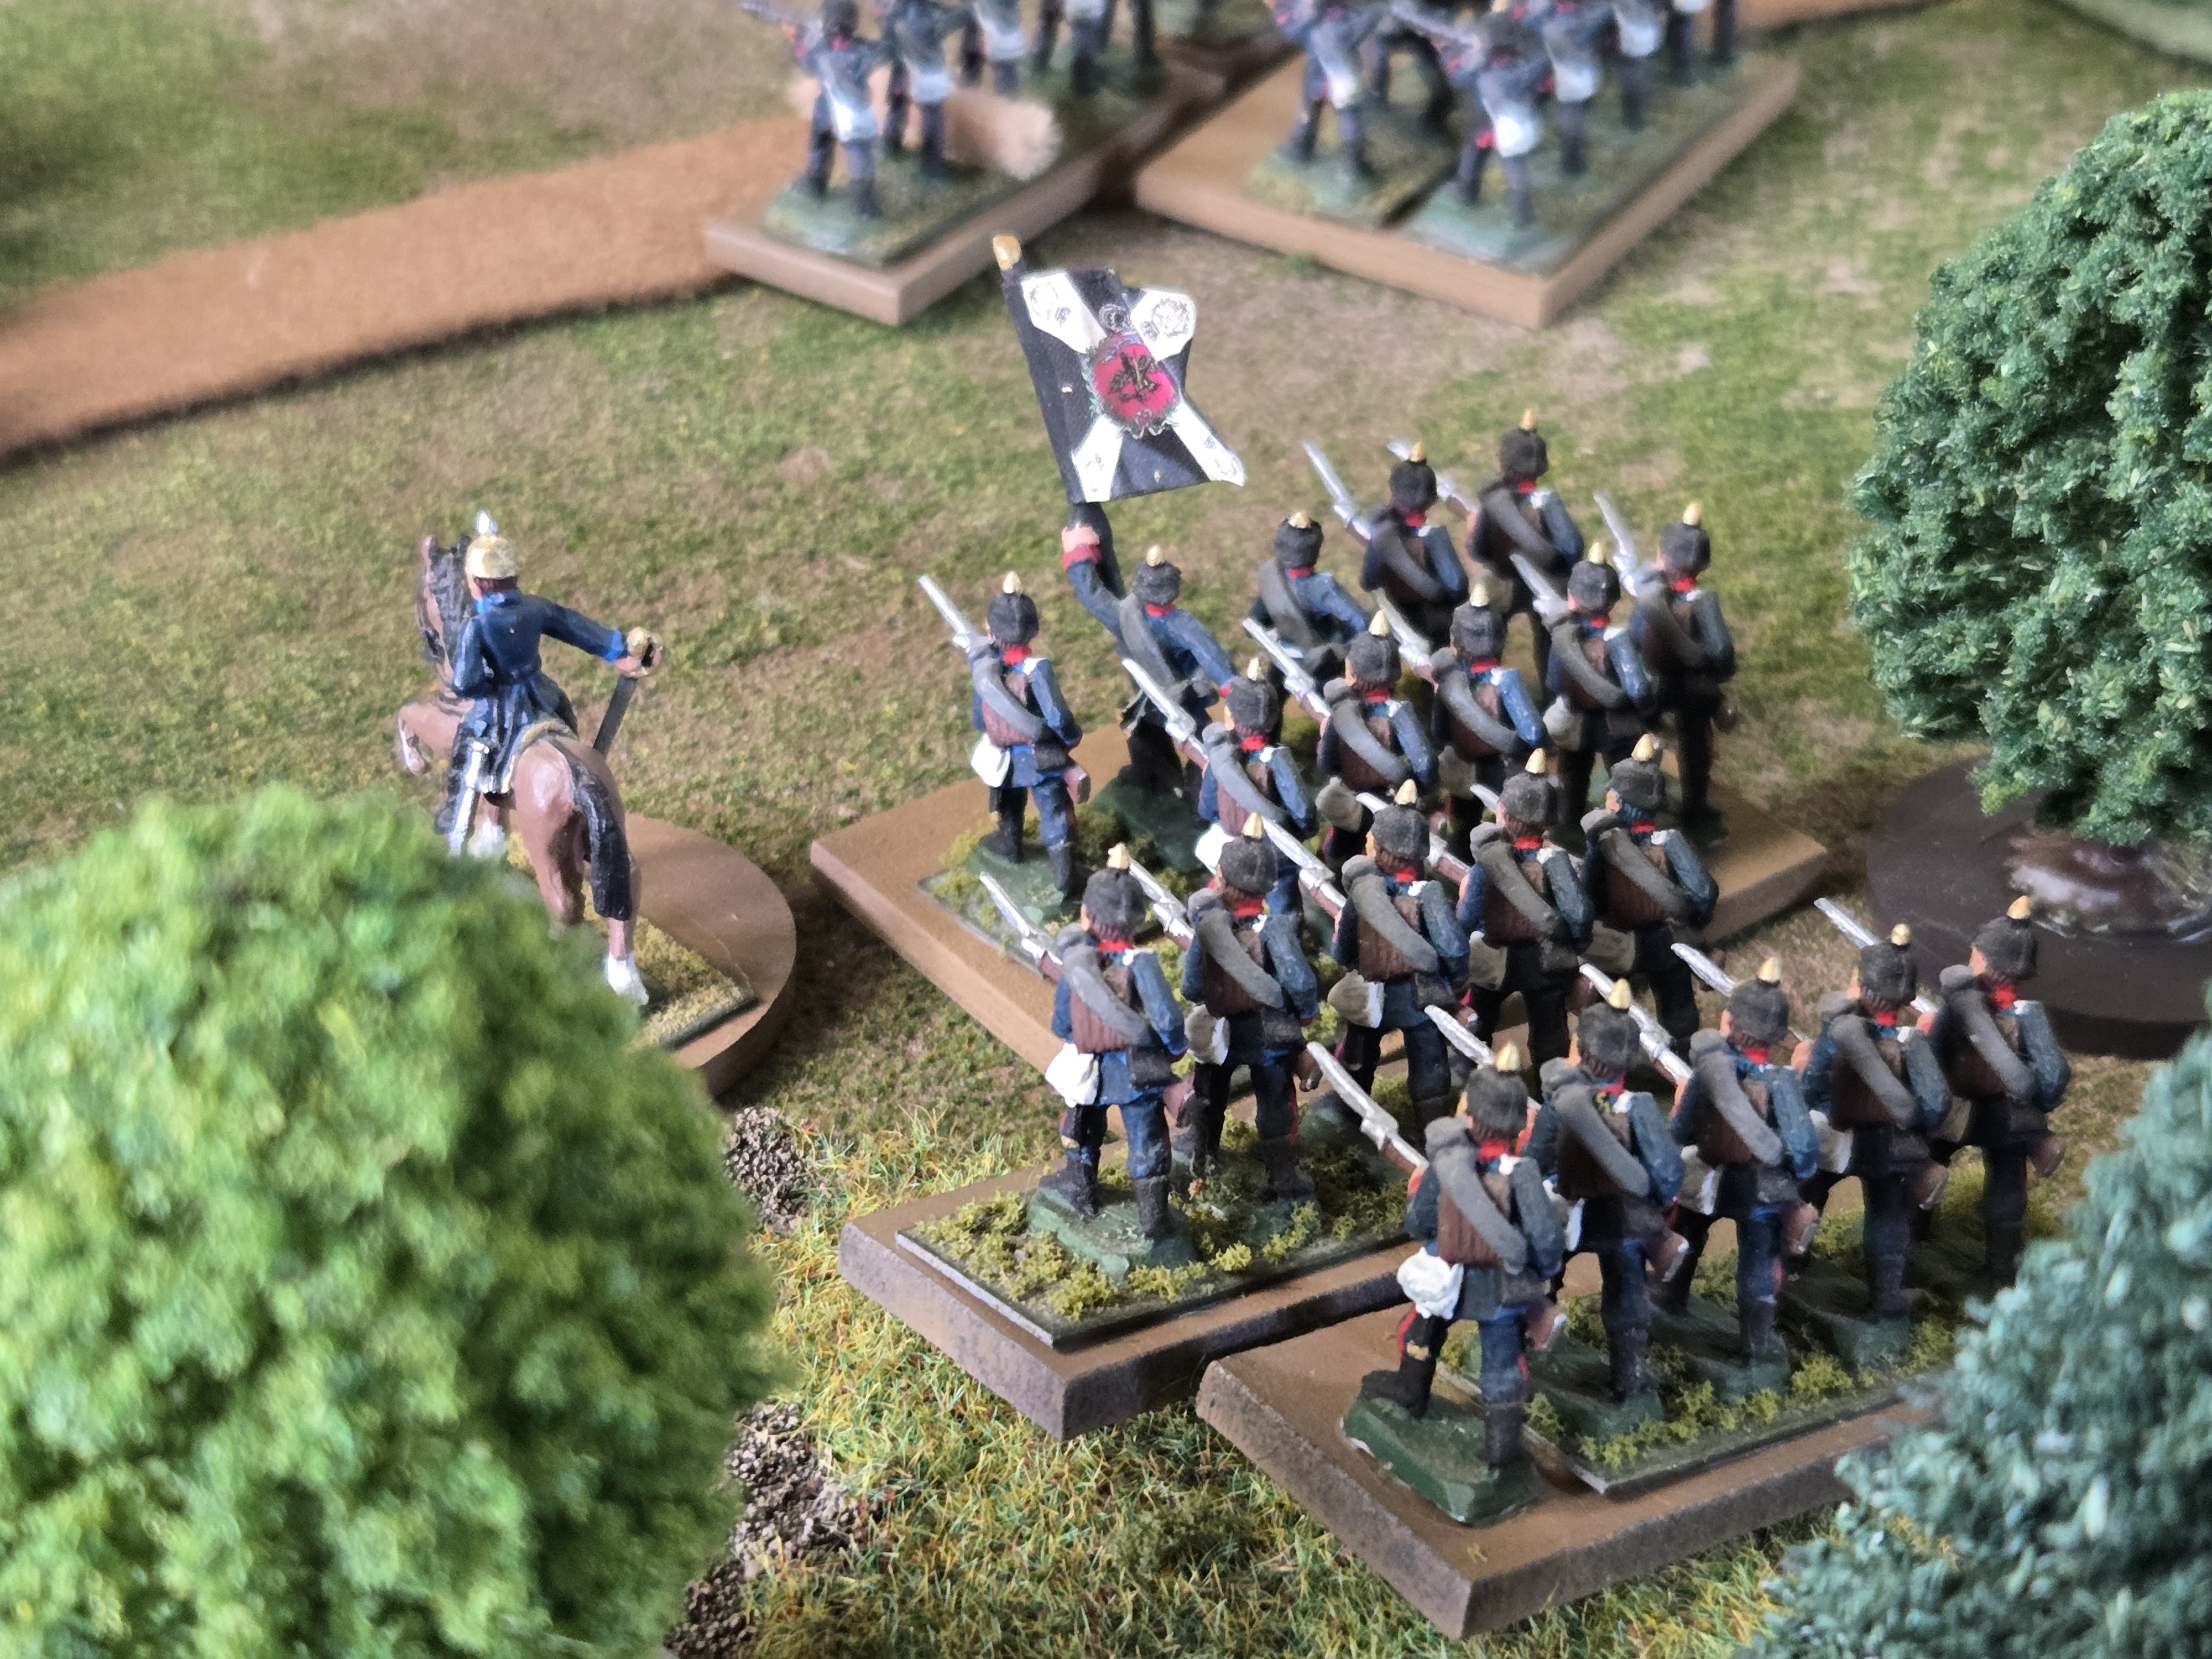
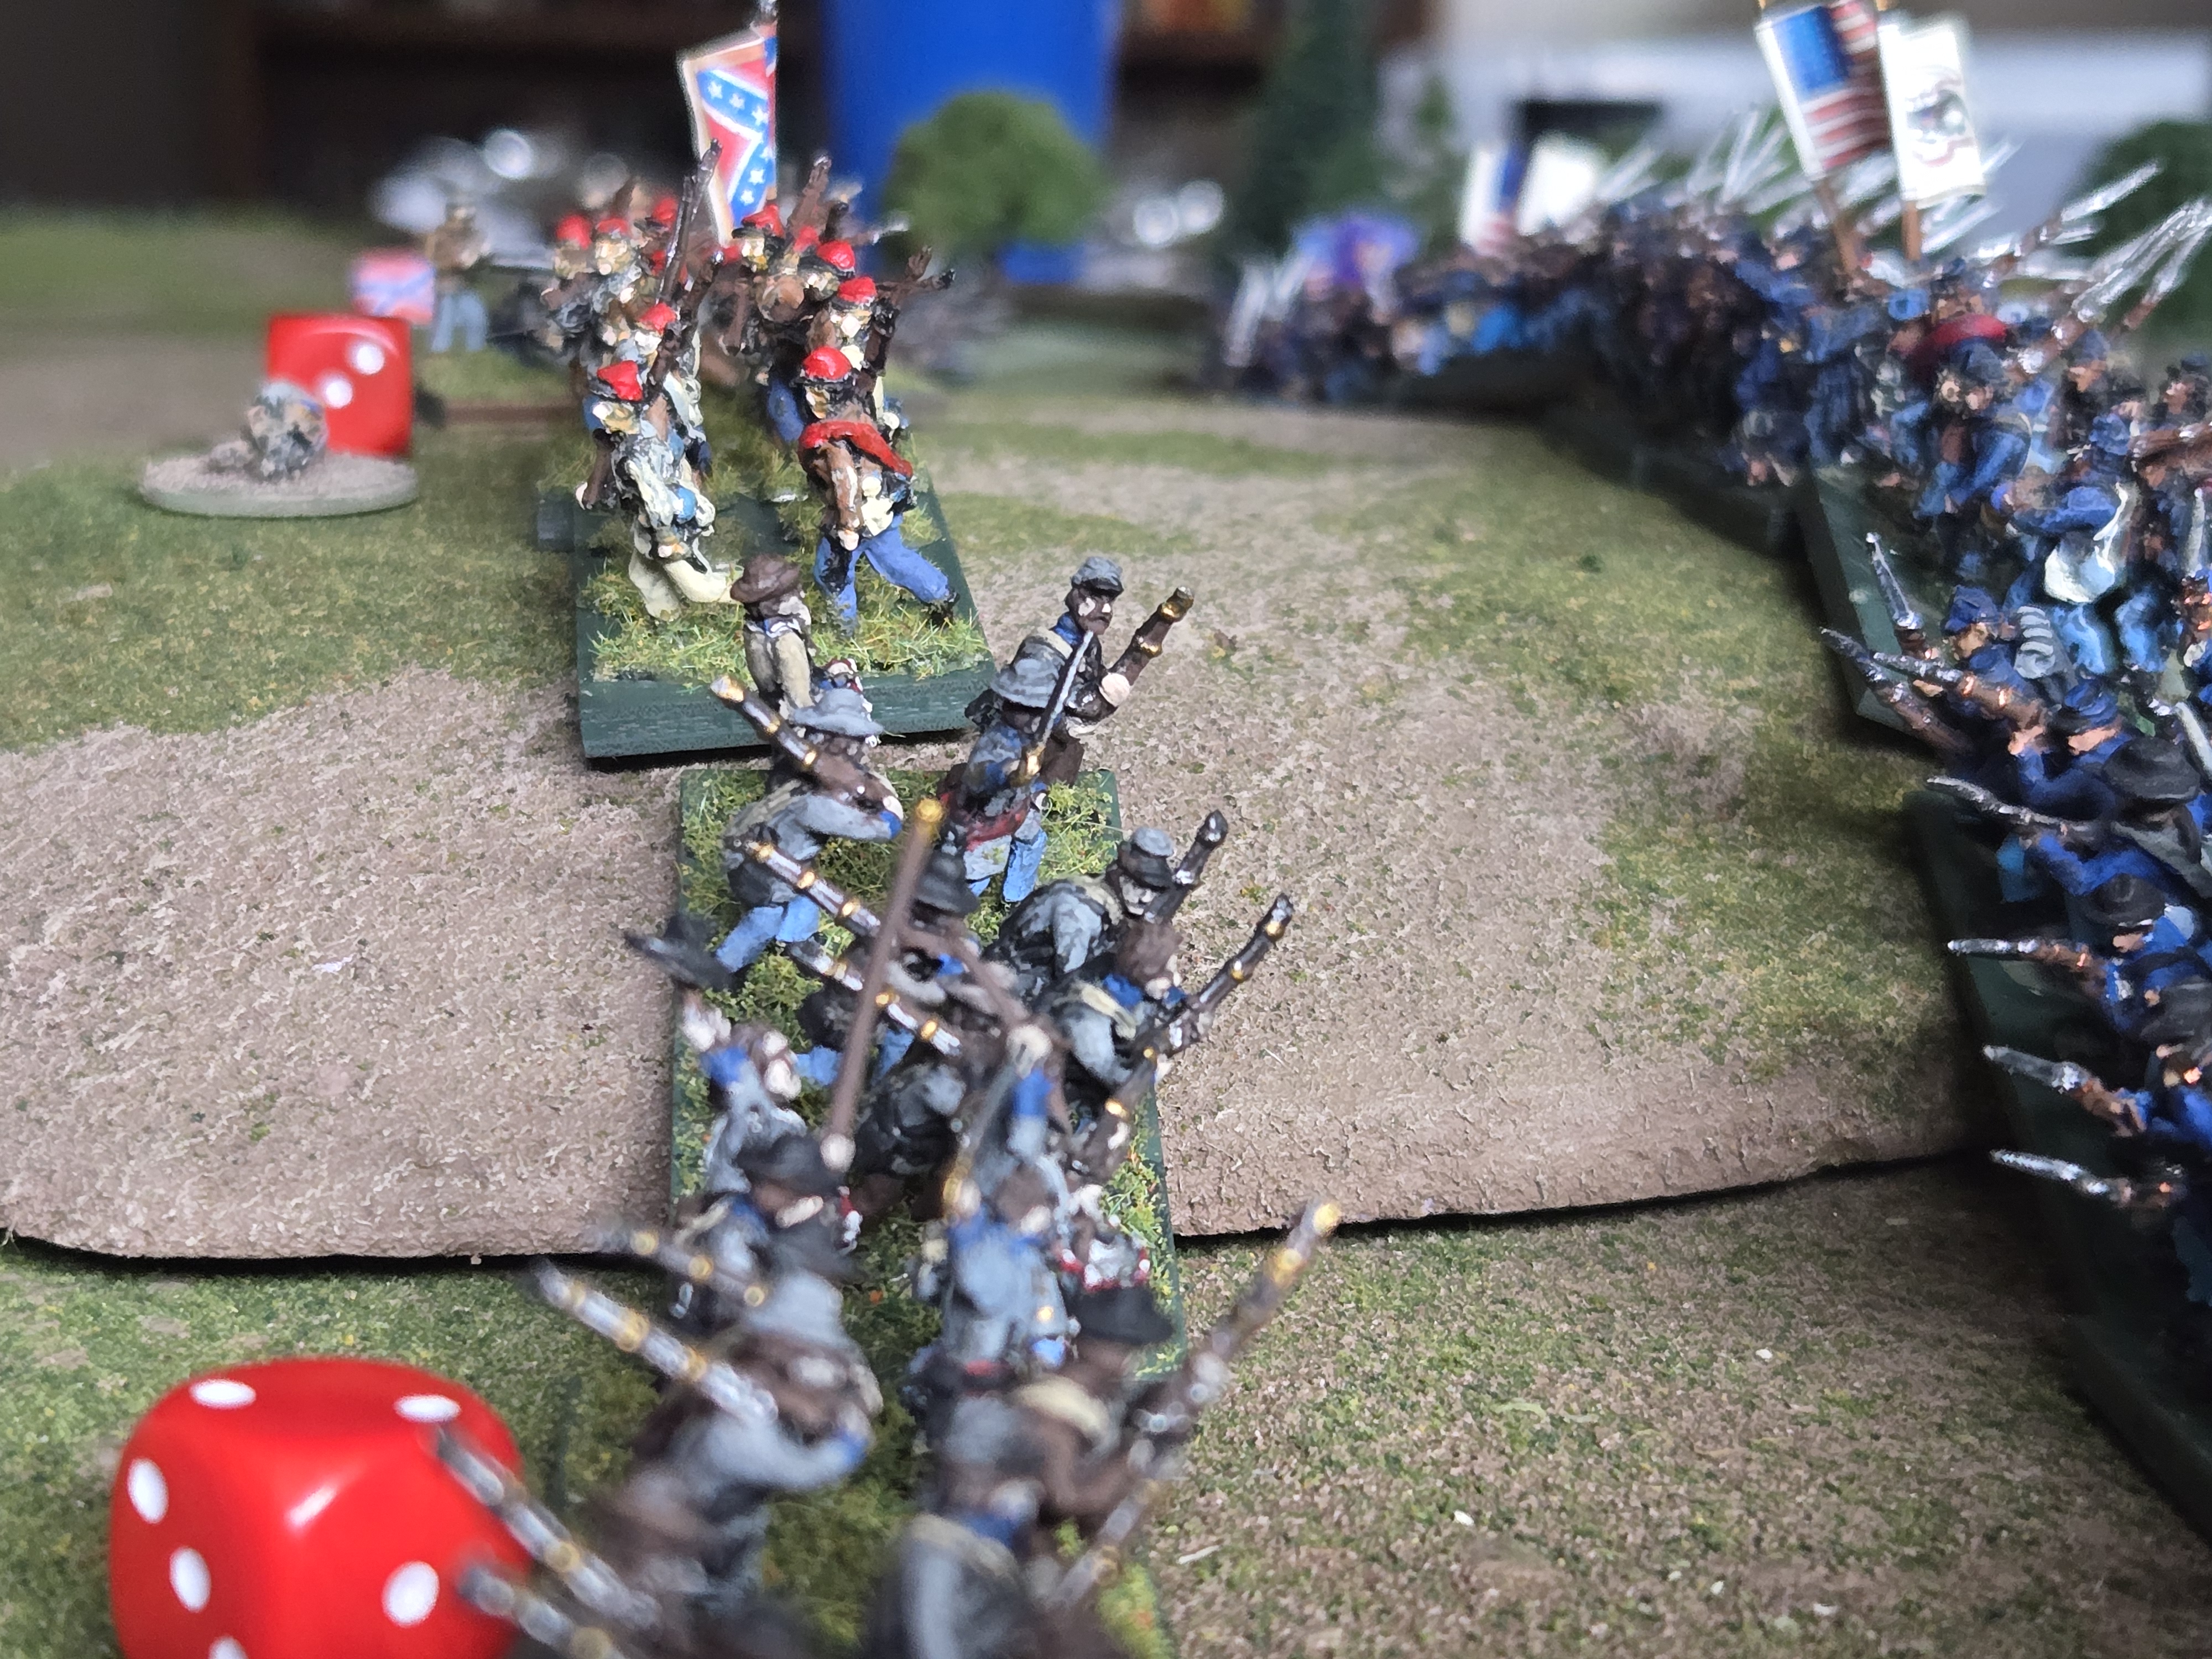
The troop quality makes elite units (3+) more dangerous and also more resilient with them rallying and also charging more easily than say average (4+) or militia (5+) troops. In fact I had a Union regiment during this game held in reserve to counter-attack the hill, and they never charged the entire game. Of course I had no general officer left to attach (killed) and his replacement had not yet arrived. Anyways, a fresh Union regiment simply sat there observing and shooting while the Rebels flooded the hill!

The rules “chrome” has really breathed new life into the Neil Thomas ACW rules and I am having a blast so far. I think these would be great for a “big battle” with 20 Regiments or more on a side. The “Forward the Colours” scenario book from “Potomac Publications” has a Bull Run scenario with 25 regiments per side and that is just about perfect to be chopped down for a 6×4 table. You could probably play that in about 4 or 5 hours with the NT ACW rules (which I fully intend on doing :). Anyways back to snips from the playtesting!
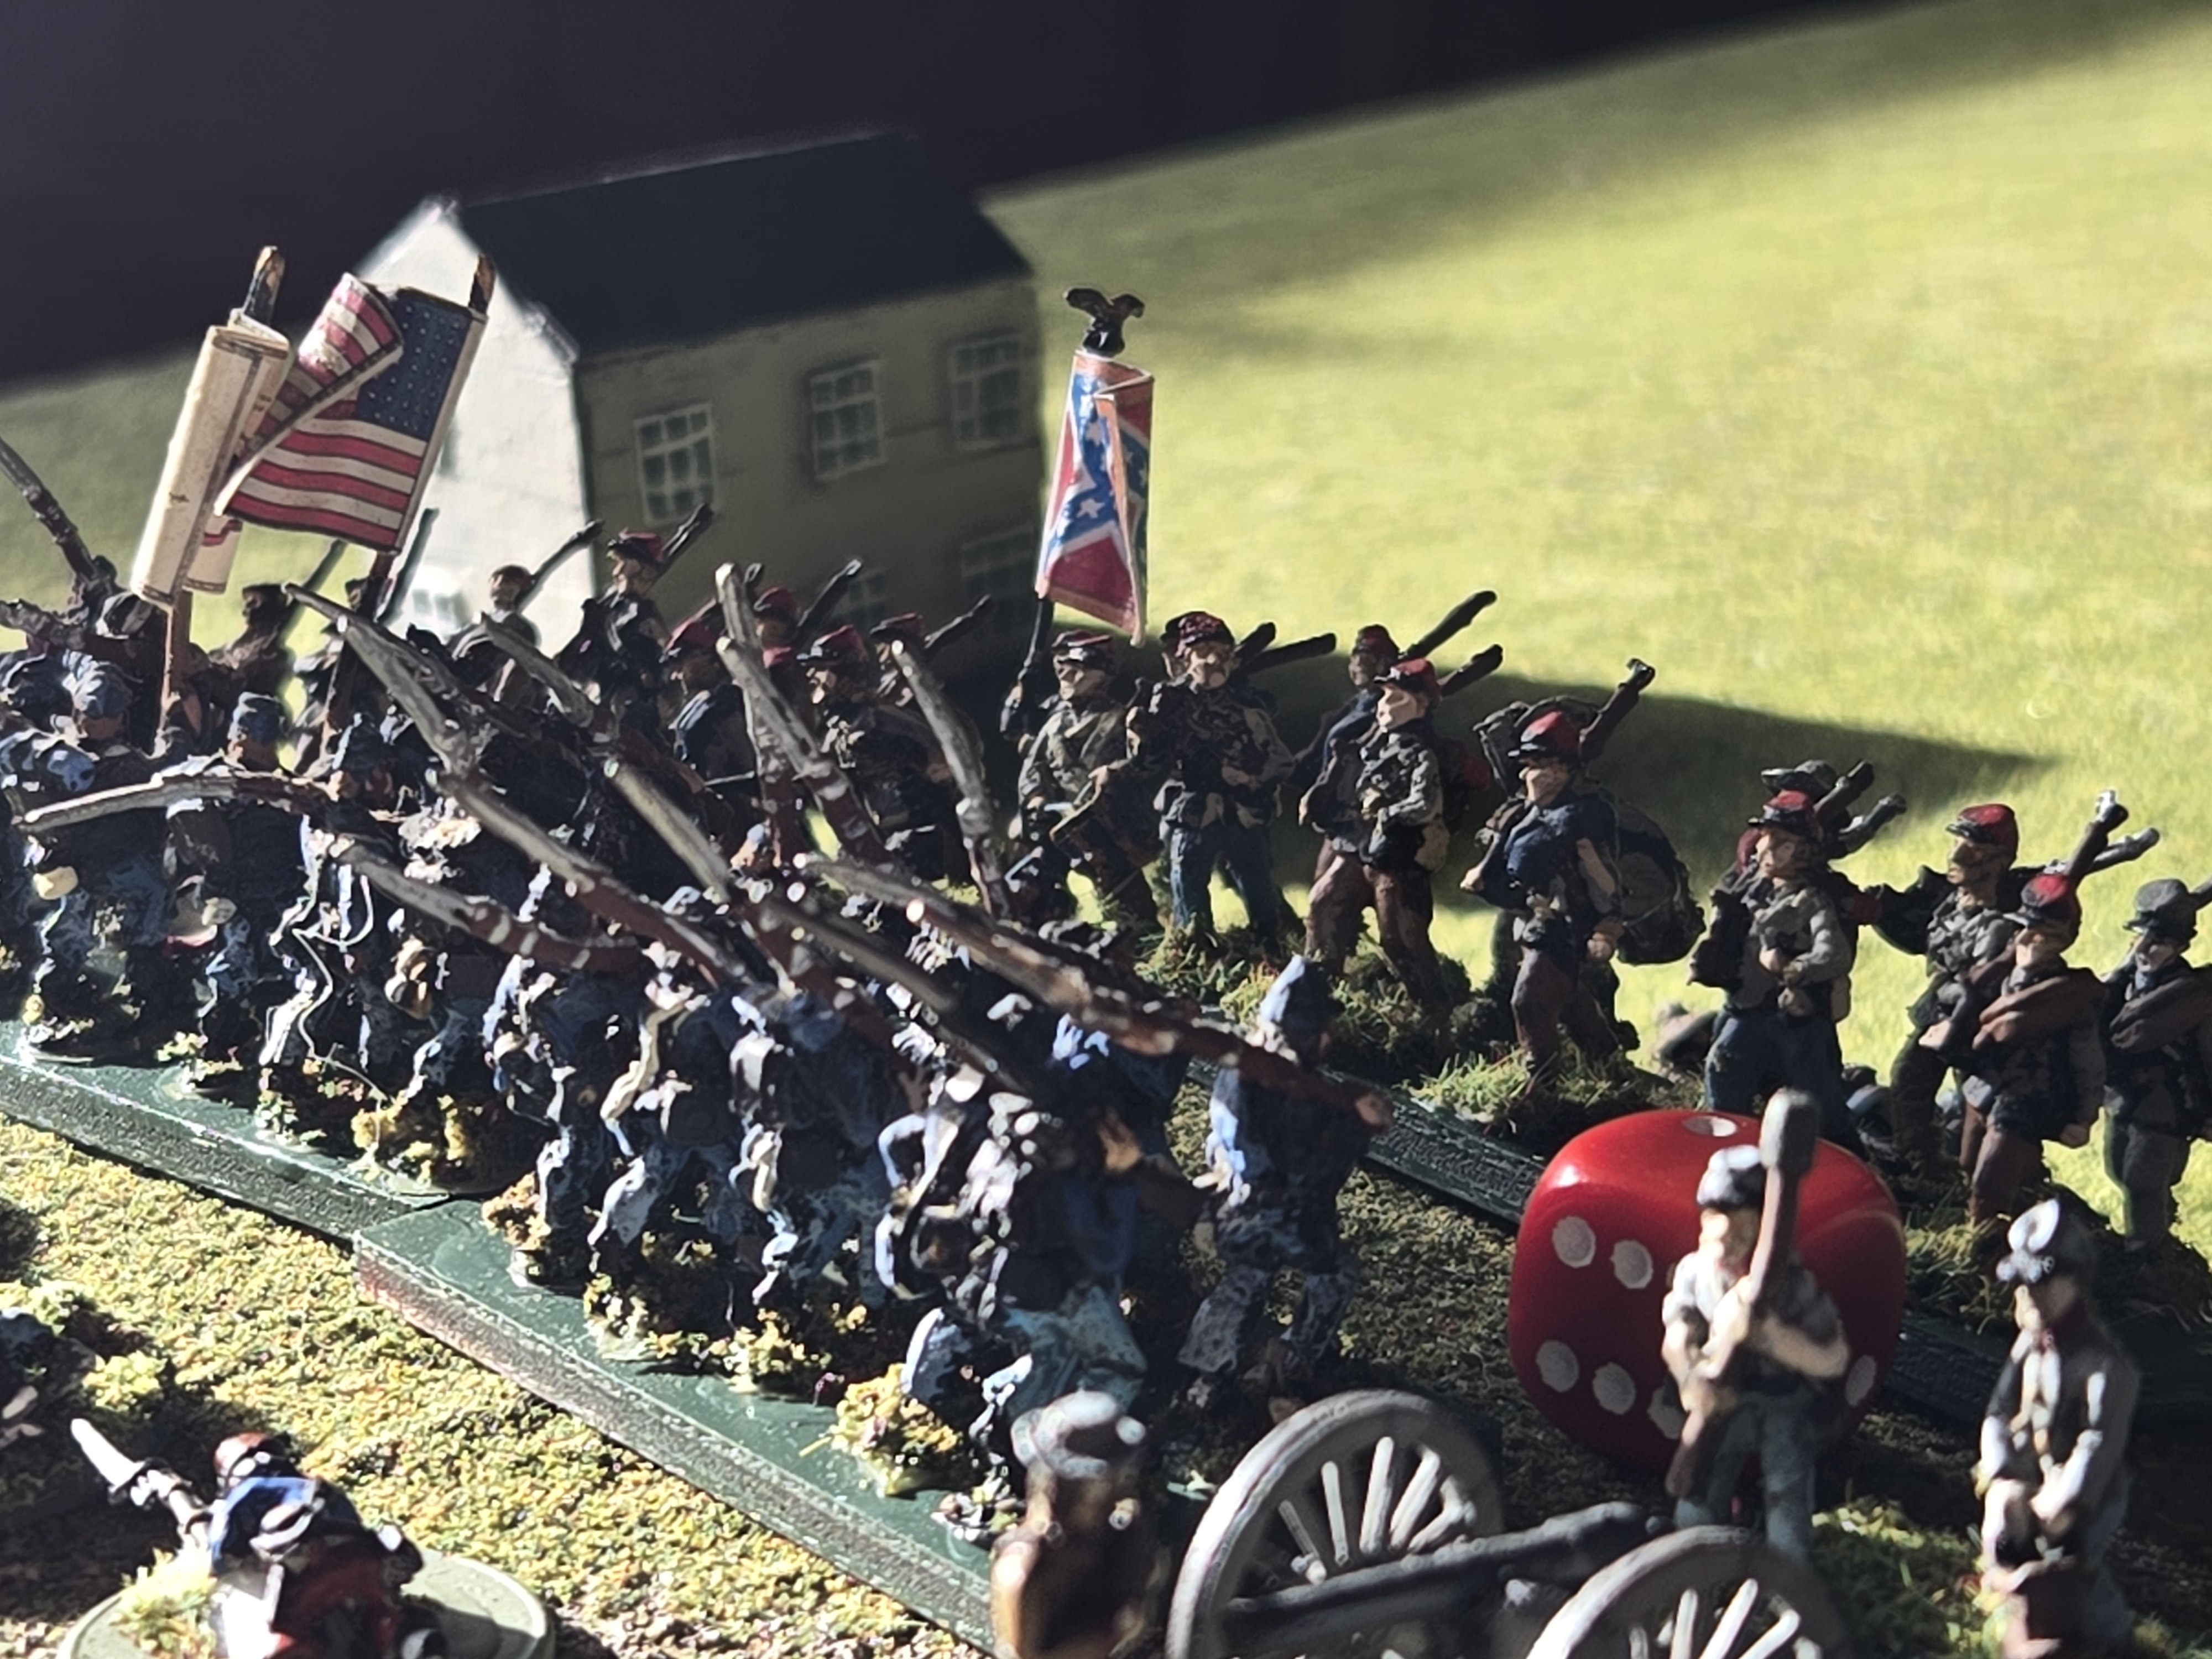
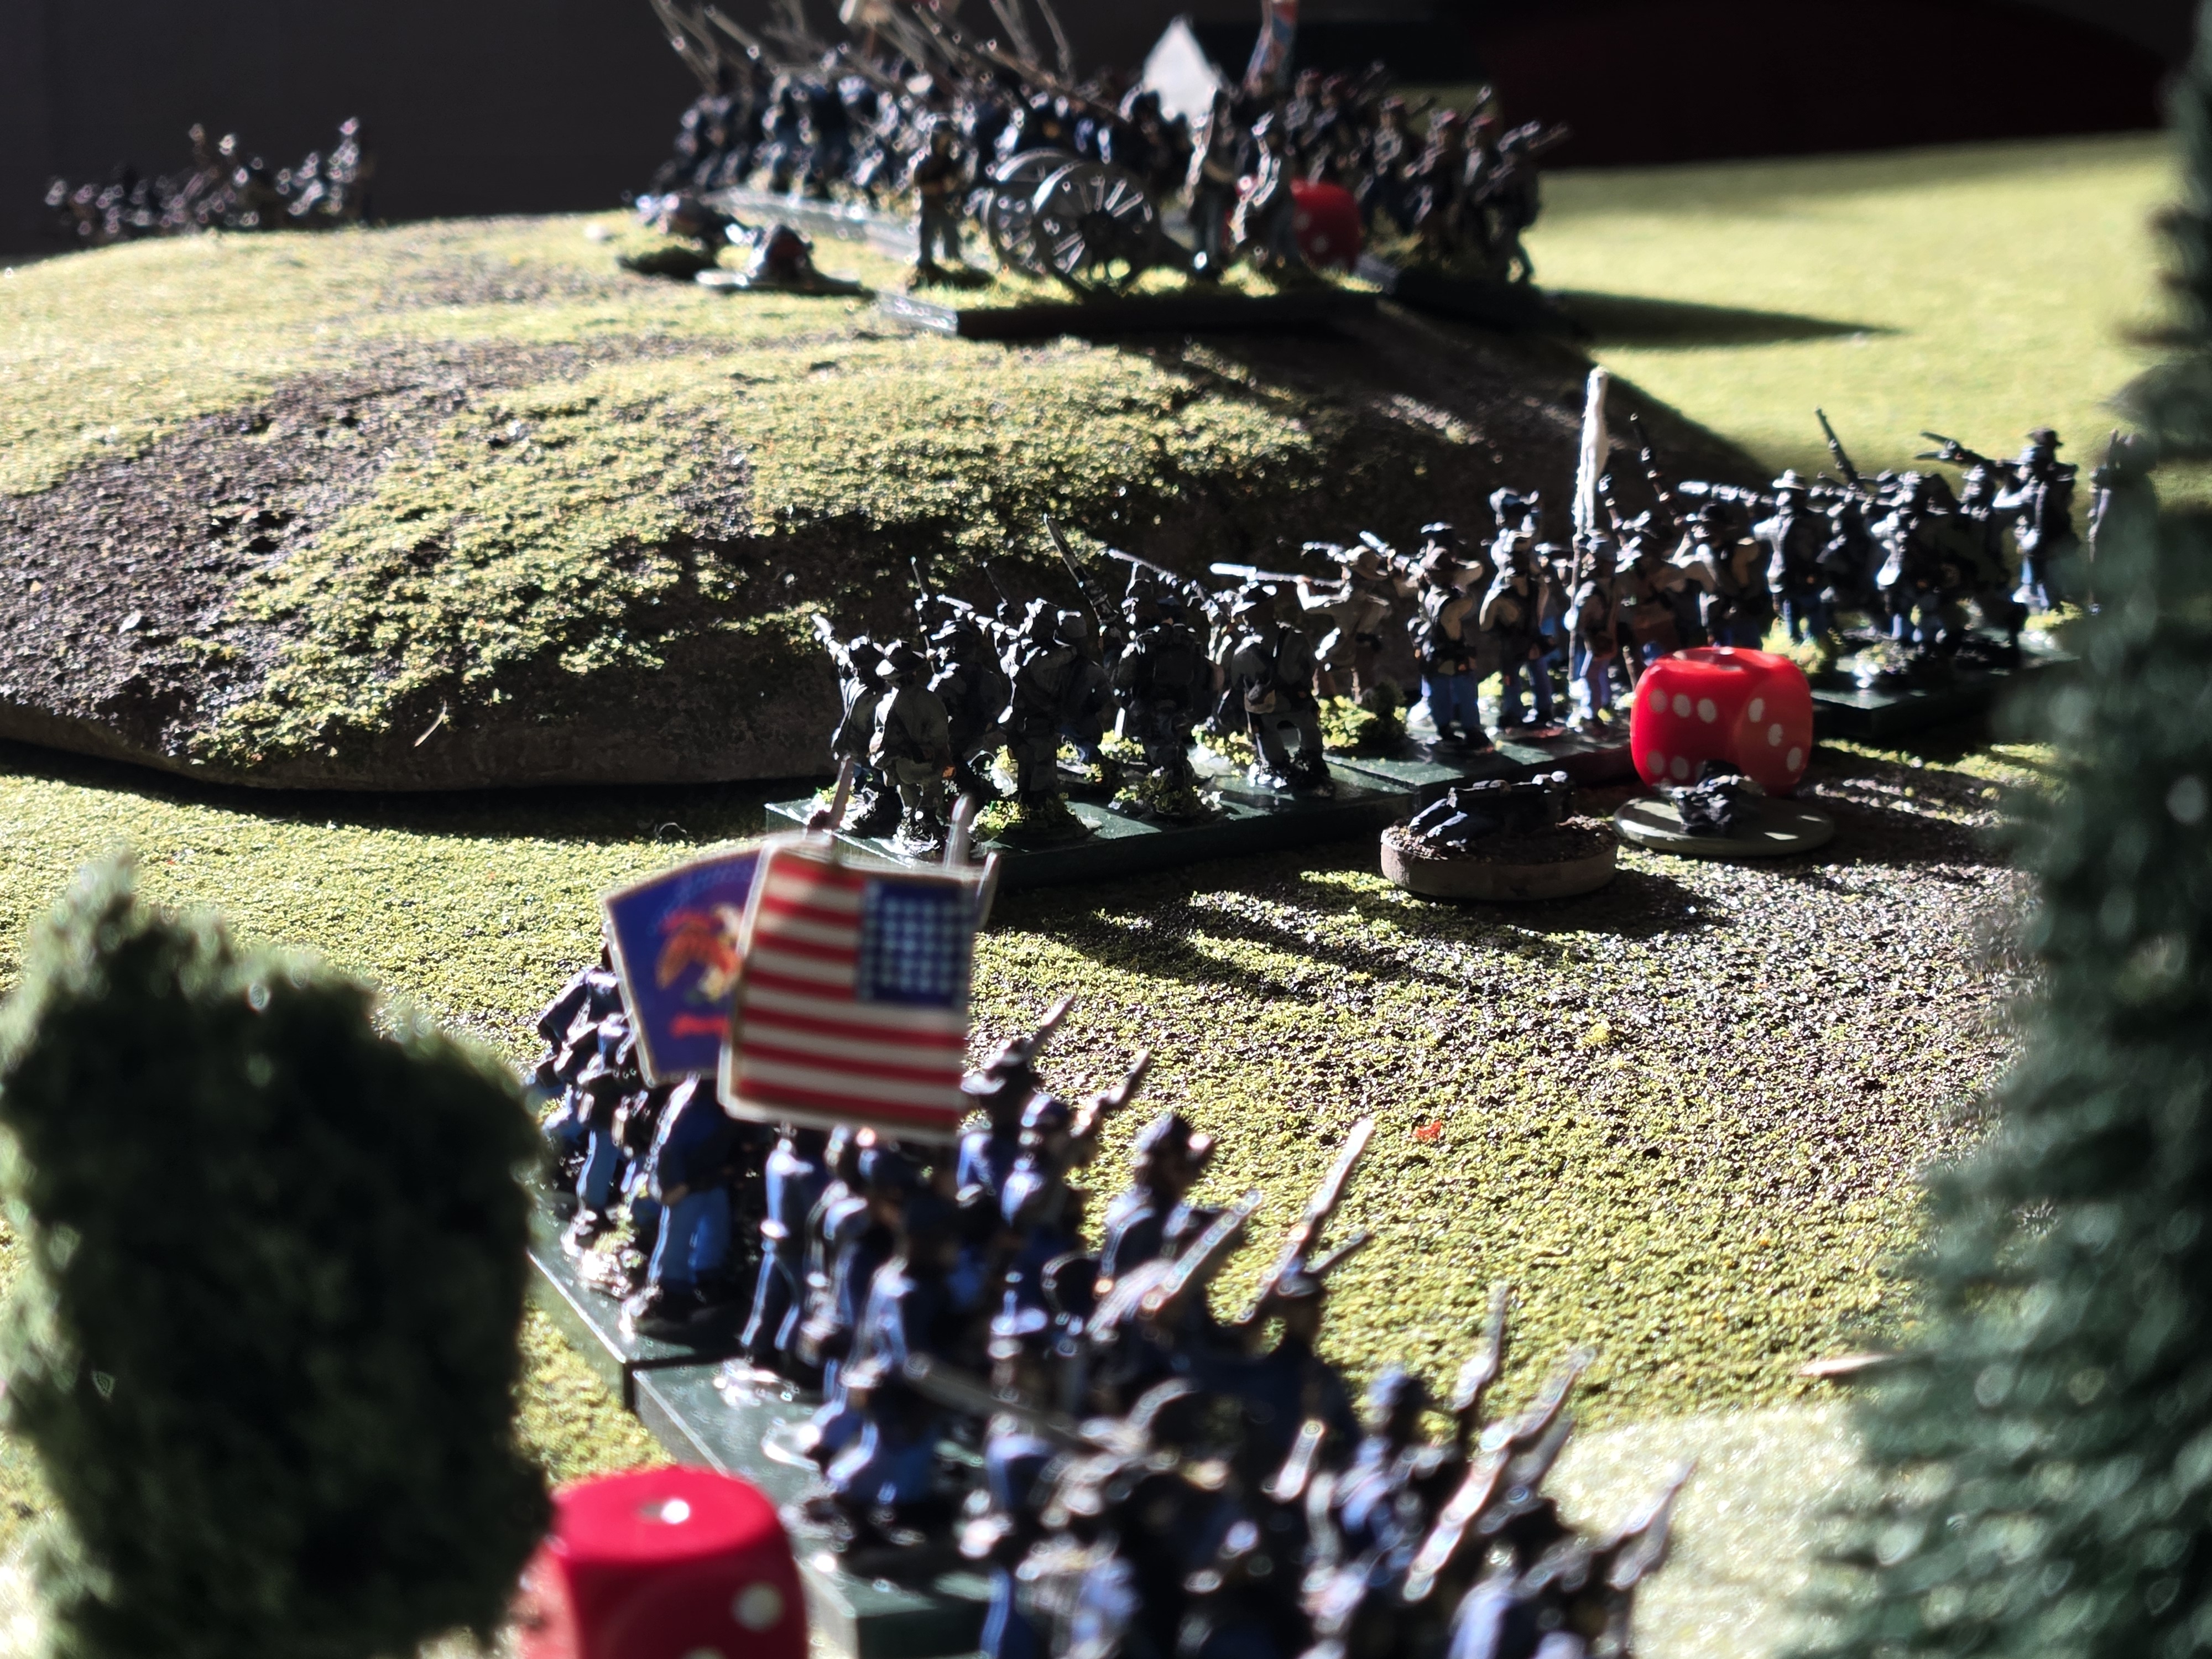
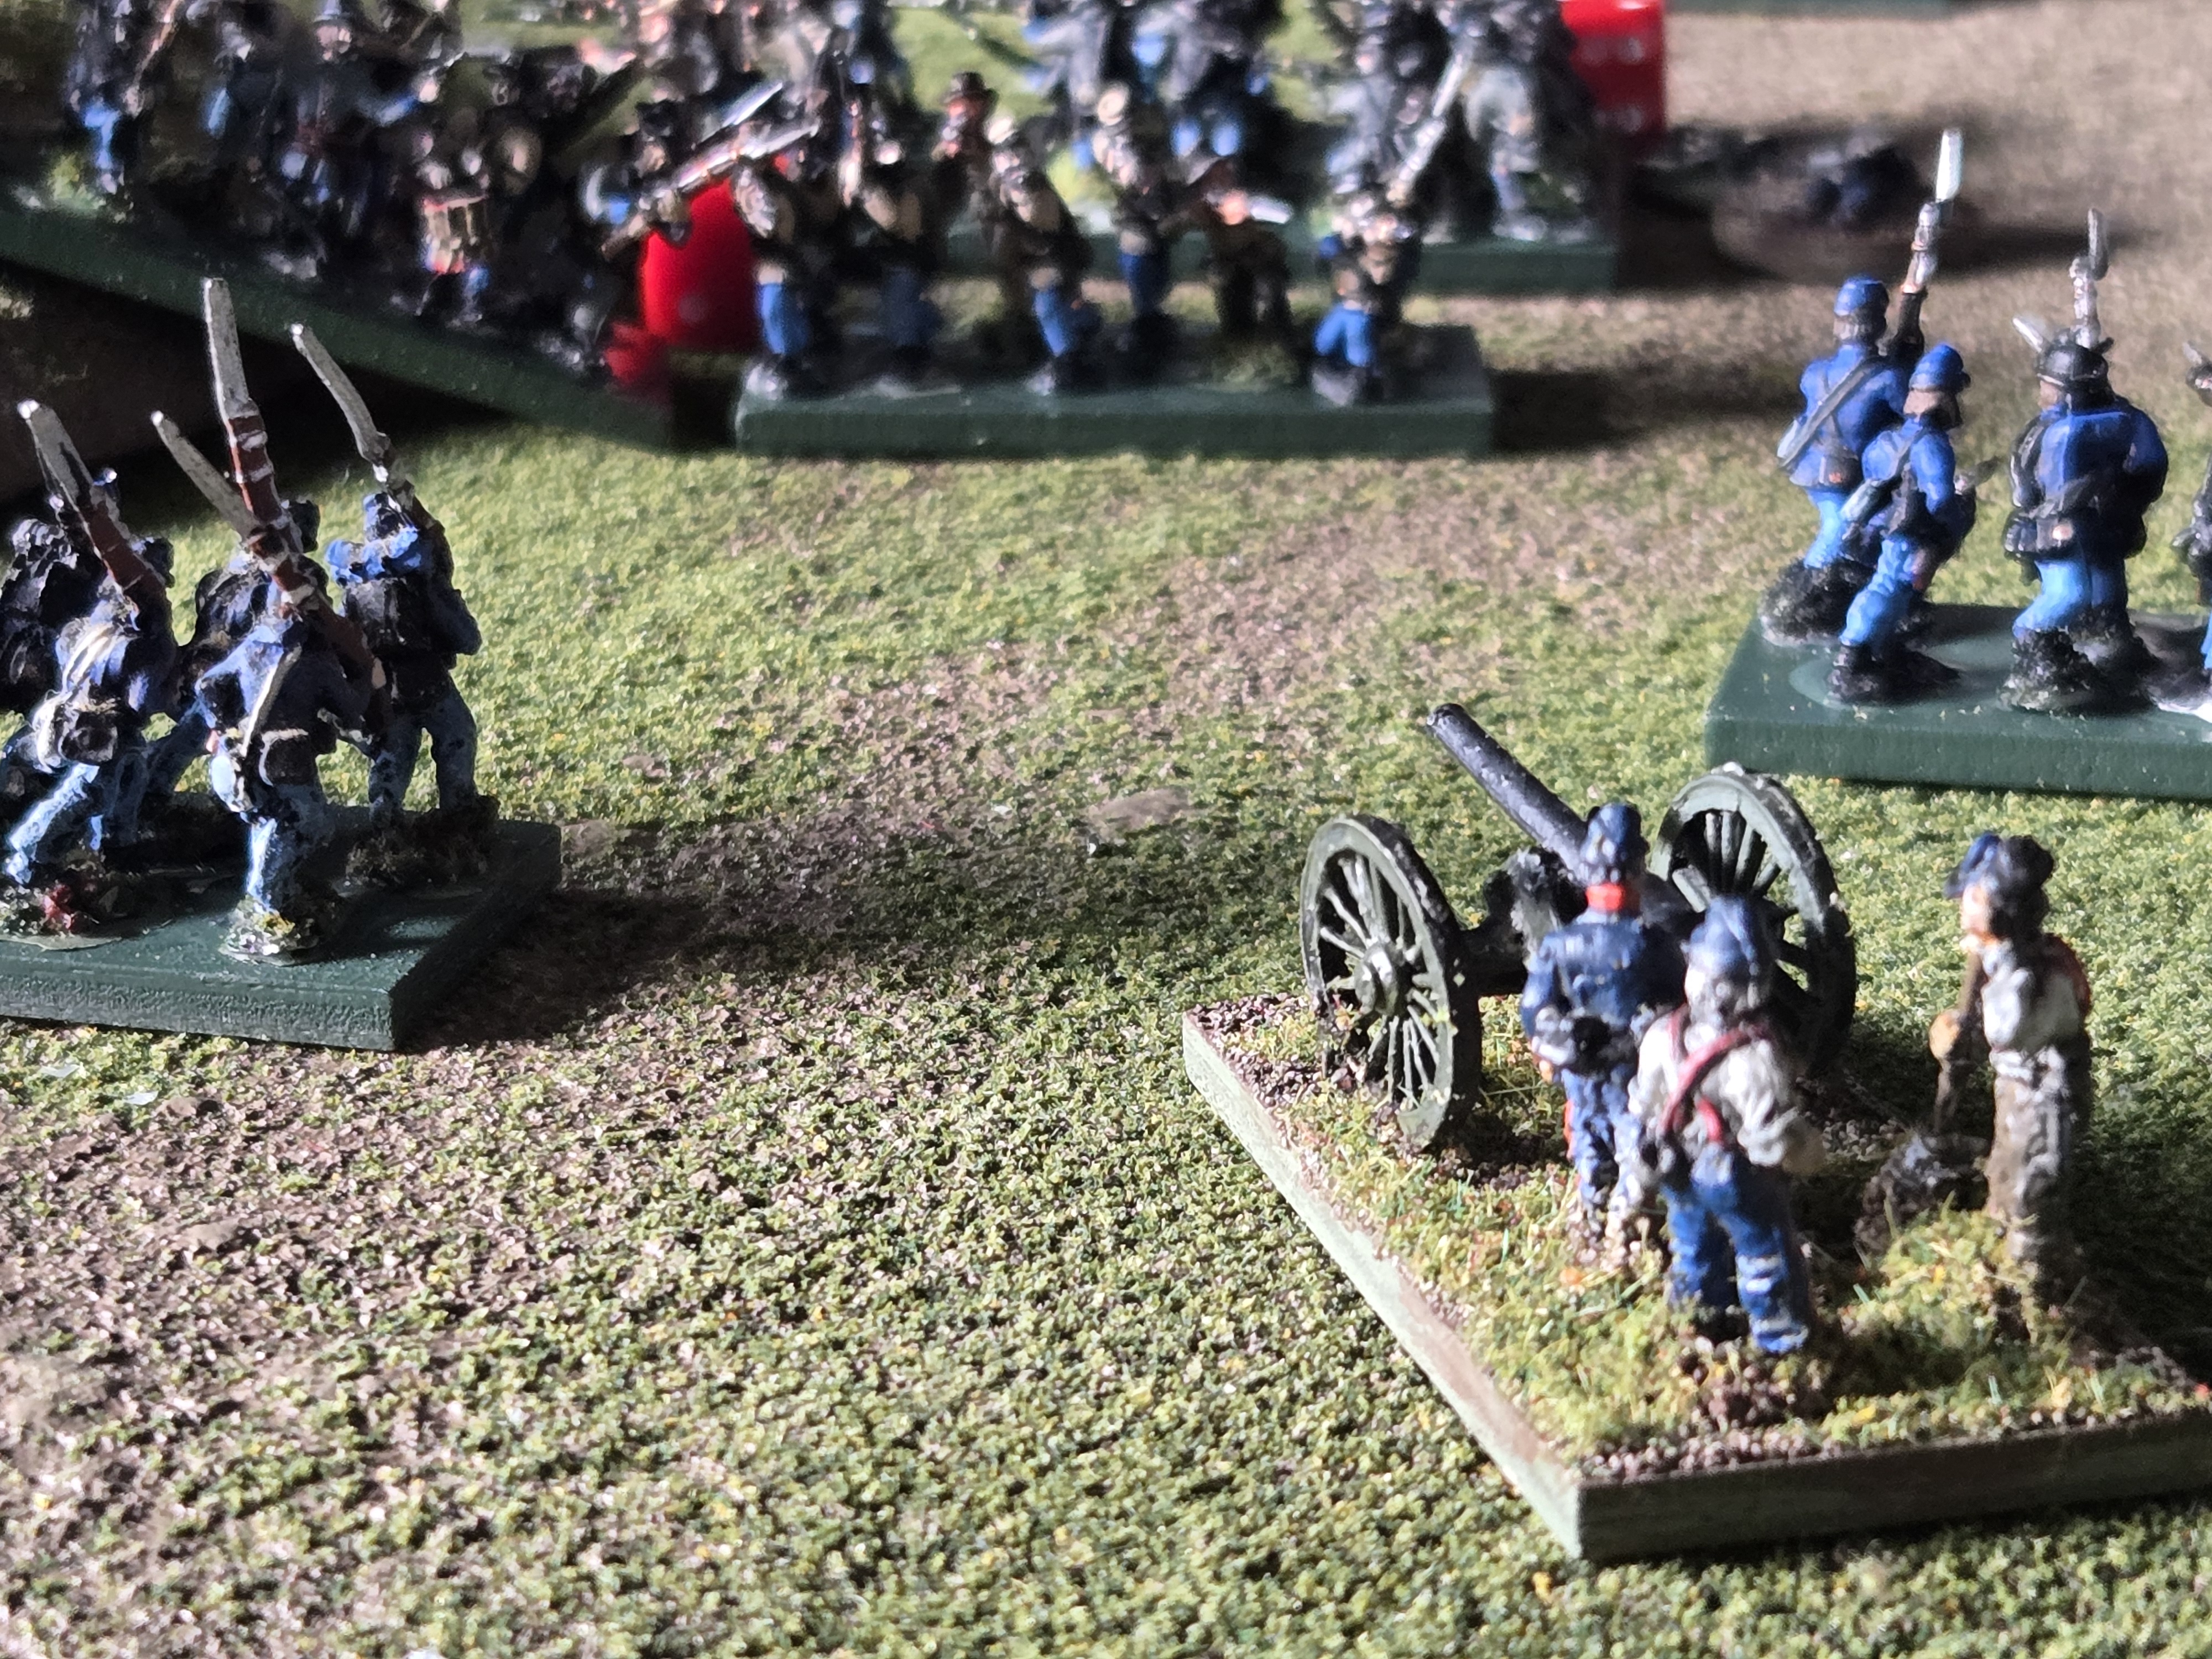
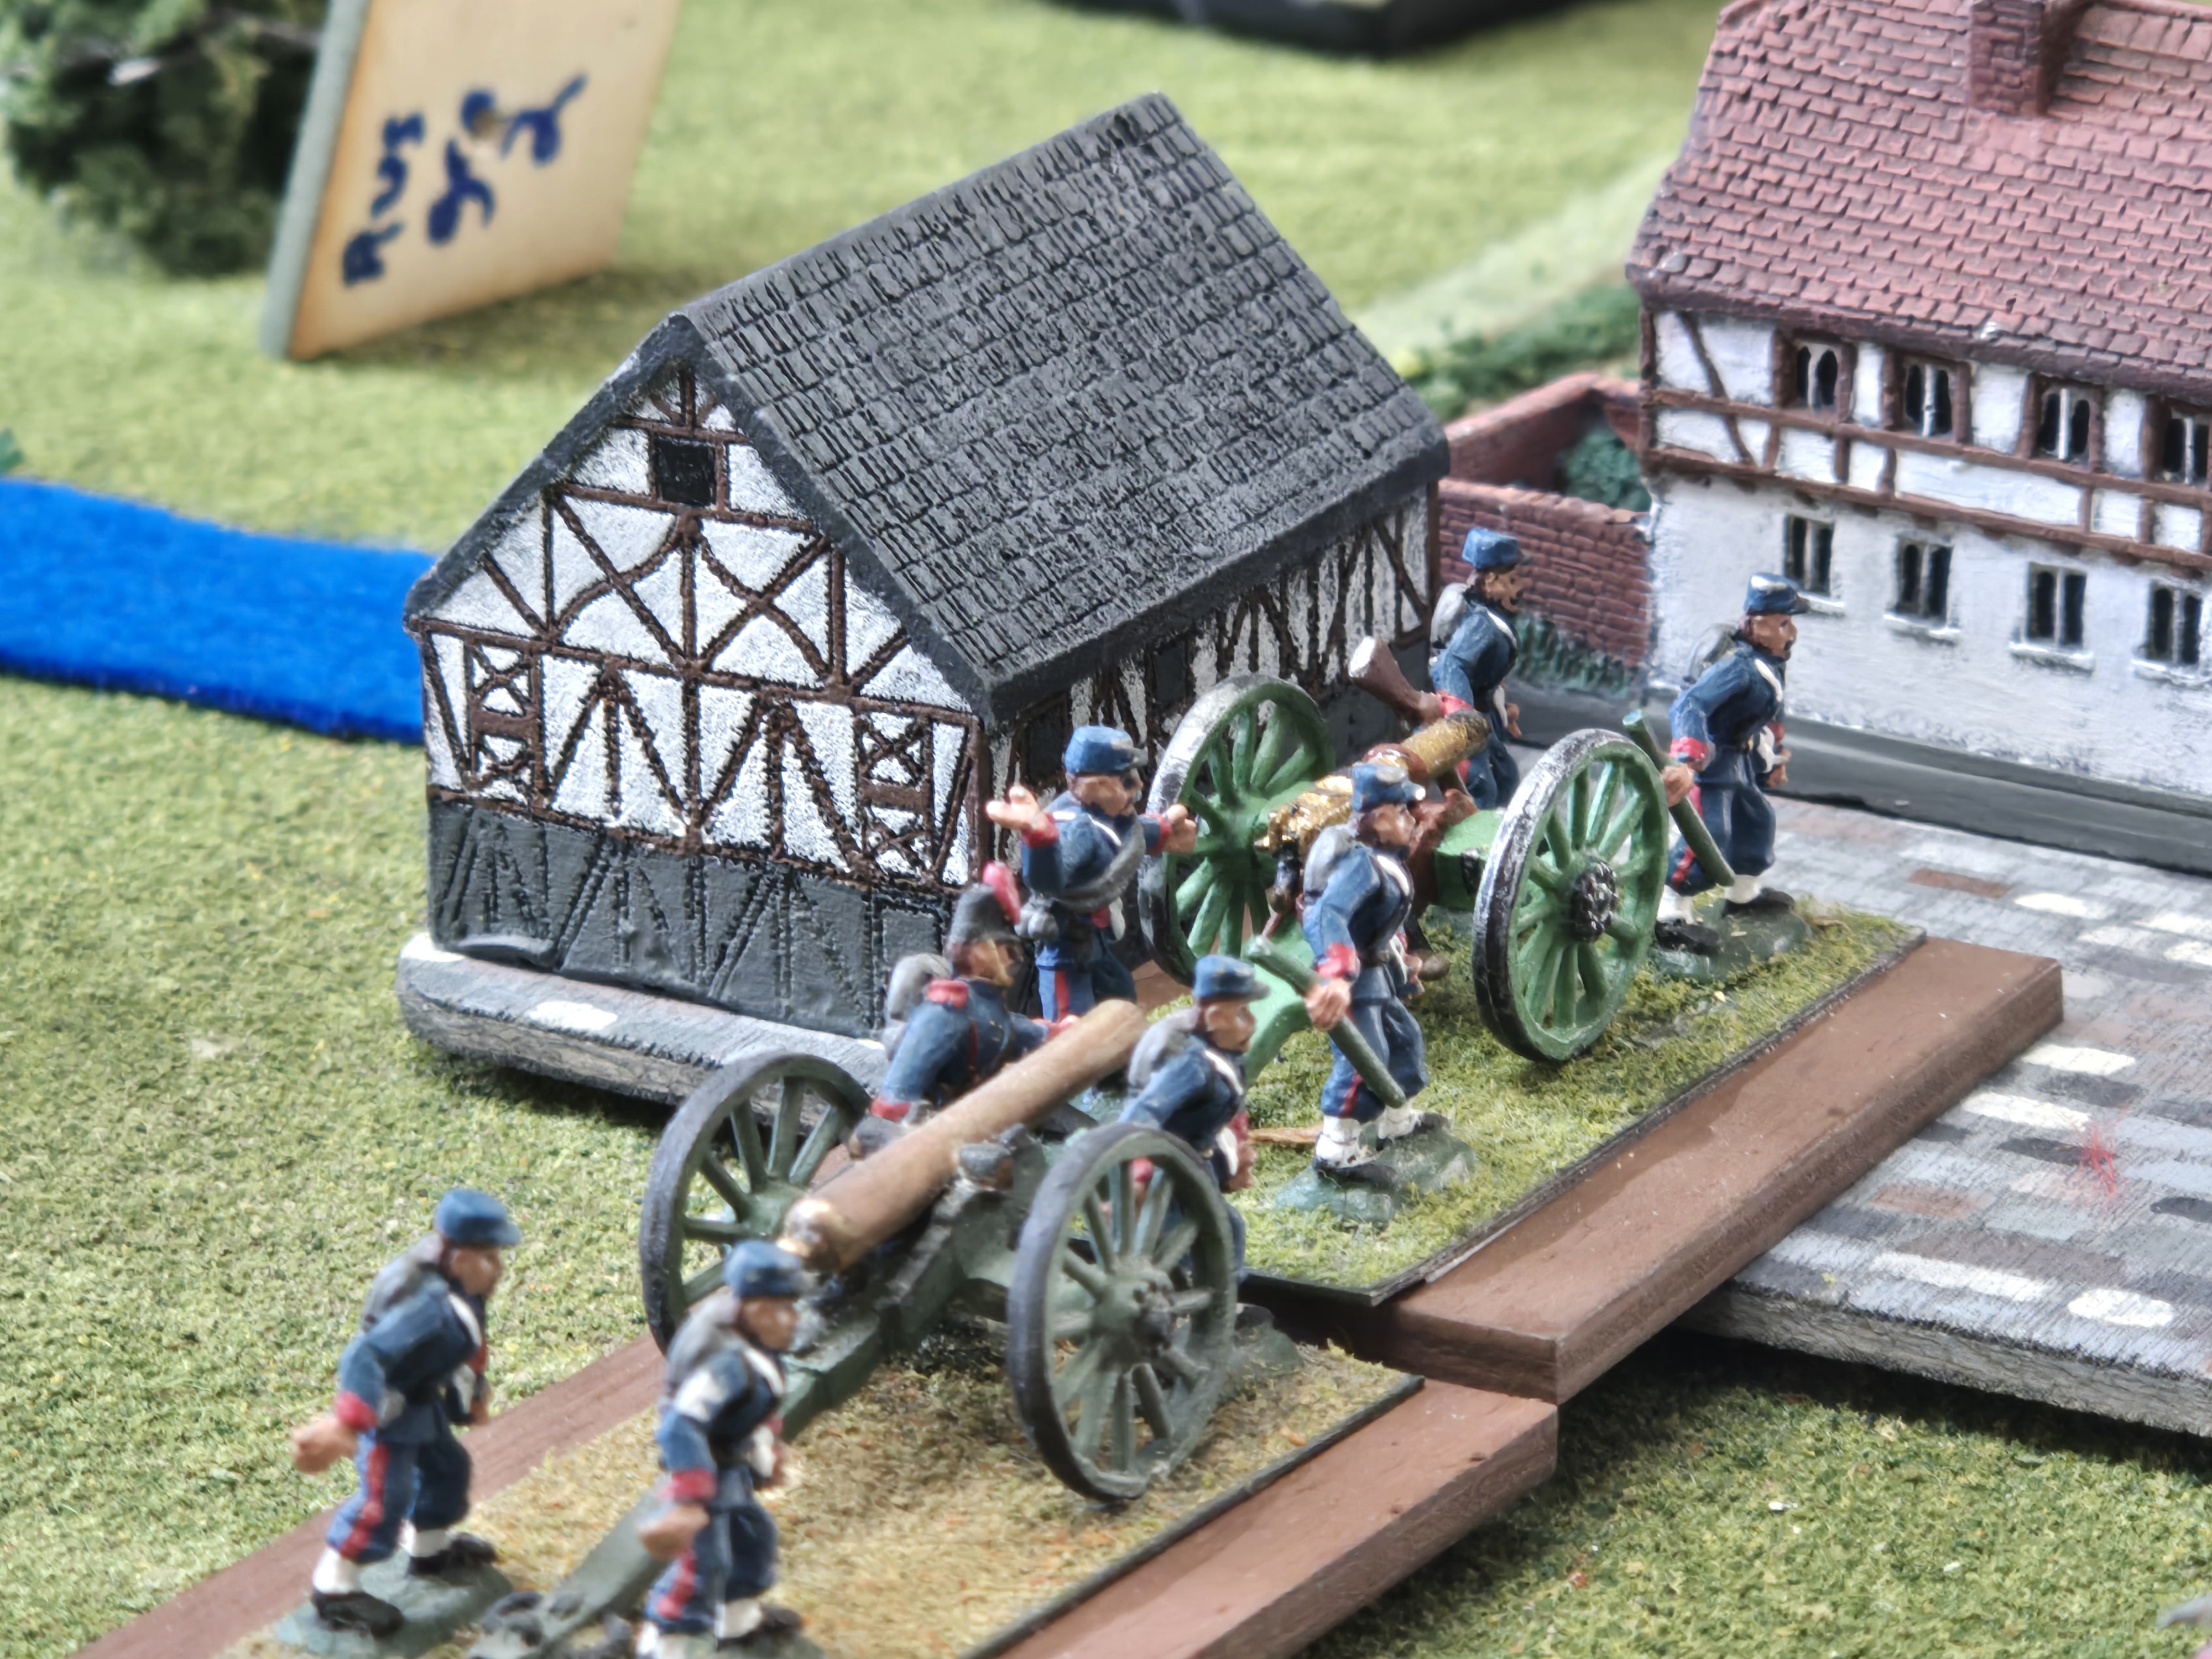
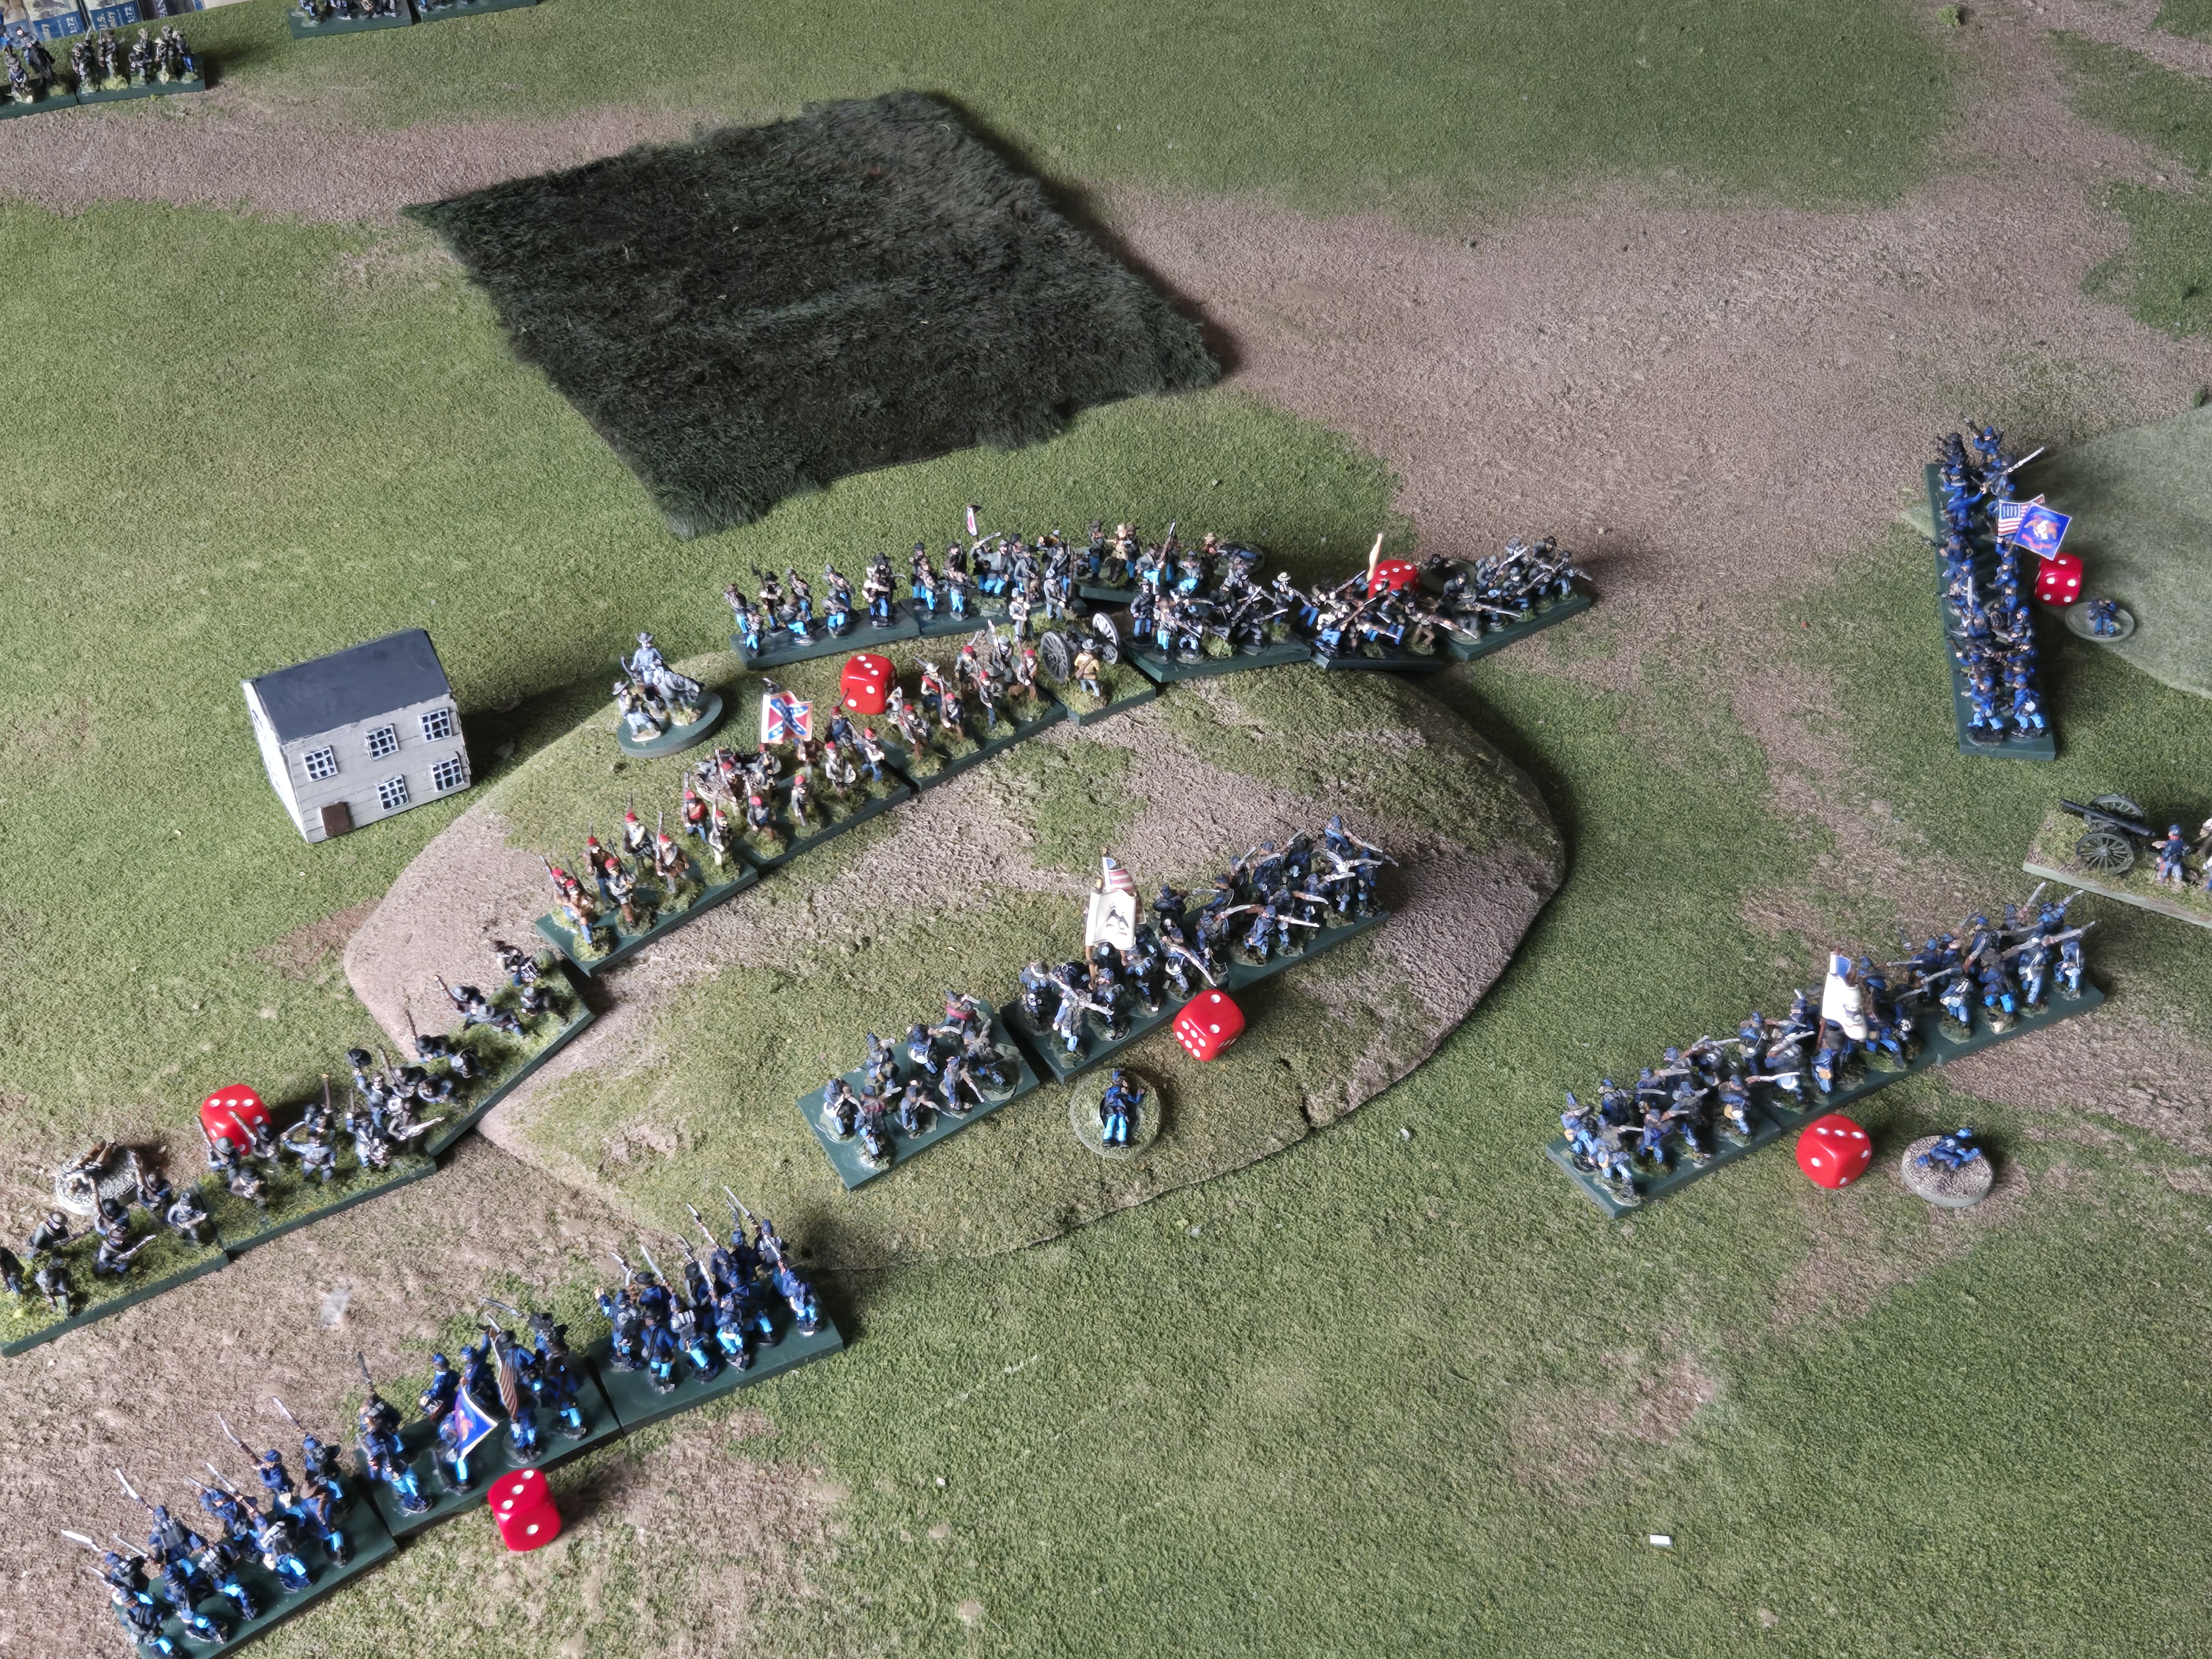
The Union bring up cannon to try and dislodge the Confederates but they’re stubborn!
The final playtest game was lots of fun. I’ll post a link to a PDF version of the rules so far and if you want to get it onto the table feel free. I think it adds alot (Command and Control, more decision making) to the Neil Thomas ACW rules and really elevates their playing.
Link to Updated NT ACW Rules from my Google drive – what you’ve read about here. (you won’t necessarily need the NT ACW rules but they might be helpful to have a copy nearby. If you’ve never seen them – see the link below) These are still very much a WIP and leave alot undefined. They build on what NT wrote originally, and what Alex devised for his excellent FPW version (much of the explanations are from Alex’s set). The last 2 x pages are the QRS.
Link to the Groups.IO Neil Thomas Rules page. Find the files from “Wargaming: An Introduction” and download the ACW rules. These are about as close as you can get to the book (but with better explanations and more parameters defined).
I’ll try to get a bigger game on the table as a culminating game for ACW month. Stay tuned!
